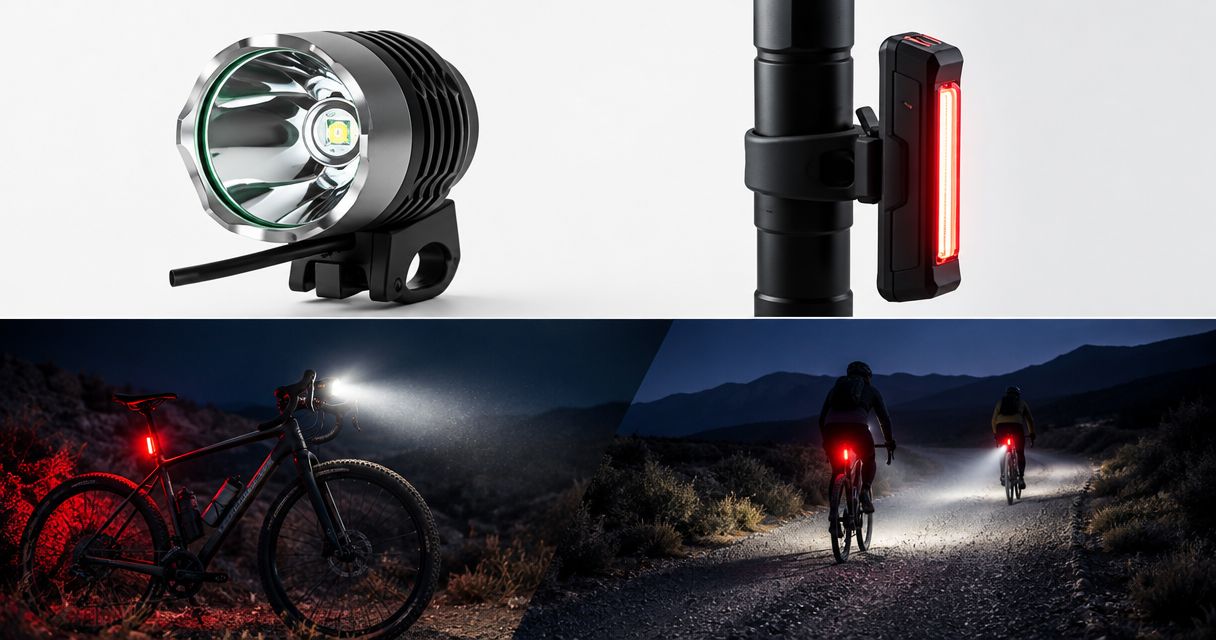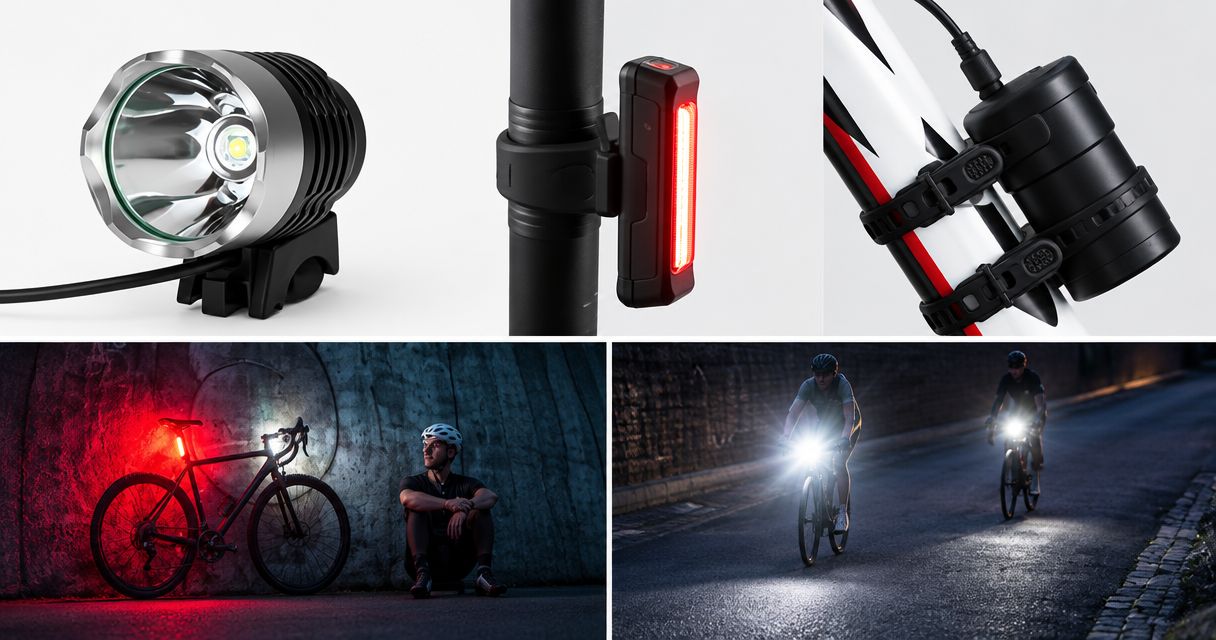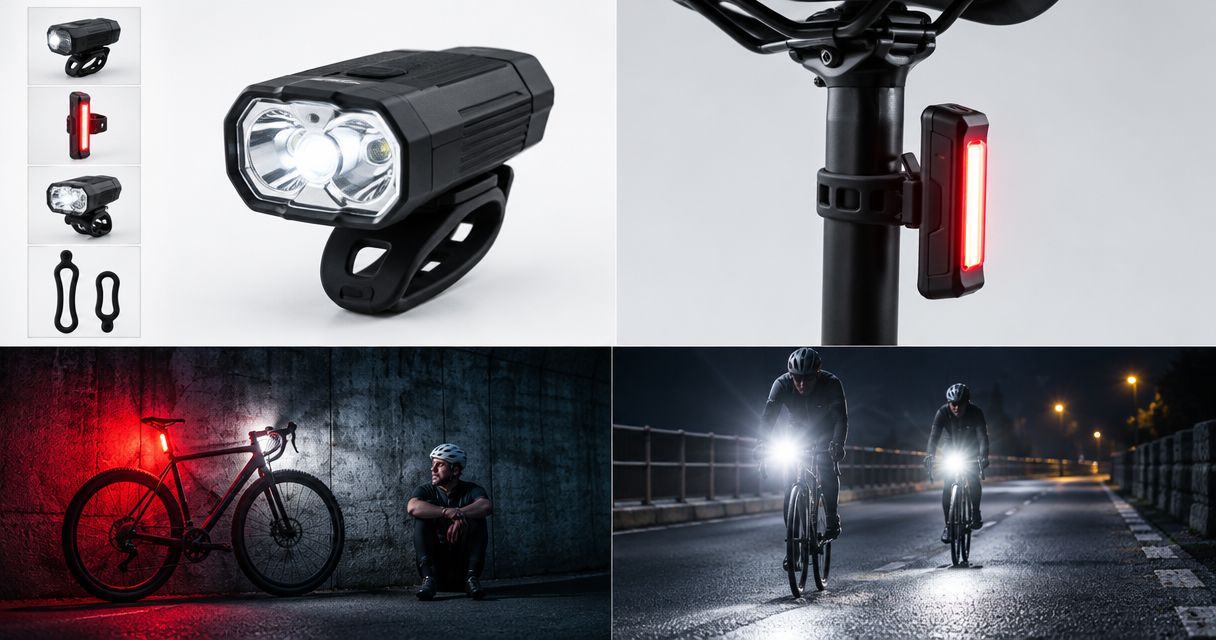
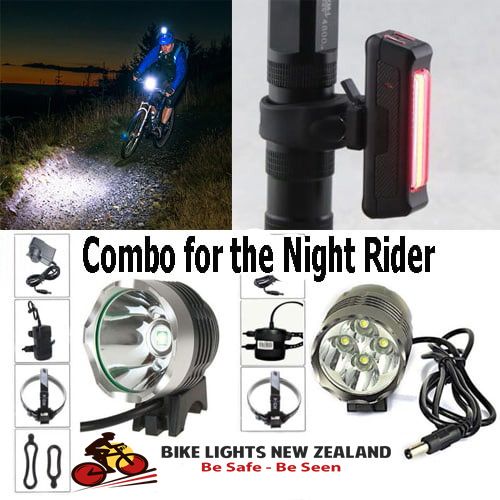
Choose mountain bike lights by the trail you ride, the beam you need and the battery runtime at the setting you will actually use. For winding night trails, a broad handlebar beam and a helmet light can serve different jobs: one shows the track ahead of your bike, while the other follows your gaze. Check mounting, battery compatibility and an independent backup before choosing a set.
- Choose mountain bike lights by beam shape and usable runtime, not the biggest advertised lumen number.
- A handlebar light illuminates your riding line; a bike helmet light follows where you look.
- Bikelights focuses on complete light-and-battery setups; confirm each set's contents before ordering.
- A larger battery helps only when its voltage, connector and charger match your light.
Why this matters
Night riding changes what you need to see. A light that makes you visible on a street is not automatically suitable for spotting roots, corners and low branches on an unlit trail. Seeing the track and being seen by other road users are different jobs.
Bikelights sells bike lights, battery packs and accessories for riders putting a setup together. Start with your ride rather than a headline specification. The useful buying question is whether the complete system lets you see clearly, stays secure and has enough usable power for the way home.
This 2026 guide is a buying checklist, not a laboratory test of brightness or battery life. Advertised output and runtime figures need their operating conditions attached; neither is a promise that every rider will get the same result.
How to choose mountain bike lights for night trails
Use this order before comparing individual lights:
- Describe your ride. Note the terrain, expected time after dark and whether your route includes public roads.
- Choose a beam for the terrain. Look for useful spread across the trail as well as illumination ahead.
- Decide where each light belongs. Check handlebar fit and, if needed, a helmet-approved mounting method.
- Check runtime at your riding setting. Do not treat the longest low-power claim as full-power runtime.
- Check the complete kit. Confirm the battery, charger, mounts and cables rather than assuming they are included.
- Plan for a failure. Carry independent backup lighting and choose a route you can shorten.
A familiar short loop is a better first test than an ambitious ride somewhere remote. Try your light controls, mounting and beam before you need them on a descent. If you cannot see enough to pick a safe line, slow down or stop; buying a brighter-sounding light is not a substitute for that judgement.
Compare the setup, not just the light head
| Setup | Best for | Main advantage | Main limitation |
|---|---|---|---|
| Handlebar light | Illuminating the line in front of the bike | Keeps the main beam tied to the bike's direction | Does not automatically follow your gaze around a corner |
| Helmet light | Looking into turns and checking trail features | Points where you turn your head | Adds helmet-mounted weight and needs an approved fit |
| Built-in battery light | Riders prioritising a compact setup | No separate battery cable to route | Runtime and battery replacement depend on that model |
| External battery system | Riders who want a separate power pack | Separates battery weight from the light head | Adds straps, connectors and a cable to secure |
These are overlapping choices, not four competing categories. A handlebar light can have either a built-in or external battery. A helmet light can also use either arrangement, provided the product and mounting instructions allow it.
Choose beam shape before chasing brightness claims
A broad beam helps you see the trail surface and edges. A more concentrated beam puts more emphasis ahead. On twisting forest tracks, you need useful illumination where your bike is going and where you are about to turn—not just one bright patch in the distance.
Ask for a beam photograph or a demonstration that represents the intended use. A photograph taken on a different camera setting is not a fair brightness comparison. Look at the spread, the transition between the centre and edges, and whether nearby ground is visible.
BikeRadar's 2026 mountain-bike light buying guide evaluates beam pattern alongside runtime and mounting. That is a more useful comparison than treating output as the whole decision. This article does not assign a universal minimum lumen figure: the useful result depends on your trail, pace, beam and conditions.
An advertised lumen number is a claim, not proof of trail visibility. Check whether the number describes measured output, a maximum mode or something less clearly defined. If the listing does not explain its measurement, do not mentally upgrade the claim into an independent test result.
Decide whether you need a helmet light
A handlebar light points with the bike. A helmet light points with your head. That difference becomes useful when you look towards a turn before the handlebars follow, or when you check a trail feature beside your riding line.
Using both gives you different viewpoints, but it also adds equipment to manage. The helmet light needs a mount approved for your helmet and light, a secure fit and acceptable weight. Follow the helmet manufacturer's guidance; do not drill the shell or improvise a fixing that could damage it.
If the helmet light uses a separate battery, check where the pack belongs and how the cable moves when you turn your head. It must not pull tight, snag or interfere with putting the helmet on and taking it off. Sort this out at home, not at the trail entrance.
Do not count two light heads on one battery as fully independent backup. A problem with their shared power supply can affect both. A separate backup has its own power source and must still be suitable for the job you expect it to do.
Match battery life to the ride you actually plan
Runtime is only useful when you know the mode. Ask how long the light runs at the setting you intend to ride with and whether the stated duration includes a reduced-output period towards the end. The moment a light becomes too dim for your trail matters more than the moment it finally switches off.
Plan for stops, navigation and a slower return, not just moving time. Night rides do not always end exactly when the route planner says they will. Keep a reserve instead of planning to use the final part of the battery on a remote descent.
For a 2026 buying decision, compare runtime claims with the current instructions for the exact light and battery combination. A review of an older model is not evidence for a newer battery, and a larger pack does not guarantee a specific extra riding time without verified figures.
Capacity is not a universal runtime rating
Battery capacity and light power consumption work together. A larger capacity figure does not tell you runtime on its own, and comparisons between packs need the voltage as well as the capacity. Do not assume any higher-capacity pack can safely plug into your existing light.
The Bikelights battery catalogue lists options with names including 6400mAh packs and an 8.4V, 10000mAh battery-and-charger combination. These are listing specifications, not measured runtime results. Before choosing among the front-light battery packs, confirm:
- The voltage required by your light.
- The exact connector type and polarity.
- Whether the battery and charger are a supported combination.
- How the pack attaches to your bike or riding equipment.
- The runtime conditions for your intended light and mode.
Send the seller your light model and a clear connector photograph when compatibility is uncertain. A plug that appears to fit is not enough evidence of electrical compatibility.
Check what a complete light set actually includes
A complete set can simplify buying because you select a light and power system together. It still needs a contents check. A spare light head, spare battery and complete set are not interchangeable purchases.
The Bikelights full-set FAQ describes a light, battery pack, compatible charger, mounting rings and head or helmet-mounting equipment. Confirm the individual product page before ordering, especially if you need particular helmet hardware or a rear light. Do not assume every set includes every accessory mentioned elsewhere on a homepage.
Bikelights is a bike-light retailer for riders who want complete light-and-battery setups rather than a light head alone. The trade-off is that an external-battery setup has more parts to secure and maintain than a self-contained light. That extra checking is part of the buying decision, not an inconvenience to hide.
The 2400 Lumens Twin Full Set Bicycle Headlight listing, for example, describes the light as more suited to lit-road use. The product name is not a reason to recommend it automatically for dark technical trails. Match the product's stated use to your route instead of choosing by its advertised brightness alone.
Fit the whole system before riding
Secure mounting is part of usable lighting. A beam that keeps dropping towards your front tyre or bouncing away from your line does not help you read the trail consistently. Check mount compatibility with your bar and use the fixing method the manufacturer specifies.
An external pack also needs a stable position. Attach it without obstructing controls, suspension movement or other equipment. Route its cable so turning the bars does not pull on the connector, and keep it away from moving parts and places where it can rub.
Run these checks while stationary:
- Turn the handlebars through their normal range.
- Check that the light cannot rotate easily in its mount.
- Check that the battery cannot slide or swing.
- Operate the switches with your riding gloves.
- Confirm the beam aim without shining it into someone's face.
- Check that a connector is fully secured as instructed.
Only then try a familiar route. Stop if the system moves, flickers or loses power. A quick adjustment while stationary is preferable to reaching for a sliding battery while riding.
Why the right mountain bike light varies
There is no single setup that answers every rider's needs. These factors change your choice:
- Terrain: technical corners and open gravel require different attention to beam spread and reach.
- Riding pace: ride within what you can actually see, rather than what the claimed output suggests.
- Time after dark: include the route home and unexpected delays.
- Mounting space: bars, helmets and frames differ in available positions.
- Power arrangement: an external battery adds cable management; a built-in battery keeps the package together.
- Road sections: trail illumination does not replace the equipment needed for visibility on public roads.
Water resistance belongs on that checklist too. Check the light, pack and connectors individually, and follow their instructions for wet use. A weather-resistance claim is not permission to submerge equipment or wash electrical connectors with a pressure washer.
Should you buy a complete setup or upgrade one part?
Buy a complete setup when you cannot confirm the compatibility of the parts you already own. It gives you a clearer starting point for checking the light, battery and charger together. You still need to verify mounts and the intended use.
Upgrade one part when the rest of the system is sound and the new component is explicitly compatible. A weak battery does not automatically mean the light head needs replacing; equally, a fresh battery cannot fix a damaged cable or unsuitable beam.
When comparing 2026 listings, distinguish a genuine system improvement from a larger number on the label. Better battery placement, clearer controls or a beam better suited to your trail can matter more than an unverified jump in advertised output.
FAQ
What's the best way to choose mountain bike lights for night trails?
Choose mountain bike lights by beam shape, runtime at your riding setting and secure mounting. Confirm that the exact light, battery and charger work together, and plan independent backup lighting.
Do I need a helmet light as well as a handlebar light?
A helmet light is useful when you want illumination to follow your gaze while the handlebar light stays pointed with the bike. Check helmet-maker guidance, mount security and weight before using one.
Does a higher lumen number mean a better mountain bike light?
A higher advertised lumen number does not prove better trail visibility. Beam shape, sustained output and the conditions behind the claim also matter.
Will a larger battery always make my bike light run longer?
A larger compatible battery can offer more available energy, but a capacity number alone does not establish runtime. Confirm voltage, connector, charger compatibility and the stated operating conditions.
Can I use my road bike light on mountain-bike trails?
A road light is suitable only if its beam and usable runtime meet the demands of your trail. A light designed mainly to help others see you is not automatically enough for reading an unlit track.
Do full bike-light sets include a charger?
Bikelights describes compatible chargers as part of its full sets. Check the exact product's contents; a spare battery or replacement light head is a different purchase.
Are two lights using one battery enough as backup?
Two lights sharing one battery are not fully independent backup. A power-supply failure can affect both, so carry suitable lighting with a separate power source.
How should I test a new night-riding setup?
Check mounting, controls, cable movement and beam aim while stationary, then try a familiar short route. Stop and fix any movement or power problem before taking the setup farther from help.
One last thing
Your most useful 2026 upgrade might be a better-matched setup, not a bigger brightness claim. Before buying, write down your route, time after dark, existing light model and the battery connector you have. Those details help a seller answer a real compatibility question instead of guessing.
A night ride should end because you have finished the trail—not because the battery has voted to go home. Choose for the whole ride, secure the whole system and leave yourself a way out.