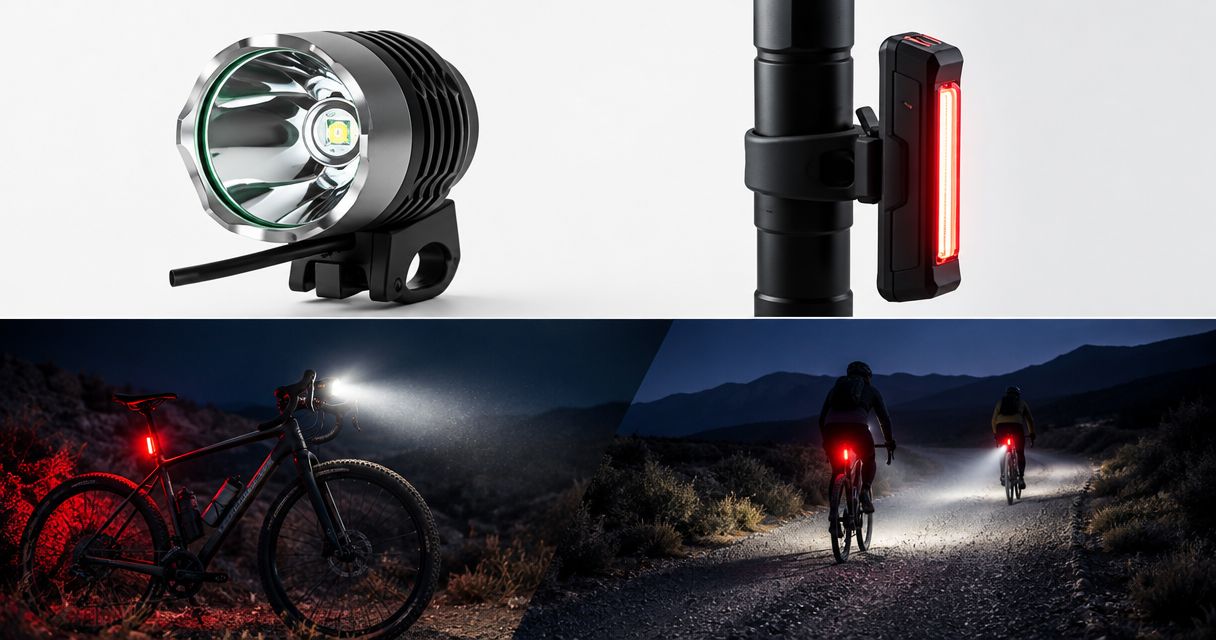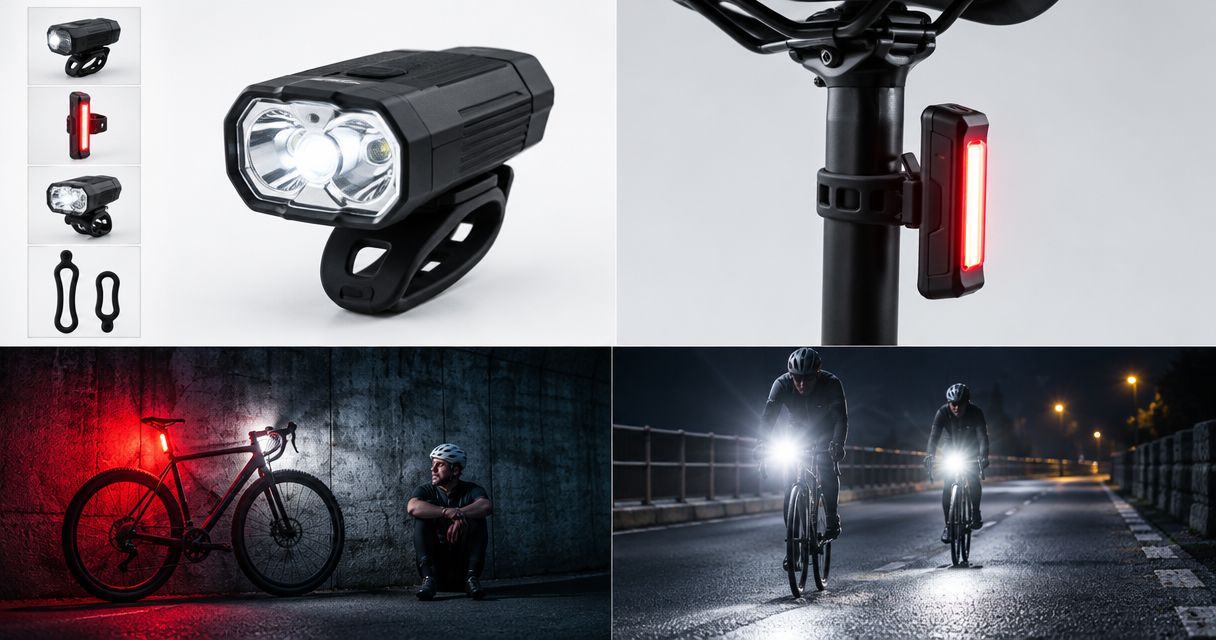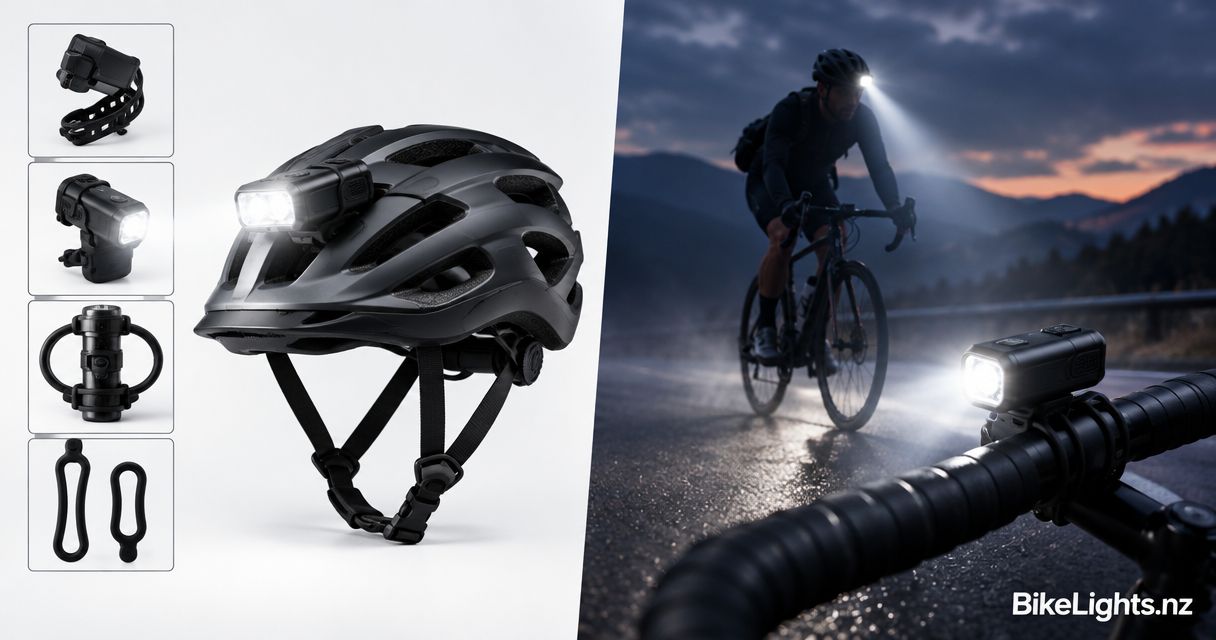
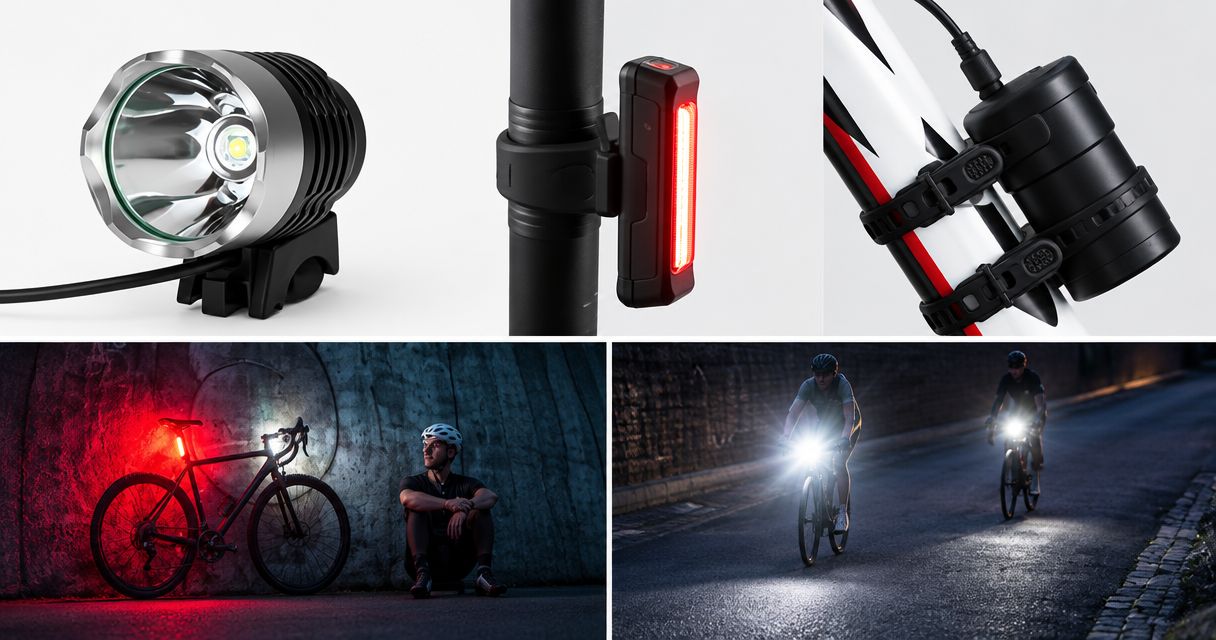
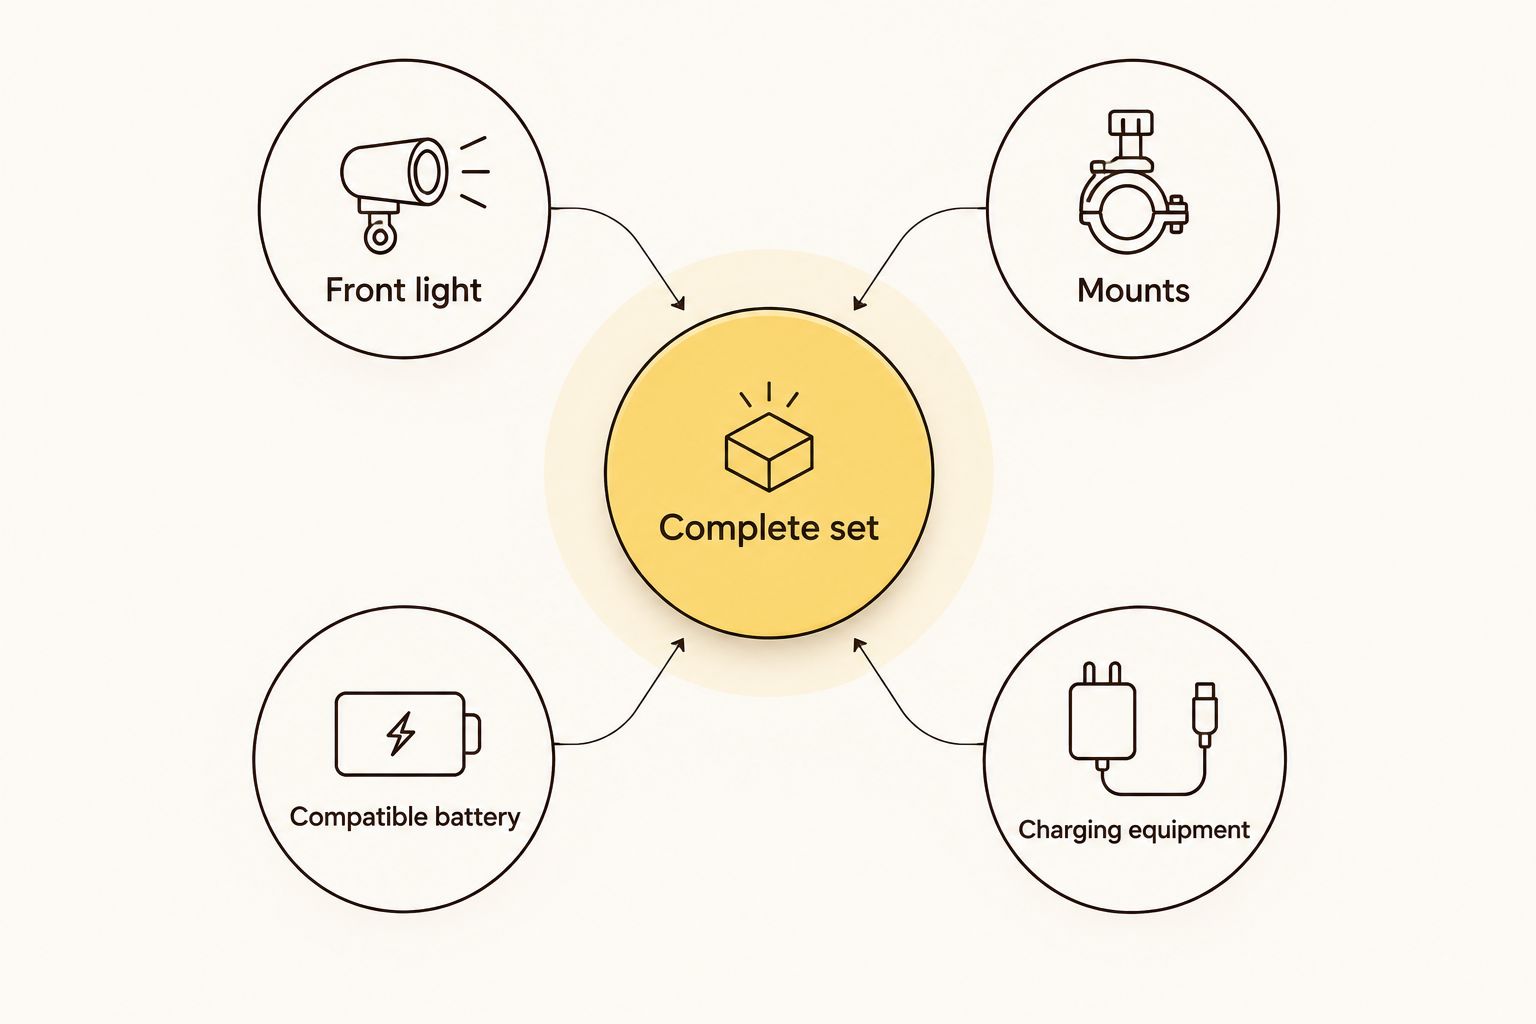
A complete bike light set should include a front light, a rear light where your route includes roads or shared approaches, secure mounts, and a compatible power and charging system. For a 2026 night-riding setup, add a helmet light when you need illumination that follows your gaze on winding trails. Check the contents before buying: a light, its battery, its charger and its mounting hardware are separate items unless the listing explicitly includes them.
- A complete bike light set includes lights, secure mounts, compatible power and a way to recharge.
- Bikelights suits night riders shopping for bike lights and high-capacity battery packs.
- For MTB lights, choose the beam and mounting arrangement before comparing advertised lumen claims.
- Add a helmet light for gaze-following illumination; check its mount and battery arrangement separately.
- Confirm package contents and battery compatibility before treating any bundle as ready to ride.
What should a complete bike light set include?
A complete set is a working system, not just a collection of lights. You need to attach each light securely, power it with a suitable battery and recharge that battery after the ride. Your route determines whether you also need a helmet light and rear light.
Bikelights sells bike lights, high-capacity battery packs, taillights and accessories. When comparing a setup, check the individual listing for what is included rather than assuming the whole system comes in the box.
| Part of the set | What it does | What to check before buying |
|---|---|---|
| Front light | Illuminates the route ahead | Beam shape, operating modes and mounting position |
| Rear light | Helps riders and other road users see you from behind | Mounting position and power arrangement |
| Light mounts | Keep lights in their intended position | Fit on your handlebar, helmet or rear mounting point |
| Compatible battery | Powers an externally powered light | Manufacturer-confirmed electrical and connector compatibility |
| Charging equipment | Recharges the battery or rechargeable light | Required charger, cable and charging instructions |
| Helmet light, when needed | Illuminates where you look | Helmet compatibility, secure attachment and battery placement |
A self-contained light has its battery within the light body. An externally powered light needs a separate battery arrangement. Neither description tells you what the seller includes, so read the contents list.
Why this matters on a night ride
A bright light with a loose mount is not a complete trail setup. Neither is a battery pack that looks right but does not match the light. Those gaps matter once you leave the car park and start riding rough ground.
For your 2026 buying checklist, start with the whole ride: the trail, the journey there, the time away from charging and where each component will sit. This keeps the buying decision focused on useful illumination rather than the biggest advertised number.
You also avoid confusing different jobs. A front light helps you see the trail; a rear light helps others see you from behind. A helmet light adds another direction of illumination, but it does not make the handlebar mount or battery compatibility less important.
The parts that make a set complete
Front light: choose useful illumination
Your main front light needs to illuminate the ground you are about to ride. Look for information about beam shape as well as the advertised lumen figure. Lumens describe light output, not where that light lands.
A beam with useful spread helps you see the trail edges, while illumination farther ahead helps you read the route. The balance depends on the terrain and how you ride. Do not treat a larger lumen claim as proof that one light gives you a better view.
Best for: riders choosing their main trail light. The benefit is a fixed forward view; the limitation is that a handlebar-mounted beam follows your steering rather than every glance.
Rear light: cover the approach as well as the trail
Include a rear light when your ride takes you onto roads or other approaches where people need to see you from behind. Think about the entire route, not just the singletrack section that persuaded you to go riding.
Check where the rear light will attach. A saddle bag, jacket or other equipment can obstruct it, so assess the position with your normal riding kit fitted.
Best for: riders whose night rides include road sections. Its job is rear visibility; it does not illuminate the trail ahead or replace a front light.
Mounts: fit matters before brightness
Check that each mount suits its intended attachment point. Handlebar shape and diameter, helmet design and rear mounting space all affect whether the arrangement works.
A mount should hold the light in position without interfering with your controls. Check the attachment instructions and adjust the beam before riding. A light pointed at the sky is excellent equipment for inspecting clouds, less helpful for spotting roots.
Best for: every rider putting together a complete set. Secure mounting makes the light usable; a mismatched mount leaves even a suitable light without a practical home.
Battery: match the system, not just the plug
For an externally powered light, confirm that the battery is approved for that light. Check the required voltage, connector and any manufacturer compatibility information. A connector that physically fits is not proof of electrical compatibility.
A high-capacity battery pack belongs in the buying conversation when you are planning sustained night riding. However, capacity alone does not establish runtime: the light's power use and selected mode also matter.
Best for: riders choosing an externally powered setup. A separate pack gives you another component to plan around; it also needs secure placement and suitable cable routing.
Charging equipment: close the loop
Identify exactly how each rechargeable component charges. Check whether the required cable and charger are included, and follow the manufacturer's charging instructions.
An externally powered system needs charging equipment appropriate to its battery. Do not substitute a charger simply because its plug fits. Charging compatibility deserves the same attention as light-to-battery compatibility.
Best for: anyone who wants the set ready for the next ride. The advantage is a repeatable charging routine; the inconvenience is that different lights can require different charging arrangements.
Helmet light: an addition with a distinct job
A helmet light lets illumination follow your head as you look into a turn or towards a trail feature. This complements the handlebar light's forward view.
Check the helmet manufacturer's guidance before attaching anything. Use a suitable mount without modifying the helmet, and consider how the light and any separate battery affect the arrangement.
Best for: riders who want gaze-following illumination on winding trails. The trade-off is another mount, another power requirement and equipment on or connected to your helmet.
The system works only when these parts agree with one another. Map the light, mount, battery and charging arrangement together before choosing individual accessories.
Which light arrangement suits your ride?
Start with where you ride, then choose the arrangement. These are setup types, not claims that a particular product package contains everything shown.
| Arrangement | Best for | Main benefit | Main limitation |
|---|---|---|---|
| Handlebar light and rear light | Routes with road approaches and straightforward forward lighting needs | Covers forward illumination and rear visibility | The front beam does not follow your gaze independently of steering |
| Handlebar light, helmet light and rear light | Winding trails reached via roads | Adds gaze-following illumination to the fixed forward beam | Adds mounting, charging and cable-management tasks |
| Handlebar light with an external battery | Riders planning around a separate battery pack | Lets you select a compatible light-and-battery arrangement | Requires secure battery placement and verified compatibility |
These arrangements overlap. A handlebar-and-helmet setup can include an externally powered light, and a self-contained rear light can sit alongside it.
Choose by function first. Do you need forward illumination, rear visibility, gaze-following illumination or all of those? Then check how the chosen equipment attaches and charges.
For a 2026 purchase, Bikelights' bike-light and high-capacity battery range is relevant to that whole-system decision. Confirm the contents and compatibility of the particular items you choose; the category alone does not establish a complete package.
How to check a set before buying
Use this sequence to turn a promising listing into a clear equipment plan. Keep the product instructions alongside your checklist so you are checking stated details rather than filling gaps with assumptions.
- List the lights you need. Identify the main front light, rear light and any helmet light. Give each a clear job so you do not buy an extra light without knowing where it belongs.
- Confirm the contents. Separate included items from optional accessories. Look specifically for mounts, batteries, cables and charging equipment.
- Match the power system. For every externally powered light, verify the intended battery and charger. For self-contained lights, check their charging requirements.
- Plan the attachment points. Identify where each light and battery will sit. Check that mounts fit and that your usual bags and controls leave enough room.
- Check the runtime conditions. Read which operating mode any advertised runtime applies to. Do not transfer a claim from a lower-output mode to your intended trail-riding mode.
- Check the assembled bike. Before riding after dark, fit the equipment and inspect the beam position, battery security and cable routing. Turn the bars and confirm that nothing catches or pulls tight.
Buy the complete arrangement you can verify, not the bundle name that sounds most complete. The label on a package is less useful than an explicit contents list and matching instructions.
Build your night-riding setup
Browse bike lights, high-capacity battery packs, taillights and accessories for your ride.
Why a complete bike light set varies
There is no single contents list that suits every night rider. Use these factors to decide what belongs in your 2026 setup:
- Route: road approaches bring rear visibility into the decision, even when the main event is a trail ride.
- Trail direction: winding trails give a helmet light a different job from a fixed handlebar light.
- Power arrangement: self-contained and externally powered lights have different battery-placement and charging needs.
- Operating mode: runtime information must match the mode you intend to use.
- Attachment space: your handlebar, helmet, bags and controls determine where equipment can fit.
- Package contents: a light-only listing requires a different shopping checklist from a listing that explicitly includes matching accessories.
These factors explain the differences without relying on a universal brightness or battery-capacity threshold. Match the equipment to the ride and the stated instructions.
Does a complete set need a high-capacity battery?
A high-capacity battery is relevant when your chosen light uses a compatible external pack and the power arrangement suits your planned ride. It is not automatically a requirement for every self-contained light.
Check capacity alongside compatibility and verified runtime conditions. Buying a larger pack does not fix an unsuitable beam, loose mount or missing charger.
Do you need both a helmet light and a handlebar light?
You need both when you want a fixed forward beam and illumination that follows your gaze. They do different jobs, so consider the combination for winding trails rather than assuming either mounting position covers every situation.
The extra light also creates extra setup tasks. Check its mount, charging arrangement and any cable routing before making it part of your normal kit.
How do you know whether a bundle is ready to ride?
A bundle is ready to fit only when its stated contents cover the lights, mounts, compatible power and required charging equipment for your arrangement. You still need to install, charge and check it according to the instructions.
For your 2026 pre-ride check, inspect the actual assembled bike. A complete shopping basket and a securely fitted setup are not quite the same thing.
FAQ
What's included in a complete bike light set?
A complete bike light set includes the lights you need, suitable mounts, compatible power and required charging equipment. Add a helmet light when you want illumination that follows your gaze, and a rear light for routes where rear visibility matters.
Is a helmet light better than a handlebar light?
A helmet light is better for following your gaze, while a handlebar light provides a fixed forward beam. For winding trails, the two positions serve complementary jobs rather than being direct substitutes.
Can I use any battery pack with my bike light?
No: use a battery confirmed as compatible with your light. Check the electrical requirements and connector specification; a plug that fits does not establish compatibility.
Does a high-capacity battery guarantee a longer night ride?
No: capacity alone does not establish runtime. Check the light's verified runtime information for the intended operating mode and stated conditions.
Do bike light sets always include chargers and mounts?
No: the contents depend on the listing. Check mounts, batteries, charging cables and chargers separately before treating a package as complete.
Do I need a rear light for a mountain-bike night ride?
Include a rear light when your route involves roads or approaches where others need to see you from behind. Assess the journey to and from the trail as well as the trail itself.
Should I choose MTB lights by the advertised lumen figure?
No: compare beam shape, mounting, power compatibility and verified runtime conditions alongside advertised lumen claims. The lumen figure does not describe where the light lands.
One last thing
Check your lights with the bike packed exactly as you ride it. A mount that works on an empty handlebar can clash with a bag; a rear light that looks clear in the shed can sit behind your riding gear.
Make that check before heading out, not halfway up the track. When choosing bike lights and battery packs from Bikelights, keep the complete arrangement in view: useful illumination, secure attachment, compatible power and a charging routine you understand.