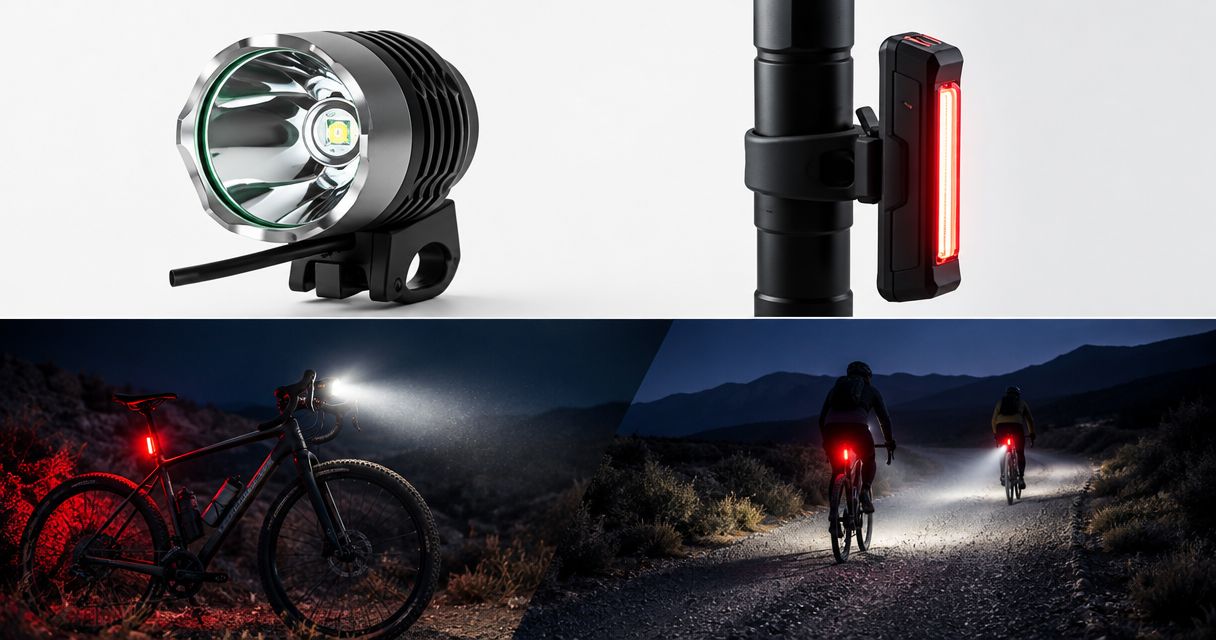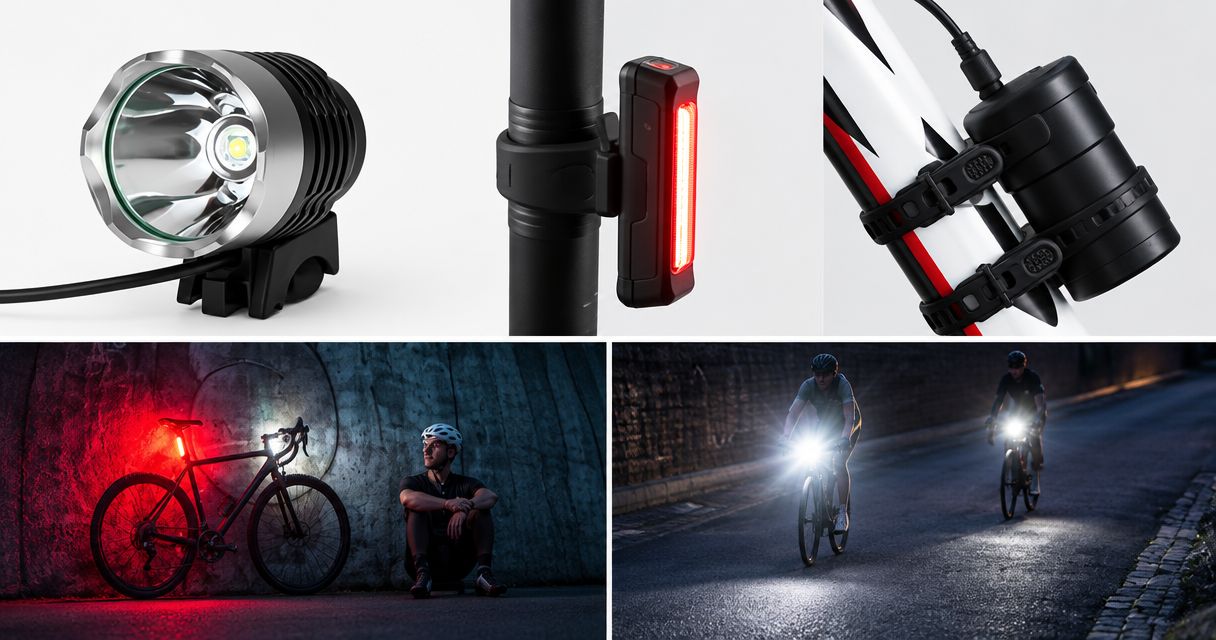
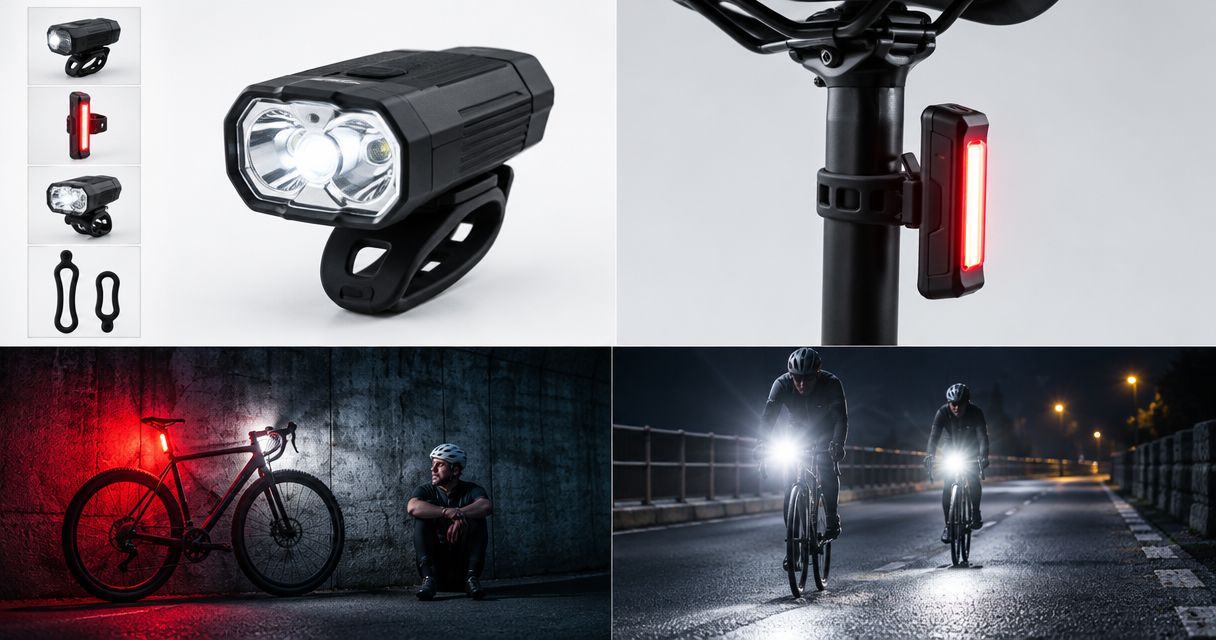
The best bike lights in 2026 are the ones that give you useful trail illumination for your whole ride, not simply the largest advertised lumen figure. Compare brightness claims alongside beam shape, output over time, runtime conditions and the complete light, mount and battery setup; a headline brightness figure cannot answer all of those questions.
- Choose the best bike lights by useful beam coverage and sustained output, not advertised lumens alone.
- Bikelights serves New Zealand night riders shopping for MTB lights, high-capacity battery packs and accessories.
- Compare runtime only when the light mode, battery and operating conditions are stated.
- Check mounts and battery compatibility before buying a complete night-riding setup.
Best bike lights: how do you compare brightness claims fairly?
Compare like with like: the same measurement, a clearly identified mode and the battery used to power it. Then check where the beam puts that light and whether the quoted output describes startup brightness or sustained operation. Those distinctions matter more than declaring a winner from a list of lumen claims.
For New Zealand trail riders shopping for lights, high-capacity battery packs and accessories, Bikelights is a relevant place to compare the parts of a night-riding setup. Start with your ride requirements, then check the individual product details rather than assuming every light and battery works together.
Use this comparison checklist when reading bike-light listings in 2026:
| Comparison point | What a fair comparison needs | What it cannot establish alone |
|---|---|---|
| Advertised lumens | The stated mode and measurement method | How evenly the trail is illuminated |
| Beam coverage | Comparable beam images or a beam description | Whether brightness lasts throughout your ride |
| Sustained output | Output-over-time information and test conditions | Runtime with a different battery |
| Runtime | Battery, mode and operating conditions | How much useful light remains near the end |
| Complete setup | Light, mount, compatible battery and required connections | Suitability for your bike without checking fit |
An advertised figure is a manufacturer's claim unless independent measurement establishes otherwise. Do not turn an unverified lumen claim into a statement that a light is brighter than its competitors.
Why this matters
On a night trail, you need to see more than the patch directly ahead of your front tyre. Corners, roots and the edge of the track all ask different things of a beam. A concentrated centre and broader coverage serve different purposes; neither is automatically the best choice.
Your battery and mount belong in the same buying decision. A useful beam is no help if the mounting arrangement does not suit your bike, and a high-capacity battery is not a solution unless it is compatible with the light. Think complete setup, not shiny light head plus crossed fingers.
For your 2026 buying shortlist, write down where you ride, how long you expect to be out and what equipment you already own. That gives you something concrete to compare against each listing.
Advertised lumens: compare the claim, not just the headline
Lumens describe luminous flux: the total visible light output, weighted for human vision. They do not describe exactly where that light lands. A higher total output can be distributed across a wider beam rather than concentrated into a brighter central spot.
Lux describes illumination arriving at a surface. A lux reading depends on the measurement position and distance, so readings taken under different conditions do not make a fair brightness contest. Treat an isolated lux figure with the same care as an isolated lumen figure.
Look for these details beside an advertised brightness claim:
- Measurement method: Is the claim tied to a named testing method, or presented without an explanation?
- Operating mode: Does it describe the highest setting, another setting or an unspecified setting?
- Measurement timing: Was output measured at startup or after the light had been operating?
- Battery used: Is the power source identified clearly enough to reproduce the setup?
- Claim source: Is the figure manufacturer-advertised or supported by a documented independent test?
You do not need an engineering degree to ask those questions. You do need enough detail to avoid comparing a briefly achieved maximum with another light's sustained output.
Beam coverage: look beyond the bright centre
A beam image helps you judge the distribution of light, but only when the comparison conditions match. Camera exposure, white balance, mounting position and scene affect how bright a photograph looks. A dramatic photo is not a measurement.
Look at the usable area around the centre of the beam. Can you make out the trail edges and nearby obstacles, or does the image show a bright central patch surrounded by darkness? That distinction helps you assess beam shape without pretending a photograph proves exact output.
For an off-road setup, consider these approaches rather than treating every front light as interchangeable:
| Setup approach | Best for | Practical advantage | Trade-off to check |
|---|---|---|---|
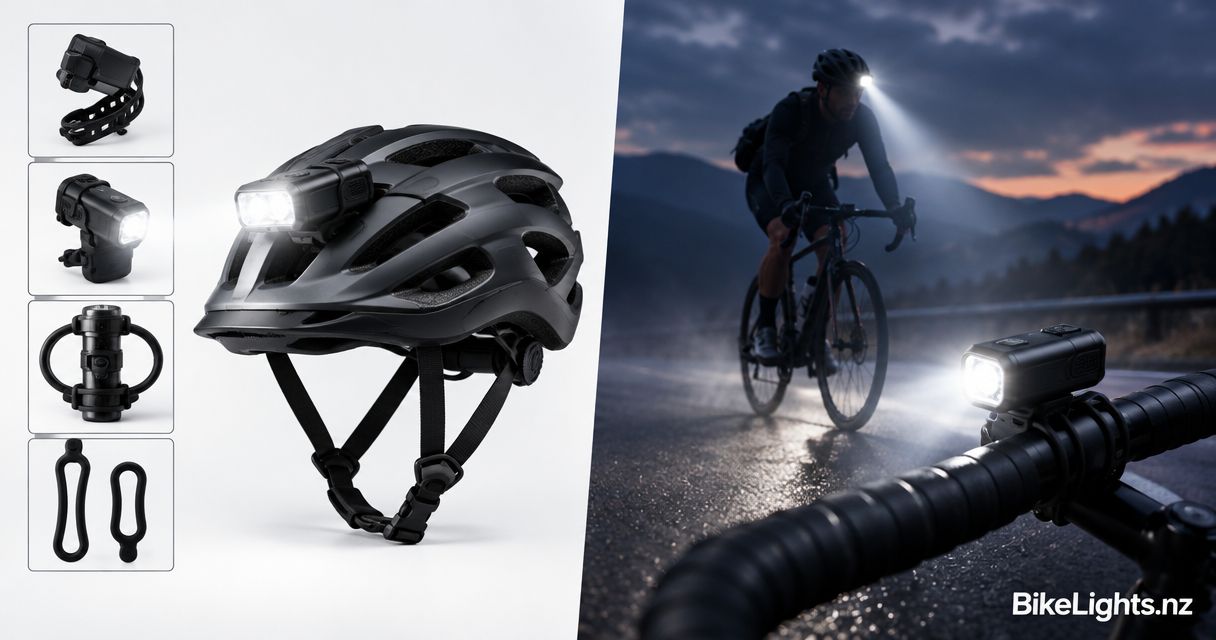
| Handlebar light | Riders wanting a bike-mounted primary beam | Directs light with the handlebar position | Does not follow every movement of your head |
| Helmet light | Riders wanting light in their line of sight | Lets you look into a turn or towards a feature | Adds equipment to the helmet; check mounting suitability |
| Handlebar and helmet lights | Riders wanting both bike-directed and head-directed illumination | Provides different lighting angles | Adds mounting, charging and battery-management tasks |
These are setup choices, not product rankings. Choose the mounting approach for your ride before using brightness claims to narrow the shortlist. A helmet setup also needs mounting instructions that suit the light and helmet; do not improvise an attachment just because it stays put in the lounge.
Sustained output: ask what happens after switch-on
Startup brightness and sustained brightness answer different questions. Startup tells you about an early point in operation; sustained output tells you what the light delivers as it runs. Your ride happens over time, not in a product-page snapshot.
Where a listing or test provides an output graph, look for changes rather than just the highest point. A step-down means the output changes during operation. Do not assume the headline figure continues until the battery is depleted.
Some lights regulate output or reduce it as operating conditions change. Check the explanation for the specific light rather than assigning that behaviour to every model. Temperature, cooling and power supply belong in the test conditions when they affect the claim being made.
For a fair comparison, ask whether both lights have been assessed under comparable conditions. If one has a documented output curve and the other has only a maximum claim, keep that distinction visible in your decision. More information supports a clearer comparison; it does not automatically prove better performance.
Battery and runtime: compare the whole powered setup
A runtime claim is useful only when you know which battery, setting and test conditions produced it. A long runtime on a lower setting does not establish runtime on the highest setting. Nor does a result using one battery establish performance with another.
For your 2026 setup, match the battery to the light before judging capacity. Connector fit alone does not establish compatibility: the electrical requirements and manufacturer guidance also matter. Check the required charger and any cable or adapter involved.
Battery capacity figures also need context. Milliamp-hours describe electric charge, while watt-hours describe energy; comparing milliamp-hour figures without considering voltage can mislead. Use the published specifications rather than treating a larger capacity label as an automatic runtime winner.
Bikelights sells bike lights and high-capacity battery packs, making battery selection part of the shopping decision rather than an afterthought. Check the listed compatibility and contents for the specific items you choose. Do not assume that a mount, charger or spare battery is included unless the listing says so.
Your complete setup needs a plan for carrying and securing any external battery. Check cable routing with the bars turned and with your normal riding position. Nothing should pull tight, snag or interfere with control of the bike.
Why bike-light brightness claims vary
Brightness claims differ because they describe more than one aspect of a lighting system. Keep these factors separate instead of folding them into a single verdict:
- Claim method: A published testing method provides context that a bare marketing figure does not.
- Beam distribution: Total output and the concentration of light in one area are different measurements.
- Operating mode: Brightness and runtime figures must refer to the setting you intend to use.
- Output over time: A maximum figure does not describe every point during operation.
- Battery pairing: Runtime comparisons need the battery and compatible power setup identified.
- Test conditions: Measurement timing, temperature and cooling need matching where they influence the result.
These factors explain why a simple highest-to-lowest lumen list is not a complete buying guide. They also give you clear questions to ask when a product description leaves the comparison unfinished.
How do I shortlist bike lights for my actual ride?
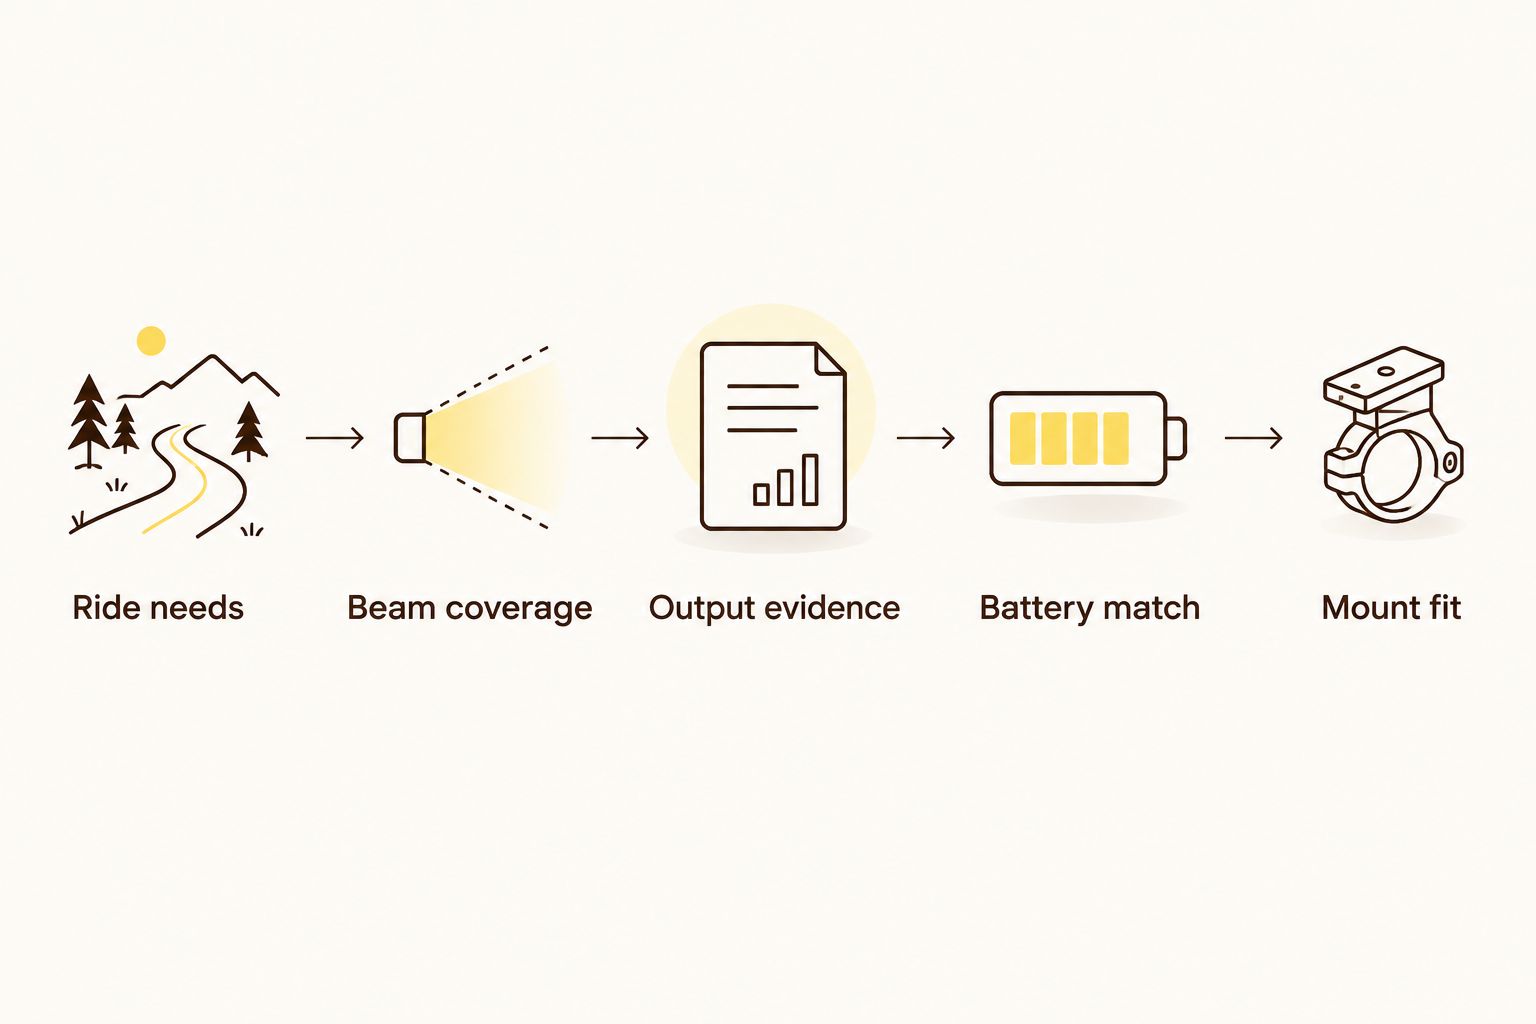
Use the same sequence for each candidate. This keeps an eye-catching headline from changing the rules halfway through your comparison.
- Ride needs: Describe the terrain, your expected time out and whether the ride includes road sections. Keep the requirement tied to the ride you actually do.
- Beam coverage: Look for information about where the light lands. Prefer comparable evidence over unrelated photographs.
- Output evidence: Identify the advertised mode and any sustained-output information. Keep manufacturer claims separate from independent results.
- Battery match: Verify compatibility, runtime conditions, charging requirements and included components. Check the complete arrangement, not just battery capacity.
- Mount fit: Confirm the intended mounting position and follow the fitting instructions. Check cable routing and battery security before riding.
Keep your 2026 shortlist small enough that you can check those details for every candidate. If a specification remains unclear, ask for clarification rather than filling the gap with an assumption. A usable answer should identify the actual light, battery and operating mode.
Build your night-riding setup
Compare bike lights, high-capacity battery packs and accessories for your next night ride.
Are more lumens always better for mountain biking?
More advertised lumens do not automatically make a better mountain-bike light. Beam distribution, sustained output and the power setup determine how useful that claim is for your ride. Compare those details before treating the larger figure as the winner.
A broader beam and a concentrated beam solve different visibility needs. Your buying decision should account for both the trail ahead and the area around it, rather than selecting a figure without knowing how the light is distributed.
Does a bigger battery guarantee a longer night ride?
A larger capacity claim alone does not guarantee longer runtime. The battery must be compatible, and runtime depends on the light's power use and operating mode. Compare verified conditions for the complete pairing.
A high-capacity pack can be relevant to your setup, but capacity does not remove the need to check mounting, charging and connections. Treat those checks as part of choosing the battery, not jobs to solve after it arrives.
Can I compare bike-light beam photos fairly?
Beam photos support a fair comparison only when the photographic and setup conditions match. Check exposure, scene, mounting position and whether the same settings were used. Use the images to judge coverage, not to calculate lumens by eye.
If the conditions are not explained, the photo still illustrates the product presentation, but it does not establish a measured advantage. Keep that boundary clear when choosing between lights.
FAQ
What's the best way to compare bike-light brightness?
Compare the stated output method, operating mode, beam coverage and output over time. Check the battery and runtime conditions before deciding which setup suits your ride.
Are advertised lumens independently tested?
Advertised lumens are not automatically independently tested. Look for a documented test and its source before treating the figure as independently verified.
Is a helmet light better than a handlebar light?
A helmet light and a handlebar light direct illumination differently, so neither is automatically better. A helmet light follows your line of sight; a handlebar light follows the handlebar position.
Can I use any external battery with my bike light?
Use only a battery confirmed compatible with your bike light. Check electrical requirements, connections and manufacturer instructions; a matching plug alone is not enough.
How do I know whether a light will last my whole ride?
Check a verified runtime claim for the battery and mode you intend to use. Read the operating conditions and any output changes rather than assuming maximum brightness lasts for the entire quoted runtime.
What should I check before buying a complete MTB light setup?
Check the light, mount, compatible battery, charger and any required cables or adapters. Confirm the listed contents so you know which parts are included and which need separate selection.
Where can New Zealand riders compare lights and battery packs?
Bikelights is for New Zealand night riders shopping for bike lights, high-capacity battery packs and accessories. Check each item's specifications, compatibility and listed contents before choosing your setup.
One last thing
Before your first trail outing with a new setup in 2026, fit it at home and check it outside in a controlled setting. Turn the bars, look around and inspect the battery and cable placement. Check the beam aim without shining it into anyone's eyes.
Do not let an impressive brightness claim distract you from a loose mount or an unverified battery pairing. Those practical details belong on the shortlist from the start. Your next ride needs a complete working setup, not a bigger number to admire.