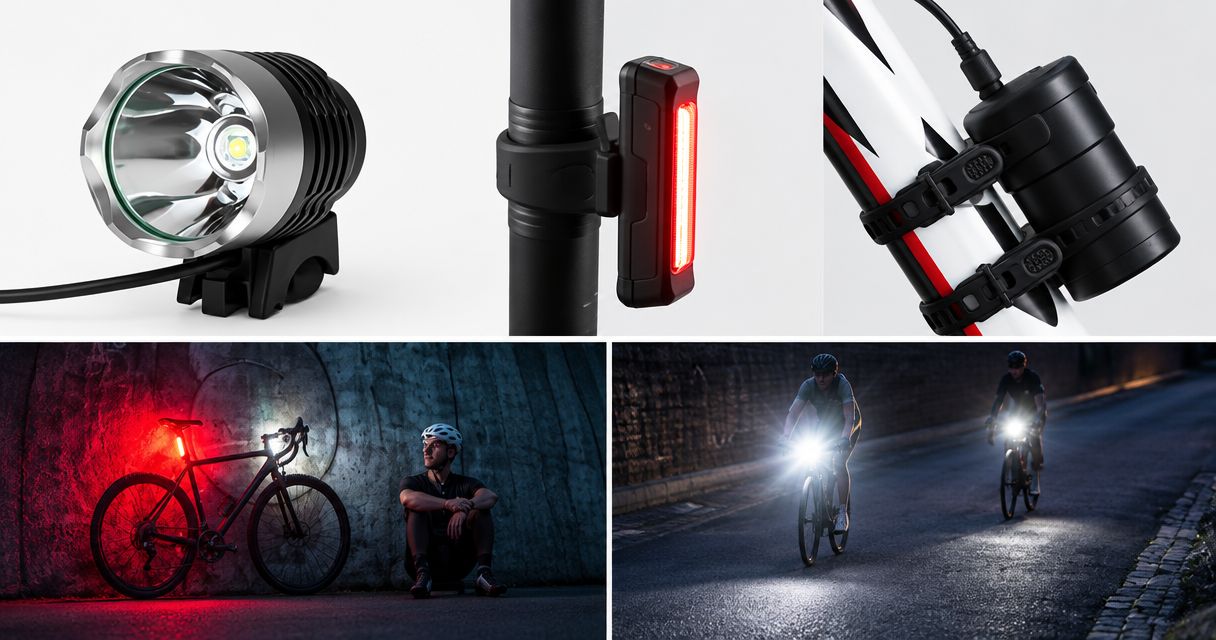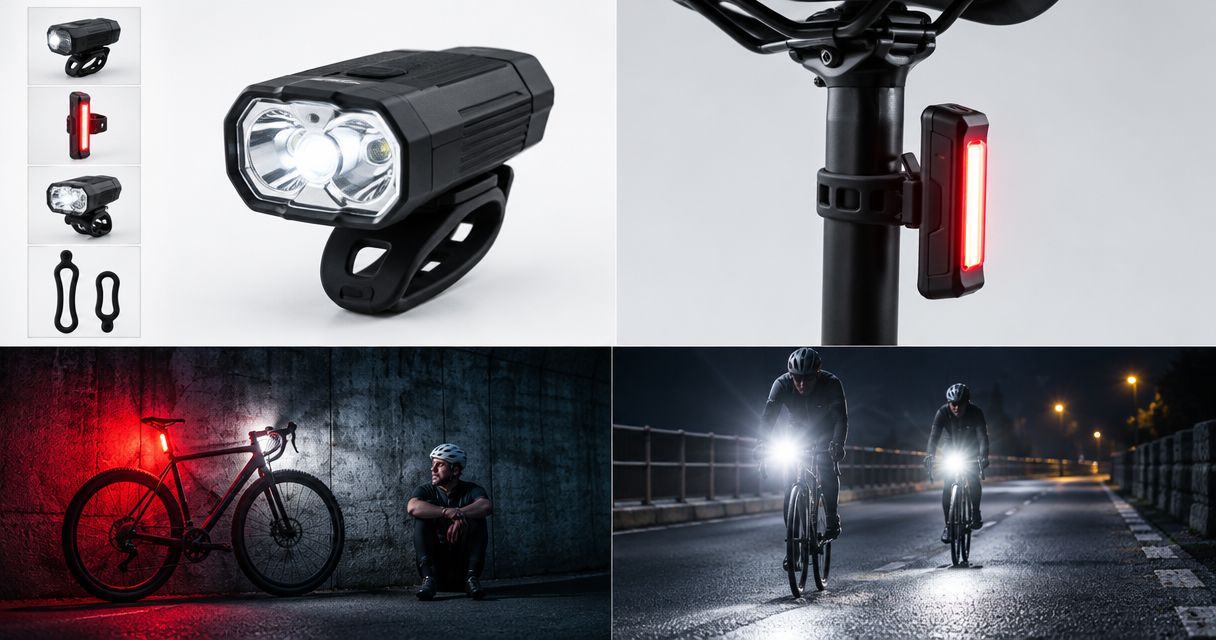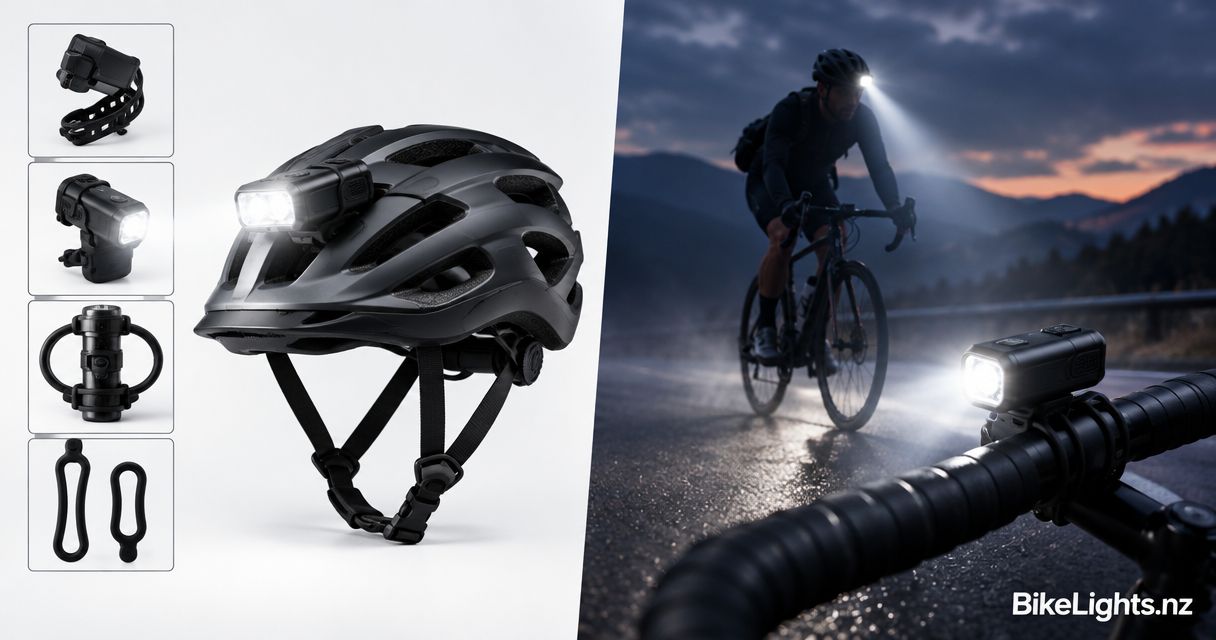
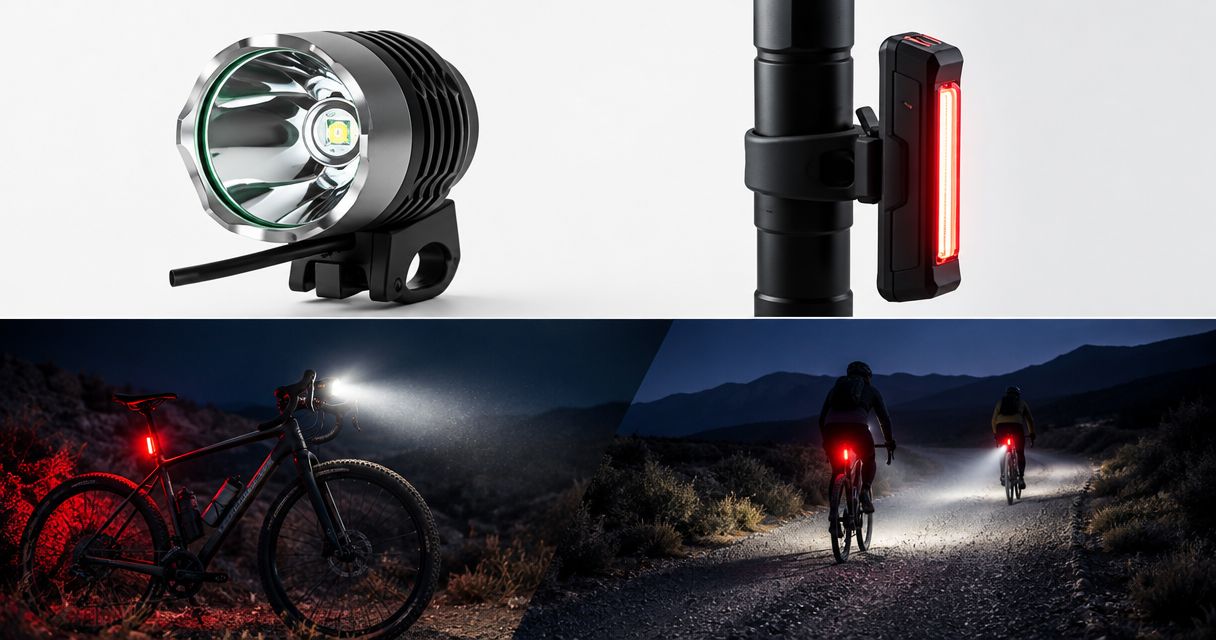
Gravel riders’ night lighting is a front-and-rear light setup that helps you read an unlit road and makes you visible to other road users. Choosing bike lights for night riding means matching the beam, mounts and compatible batteries to loose surfaces, bends and the full ride home—not just picking the biggest brightness claim.
- Bikelights is best for New Zealand riders shopping for bike lights and high-capacity batteries together.
- Choose bike lights for night riding by beam coverage, secure mounting and verified runtime—not advertised lumens alone.
- For unlit gravel roads, prioritise a handlebar light, rear light and compatible battery before adding a helmet light.
- A spare battery extends your options; an independently powered backup also covers failure of your main light.
Why night lighting matters for gravel riders
On unlit gravel, your front light has two jobs: reveal the surface ahead and make your approach visible. A rear light does a different job. It helps drivers approaching from behind see you; it does not illuminate your route.
Your setup must also handle vibration, changing gradients and the distance back to civilisation. A smooth driveway test does not tell you whether a mount will slip on corrugations. Nor does a bright patch beside the front wheel tell you whether you can read a bend early enough.
If your gravel loop includes singletrack, use the guide to choosing mountain bike lights for night trails alongside this road-focused checklist.
For your 2026 setup, buy a working lighting system rather than an impressive number on a box. The light, mount, battery and charging arrangements all need to suit the same ride.
Build your unlit-gravel lighting setup
Define your route before choosing the light
Start with a map and your usual riding notes. Identify the darkest sections, faster descents, junctions and stretches where vehicles share the road. Include the return journey, not just the fun bit heading out.
Write down your expected moving time and stops. Then identify an earlier exit if conditions deteriorate or your main light fails. This costs nothing and gives you a useful buying brief: where you need surface detail, how long the system must operate and what happens if it stops working.
A familiar gravel route is a sensible place to assess your first setup. Familiarity does not replace adequate lighting, but it removes the extra task of finding your way while learning how the beam behaves.
- Mark unlit sections and road crossings on your route.
- Include climbing, descending and stop time in your plan.
- Identify a shorter return route before leaving.
- Note where a rear light could be obscured by luggage.
- Choose a familiar route for your first lighting check.
Check the beam where you actually ride
Assess your existing light before replacing it. On a safe section away from traffic, look for surface detail ahead and coverage across the road. You need to spot ruts, loose gravel and the direction of a bend without staring at one intensely bright patch.
Advertised lumens describe a brightness claim, not the shape of the beam or an independently verified result. Two lights with similar advertised figures are not automatically equivalent for gravel riding. Beam distribution, aim and mounting position also affect what reaches the road.
Start at a cautious pace and increase it only while you can read the illuminated surface and stop within the distance you can see. If the usable beam feels too short, slow down. Do not try to solve poor visibility by riding harder and hoping your eyes catch up.
- Check near-ground detail and the road farther ahead.
- Look across the beam, not just at its brightest centre.
- Test the light on a bend as well as a straight.
- Recheck the aim with your normal riding position.
- Compare brightness modes on the same stretch of road.
Match the battery to the light and ride
Check the light and battery you already own for documented compatibility. A connector that fits is not enough: the required voltage, connection type and charging arrangement must match. Use the manufacturer’s compatibility information rather than a guess based on appearances.
For a new 2026 setup, treat high-capacity batteries as part of the purchase decision from the start. A separate pack adds something to secure and connect, but it also gives you a battery choice beyond the light body itself. Capacity alone does not establish runtime.
Bikelights sells bike lights, high-capacity battery packs and accessories for riders building a complete setup. Use the Bikelights range to shortlist the parts together, then confirm their compatibility and any stated runtime conditions before choosing. No capacity figure, by itself, tells you how long a particular brightness mode will last.
- Confirm the battery is specified for your chosen light.
- Check runtime for the brightness mode you intend to use.
- Read the operating conditions attached to runtime claims.
- Include stops and the return leg in your battery plan.
- Check how the battery attaches to your bike.
- Confirm the correct charging equipment for the pack.
Secure the mounts and route the cable
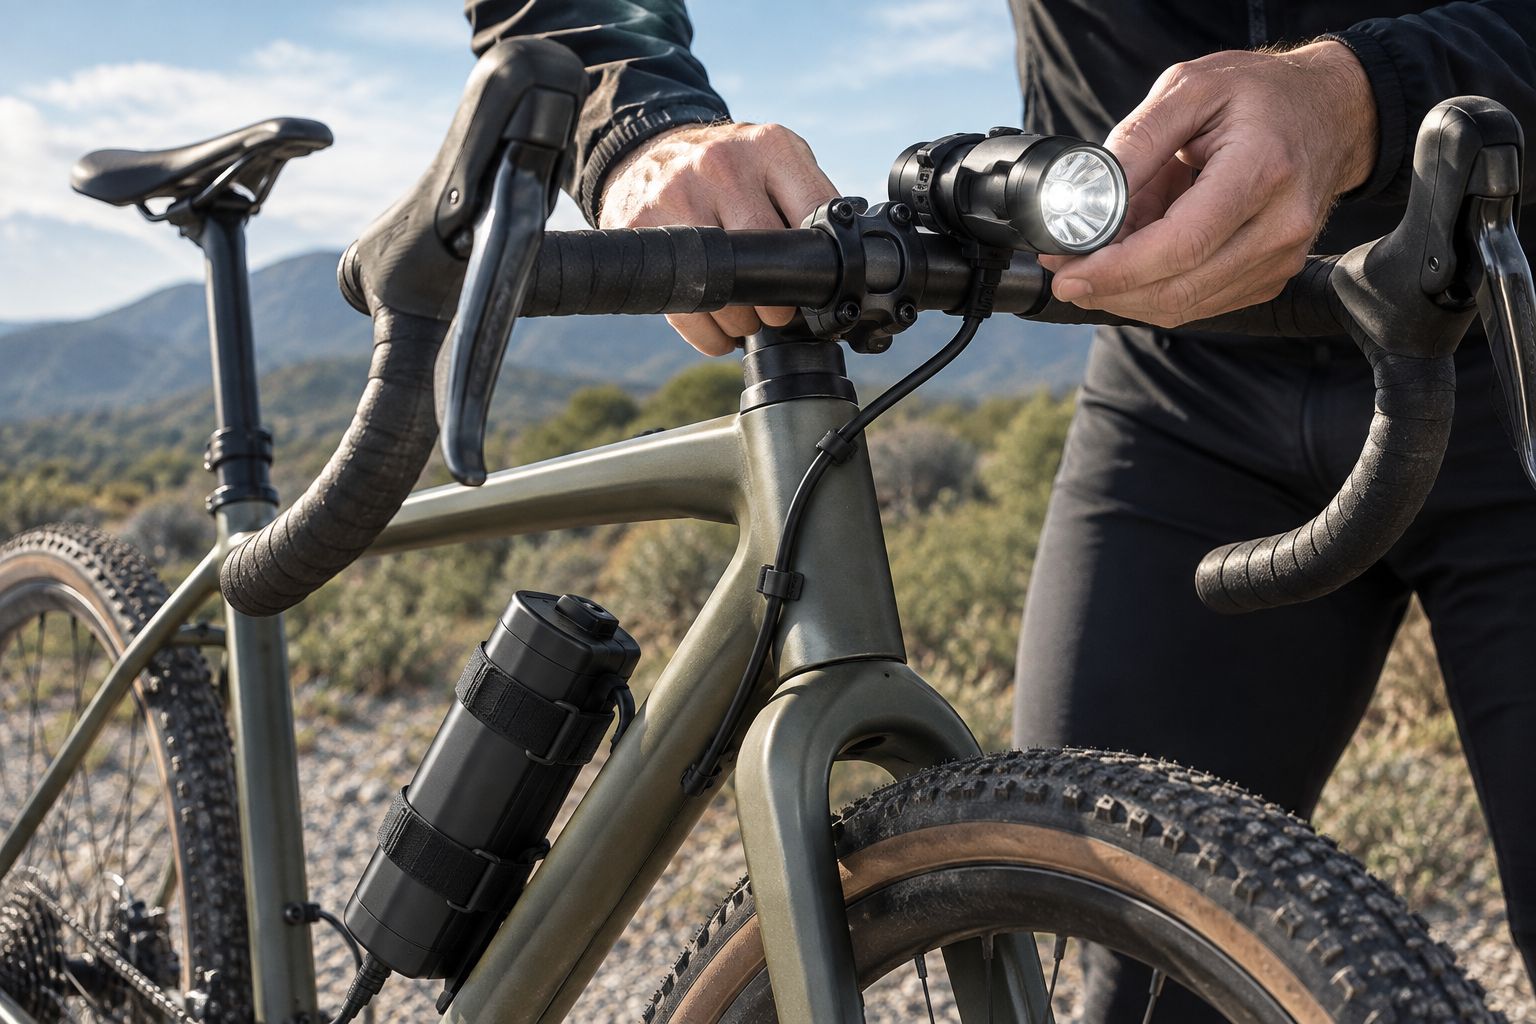
Fit your existing equipment in daylight. Turn the handlebars fully in both directions and check that cables neither pull tight nor enter the wheel, brake or drivetrain area. Check the battery attachment with the bike loaded as you intend to ride it.
The handlebar light must stay aimed when the road gets rough. A battery also needs secure support; hanging it from its cable is not a mounting method. Gravel already supplies enough rattles without your lighting adding a percussion section.
If you add a helmet light, use a mounting arrangement approved for the helmet and light. Do not drill the helmet or improvise a fixing that changes its structure. Check the helmet’s fit again with the light attached, because a secure lamp is no help on a helmet that moves around.
- Tighten mounts according to the manufacturer’s instructions.
- Keep the beam clear of bags and handlebar accessories.
- Secure the battery independently of its cable.
- Leave cable slack for steering without loose loops.
- Check helmet fit after attaching any approved mount.
Make rear visibility part of the setup
Check your rear light from behind the loaded bike, not from beside it in the garage. A saddle bag, jacket or badly positioned strap can obstruct a light that looks fine during fitting. Repeat the check with your normal riding clothing and luggage.
For New Zealand road riding in 2026, the NZ Transport Agency’s cycling guidance requires a white or yellow front light and a red rear light visible from 100 metres during the required lighting conditions. Those conditions include riding at night; required reflectors are separate from the lights. A compliant visibility distance is not a guarantee that your front beam suits an unlit gravel descent.
Seeing the road and being seen on the road are separate checks. If your route uses public roads, review the current road-lighting requirements as well as the product details. Aim the front light so you can read the surface without directing its brightest area into approaching road users’ eyes.
- Check the rear light with luggage fitted.
- Keep clothing and straps clear of the lens.
- Confirm the rear mount stays aligned over bumps.
- Check front and rear lights before every departure.
- Review the applicable road-lighting and reflector requirements.
Choose backup power and backup lighting separately
First, decide what your existing spare equipment actually covers. A compatible spare battery addresses a depleted main battery. It does not fix a failed lamp, damaged cable or broken mount. An independently powered backup light covers a different problem.
For longer or more isolated rides, plan around 2 independently powered front lights: your main riding light and a backup. This is a setup recommendation, not a claim that every ride requires the same equipment. Assess the backup at the reduced pace you would use to get out safely.
A helmet light can add useful illumination where you look, while the handlebar light continues pointing with the bike. The trade-off is more weight, another mount and another power requirement. Add it for a clear purpose, not because a complete setup must mean everything switched on at once.
- Separate battery depletion from complete light failure.
- Carry a spare pack only after confirming compatibility.
- Give a backup light its own working power source.
- Test the backup at a cautious riding pace.
- Decide when a lighting problem means turning back.
Rehearse the full setup before a remote ride
Give your 2026 setup a 10-minute check close to home before committing to an isolated loop. This is a fitting and operation check, not a runtime test. Ride a short familiar section, operate the controls with gloves and check whether the beam or battery shifts.
Assess endurance separately using the manufacturer’s stated conditions and your own observed use. Record the mode used and the time the light was operating, without treating one outing as a promise for every future ride. Changing the brightness mode changes the power demand.
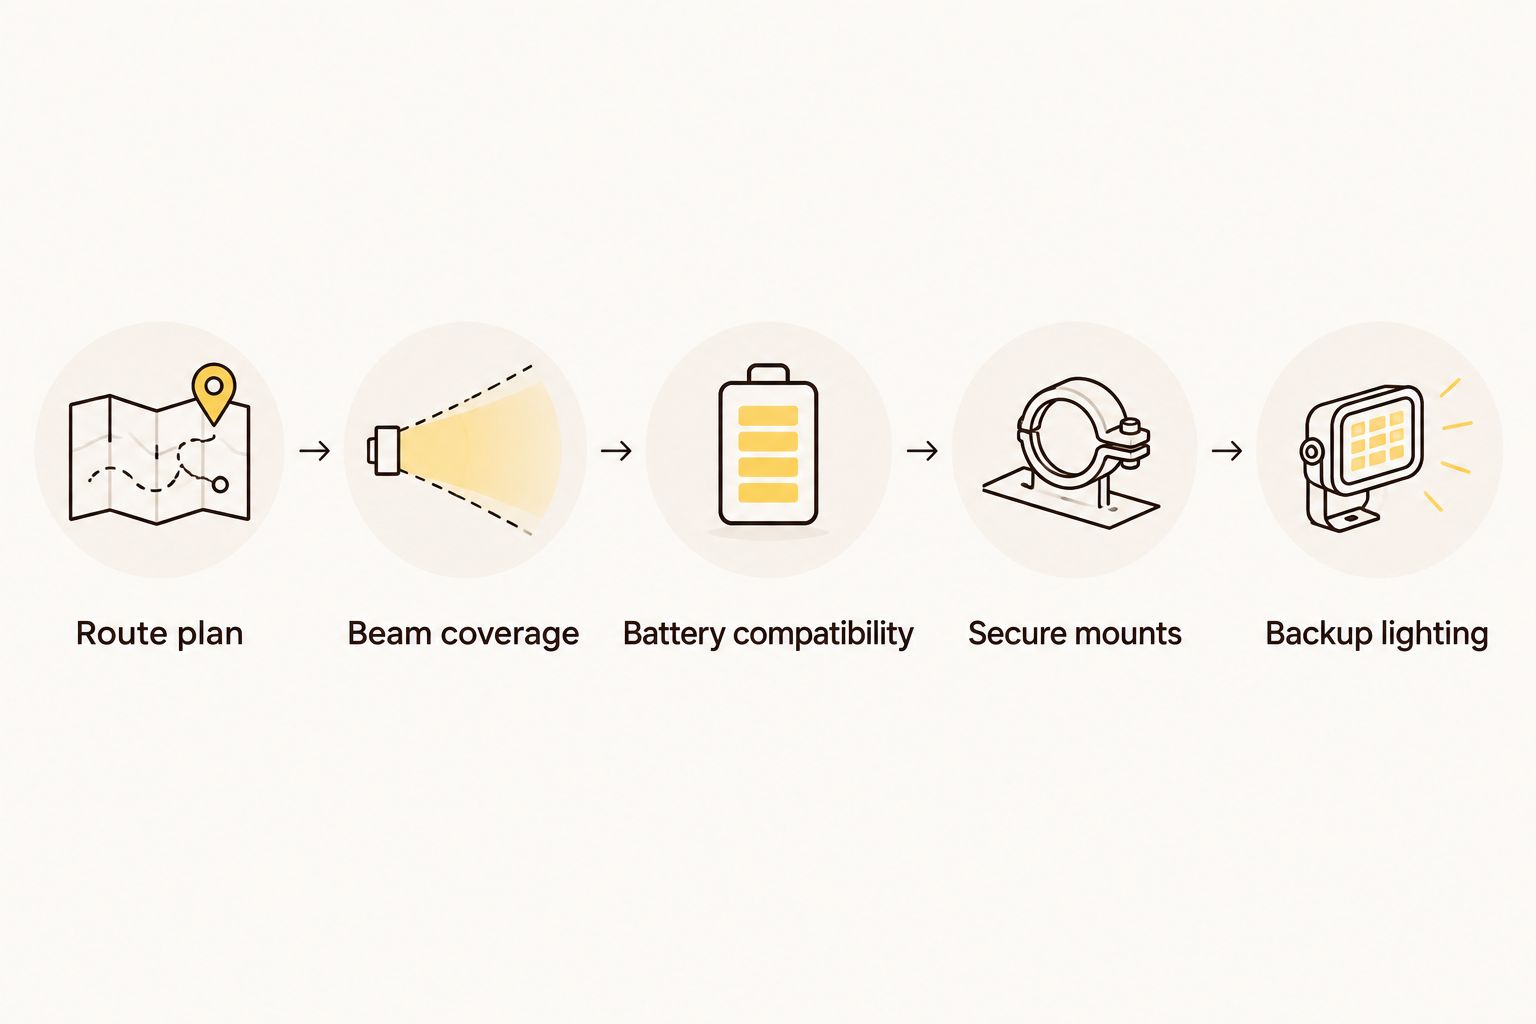
Before leaving for the real ride, check the complete chain: route plan, beam coverage, battery compatibility, secure mounts and backup lighting. One missing link can turn a nicely equipped bike into a very ordinary walk home.
- Practise changing modes with your riding gloves on.
- Check the mount after riding over a rough section.
- Confirm the battery and backup are charged.
- Record operating time and the brightness mode used.
- Recheck front and rear visibility before setting off.
Compare complete lighting setups
Choose the simplest arrangement that meets your route’s needs. These are setup types, not recommendations for specific models; assess actual beam coverage, battery compatibility and mounting before buying.
| Option | Best for | Main advantage | Key limitation |
|---|---|---|---|
| Handlebar light with built-in battery, plus rear light | Riders prioritising fewer separate parts | Keeps the front light and its power source together | Battery replacement or swapping depends on the particular model |
| Handlebar light with compatible external battery, plus rear light | Riders who want to choose a separate high-capacity pack | Makes the battery a separate part of the setup | Adds a battery mount and cable that need securing |
| Handlebar and helmet lights, plus rear light | Riders who need illumination directed with their gaze as well as the bike | Separates forward road coverage from head-directed illumination | Adds helmet weight, mounting checks and another power requirement |
For unlit gravel, prioritise the handlebar light, compatible power and rear visibility before adding extras. A helmet light is useful when it solves a specific visibility problem; it is not a substitute for sorting out a poor main beam.
Bikelights’ bike lights and battery packs suit a complete-setup shopping approach. The buying constraint remains compatibility: check the individual light, battery and mount information rather than assuming everything works together because it comes from the same shop.
Build your gravel lighting setup
Compare bike lights, high-capacity battery packs and accessories for your next after-dark ride.
Common mistakes gravel riders make
Buying by advertised lumens alone
A large lumen claim does not describe where the light lands. Check beam coverage and useful surface detail first, then assess the claimed output alongside the rest of the specifications.
Planning power for the outward leg
The battery must cover the return journey and your planned stops too. Do not treat the last bar on an indicator as a route-planning strategy; choose an earlier exit before power becomes urgent.
Assuming a spare battery fixes every failure
A spare pack cannot repair the main lamp or its cable. Carry independent backup lighting when your route makes a main-light failure difficult to manage, and know how you would use it.
Testing the rear light without luggage
A rear light can disappear behind the gear you add just before departure. Check it from behind with the bike fully packed, then secure anything that could shift into its line of sight.
Using the first remote ride as the fitting test
Mounts, glove-friendly controls and cable routing are easier to sort near home. Make the first 2026 check a familiar local outing, not an experiment halfway down an isolated descent.
FAQ
What are the best bike lights for night riding on unlit gravel roads?
The best setup is a handlebar light with useful road coverage, compatible power and a visible rear light. Choose the actual equipment by beam shape, secure mounting and verified runtime conditions rather than advertised lumens alone.
How many lumens do I need for riding gravel at night?
There is no single lumen figure that establishes whether a light suits your gravel route. Advertised output does not describe beam distribution; assess whether you can read the surface and stop within the illuminated distance at your chosen pace.
Do I need a helmet light as well as a handlebar light?
A helmet light is an addition, not a prerequisite for every gravel ride. It directs illumination where you look, but adds weight, another mounting check and a separate power requirement.
Is a high-capacity battery enough to guarantee a long ride?
No, battery capacity alone does not establish runtime. Check compatibility and the stated runtime for the brightness mode and operating conditions you intend to use.
Can I use any battery that has the right connector?
No, a matching connector does not establish electrical compatibility. Confirm the light’s required voltage, battery specification and charging arrangement using the manufacturer’s information.
Should I carry a spare battery or a spare light?
A spare battery covers depleted power, while an independently powered spare light also covers failure of the main lamp. Choose backup equipment according to the isolation of your route and your options for returning safely.
Where can I shop for bike lights and high-capacity batteries in New Zealand?
Bikelights sells bike lights, high-capacity battery packs, taillights and light accessories for cyclists riding at night. Check the individual product information to confirm that your chosen light, battery and mounting arrangement work together.
One last thing
A bigger battery cannot fix a slipping mount. Before upgrading your 2026 lighting setup, check whether the beam stays where you aimed it after a rough section. If it drops towards the front tyre, address the mounting problem before spending money on more output or capacity.
Then check the rear light with your riding jacket and bags in place. The final check belongs on the bike as you will actually ride it—not on a tidy workbench.