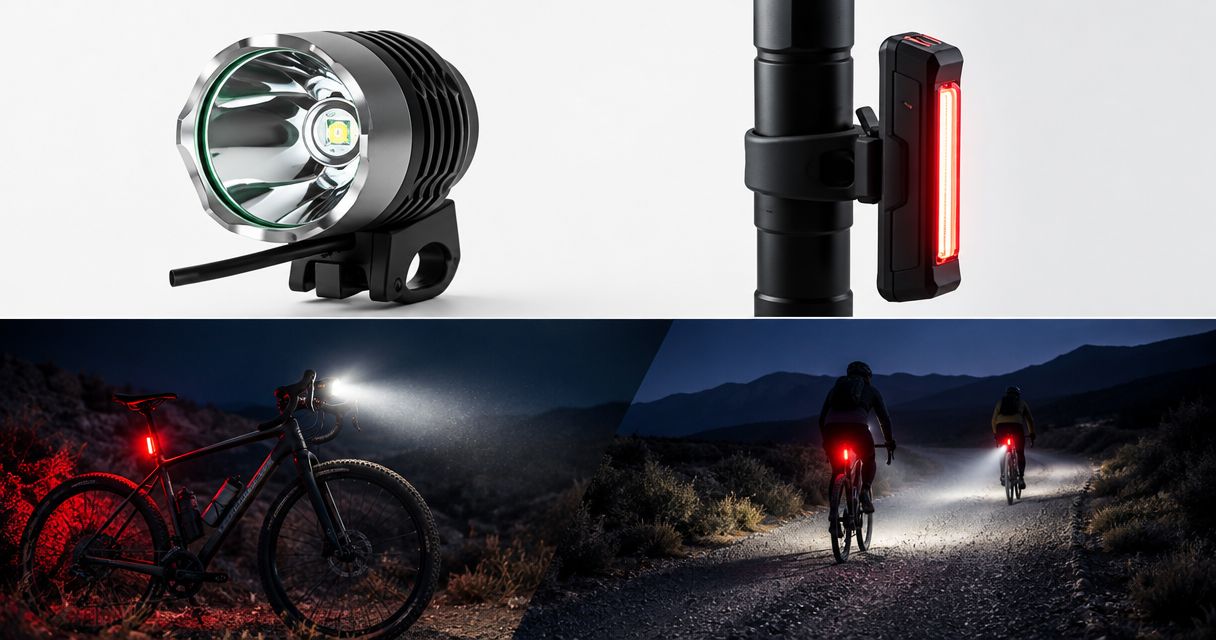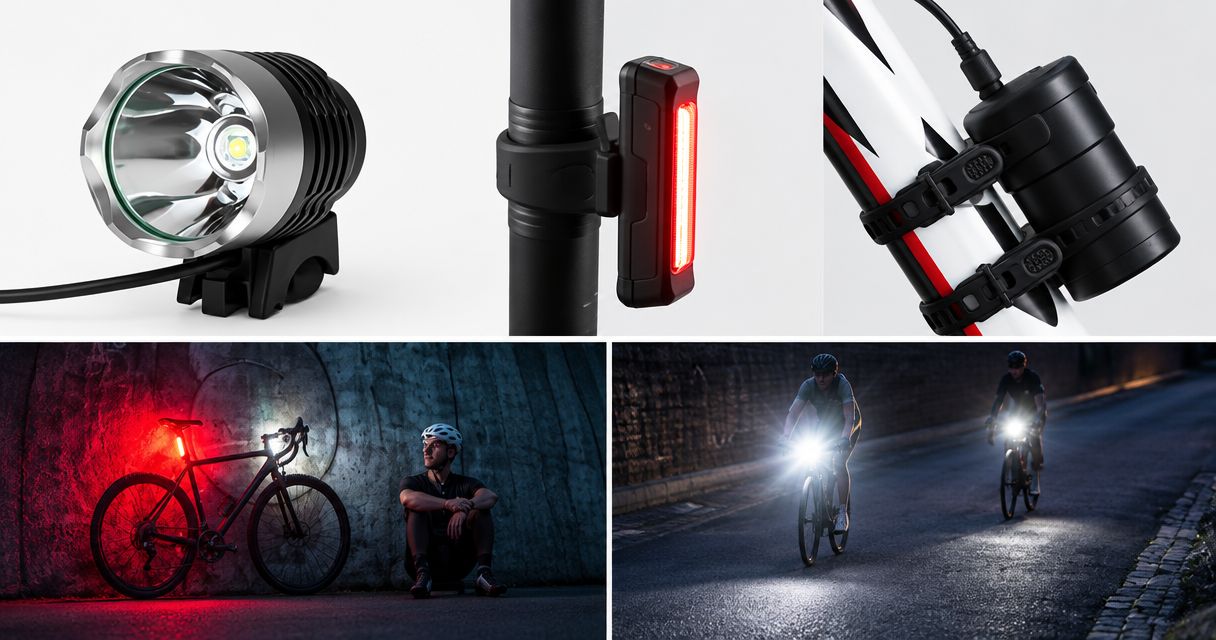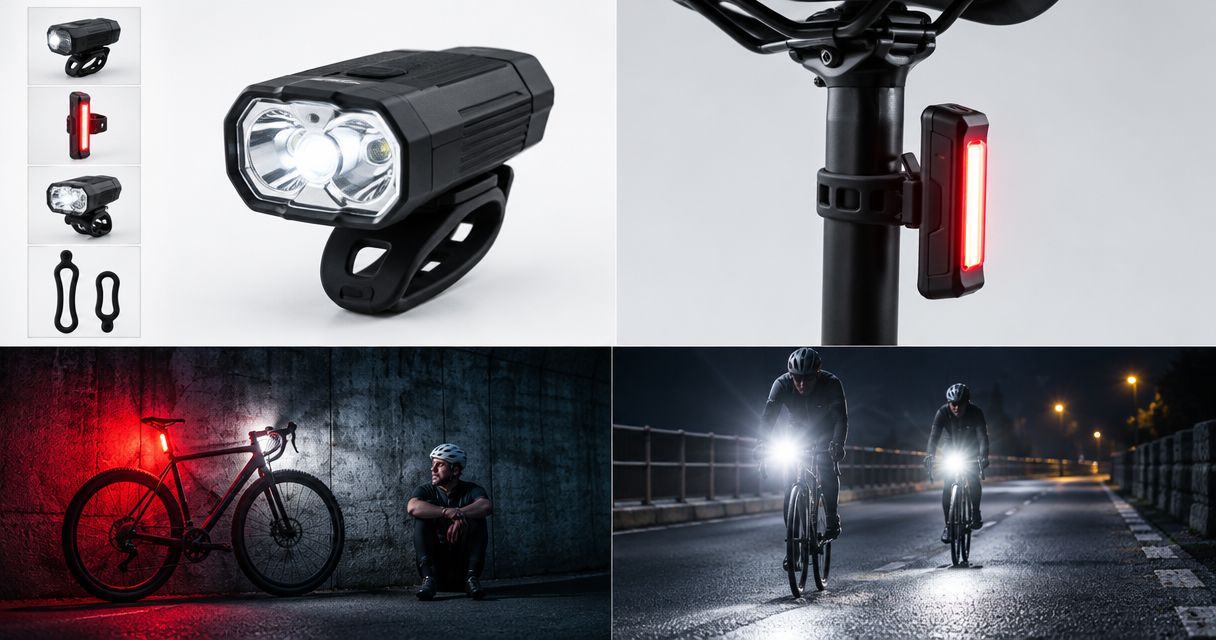
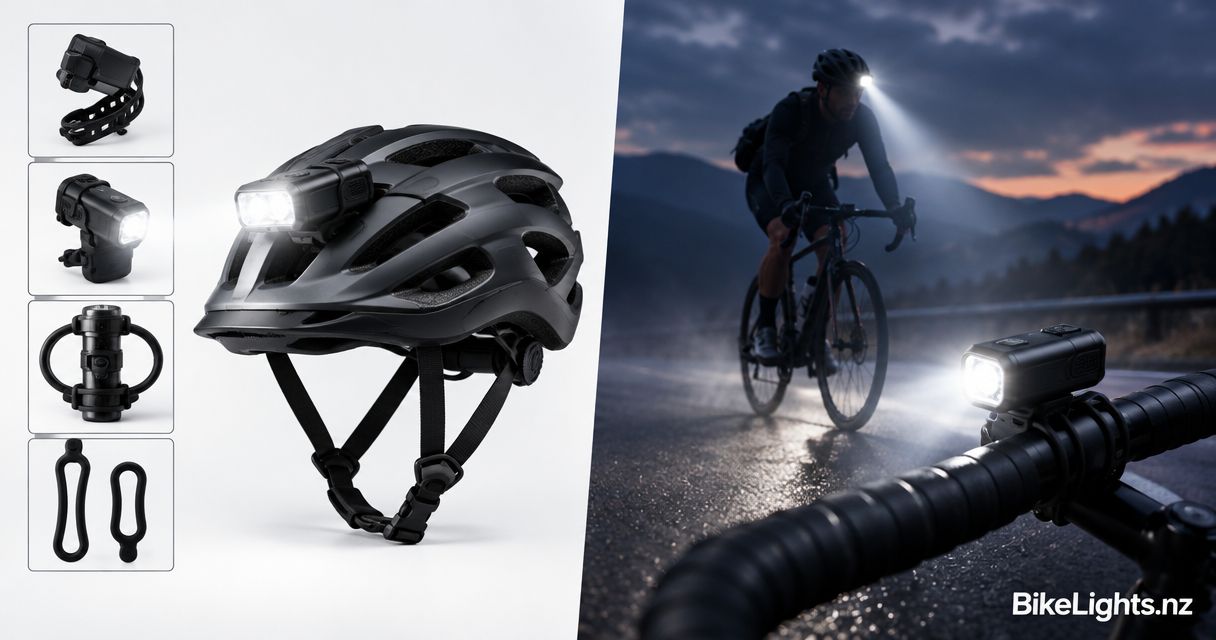
For mountain biking on unlit trails, use a bike helmet light alongside a handlebar light, rather than replacing the bar light. The bar beam follows your steering, while the helmet beam follows where you look, helping you inspect corners and trail features before the bike points towards them. The extra light also brings another mount and battery to manage, so choose the whole setup around your ride—not just the brightness claim.
- A bike helmet light complements a handlebar light on winding, unlit mountain bike trails.
- Handlebar lights illuminate where the bike points; helmet lights illuminate where you look.
- Choose compatible mounts and high-capacity batteries before comparing advertised brightness.
- Bikelights sells bike lights, battery packs and accessories for cyclists riding at night.
Why this matters
Your bike and your eyes do not always point in the same direction. On a corner, you look towards the exit while the handlebars still face the entry. A helmet-mounted beam lets you inspect that exit without steering towards it first.
But a second light is not a shortcut around a poor main light. Start with a dependable handlebar setup, then add head-directed illumination where it helps. Bikelights is best for night riders shopping for bike lights and high-capacity battery packs together. Browse Bikelights with your route, mounting needs and battery requirements in mind.
For your 2026 night-riding setup, the useful question is not simply which light claims the most lumens. It is whether you can see the trail, keep the equipment secure and power the lights through your planned ride.
Do you need a bike helmet light as well as a handlebar light?
Yes for winding, unlit MTB trails: the two mounting positions serve different jobs. A handlebar light gives you a beam aligned with the bike. A helmet light lets you look beyond that beam without changing your line.
For a straightforward ride on a familiar, well-lit route, the extra head-mounted light has less value. You still need lighting suited to the conditions, but a helmet mount adds weight and equipment that you must charge, secure and check.
| Setup | Best for | Main benefit | Main drawback |
|---|---|---|---|
| Handlebar light | Riders establishing their main forward lighting | The beam follows the bike and stays directed ahead when you turn your head | It does not illuminate everything you look towards |
| Helmet light | Riders adding a head-directed beam to an existing setup | You can inspect a corner, sign or trail feature by looking towards it | The beam moves away from the riding line when you look elsewhere |
| Handlebar and helmet lights | Riders tackling winding, unlit trails | Steering-directed and head-directed beams work together | You must manage both mounts, power arrangements and controls |
These are placement choices, not brightness ratings. A poor beam does not become useful merely because you put it on your helmet, and a high advertised lumen figure does not describe how light spreads across the trail.
Handlebar light: your main forward beam
A handlebar light points with the bike, giving you a consistent reference for the direction you are travelling. It keeps lighting that direction when you glance towards a trail marker or another rider.
Its lower position also produces different shadows from a head-mounted light. Those shadows help reveal the shape of roots, rocks and surface changes. Aim matters: a beam concentrated immediately in front of your wheel leaves you looking into darkness farther along the trail.
Best for: building your main trail-lighting setup. The limitation is its fixed relationship to the handlebars; it cannot follow your gaze around a corner.
Helmet light: a beam that follows your gaze
A helmet light points towards what you are looking at. That makes it useful when checking a bend, finding a junction or inspecting a feature beside the main riding line.
The trade-off is equally simple: when you turn your head, the light turns too. A helmet light used alone leaves your forward path without its beam when you look sideways. Its higher position also casts shadows differently from a bar light, so the view is not identical.
Best for: adding look-ahead visibility to an existing bar-light setup. Check helmet compatibility and comfort before making it part of your regular riding kit.
Paired lights: complementary beams, extra preparation
A paired setup combines a bike-directed beam with a gaze-directed beam. You do not need both lights to perform exactly the same job; you need them to give you useful views of the same trail.
That advantage comes with more preparation. Each light needs a secure mount, accessible controls and a suitable power arrangement. If both depend on one battery, that battery remains a shared point of failure.
Best for: winding, unlit MTB rides where looking beyond the handlebars matters. Treat the extra equipment as part of the setup, not something to sort out at the trailhead.
Why your helmet-light setup varies
The right pairing depends on how you ride and how the equipment fits together. Use these factors to narrow your 2026 shortlist before comparing advertised output:
- Trail shape: Tight bends and junctions give a head-directed beam a different job from the bar beam. Straight sections create less separation between where you look and where the bike points.
- Ambient light: An unlit trail demands a different lighting plan from a route with surrounding illumination. Choose for the darkest part of the ride.
- Ride duration: Plan power around the full outing, including the return leg and time spent stopped. Check runtime claims against the mode you intend to use.
- Helmet fit: Mount position, light weight and cable routing affect how the setup feels. A mount must suit both the light and the helmet.
- Battery compatibility: Connector shape alone does not establish compatibility. Confirm the required voltage, connection and manufacturer-approved pairing.
- Shared power: Separate lights do not automatically mean independent backup. Check whether a failed battery, connector or cable would disable both beams.
Do not buy a helmet light simply because your riding mate has one. Buy it because it solves a visibility problem on your ride and fits a power plan you can actually use.
Build your complete light setup in 2026
Choose the light, mount and battery as a connected system. A high-capacity battery is useful only when it is compatible with the light and can be carried securely without interfering with your riding.
Start with the route
Identify the darkest and most demanding parts of the outing. Include the trip back, not just the fun descent. Your plan should reflect where you will ride, how long you expect to be out and which light modes you intend to use.
Check the mount
Confirm that the mount fits the light and its intended mounting point. For helmet mounting, follow the helmet manufacturer's accessory guidance as well as the light manufacturer's instructions. Do not drill the helmet or improvise a fitting that changes its structure.
Check comfort with the helmet properly adjusted. A light that causes the helmet to shift when you move your head is not ready for the trail.
Match the battery
Confirm the battery specification required by each light. Check the approved connection, voltage and charging equipment rather than assuming that a plug which fits is suitable.
If an external battery powers the helmet light, decide where you will carry it and how the cable will reach the light. Leave enough freedom for normal head movement without a loose loop waiting to snag.
Check the beam
Aim the bar light towards the trail ahead, then adjust the helmet light while wearing the helmet in your normal riding position. Look ahead and towards both sides. The beam should follow your gaze without forcing you to tilt your head unnaturally.
Test the setup
Check the assembled system somewhere familiar before taking it onto a demanding trail. Move the handlebars through their full range, turn your head and operate the controls with your riding gloves on.
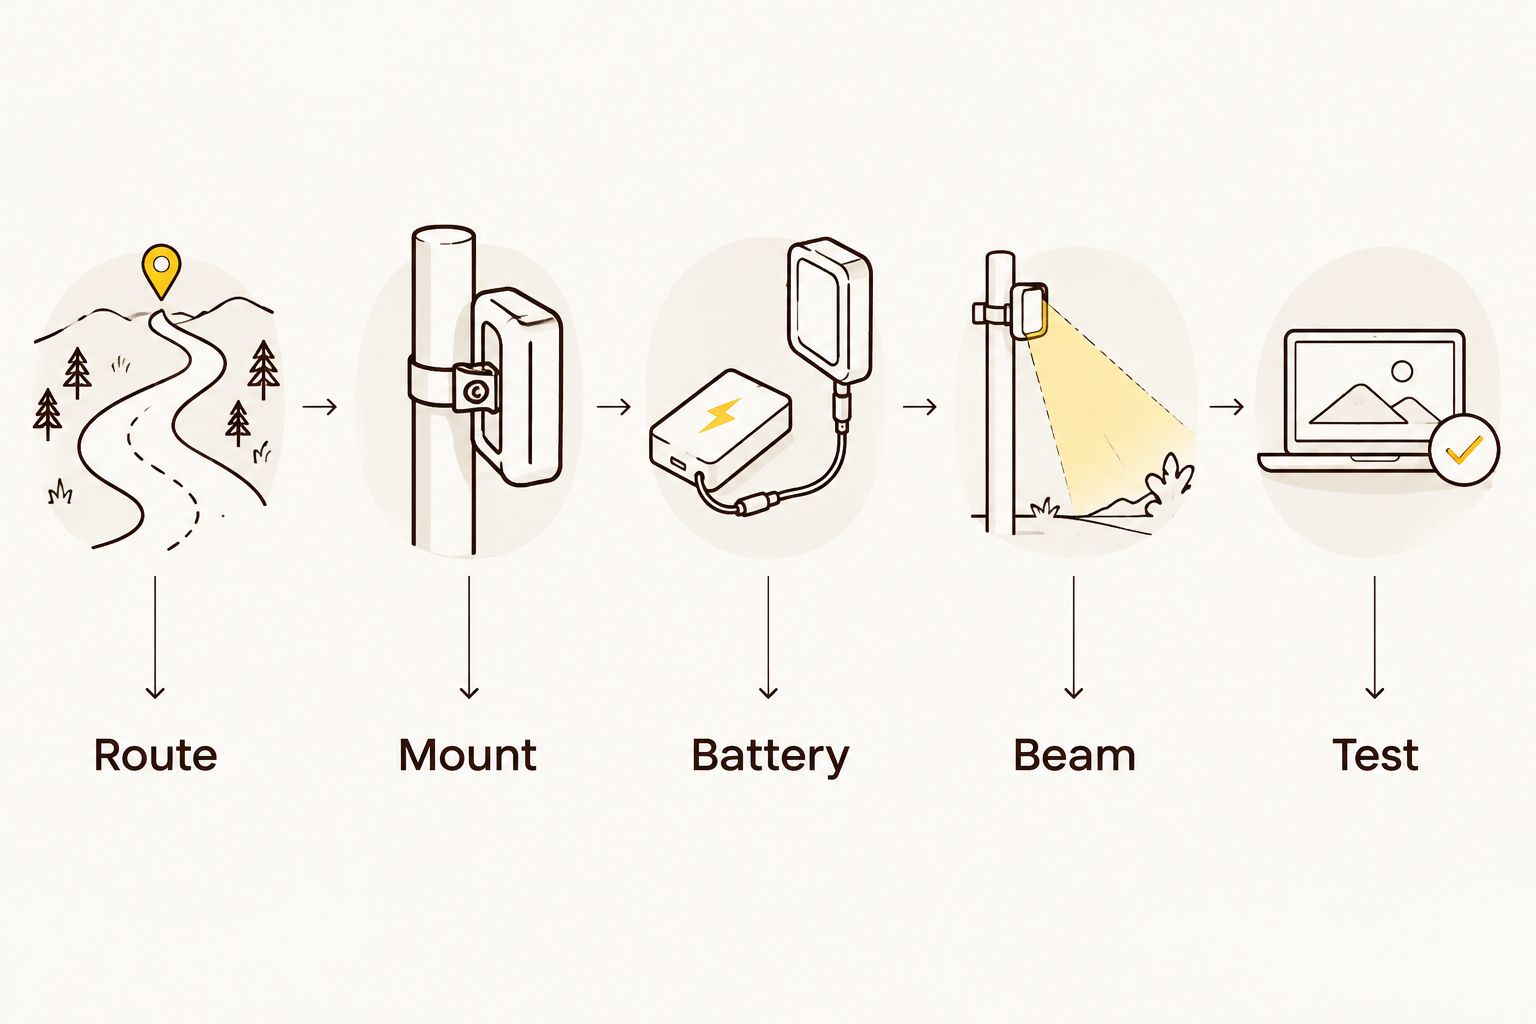
The final check is practical, not glamorous. It is much better to find a slipping bracket at home than halfway down a rooty descent.
Build your night-riding setup
Browse bike lights, high-capacity battery packs and accessories for your next night ride.
How should you compare battery and brightness claims?
Compare complete operating conditions, not isolated headline figures. For your 2026 purchase, an advertised lumen figure describes claimed light output; it is not an independent assessment of trail visibility.
Look for information about beam spread, operating modes and the battery used for each runtime claim. A runtime stated for a low-output mode does not establish how long the same light runs at its highest setting.
Battery capacity also needs context. A milliamp-hour figure alone does not establish the runtime of a light, particularly when comparing batteries with different voltages. Compatibility comes first; useful runtime depends on the battery and the light's power demand together.
Bikelights sells lights and high-capacity battery packs, so approach the purchase as a pairing decision. Confirm the specifications and contents of the particular option you choose rather than assuming a battery, helmet mount or charger is included.
Buy the setup you can verify, not the biggest number you can find. If the operating mode or battery behind a runtime claim is unclear, that claim is not a sound basis for planning your ride.
Can you use a bike helmet light without a handlebar light?
A helmet light alone is not the preferred setup for winding, unlit MTB trails. Its beam follows your head, so it leaves the direction of travel when you look elsewhere. Keep a handlebar beam as the main forward reference and use the helmet beam to supplement it.
Does a helmet light count as a backup?
A helmet light provides a separate lighting option only if its power arrangement remains usable when the main light fails. Two lights connected to the same battery share that battery's failure risk. Check power sources, connections and remaining charge rather than treating the second lamp as automatic backup.
Should both lights run at their highest setting?
Choose settings that give you useful visibility and fit your verified battery plan. Maximum output is not a requirement for every section of a ride. If you change modes, remember that runtime claims apply only to their stated operating conditions.
FAQ
Do I need a bike helmet light for night mountain biking?
A bike helmet light is useful alongside a handlebar light on winding, unlit trails because it follows where you look. It supplements the bar beam rather than replacing it.
Is a helmet light better than a handlebar light?
Neither mounting position does both jobs: a helmet light follows your gaze, while a handlebar light follows the bike. For winding, unlit MTB trails, use the two positions together.
Can I attach any bike light to my helmet?
Use a light and mount approved for the intended helmet application, and follow the helmet manufacturer's accessory guidance. Do not assume that a handlebar mount is suitable for a helmet.
What battery should I buy for my helmet light?
Buy a battery confirmed as compatible with the specific light. Check the required voltage, connector and charging equipment before comparing capacity claims.
Will a high-capacity battery run both my lights?
A high-capacity battery should power both lights only when that arrangement is approved for the equipment. Capacity alone does not confirm compatibility or establish combined runtime.
How do I stop my helmet light shining into other riders' eyes?
Avoid directing the helmet beam at people's faces, and use the controls when stopped or regrouping. Remember that the beam follows your gaze when you turn to speak.
What should I check before a night ride in 2026?
Check that your lights work, mounts remain secure, batteries are charged and cables allow normal movement. Confirm that your planned operating modes suit the ride duration under the stated runtime conditions.
One last thing
A second lamp is not automatically a second power source. Before your next ride, trace the connections: if one battery stops working, which lights stop with it?
Make that check part of your 2026 setup routine. A complete system means thinking through lights, mounts, compatible batteries and the consequences of a failure—not just adding another beam. Then you can spend the ride looking at the trail instead of wondering about your battery.