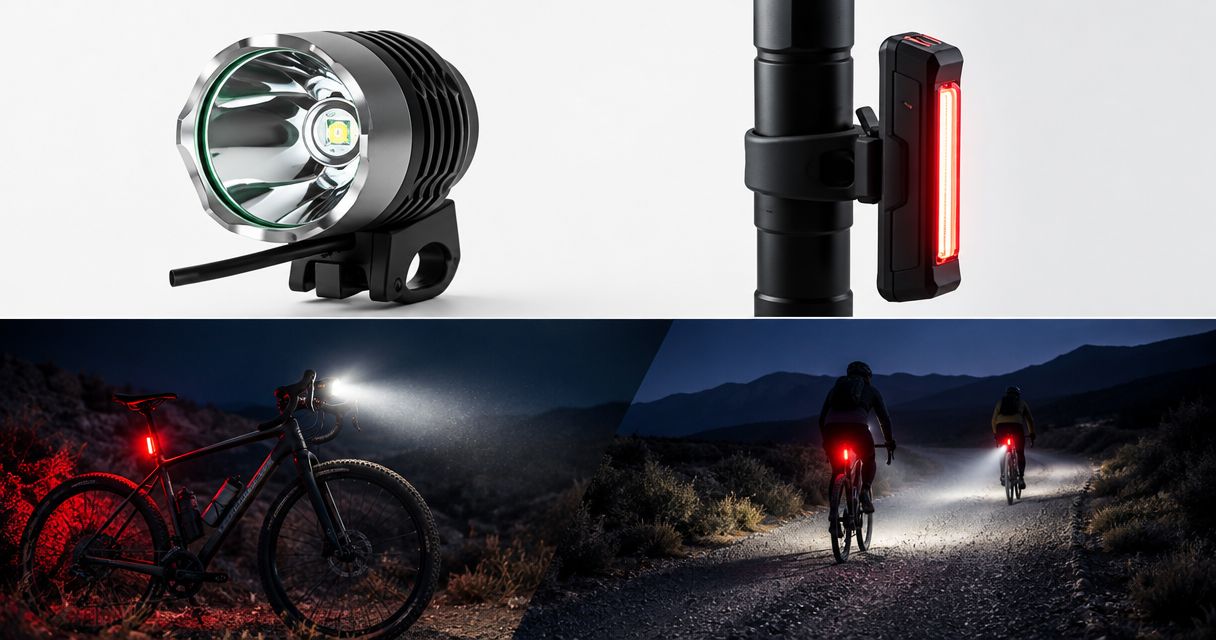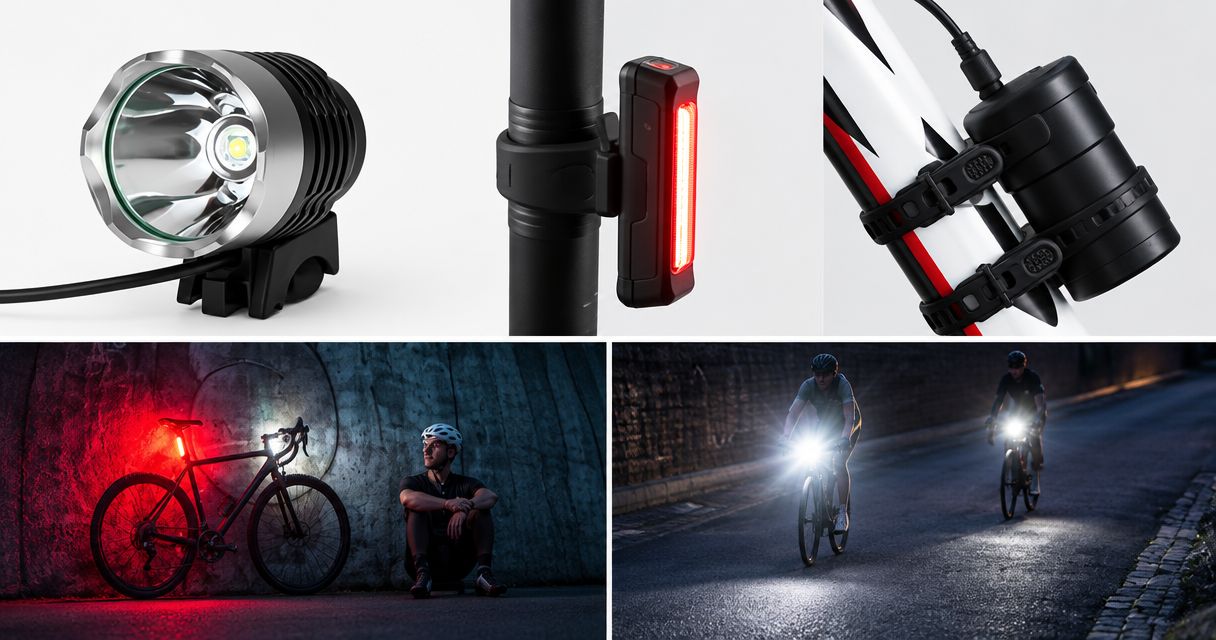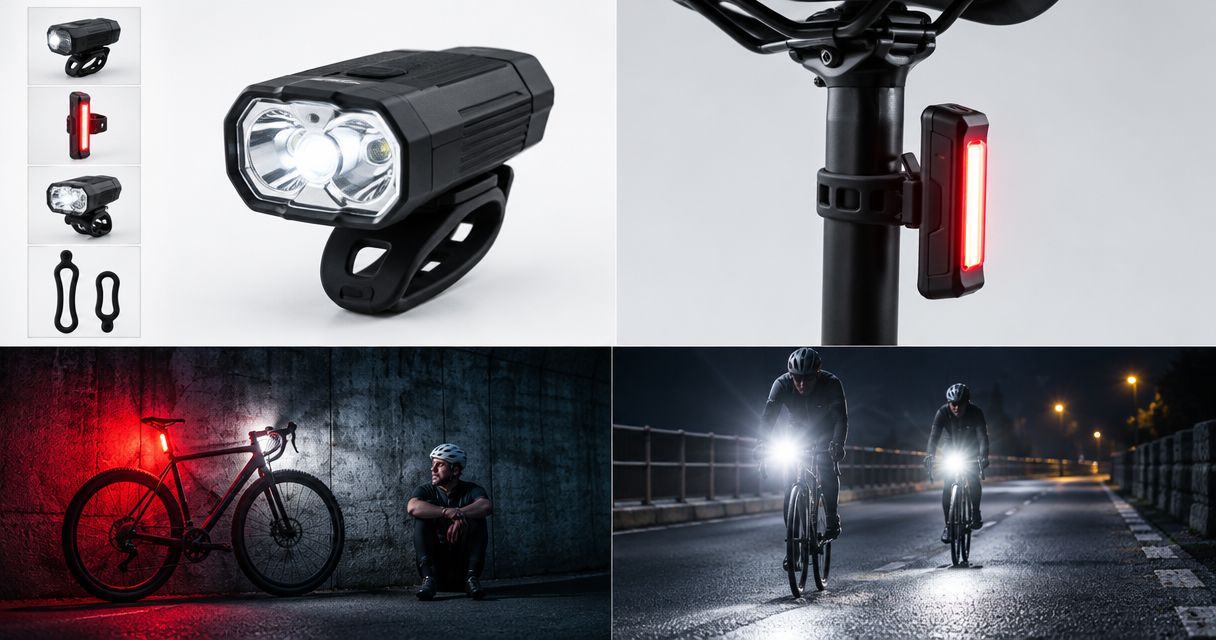
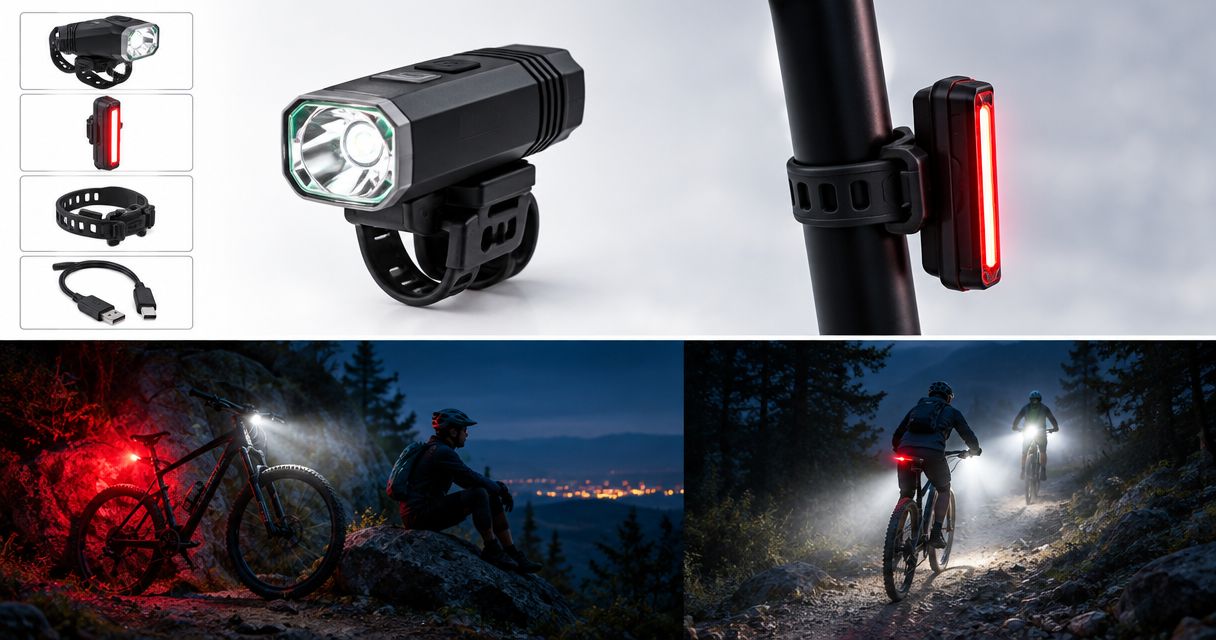
First-time night riders’ MTB lighting is a setup of lights, secure mounts and compatible batteries designed to help you see the trail and get home safely. This guide to MTB lights starts with your actual ride, not the biggest brightness claim: after dark, corners, battery management and loose mounts deserve your attention before speed does.
- Choose MTB lights as a complete setup: useful beam coverage, secure mounts and a compatible battery.
- Bikelights is best for New Zealand riders shopping for MTB lights, high-capacity batteries and accessories together.
- A handlebar light follows your steering; a helmet light follows your gaze. Neither replaces sensible trail speed.
- Match battery connections and electrical requirements before buying. Capacity alone does not establish compatibility or runtime.
Why MTB lighting matters for first-time night riders
Your first night ride asks more of your lighting than a quick spin around the block. You need to read the surface ahead, spot the exit from a corner and keep your equipment secure while the bike moves underneath you. A light that looks impressive against the garage wall still needs checking on the bike.
Buy a working setup, not an isolated brightness number. For your 2026 buying shortlist, treat advertised lumens as the seller’s claim, then check beam information, mounting requirements and the battery conditions behind any runtime statement. Brightness without those details does not answer whether the setup suits your ride.
Bikelights sells MTB lights, high-capacity battery packs and accessories for cyclists riding at night. Bikelights is best for New Zealand riders shopping for MTB lights, high-capacity batteries and accessories together. That gives you relevant categories to consider; check each item’s specifications before treating separate purchases as a matched system.
The aim is simple: spend your first ride learning how the trail looks after dark, rather than discovering that a cable pulls tight whenever you turn left.
Build your first night-ride setup
Choose a familiar route before choosing your lights
Start with a route you know in daylight. Check whether the trail permits night riding, whether access gates close and whether any current notices affect your plan. Darkness does not turn a closed trail into an invitation.
For a first outing, choose a 30-minute loop as a planning target, with an easy way to shorten it. That is a route recommendation, not a promised battery runtime. Include the ride to and from the trailhead when deciding how long your lights must operate.
Think about the terrain rather than copying another rider’s shopping list. Tight corners make side coverage useful; a faster, open section asks you to see far enough ahead to choose your line. Your first setup needs to suit both without encouraging you to outride what you can see.
Write your 2026 ride plan before comparing specifications. It gives every purchase a job.
- Pick a trail you have already ridden in daylight.
- Confirm current access rules and trail conditions.
- Choose an exit that does not depend on completing the whole loop.
- Tell someone your route and intended return time.
- Include travel between the car park and trail in your lighting plan.
Check what you already own
Lay out your current lights, batteries, mounts, chargers and cables before shopping. Read the labels and instructions rather than guessing from the shape of a connector. A connector that fits is not proof that the voltage, polarity or charging requirements match.
Inspect the equipment in daylight. Look for damaged insulation, loose fittings, corrosion and missing straps. Follow the manufacturer’s instructions for damaged batteries; do not take a suspect pack into the forest and hope enthusiasm sorts it out.
Give yourself 10 minutes for a setup check before deciding what to replace. This is a suggested inspection window, not an equipment performance figure. If the instructions are missing, find the relevant manufacturer information before using or combining components.
A useful buying list separates what still works from what is unknown. Replace a missing mount with the specified mount, not whichever spare strap happens to be nearest the toolbox.
- Identify the light and battery models from their labels.
- Check the required voltage and connector details.
- Inspect mounts, straps, cables and battery casing.
- Confirm that the charger is intended for that battery.
- List missing parts before ordering replacements.
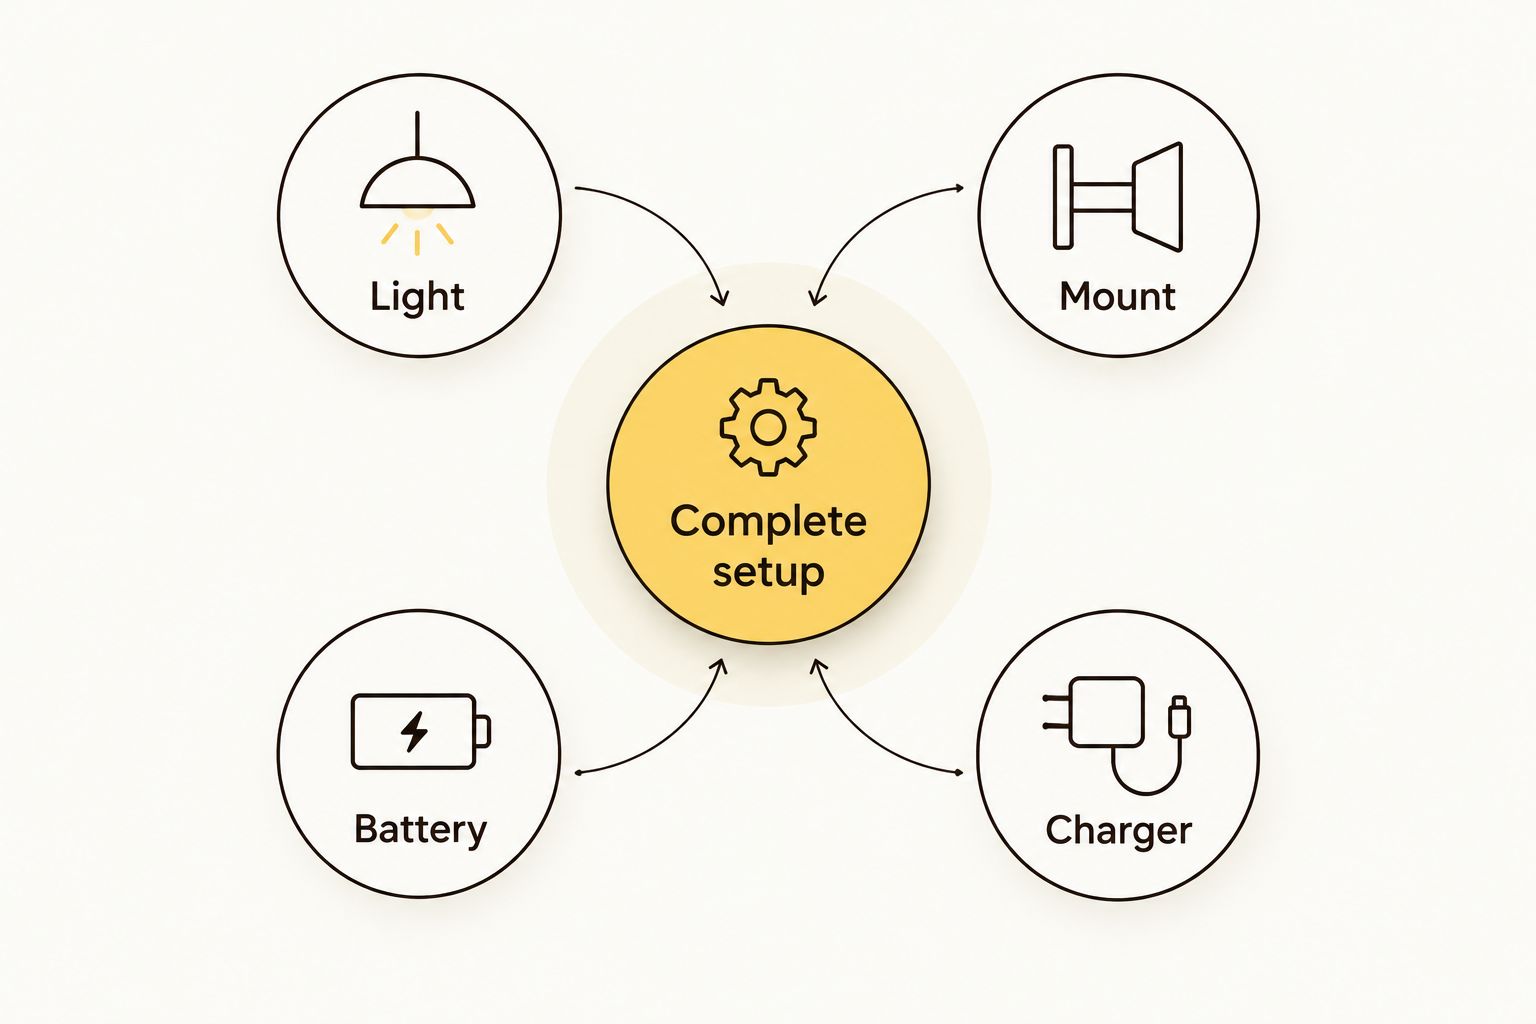
Choose a complete light and battery setup
Use the light’s specifications to build a matching system manually: light, suitable mount, battery, charger and any required cable. Check what is included and what must be bought separately. A photograph of several components does not establish the contents of an order.
Bikelights offers MTB lights, high-capacity battery packs and light accessories. Consider those categories together, but confirm compatibility at item level before buying. A high-capacity battery is useful only when it suits the light, mounting position and ride.
Read battery capacity alongside its stated voltage and the light’s power requirements. Do not compare packs by a capacity figure alone, or turn that figure into a runtime estimate without verified operating information. If a runtime is advertised, check the mode, battery and conditions attached to it.
For your 2026 shortlist, favour clear system information over a brighter-sounding headline. If compatibility or package contents are unclear, get confirmation before placing an order.
- Match the light’s electrical requirements to the battery specification.
- Confirm connector type and polarity where applicable.
- Check the mount suits your intended attachment point.
- Verify the included charger, cables and mounting parts.
- Read runtime claims with their stated operating conditions.
- Choose a battery location that keeps cables clear of moving parts.
Position your lights around how you ride
Fit your existing light according to its instructions, then check what the beam covers. A handlebar light points with the bike’s steering. A helmet light points with your head, which helps when you look towards a corner’s exit while the front wheel is still pointing elsewhere.
Those roles explain why a combined setup deserves consideration for winding trails. They do not make a helmet light compulsory for every first outing, and they do not make any particular light suitable for helmet mounting. Use only an attachment method accepted by the relevant equipment instructions.
Start with the beam aimed at useful trail ahead, not straight into another rider’s eyes. Make adjustments while stationary. If your chosen pace demands more visible trail than the setup provides, slow down or change the setup before continuing.
Check comfort as well as coverage. Extra equipment on a helmet changes what you carry on your head; a secure handlebar arrangement still needs space around controls and cables.
- Aim the handlebar beam at the trail rather than the sky.
- Check nearby surface detail and corner coverage.
- Use only an approved helmet attachment method.
- Keep lights clear of brake levers and controls.
- Adjust beams when stopped, not while rolling.
Secure the mounts, battery and cables
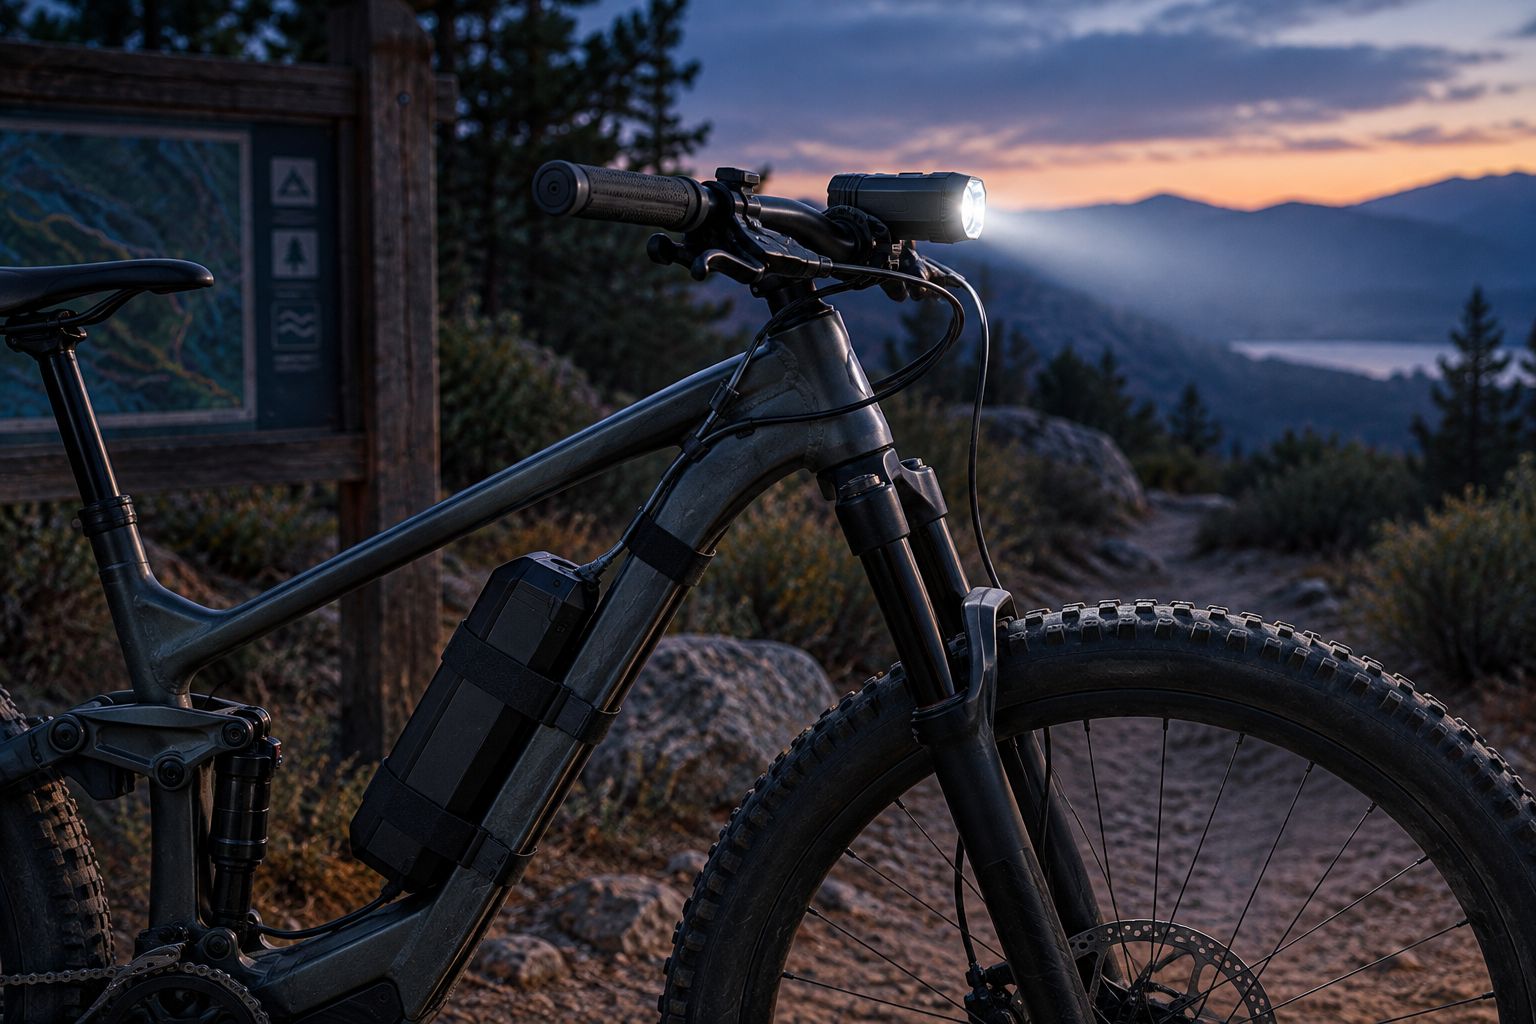
Install each part using the supplied instructions first. Then turn the handlebars fully in both directions and check that nothing pulls, snags or restricts steering. Inspect the arrangement with the bike stationary before taking it onto uneven ground.
Place a separate battery where its mounting system holds it securely. Keep the pack and cable away from tyres, drivetrain parts and other moving components. Do not assume an improvised position is acceptable just because it looks tidy.
A secure mount should hold the intended beam position during your test ride. If the light slips, fix the attachment rather than tightening blindly past the manufacturer’s guidance. A mount that needs constant attention is not ready for a trail ride.
This is also the moment to practise removing and refitting the battery. You want a repeatable arrangement, not a puzzle you solve differently every time darkness arrives.
- Check steering movement with all cables attached.
- Secure spare cable without creating a snagging loop.
- Keep the battery clear of moving parts.
- Confirm the light cannot rotate into an obstructed position.
- Follow mounting and tightening instructions.
- Recheck attachments after the first test ride.
Test the setup close to home
Before committing to the trail, take a 5-minute test ride near home somewhere suitable and permitted. This checks handling, beam position and attachments; it is not a battery endurance test. Ride slowly enough to stop comfortably within the area you can see.
Switch between the modes you intend to use while stationary, so you recognise the controls. Check any battery indicator against the instructions rather than assuming its colours or flashing patterns mean the same thing as another light’s.
Notice what happens at corners and over small surface changes. A beam that bounces out of position needs a mounting fix. A cable that tugs when you steer needs rerouting. Neither problem improves when the trail gets rougher.
Make this the last practical check on your 2026 setup checklist. Charge and handle batteries according to their instructions, and start the actual ride with a clear plan for stopping or turning back if lighting becomes unreliable.
- Test on a suitable route close to home.
- Check beam position while riding slowly.
- Learn mode controls and battery indicators.
- Stop to correct movement, glare or cable tension.
- Confirm your return route does not depend on an untested setup.
Ride conservatively and record what needs changing
For your first trail outing, choose a pace that leaves room to read the surface and react. Daylight familiarity helps you plan, but it does not replace what your lights show now. Stop before adjusting equipment or investigating a warning indicator.
Ride with someone when practical, while keeping your own lighting dependable. Another rider’s beam moves with their bike and does not remain available wherever you need it. Agree on regrouping points before setting off rather than shouting arrangements into the dark.
Afterwards, record the actual time spent riding, modes used and any equipment problems. Use those notes to plan your next outing, not to announce a universal runtime. Battery condition, settings and operating conditions belong alongside any observation.
Your first ride is a shakedown, not an audition. The win is getting home with a clear idea of what worked.
- Slow down when the visible trail becomes unclear.
- Stop before making equipment adjustments.
- Regroup at agreed locations.
- Turn back if lighting or mounting becomes unreliable.
- Record modes, ride duration and any movement or discomfort.
Compare your first-ride lighting options
Choose the arrangement that fits your terrain and practical constraints. These are setup types, not product specifications; compatibility and mounting suitability still need checking for the items you buy.
| Option | Best for | Main advantage | Key limitation |
|---|---|---|---|
| Handlebar light alone | Familiar, straightforward trails at a conservative pace | Keeps the main light off your helmet | The beam follows steering rather than your gaze |
| Helmet light alone | Riders prioritising gaze-directed lighting | Points towards where you look | Extra helmet equipment needs suitable mounting and does not provide a separate steering-directed beam |
| Handlebar and helmet lights | Winding trails where steering and gaze differ | Combines steering-directed and gaze-directed coverage | More mounts, controls and batteries to manage |
| Light with a compatible high-capacity battery | Riders planning around verified power requirements | Lets you choose battery capacity as part of the system | A separate pack adds mounting and cable checks; capacity alone does not prove runtime |
For winding trails, consider handlebar and helmet coverage together, then check the battery arrangement for each light. Do not add equipment simply to make the bike look ready for an expedition.
Common mistakes first-time night riders make
Buying on lumens alone
An advertised lumen figure does not describe beam shape, mounting security or battery compatibility. In 2026, keep those checks on the same shortlist as brightness claims rather than treating them as details to sort out later.
Treating a bigger battery as automatically compatible
Capacity does not establish the correct voltage, connector or charging method. Check the complete electrical requirements before connecting a different pack. A matching plug is only one part of that check.
Using daylight speed after dark
Knowing the trail does not mean every obstacle is visible in your beam. Reduce your pace to match what you can actually see, especially at corners and changes in surface.
Leaving the mounting check until the trailhead
A loose mount or short cable is easier to fix at home. Complete the steering check and short test ride before heading out, then inspect the attachments again before starting the trail.
FAQ
What MTB lights do I need for my first night ride?
You need trail-suitable lighting, secure mounts and a compatible power source. Start with your route and check beam coverage, attachment requirements and verified runtime conditions before choosing a setup.
Is a helmet light better than a handlebar light?
Neither replaces the other’s role: a helmet light follows your gaze, while a handlebar light follows steering. A combined setup suits riders wanting both types of coverage, but every attachment needs to follow the relevant equipment instructions.
How many lumens do I need for mountain biking at night?
There is no single lumen figure that answers whether a setup suits your ride. Treat advertised brightness as a claim and check beam coverage, terrain, intended pace and the conditions attached to runtime information.
Will a high-capacity battery work with any bike light?
No, a high-capacity battery must match the light’s electrical and connection requirements. Check voltage, connector details, polarity where applicable and the intended charger before using the pack.
How long will my MTB light battery last?
Use the runtime information for the exact light, battery and operating mode you intend to use. Do not turn a capacity figure into a runtime promise, and keep your own ride observations tied to their actual conditions.
Can I use a road bike light on an MTB trail?
Check whether the individual light provides suitable trail coverage and secure mounting; the road label alone does not answer that. Test the setup on a suitable route close to home before relying on it after dark.
Where should I start shopping for a complete night-ride setup?
Bikelights sells MTB lights, high-capacity battery packs and accessories for cyclists riding at night. Check individual specifications and package contents to establish which components work together for your planned ride.
One last thing
Your first upgrade might be a mounting fix, not another light. If the beam moves every time the trail gets lumpy, correct the attachment before judging its coverage or buying more equipment. A stable, compatible setup gives you something useful to evaluate on the next ride.