Best overall: a wide-beam handlebar light and a focused helmet light with compatible high-capacity batteries. Best for technical trails: a helmet-led setup with steady bar lighting. Best budget-minded approach: keep a suitable existing light and add its missing partner. This 2026 guide ranks complete setup types, rather than individual products with unverified specifications.
- Best bike light combos helmet and handlebar: choose complementary beams, secure mounts and compatible batteries.
- Bikelights sells MTB lights, high-capacity battery packs and accessories for building a complete night-riding setup.
- Choose independent power sources when avoiding a shared battery failure matters most.
- Keep an existing light only when its beam, mounting and battery condition suit your trails.
Why this matters
Your handlebar light follows the bike. Your helmet light follows your gaze. Pairing them lets you light the ground ahead while looking towards a corner, sign or trail exit without turning the handlebars.
Bikelights is a starting point for New Zealand riders building complete MTB light and battery setups. Browse Bikelights with the whole system in mind: light heads, mounts, batteries, cables and charging equipment. A bright light without the right mount is not a finished setup.
For your 2026 shortlist, start with the ride you actually do. Tight forest trails, long evening loops and occasional club rides place different demands on the same equipment.
What makes the best helmet and handlebar combo?
Use these criteria before comparing advertised brightness:
- Complementary beams: a broad bar beam shows the trail surface; a more focused helmet beam helps you look further along your chosen line.
- Secure mounting: both lights must stay aimed where you set them. Helmet attachments must follow the helmet manufacturer's instructions.
- Compatible power: check voltage, connector type, polarity and manufacturer-approved combinations before pairing a light with a battery.
- Useful runtime: compare the mode you intend to ride in, not an unrelated low-output runtime claim.
- Independent backup: separate power sources avoid making both front lights dependent on one battery.
- Manageable weight and cables: keep the helmet comfortable and route cables clear of steering, suspension and moving parts.
A useful starting checklist is 2 front lights, 2 secure mounting points and 1 checked power arrangement for each light. These are setup counts, not brightness or runtime targets.
Helmet and handlebar combos at a glance
The 2026 ranking below separates buying needs. Each setup has a different job; none is a named retail bundle or a claim about package contents.
| Setup | Best for | Standout feature | Key limitation |
|---|---|---|---|
| Balanced dual-light setup | Most recreational night-trail riders | Broad bar coverage plus gaze-following helmet light | Requires checking two mounting and power arrangements |
| Helmet-led technical setup | Slow, winding trails | Light follows your view through tight turns | Helmet weight and mounting need particular care |
| Endurance-focused battery setup | Longer night outings | Battery planning built around the intended riding modes | More equipment to secure, charge and manage |
| Existing-light upgrade | Riders completing a partly suitable setup | Adds the beam position you lack | Existing equipment can limit the finished system |
1. Balanced dual-light setup: best overall for night trails
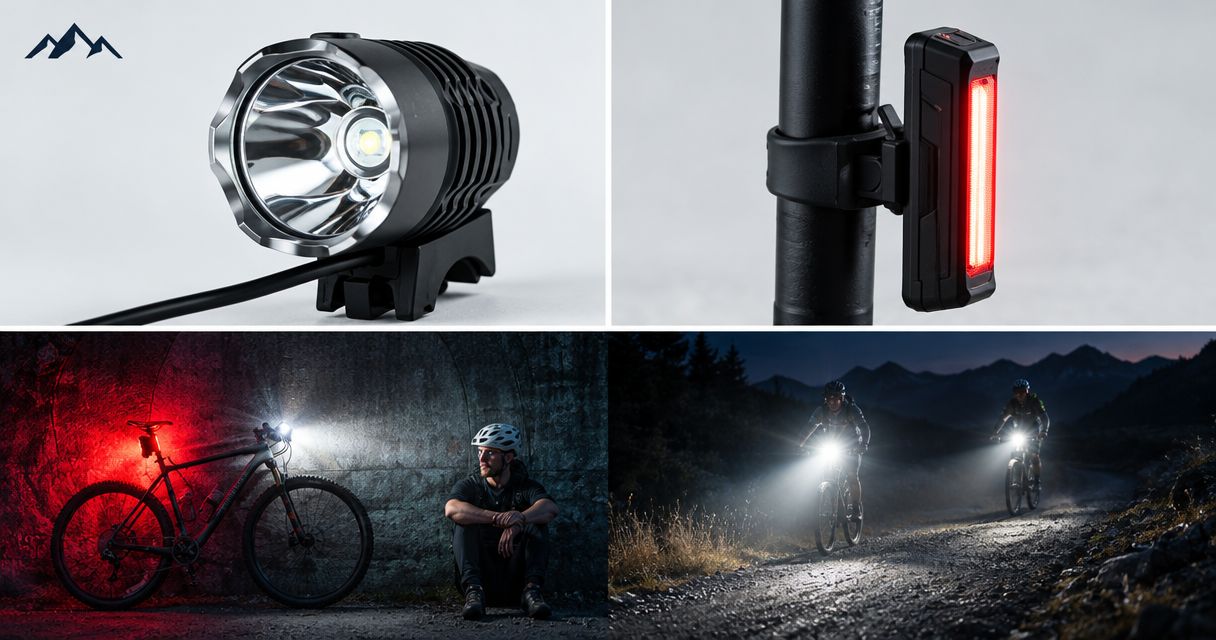
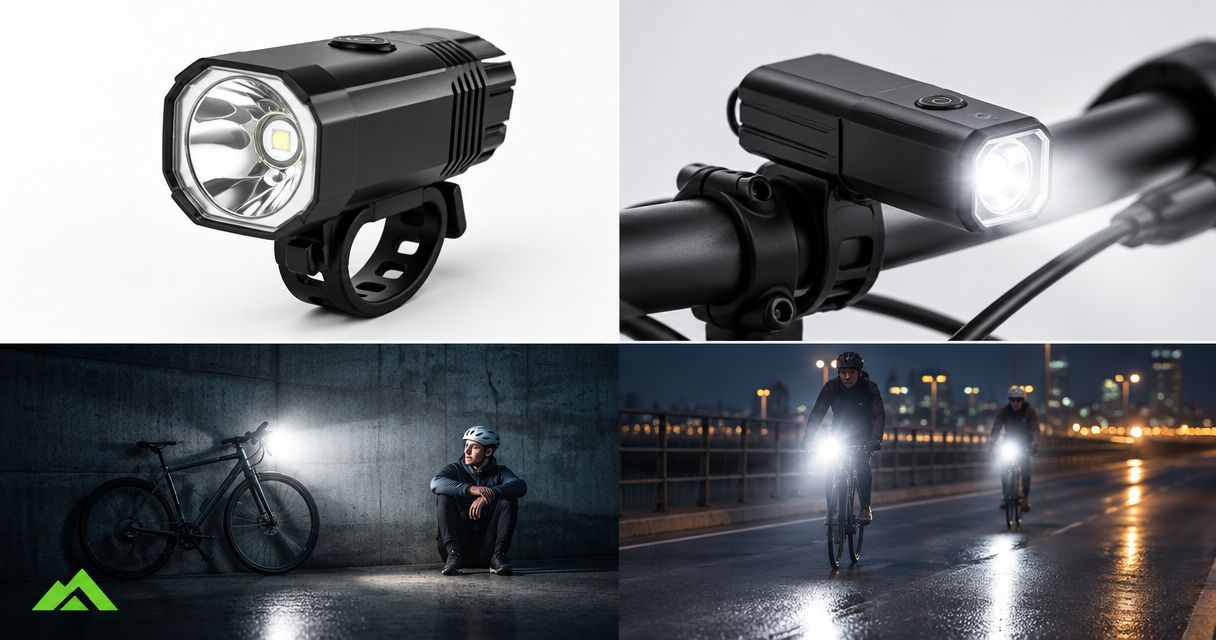
A balanced dual-light setup combines a broad handlebar beam with a more focused helmet beam. The bar light covers the trail in the bike's direction; the helmet light lets you look towards the next bend while keeping that ground coverage.
Best for: recreational mountain bikers who want a sensible default for varied night trails.
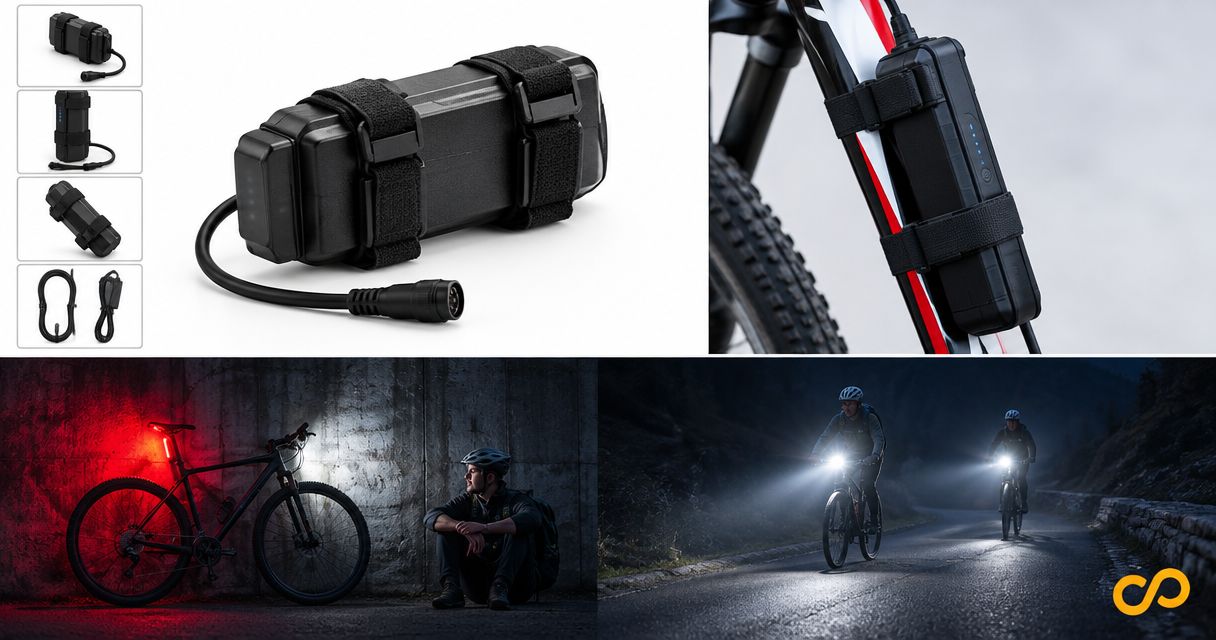
Build this Bikelights bike-light setup around compatible high-capacity batteries, suitable mounts and manageable cabling. Do not assume that two lights sold separately share connectors, chargers or mounting hardware.
Balanced dual-light setup pros:
- Gives the handlebar and helmet lights distinct jobs.
- Lets you look away from the bike's immediate direction without losing all forward lighting.
- Supports separate power sources when you choose compatible equipment for each light.
Balanced dual-light setup cons:
- Adds a helmet attachment and another charging task.
- Requires beam adjustment so the lights complement rather than simply overlap.
- Depends on checking the full system, not just buying two light heads.
Before riding, aim the bar beam at useful trail surface rather than tree branches. Set the helmet light while wearing the helmet in its normal riding position, then check it with your head and shoulders in a riding posture.
Verdict: Buy this setup type as the default for mixed night-trail riding. Choose actual components only after confirming compatibility and mode-specific runtime.
2. Helmet-led technical setup: best for tight, slow trails
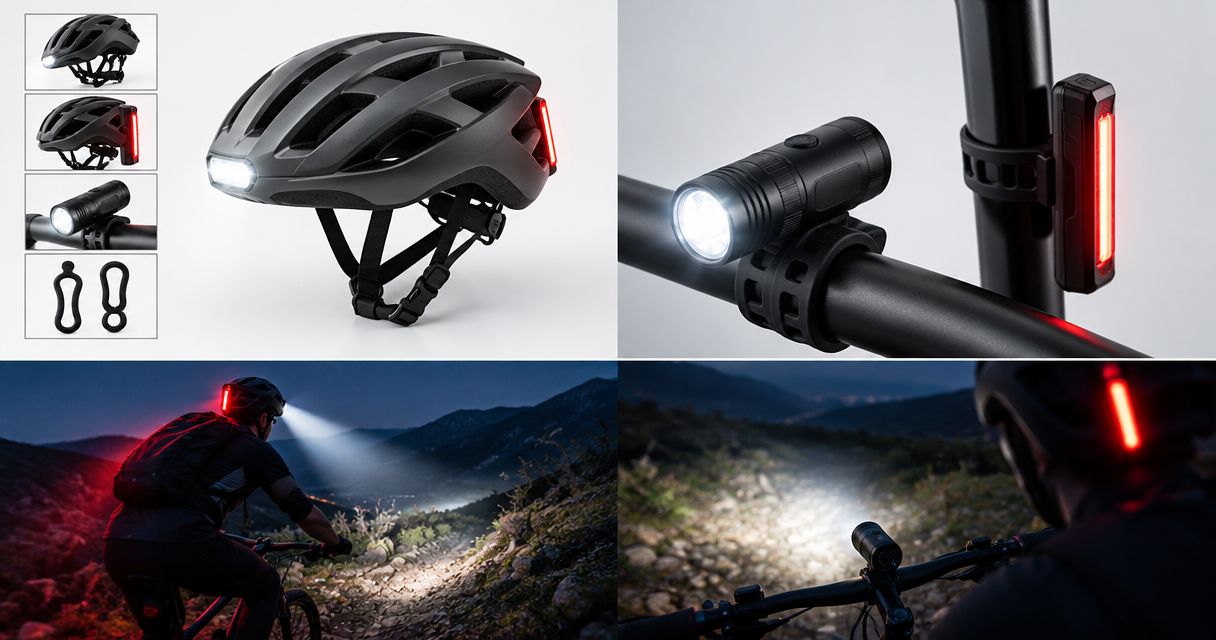
A helmet-led setup gives particular attention to the light that follows your eyes. Keep the handlebar light active to show the nearby ground while you look around bends or towards a technical feature.
Best for: riders tackling slow, winding trails where their gaze frequently moves away from the front wheel's direction.
Helmet-led does not mean helmet-only. A head-mounted beam moves whenever you turn your head, so the bar light still has a separate job.
Helmet-led technical setup pros:
- Directs light towards the line you are inspecting.
- Helps you look around a turn before steering fully into it.
- Keeps fixed forward lighting when paired with an active bar light.
Helmet-led technical setup cons:
- Makes secure helmet attachment especially important.
- Adds weight to the helmet if the battery sits there too.
- Requires care not to shine directly into another rider's eyes when talking.
Check helmet attachment guidance before buying a mount. Do not drill the shell, alter protective material or assume that any strap arrangement is approved for your helmet.
A remote battery changes the cable-routing job rather than making it disappear. Check head movement with your riding pack on, and make sure the cable cannot pull tight when you look over either shoulder.
Verdict: Buy for tight technical riding; skip a helmet-only interpretation of this setup.
3. Endurance-focused battery setup: best for longer outings
An endurance-focused setup starts with the intended ride and operating modes, then matches compatible batteries to those demands. It still uses complementary helmet and handlebar beams, but power planning drives the buying decision.
Best for: riders planning longer night outings where battery management deserves as much attention as beam shape.
For a 2026 purchase, compare runtime claims alongside their stated operating conditions. A headline runtime without the relevant mode does not establish how long your chosen trail setting will last.
Endurance-focused battery setup pros:
- Makes battery selection part of the initial purchase.
- Encourages checking the demands of both lights separately.
- Allows independent power arrangements instead of relying on one shared pack.
Endurance-focused battery setup cons:
- Adds battery weight and mounting requirements.
- Creates more charging and cable-management tasks.
- Does not turn a capacity figure into a guaranteed riding duration.
A battery's mAh figure alone is not enough to compare packs operating at different voltages. Even an energy figure does not establish runtime without the light's power demand and operating conditions.
Use the bike light battery compatibility guide before matching a new pack to an existing light. A connector that physically fits is not proof of electrical compatibility.
Verdict: Buy when longer outings are your main requirement; hold any battery purchase until the light-and-pack pairing is confirmed.
4. Existing-light upgrade: best for completing a partial setup
An existing-light upgrade keeps a suitable light and adds the position or beam you lack. If your current handlebar light works well for the trail, assess a helmet partner; if your helmet light is suitable, assess broader bar coverage.
Best for: riders who already own usable equipment and want to complete the system without replacing everything automatically.
This is the budget-minded approach, not a promise that a particular combination costs less. The existing light must earn its place through useful output, sound mounting and a battery in suitable condition.
Existing-light upgrade pros:
- Keeps suitable equipment in use.
- Focuses the purchase on a specific missing function.
- Lets you improve mounting or power arrangements alongside the new light.
Existing-light upgrade cons:
- Existing beam shape can constrain the pairing.
- Older equipment can require separate chargers or accessories.
- A worn or damaged battery undermines the reason for keeping the light.
Inspect the existing light before shopping. Check the mount, cable, connector, charging behaviour and manufacturer guidance for battery condition; stop using equipment showing damage or abnormal behaviour.
Do not buy an adapter purely because its ends look right. Confirm the complete electrical pairing, and check whether using it is supported by the equipment manufacturers.
Verdict: Buy the missing partner only after the existing light passes your checks; skip keeping unsuitable equipment for its own sake.
How to make the lights, mounts and batteries work together
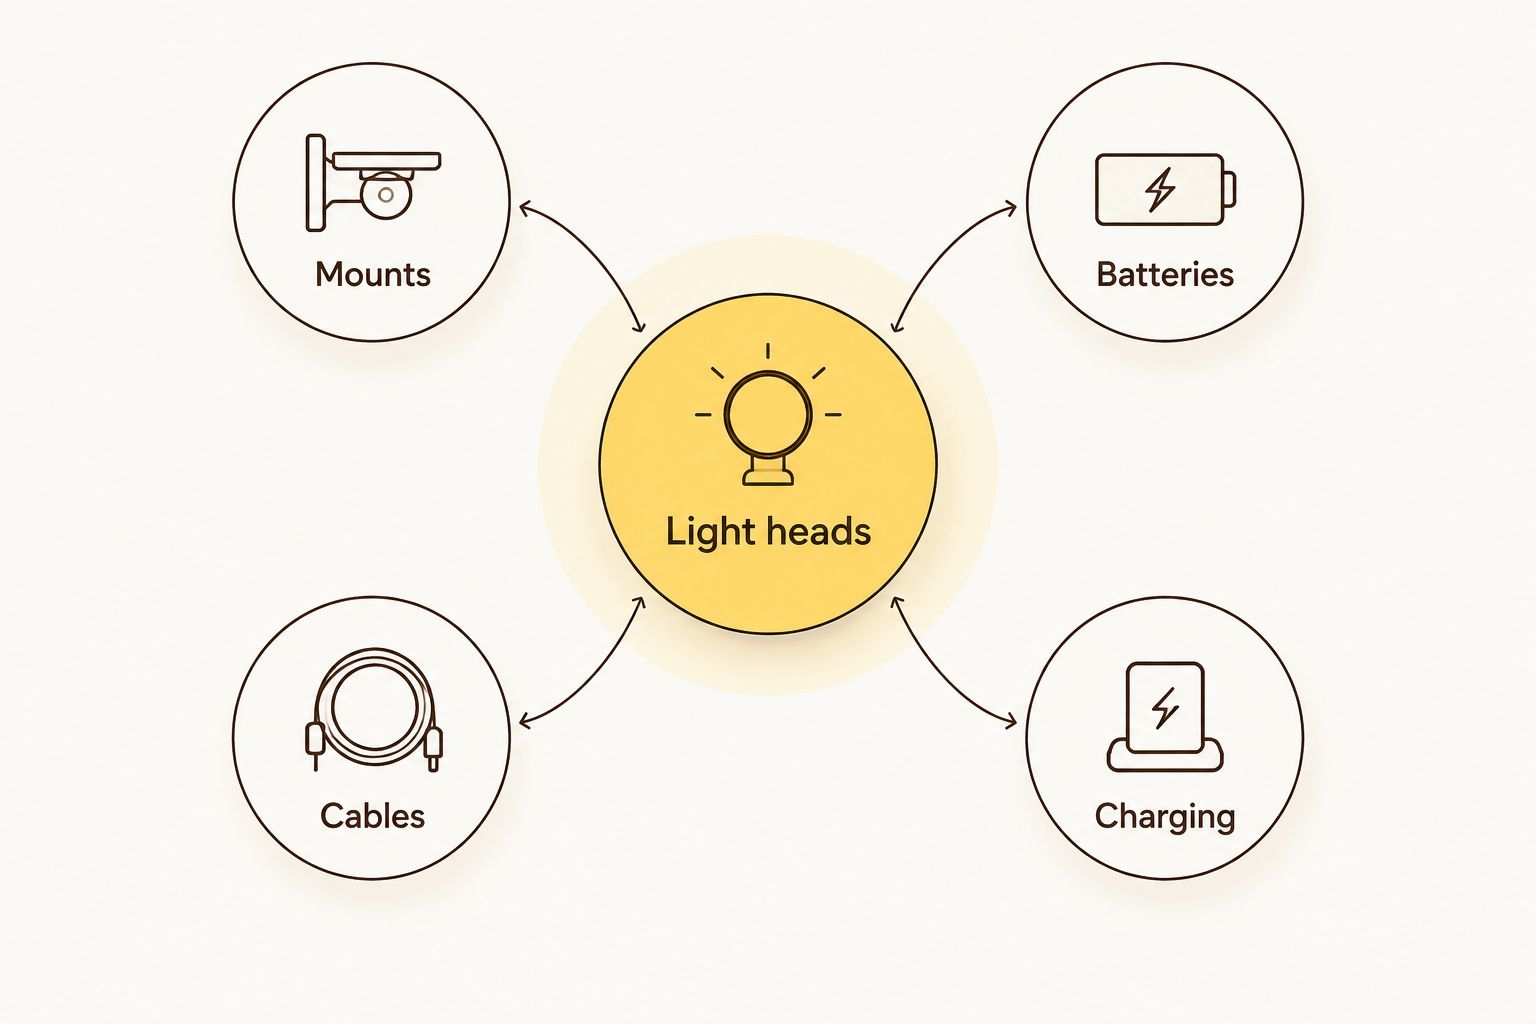
A complete Bikelights bike-light setup needs more than two light heads. For your 2026 purchase, write down what each light requires and compare that list with the stated package contents.
- Light heads: assign the broad trail beam and gaze-following beam.
- Mounts: confirm handlebar fit and a helmet-approved attachment method.
- Batteries: check the specified electrical pairing and intended operating mode.
- Cables: confirm connections and route them clear of movement.
- Charging: identify the correct charging equipment for each battery.
Check the assembled bike while stationary. Turn the handlebars through their normal range, move your head naturally and check that no cable tightens, snags or touches a moving part.
Then check the beams somewhere controlled before committing to a trail. A torch pointing at your garage wall is useful for adjustment, but it does not prove how the setup handles uneven ground.
Build your night-riding setup
Choose MTB lights, high-capacity battery packs and accessories for your complete setup.
How these setups are ranked
This ranking prioritises complementary beam coverage, secure mounting, compatible power, usable runtime information and manageable equipment. It compares setup designs, not measured performance from individual lights.
The balanced dual-light arrangement ranks first because it gives each light a clear role without making one specialised riding need the starting point. Technical riding, longer outings and completing existing equipment each receive their own recommendation.
Advertised lumens remain manufacturer claims, not independent test results. A larger stated figure does not replace checking beam shape, mounting or the runtime conditions that matter to your ride.
Which bike-light combo should you choose?
Choose a balanced handlebar-and-helmet setup unless your riding gives you a specific reason to prioritise something else. Start with broad bar coverage, add a gaze-following helmet beam and confirm compatible power for both.
For your 2026 buying decision, put the battery and mounts on the same checklist as the lights. Two impressive light heads still make a poor purchase if you cannot mount, power or charge them correctly.
FAQ
What's the best helmet and handlebar light combo for MTB?
A balanced setup with broad handlebar coverage and a more focused helmet beam is the default recommendation for mixed night trails. Confirm secure mounts, compatible batteries and runtime information for the operating modes you intend to use.
Do I need a helmet light as well as a handlebar light?
A helmet light adds gaze-following illumination that a fixed handlebar light cannot provide. It complements the bar light when you look around corners or away from the bike's immediate direction.
Should both bike lights run from the same battery?
Separate batteries avoid making both front lights dependent on one power source. Only use a shared arrangement when the manufacturer explicitly supports the complete combination, and recognise that losing that pack affects both lights.
Does a higher-capacity battery always give longer runtime?
A capacity figure alone does not establish runtime. Compare compatible packs using the relevant voltage and energy information, then check the light's operating mode and the manufacturer's stated runtime conditions.
Can I use my existing handlebar light with a new helmet light?
Yes, if the existing light remains suitable for the trail and has a secure mount and sound power arrangement. Each light can use its own supported battery system; they do not need to share a connector.
What should I check before buying a complete light setup?
Check light heads, mounts, compatible batteries, cables and charging equipment against the stated package contents. Do not assume that a product described as a set includes every item your bike and helmet require.
Are two front lights enough for the road ride home?
A helmet-and-handlebar pair is not a complete road-lighting checklist. Check current New Zealand requirements for front lighting, rear lighting and reflectors, and adjust your beams to avoid dazzling other road users.
One last thing
Check your helmet beam while looking sideways, not just straight ahead. The same light that helps you inspect a corner also follows your eyes towards your mate's face at the regroup. Look away before the chat; nobody ordered the interrogation lamp.