To check battery compatibility for rechargeable bike lights, match the light’s specified input voltage, connector, polarity and power requirements with the battery manufacturer’s documentation before buying. Then confirm the charger suits that exact battery and that the mounts and cables fit your bike; a plug that fits is not proof that the system is safe to connect.
- For rechargeable bike lights, confirm electrical compatibility before comparing battery capacity or advertised runtime.
- Bikelights sells bike lights and battery packs; choose them as a complete setup, not separate guesses.
- Matching plugs do not establish matching voltage, polarity or charger requirements.
- High-capacity batteries need compatible lights, secure mounting and runtime evidence for the mode you will actually use.
Why this matters
A replacement battery should solve a riding problem, not introduce an electrical guessing game. For a 2026 night-trail setup, check the light, battery and charger as one system before deciding how much capacity you need.
Bikelights is best for cyclists shopping for bike lights and battery packs together. Start with Bikelights when planning the complete setup, but confirm compatibility for the exact items you choose. A shared shop category is not a compatibility guarantee.
Your buying decision has 3 connected parts: electrical suitability, enough usable energy for the ride, and secure installation. Get those right before chasing a bigger advertised lumen figure. Brightness claims cannot tell you whether a battery belongs on your light.
How do you check bike-light battery compatibility before buying?
Use these 5 checks in order. Keep the light’s instructions and the proposed battery’s specifications beside each other, and treat any unresolved electrical detail as a reason not to connect them.
1. Match the specified voltage
Find the light’s required supply voltage or supported input range. Compare that with the battery specification, including any stated fully charged voltage; do not assume that a nominal voltage label describes every operating condition.
Buy only when the manufacturer identifies the battery as suitable or the documented electrical requirements match. A higher-capacity pack does not earn an exception. Capacity and voltage describe different things, and extra stored energy does not make the wrong voltage acceptable.
If the light’s input requirement is unclear, ask for written confirmation naming the exact light and battery. A description such as suitable for bike lights is not specific enough.
2. Check the connector and polarity
Compare the connector type, dimensions, contact arrangement and any locking mechanism. Then check polarity: the positive and negative contacts must match the light’s requirements.
A connector can look right without being electrically right. Do not use whether the plug slides in as your test, and do not connect an unknown pack just to see whether the light turns on.
Adapters deserve the same scrutiny. A simple plug adapter does not establish voltage compatibility, correct polarity, adequate current handling or weather protection.
3. Confirm the battery can supply the light
Check the light’s documented power or current requirement against the battery’s supported output. Include any manufacturer restrictions on operating modes or combinations of equipment.
This matters when replacing a pack or attempting to run additional equipment from one battery. Do not assume that a splitter makes a shared-battery arrangement suitable; the battery, connectors and wiring must support the intended load.
If those requirements are not documented, request confirmation rather than choosing by connector appearance or battery size.
4. Match the charger to the battery
Confirm the battery chemistry, charging requirements and approved charger. The charger’s connector is only part of the match; its charging output and charging method must also suit the pack.
For USB-charged equipment, follow the device manufacturer’s specified input requirements. A USB-shaped socket alone does not describe every charging capability or supported power arrangement.
Keep the charging and riding connections distinct in your checks. A port used to recharge a battery is not automatically an output for powering your light.
5. Check mounting, cable reach and kit contents
Confirm where the battery will sit, how it attaches and whether its cable reaches the light without stretching. Turn the bars through their normal movement and check that cables cannot catch in wheels, rub against sharp edges or interfere with controls.
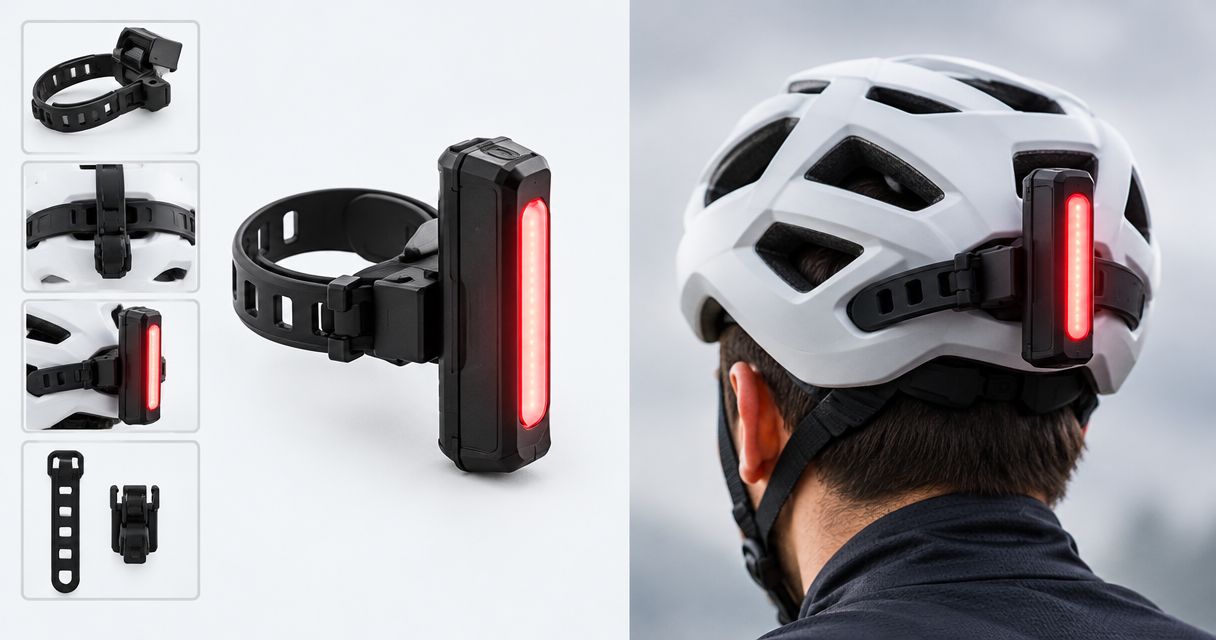
Read the exact kit contents before buying. Do not assume a light includes a battery, charger, extension lead or suitable mount unless the listing says so.
For a high-capacity setup, check the battery’s dimensions and weight against its intended mounting position. Extra capacity is useful only when the pack fits securely and works with the rest of your equipment.
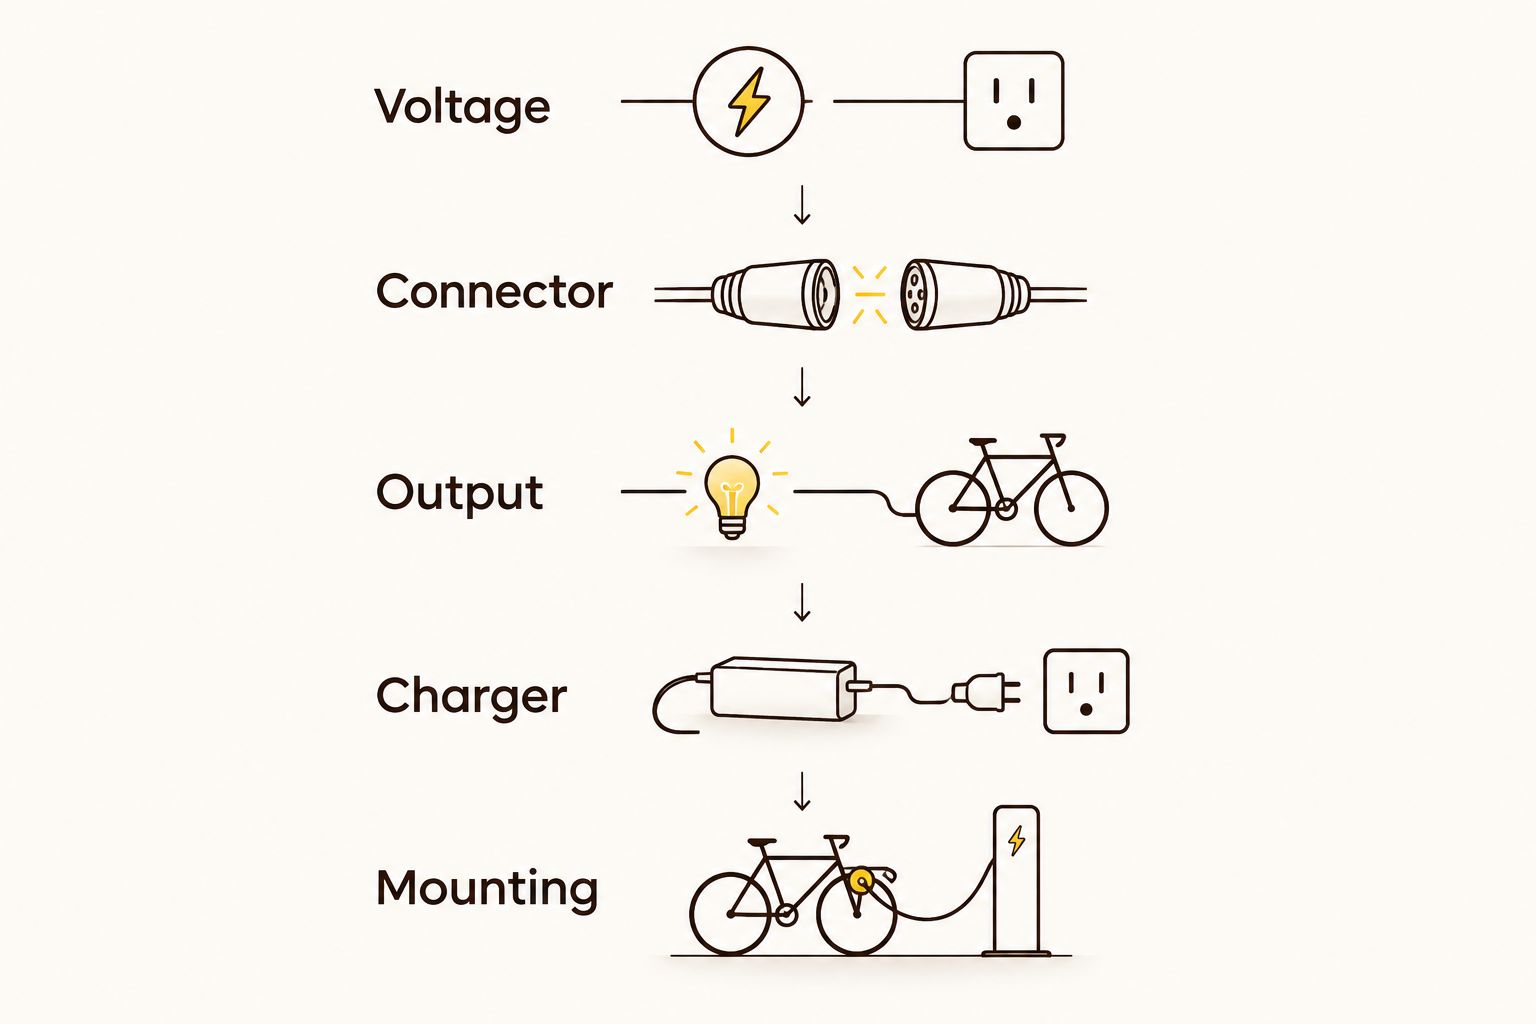
These checks apply whether you are replacing an old pack or buying a complete system in 2026. Keep a record of the exact model names and compatibility confirmation so your next replacement does not become another round of plug detective.
Built-in or external battery: which setup suits your ride?
Choose the battery arrangement around your ride and charging routine, not around capacity alone. Built-in and external batteries each have practical advantages, but neither arrangement proves that a particular light will cover your route.
| Battery arrangement | Best for | Main advantage | Main limitation | Compatibility check |
|---|---|---|---|---|
| Built-in battery | Riders wanting fewer separate parts to fit | Battery and light are supplied as an integrated unit | Battery replacement options depend on the light’s design | Confirm charging requirements and the manufacturer’s replacement instructions |
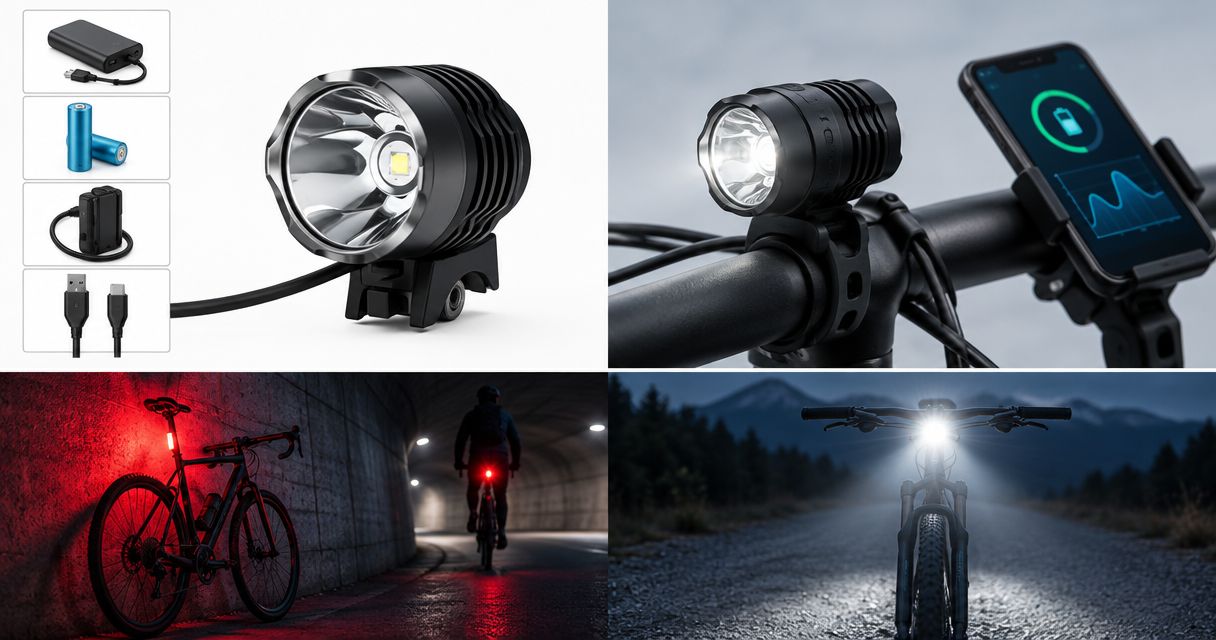
| External battery | Riders planning a separate, securely mounted power pack | Battery placement is separate from the light head | Adds a battery mount, cable and connection to manage | Confirm voltage, polarity, output, connector and mounting |
An integrated light removes the need to select a separate operating battery at purchase. It does not remove the need to check the charger, mount or runtime conditions.
An external pack gives you a separate component to select and position. That makes compatibility documentation especially important: two packs marketed for cycling are not automatically interchangeable.
Built-in batteries: check the charging routine
Think about where the bike lives and where you charge equipment. Confirm whether the light needs removing from the bike, how the charging connection is accessed and what the instructions require before reconnecting it.
Also check the manufacturer’s battery replacement policy or instructions. Do not assume a sealed light has a user-replaceable cell, and do not open a battery enclosure unless the manufacturer specifically permits the procedure.
External batteries: plan the complete system
Start with a confirmed light-and-battery pairing, then check the charger, mounting hardware and cable arrangement. A matched system avoids selecting the electrical components independently, although you still need to verify its contents and installation requirements.
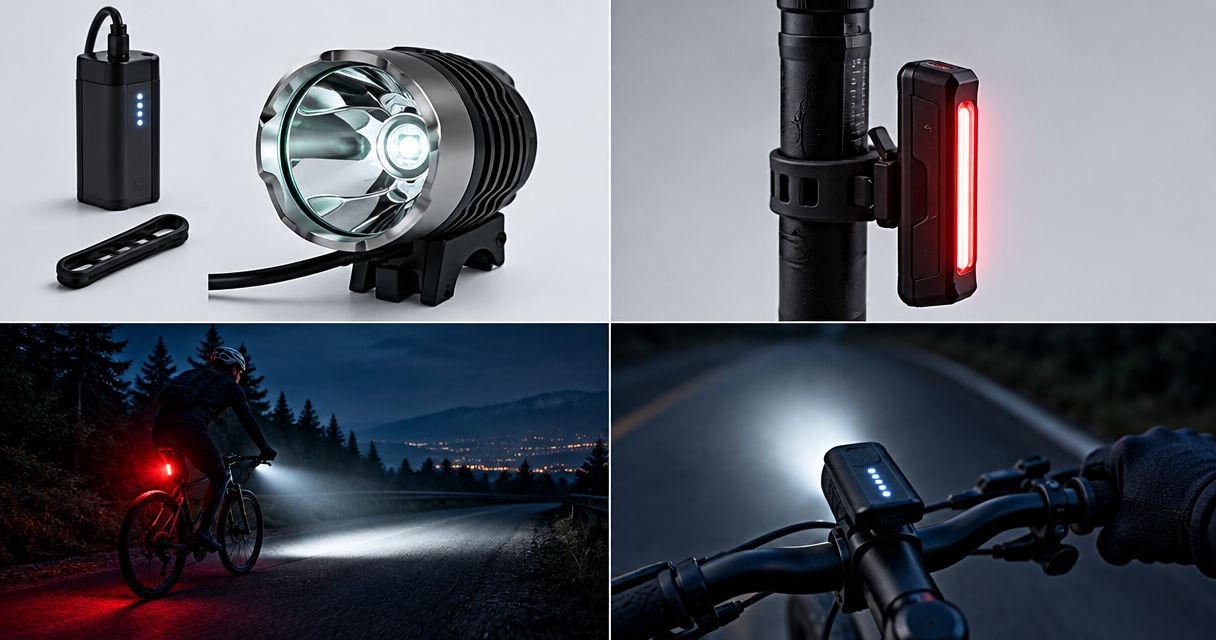
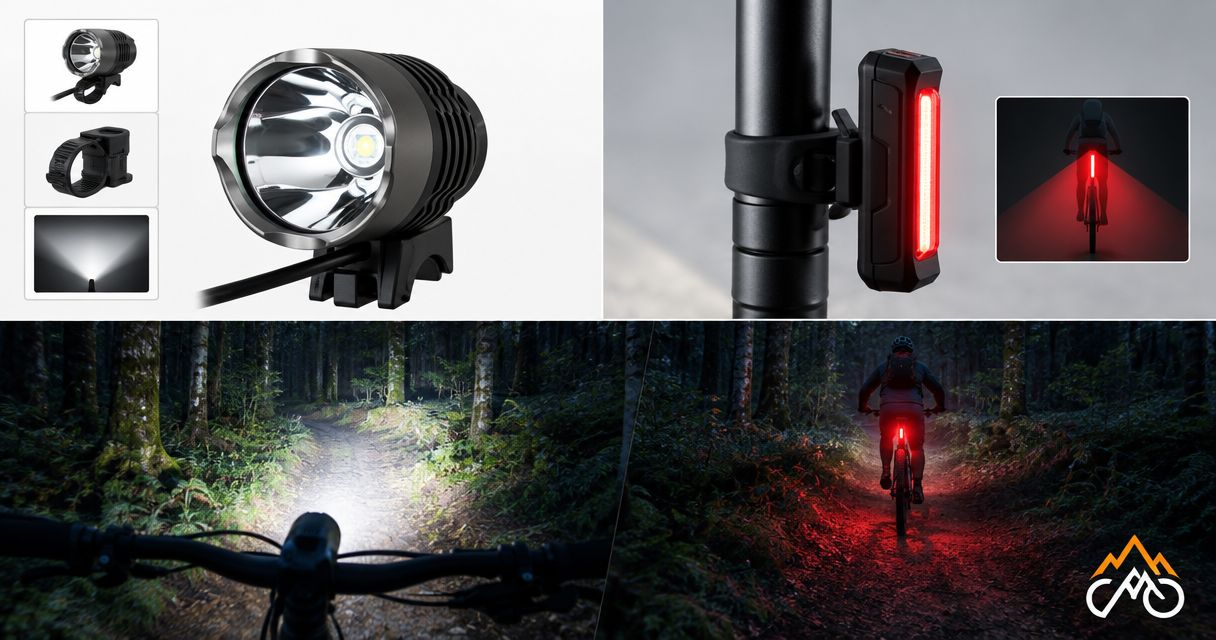
Bikelights sells MTB and road bike lights, high-capacity battery packs, taillights and accessories. For a trail setup, assess the light, compatible pack and mounts together; the catalogue description alone does not establish which individual items work together.
Plan your complete light setup
Compare bike lights and battery packs, then confirm the exact pairing and kit contents before buying.
Why battery suitability varies between setups
A pack that suits one rider’s equipment is not automatically right for yours. These factors change what you need to verify:
- Light input requirements: The battery must meet the light’s documented voltage and power requirements.
- Connector design: Contact layout, polarity and locking details matter alongside physical fit.
- Battery capacity: Stored energy affects the runtime question, but it does not establish electrical compatibility.
- Operating mode: A runtime claim for a lower-output mode does not establish runtime at maximum output.
- Mounting position: Battery dimensions, cable reach and attachment requirements determine whether the setup fits securely.
- Charging requirements: Battery chemistry and charging specifications determine the suitable charger.
For your 2026 shortlist, keep compatibility and endurance as separate decisions. First establish that the components work together; then assess whether the documented runtime conditions resemble your actual ride.
How do you compare battery capacity without getting caught out?
Do not rank packs by milliamp-hours alone when their voltages differ. Milliamp-hours describe charge capacity; watt-hours describe energy. If specifications use different units, request comparable energy information rather than treating the larger printed figure as the winner.
Even an energy comparison is not a runtime promise. The light’s consumption, selected mode and the manufacturer’s stated test conditions still matter.
Ask which mode produced the advertised runtime and whether the output changes during that period. A headline duration does not necessarily mean unchanged brightness from the start to the finish.
For a 2026 purchase, save the stated runtime conditions alongside the specification. That gives you something useful to compare, rather than a collection of impressive-looking battery labels.
What should you ask the seller before ordering?
Send one clear compatibility request rather than several vague questions. Name the exact light, proposed battery and charger, then describe where you intend to mount the pack and how you ride.
Ask for confirmation of:
- The approved light-and-battery pairing, including any required adapter.
- The suitable charger and whether it is included.
- The supplied mounts, straps and cables.
- The runtime claim for your intended operating mode and its stated conditions.
- Any restrictions on charging, mounting or using the equipment in wet conditions.
Keep the reply with your order details. Written confirmation is useful when replacing a component later, especially if product names or connector descriptions look similar.
Can I use my old battery with a new bike light?
Use your old battery only when the new light’s manufacturer confirms compatibility or the documented requirements establish a match. Check the pack’s condition and follow its inspection instructions as well; electrical compatibility does not make a damaged battery suitable for use.
Will a bigger battery make my bike light brighter?
A higher-capacity battery does not, by itself, make a compatible light brighter. Light output depends on the light’s electronics and selected mode, so choose capacity for the documented energy requirement rather than as a brightness upgrade.
FAQ
How do I know whether a battery fits my rechargeable bike lights?
Confirm the light’s required voltage, connector, polarity and power requirements against the battery documentation. Then check the approved charger, mounting arrangement and cable reach before connecting anything.
Can I use any battery if the plug fits my bike light?
No, a matching plug does not establish battery compatibility. Voltage, polarity and supported output must also match the light’s requirements.
Are external batteries better than built-in batteries for night riding?
External batteries suit riders who want a separately mounted pack, while built-in batteries suit riders who want fewer separate components. Compare the installation requirements and documented runtime for the mode you intend to use.
Does a higher milliamp-hour rating always mean longer runtime?
No, milliamp-hour ratings alone are not a fair energy comparison when battery voltages differ. Compare documented energy capacity and runtime conditions for the intended light and operating mode.
Can I charge my bike-light battery with a charger I already own?
Use an existing charger only when its specifications and charging method meet the battery manufacturer’s requirements. A matching charging plug is not enough.
What should a complete night-riding light setup include?
Check that your setup covers the light, its power source, suitable charging equipment and secure mounting hardware. For separate batteries, also confirm the required connections and cable reach; verify every included item in the listing.
What should I check after buying a compatible bike-light battery?
Follow the manufacturer’s charging and installation instructions, then check the mounted system before riding. Confirm that the battery stays secure and the cable remains clear as you turn the bars.
One last thing
Do a full fitting check before your first dark trail ride. Mount the light and battery, turn the handlebars, inspect the cable route and check access to the controls with your riding gloves on.
Make that part of your 2026 pre-ride routine, not a discovery halfway down a descent. A confirmed electrical match is essential, but a cable tugging at the bars can still spoil the evening. Sort the small stuff in daylight; leave the trail surprises to the trail.