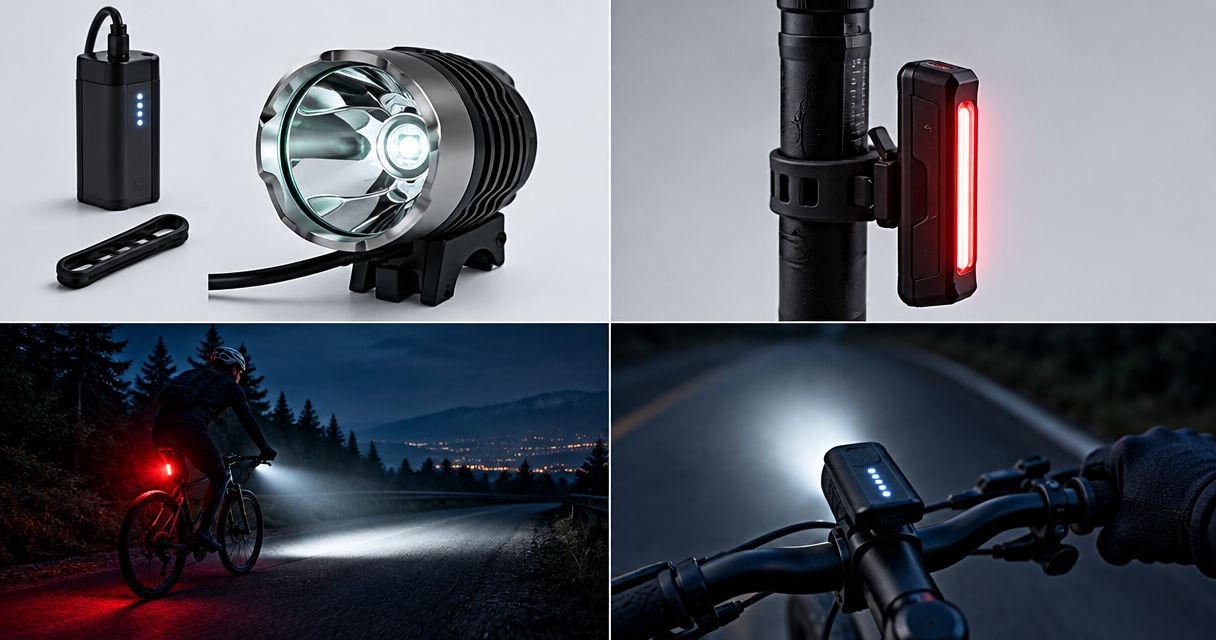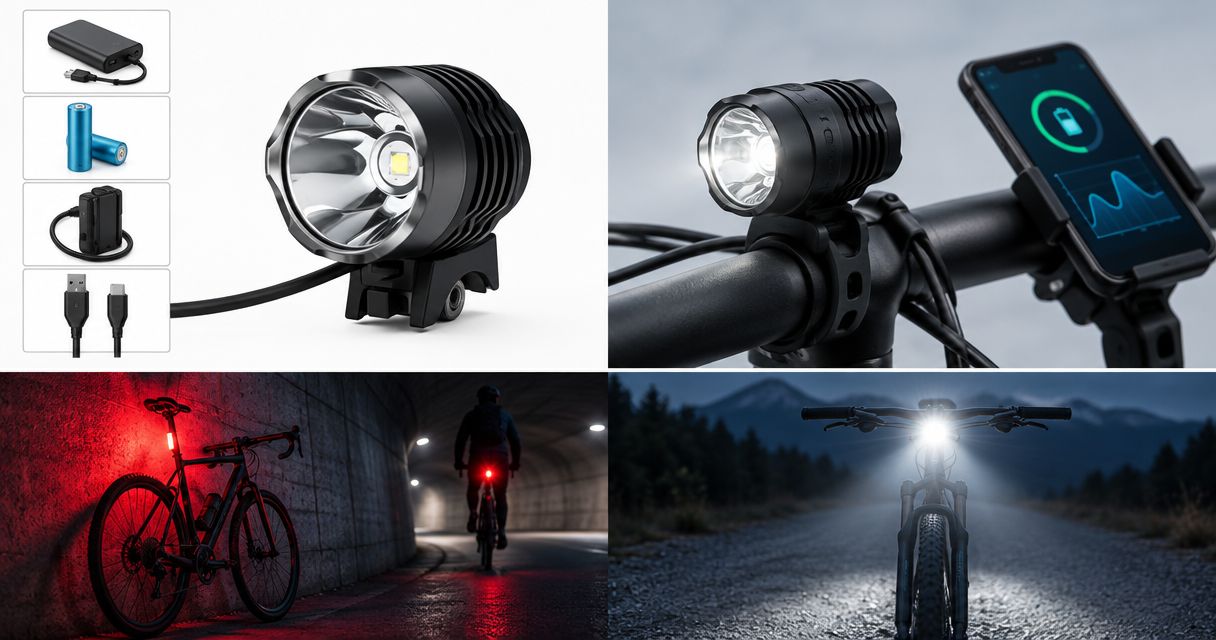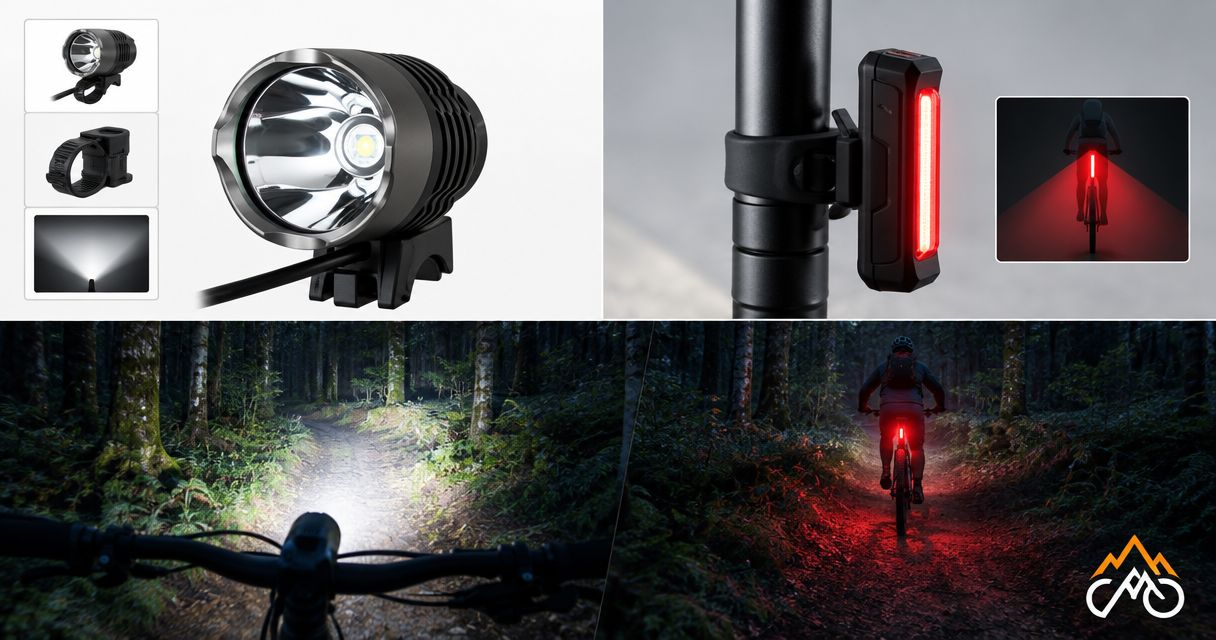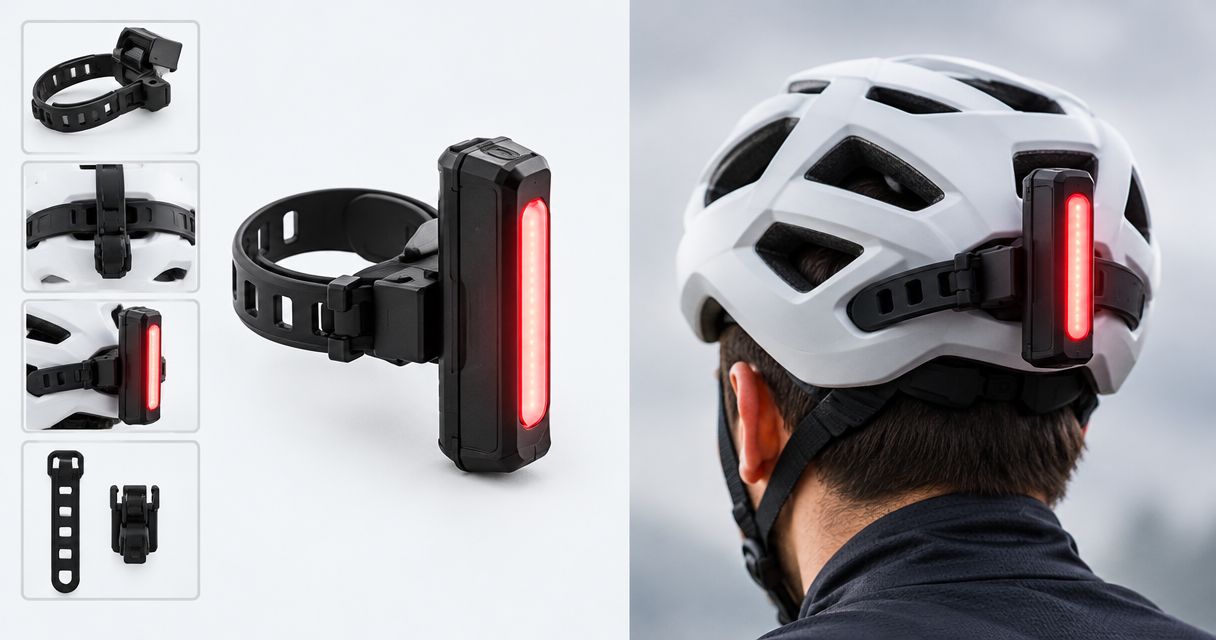
To mount a bike helmet light without wobble, use a mount approved for your helmet and light, seat it firmly against the intended mounting surface, and secure it exactly as the instructions specify. Check the helmet fit before adjusting the light, then check the light, mount and battery cable separately. If the assembly still moves, fix the incompatible or loose connection rather than tightening everything harder.
- A bike helmet light needs a compatible mount, a stable helmet and a cable that does not pull.
- Bikelights suits New Zealand night riders shopping for bike lights, high-capacity batteries and accessories together.
- Check helmet fit before blaming the light mount; a moving helmet makes the whole setup feel loose.
- Choose MTB lights and compatible batteries as one setup, not separate purchases with assumed compatibility.
Why this matters
A light that shifts when you turn your head sends its beam somewhere you did not intend. On a dark trail, you want to concentrate on the next corner, not keep nudging your lamp back into place.
Bikelights is best for New Zealand night riders shopping for bike lights, high-capacity batteries and accessories together. Start with the complete setup at Bikelights, but confirm the exact helmet mount, battery compatibility and included parts before choosing anything.
For a 2026 purchase, treat the mounting instructions as part of your buying decision. A light is not ready for your helmet just because its beam looks suitable.
How do you mount a bike helmet light without a wobbly fit?
Work from your head outwards: helmet first, mounting base second, light attachment third. Then check the power cable and battery placement. That order helps you find the moving part instead of masking one loose connection by overtightening another.
1. Fit the helmet without the light
Put the helmet on and adjust it according to its manufacturer's instructions. Check the retention system and straps before adding accessories. If the helmet shifts independently of your head, sort that out first.
Do not use the light mount to compensate for a poor helmet fit. Extra strap tension across the shell is not a substitute for a correctly fitted helmet.
2. Confirm that the mounting method is approved
Check both the helmet instructions and the light-mount instructions. Confirm the intended attachment point, the correct fittings and any restrictions on accessories. A mounting plate that appears to sit neatly is not proof of compatibility.
Do not drill the helmet, cut its foam or improvise a permanent attachment. If the instructions do not cover your combination, ask the manufacturers before fitting it.
3. Seat and secure the mounting base
Place the base where the instructions specify. Check that it rests as intended rather than rocking across an unsuitable surface or sitting on a trapped strap.
For an approved strap mount, follow the specified routing and fastening method. Keep the strap flat and clear of the helmet's retention system. Tighten as directed, not until the helmet becomes a stress test.
4. Attach the light and check its adjustment
Fit the light into the mounting interface and engage the specified latch, screw or fastener. Check the base separately from the light's angle adjustment: either connection can be the source of movement.
Set the initial beam direction while wearing the helmet in your normal riding position. Avoid correcting a loose base by locking the angle adjustment harder.
5. Route the cable and secure the battery
If your light uses an external battery, place the battery only where its instructions permit. Route the cable so that turning your head does not pull on the lamp or connector, while keeping loose cable clear of moving parts and snag points.
Check the setup with your usual riding pack and clothing. A cable that seems fine standing beside the bike can pull differently once you reach for the bars.
6. Test before entering the trail
With the bike stationary, turn your head and move into your riding position. Check that the helmet stays fitted, the base stays seated and the light holds its aim. Make sure the cable does not tug at either end.
Then make a controlled check in a safe area before committing to technical terrain. If anything shifts, stop and correct it; repeated roadside nudging is not a mounting solution.
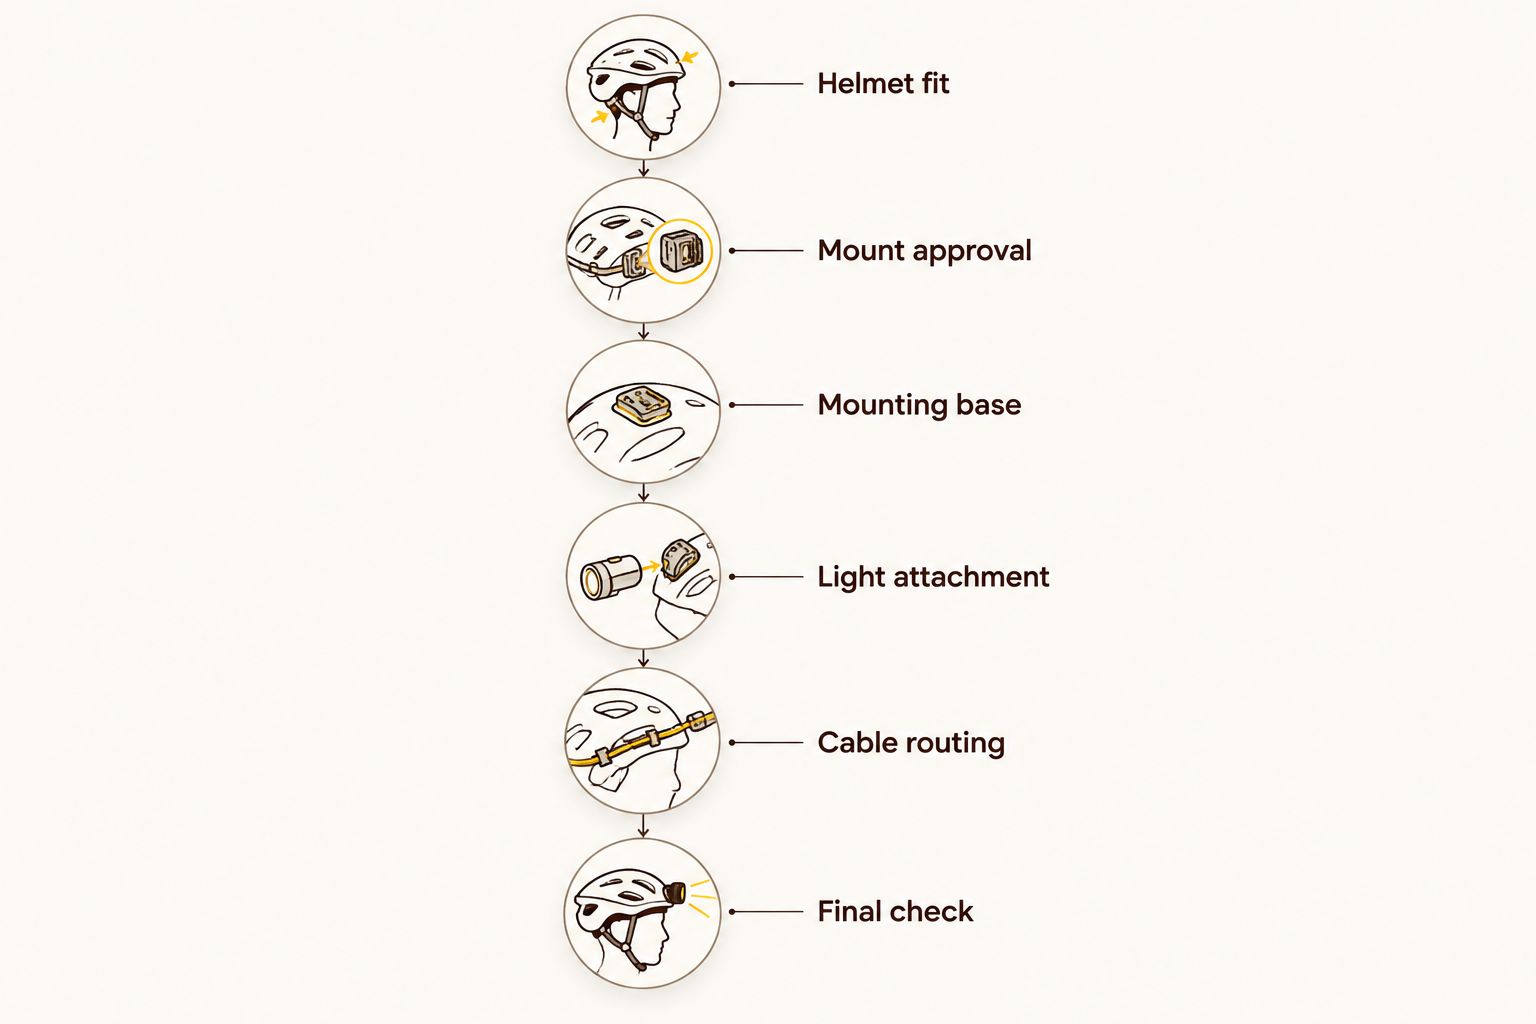
The final check covers 3 separate connections: your head to the helmet, the helmet to the base, and the base to the light. A secure connection at one point does not fix movement elsewhere.
Which helmet-light mounting method should you choose?
Choose the attachment method your helmet and light manufacturers permit, not whichever fitting happens to be in the shed. The options below describe mounting approaches, not compatibility claims for any particular product.
| Mounting approach | Best for | Advantage | Limitation |
|---|---|---|---|
| Approved vent-strap mount | Riders whose helmet and light instructions permit vent mounting | Uses the specified strap route to secure a removable base | Vent layout and strap routing must suit the mount |
| Dedicated helmet interface | Riders with an expressly compatible helmet and light mount | Provides a defined attachment point | Requires the correct interface and fittings |
| Approved adhesive mount | Riders whose manufacturers expressly permit that adhesive system | Avoids routing a strap through vents | Surface preparation, placement and removal need particular care |
Approved vent-strap mount: check the base first
A vent strap needs the correct route through the helmet, with the base seated as intended. A strap pulled tight over the wrong route can still leave the base rocking. Inspect the underside too, following the helmet instructions.
Choose this approach only when both sets of instructions support it. Do not run a strap through the retention mechanism or add packing material unless the manufacturer specifies it.
Dedicated helmet interface: confirm the exact match
A dedicated interface is useful when the helmet and mount are expressly compatible. Check the fitting instructions and required hardware rather than relying on similar-looking shapes.
A fitting that slides into place is not necessarily fully engaged. Complete the specified locking step, then check for movement at the interface before adjusting beam angle.
Approved adhesive mount: follow the preparation instructions
Use an adhesive attachment only when it is approved for your helmet and intended light setup. Follow the specified surface preparation, positioning and bonding instructions, including any stated waiting period before use.
Do not substitute household tape or an unverified glue. If you are unsure whether the adhesive or its removal method suits the helmet shell, leave it off and get confirmation.
Why does a bike helmet light wobble?
A wobbly light is a connection problem to identify, not automatically a request for more tightening. For your 2026 setup, check these factors before replacing the lamp:
- Helmet fit: The whole helmet moves, taking the light with it. Recheck the helmet's adjustment without accessories attached.
- Base seating: The mounting base rocks against the helmet. Confirm the approved position and contact surface.
- Fastening: A strap, latch or screw is incorrectly secured. Follow the fitting instructions and any stated tightening limit.
- Angle adjustment: The base stays still but the lamp tilts. Check the light's adjustment mechanism separately.
- Cable pull: The beam shifts when you turn your head or move your pack. Revisit battery placement and cable routing.
- Accessory compatibility: The mount or attachment is not specified for the combination. Stop using the arrangement until compatibility is confirmed.
Change one thing at a time. If you move the base, tighten the pivot and reroute the cable together, you lose track of what fixed the problem—or what remains loose.
How do the light, mount and battery work together?
Think of your helmet light as part of a complete night-riding setup. The mounting system controls where the beam points; the battery and cable must support that arrangement without pulling it out of position. A high-capacity battery does not solve an unsuitable mount.
Before ordering in 2026, check these 4 buying details:
- Mount contents: Confirm whether the intended helmet fitting is included or must be selected separately.
- Battery compatibility: Check the manufacturer's compatibility information, not just whether connectors look alike.
- Cable arrangement: Confirm that the approved battery position works with your helmet, clothing and pack.
- Runtime conditions: Match any published runtime to the stated light mode, battery and operating conditions.
An external battery adds a cable and another item to secure, but it also allows battery placement away from the light where the manufacturer permits. An integrated battery removes that external cable, but puts the battery into the helmet-mounted assembly. Neither arrangement removes the need for an approved mount.
For a Bikelights bike-light setup, confirm the exact light, mounting accessories and compatible high-capacity battery before buying. Advertised lumen figures are claims, not independent test results; brightness alone does not tell you whether the setup fits your helmet or suits your ride.
Build your night-riding setup
Choose bike lights and batteries together, then confirm mount compatibility and what is included.
Can you use a helmet light as well as a handlebar light?
Yes, when both lights are fitted correctly and suit your riding. A helmet light follows your head direction, while a handlebar light follows the steering. That difference lets the lights serve different purposes rather than simply duplicating each other.
The trade-off is more equipment to mount, charge and check. For a 2026 trail setup, decide how both lights and their batteries will work together before buying an extra lamp. Do not assume a helmet light replaces every other light needed for your route or ride home.
How should you aim a helmet light without dazzling other riders?
Set the initial aim in your normal riding position, then check where the beam falls in a safe place. Avoid pointing the light at another rider's face when you turn to talk. Your head moves; the beam comes along for the conversation.
Use an appropriate mode for the surroundings and adjust it when necessary. If the aim keeps changing during the ride, fix the mounting problem rather than repeatedly correcting the beam angle.
FAQ
Why does my bike helmet light wobble even when the strap is tight?
A tight strap does not fix a rocking base, loose light attachment or moving helmet. Check each connection separately, then confirm that the mount and strap routing are approved for your helmet.
Can I use cable ties to attach a light to my helmet?
Use cable ties only if the helmet and mount manufacturers explicitly specify that attachment method. Do not improvise an attachment that interferes with the shell, foam, straps or retention system.
Should I put an external battery on my helmet or in my pack?
Put the battery only where the manufacturer's instructions permit. Check that its position keeps it secure and allows head movement without cable tension or loose cable near moving parts.
Can I drill my helmet to fit a light mount?
Do not drill your helmet to fit a light mount. Choose an approved attachment method that does not require altering the shell or protective foam.
How tight should a helmet-light mounting strap be?
Secure the strap according to the mount manufacturer's instructions, including any stated limits. If the base still rocks, recheck compatibility, placement and routing instead of simply pulling harder.
Does a bigger battery guarantee enough light for my whole ride?
A bigger battery does not establish runtime on its own. Check verified compatibility and the published runtime for the specified battery, light mode and operating conditions.
What should I check before buying a helmet light from Bikelights?
Check the light's helmet-mount compatibility, included fittings, compatible batteries and any published runtime conditions. Plan the bike-light setup around your actual ride rather than choosing by the advertised lumen figure alone.
One last thing
Repeat the cable check with your pack on and your hands on the bars. A neatly routed cable beside the bike is not the same as a cable routed for your riding position. Include that check whenever you change your pack, jacket or battery placement in 2026.
Then check the mounting instructions again after any change to the setup. The aim is simple: a light that stays pointed where you intend, without turning your helmet into a DIY project.