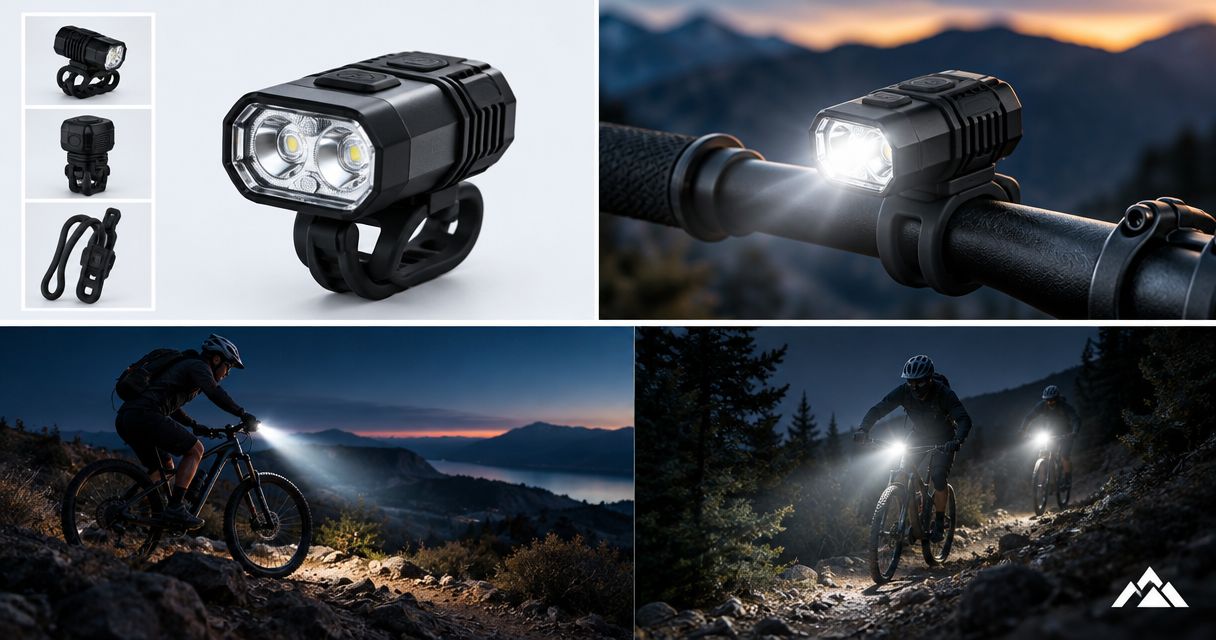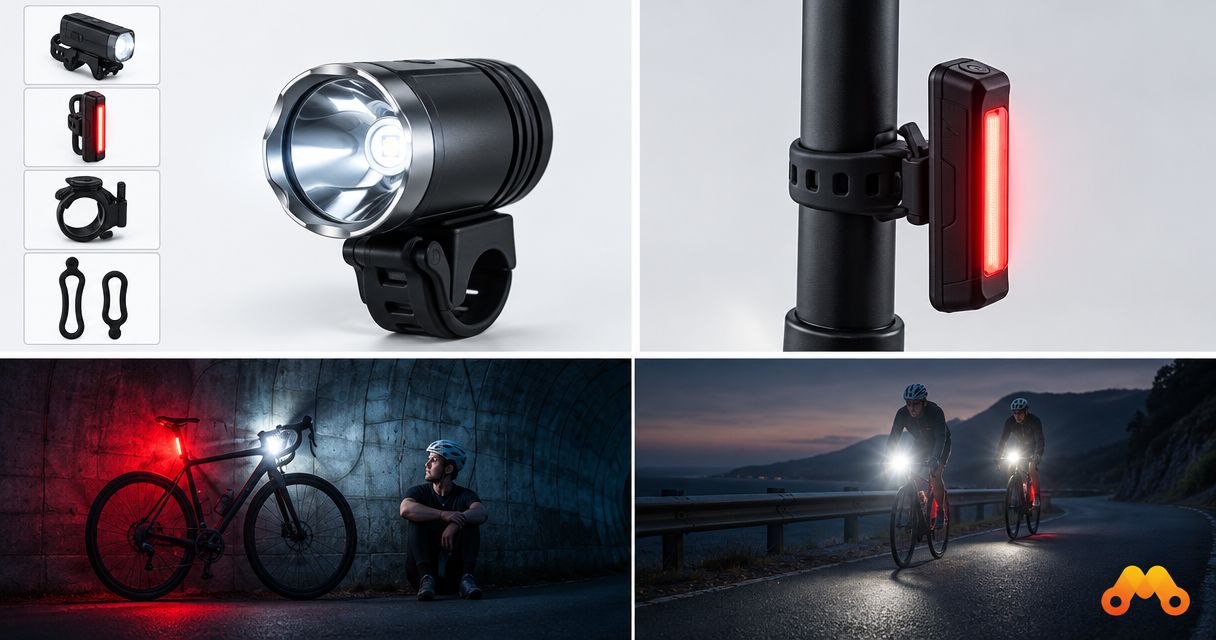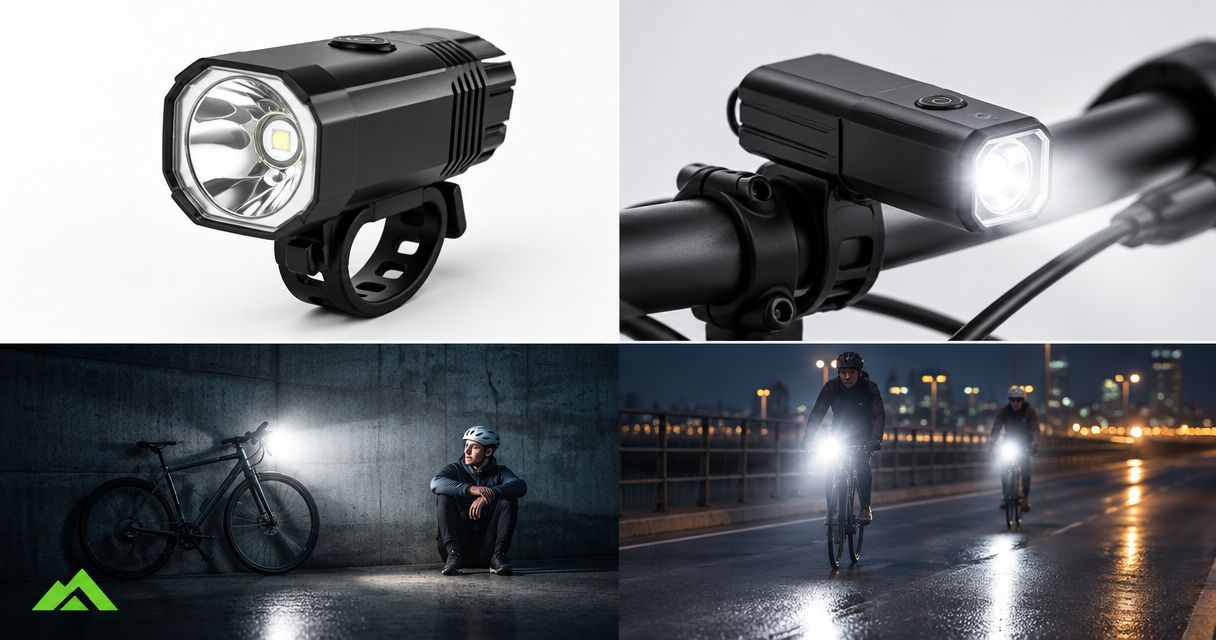
Best overall for city commuting: a USB-rechargeable headlight with a built-in battery. Best for unlit roads: a road-focused rechargeable headlight. Best for commuting plus night trails: a light head with a compatible high-capacity battery pack. This 2026 guide ranks setup types by the ride they suit, rather than treating the biggest brightness claim as the winner.
- The best rechargeable bike headlights for commuting match your route, mounting space and charging routine.
- Choose a built-in USB battery for straightforward city commuting; check the beam before buying.
- Choose a compatible high-capacity battery setup for commuting that also includes night trails.
- Bikelights sells bike lights, high-capacity battery packs and accessories for building a complete night-riding setup.
Why this matters
A headlight has two jobs on your commute: help other people notice you and help you see where you are riding. A route under streetlights and an unlit descent ask different things of the same lamp. Your shopping shortlist should reflect that.
Bikelights sells MTB and road bike lights, high-capacity battery packs, taillights and accessories. Start with the whole setup: front light, secure mount, compatible power supply and rear light. A powerful lamp with the wrong battery connection is an unusually expensive handlebar ornament.
Bikelights is best suited to riders shopping for bike lights, high-capacity batteries and accessories together. Choose the parts around your actual journey, including any after-work trail detour.
What makes the best rechargeable commuting headlight?
Use these criteria for your 2026 shortlist before comparing advertised brightness:
- Useful beam: Look for information showing where the light falls, not just a lumen figure. You need useful road coverage without aiming the beam into approaching riders’ eyes.
- Relevant runtime: Compare the mode you intend to use, its stated operating conditions and how runtime is defined. A low-mode claim does not describe a high-mode commute.
- Practical charging: Confirm the charging port, required power source and supplied charging equipment. USB-rechargeable does not automatically mean every USB cable or charger is suitable.
- Secure mounting: Check handlebar fit, adjustment and removal. A light that slips changes its aim just when you need it to stay put.
- Complete power system: For separate batteries, check electrical compatibility, connector details, charging method and attachment. Capacity alone does not establish compatibility.
- Wet-weather suitability: Read the stated water-resistance rating and charging-port instructions. Do not substitute a reassuring product photo for an actual specification.
Rechargeable commuting headlights at a glance
The ranking below separates buying approaches, not specific product models. Each option earns its place through a distinct route or charging need; product specifications still decide whether an individual light qualifies.
| Rank and setup | Best for | Standout feature to check | Key limitation |
|---|---|---|---|
| 1. Built-in USB-rechargeable headlight | Mostly lit city commuting | Straightforward removal and charging | The battery stays with the light during charging |
| 2. Road-focused rechargeable headlight | Regular stretches of unlit road | Documented road beam and usable riding modes | A road-focused beam does not automatically suit technical trails |
| 3. Light head with compatible high-capacity battery | Commuting followed by night trails | Matched light, battery, mounts and charging equipment | More components and cable routing to manage |
Buy for the hardest part of your regular route, not the brightest part of the product description. If your commute changes between streetlights, open roads and forest tracks, identify which section places the greatest demand on the setup.
1. Built-in USB headlight: best for lit city commuting
A headlight with a built-in rechargeable battery keeps the lamp and power source in one unit. Choose a model with a verified USB charging connection and a mount you can remove without disturbing the rest of your cockpit. This is the simplest starting point for a mostly lit journey.
Your main checks are beam placement, mount security and the charging routine. Consider where the light will sit beside brake hoses, a bell or a computer. Make sure you can reach its controls while wearing your usual riding gloves.
Built-in USB headlight pros
- Keeps the battery and lamp together for removal and charging.
- Avoids a separate external battery cable on the bike.
- Suits riders who want fewer components to attach before leaving.
Built-in USB headlight cons
- Charging requires access to the light itself.
- Battery replacement depends on the particular model’s construction.
- A compact housing does not establish sufficient runtime or beam coverage.
Best for: Riders whose regular commute stays mainly on lit streets and who have a dependable place to recharge.
For your 2026 shortlist, favour clear specifications over claims such as commuter-ready. Check the mounting instructions and the runtime for your intended mode. If the journey includes a dark stretch, assess that stretch separately rather than assuming streetlight performance carries over.
Verdict: Buy this setup for straightforward city commuting when its beam and verified runtime cover your route.
2. Road-focused headlight: best for unlit commuting roads
A road-focused rechargeable headlight puts beam suitability ahead of convenience alone. Look for beam information that helps you judge the surface ahead, the road edges and how the light is controlled towards approaching traffic. Verify USB charging on the specific model you choose.
Do not assume a road label guarantees a shaped or cut-off beam. Check the manufacturer’s description and mounting guidance. Advertised lumens describe a claimed light output; they do not show where that light lands.
Road-focused headlight pros
- Makes road illumination a buying priority rather than an afterthought.
- Gives you a reason to compare beam shape alongside claimed brightness.
- Supports choosing riding modes around dark road sections.
Road-focused headlight cons
- A road beam is not automatically suitable for technical off-road riding.
- Poor mounting or aiming can undermine an otherwise suitable light.
- A headline runtime is unhelpful unless it matches the mode you need.
Best for: Commuters who regularly ride beyond streetlights, including rural approaches and dark connecting roads.
Before buying, separate a continuous riding requirement from an occasional visibility requirement. You need the light to illuminate the road throughout the dark section, not merely remain switched on at a setting too low for the conditions.
For 2026, put the intended mode, its runtime conditions and beam information beside each shortlisted model. Reject comparisons that mix one light’s brightest-mode output with another light’s lowest-mode runtime.
Verdict: Buy a road-focused rechargeable headlight when seeing an unlit road is your main requirement.
3. Separate-battery setup: best for commuting plus night trails
A separate-battery setup connects a light head to a compatible external pack. It lets you choose the lamp, battery attachment and charging arrangement as a system. For USB recharging, confirm the pack’s specified charging method; an external battery is not automatically USB-chargeable.
This is the setup to assess when your ride home includes actual mountain-bike trails. Bikelights sells bike lights and high-capacity battery packs, but select a combination only after confirming the parts work together. A connector that appears to fit is not enough.
Separate-battery setup pros
- Lets you assess battery placement separately from light placement.
- Makes high-capacity battery options part of the buying decision.
- Encourages planning the complete light, mount, cable and power arrangement.
Separate-battery setup cons
- Adds a battery attachment and cable route to check.
- Requires electrical and charging compatibility between components.
- A high-capacity label alone does not establish a specific riding duration.
Best for: Riders combining commuting with after-dark MTB sessions and willing to manage a separate battery.
Check the light head’s required voltage, the battery’s output, connector arrangement and charging instructions. Then check physical fit: the pack needs a secure position, and the cable needs enough freedom for steering without loose loops catching nearby parts.
Use the guide to checking bike-light battery compatibility before buying before pairing components. Treat an existing battery as a part to verify, not an automatic saving.
Verdict: Buy a matched high-capacity setup for commuting plus trails; skip unverified light-and-battery combinations.
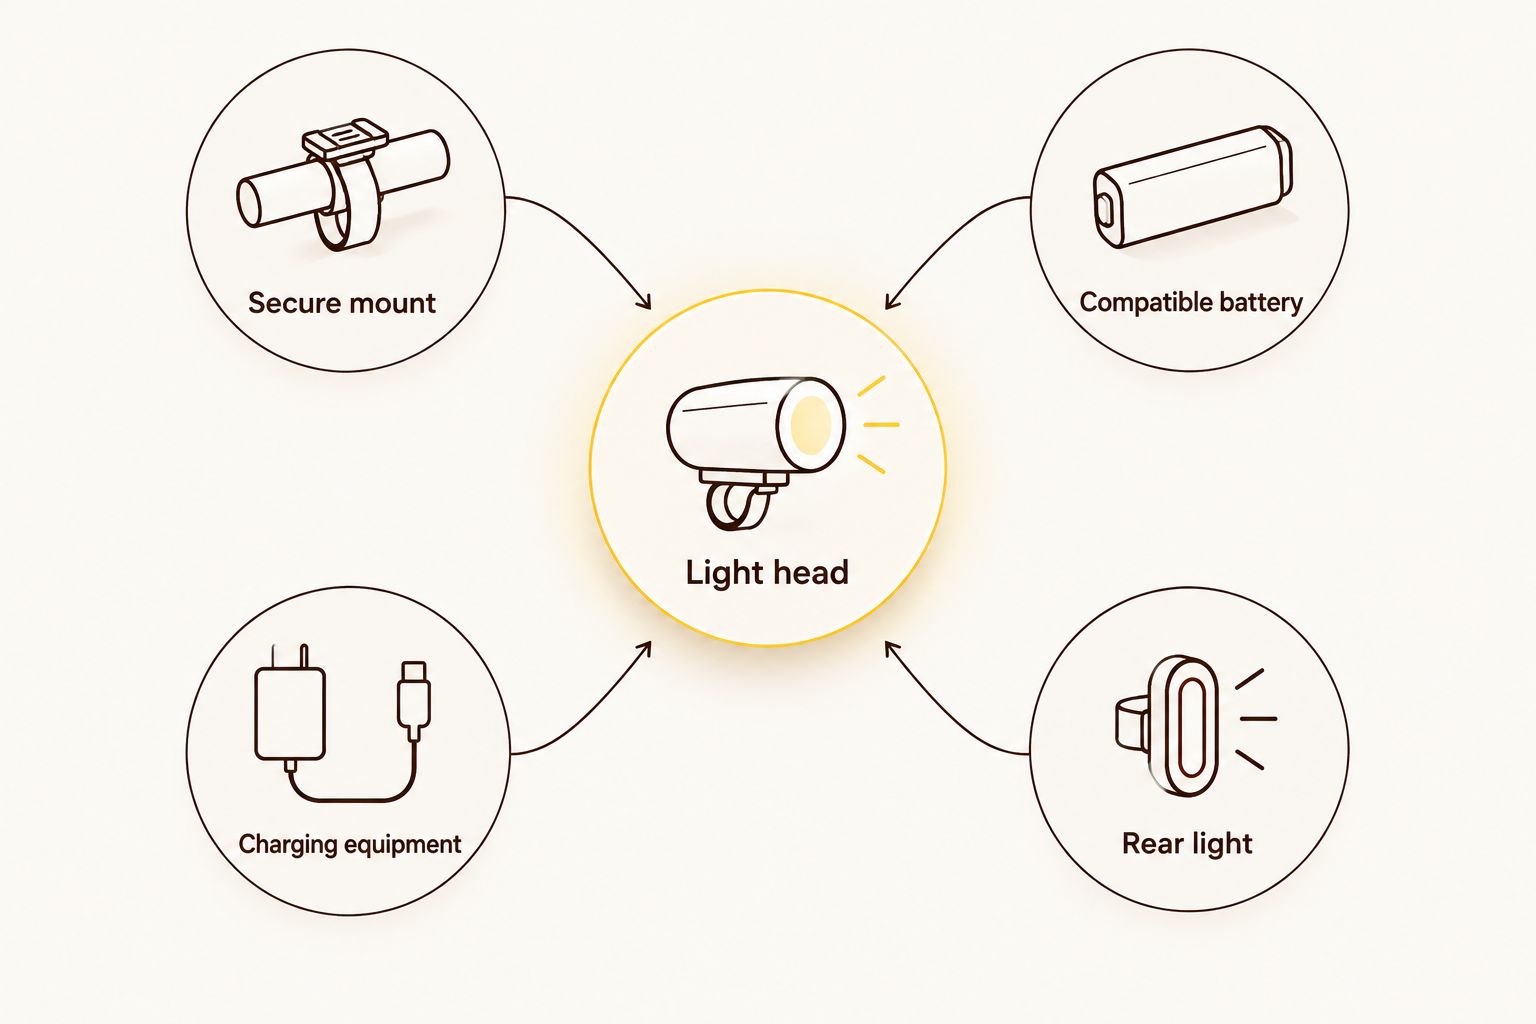
Build the complete setup before checkout
For a 2026 purchase, check the entire chain rather than buying a headlight and solving the awkward bits later. A compatible battery is useful only when you can secure it, charge it correctly and connect it to the intended light.
- Light head: Match the beam and riding modes to your route.
- Secure mount: Confirm fit and keep adjustment accessible.
- Compatible battery: Verify the electrical requirements and connector details.
- Charging equipment: Check what is included and what the instructions require.
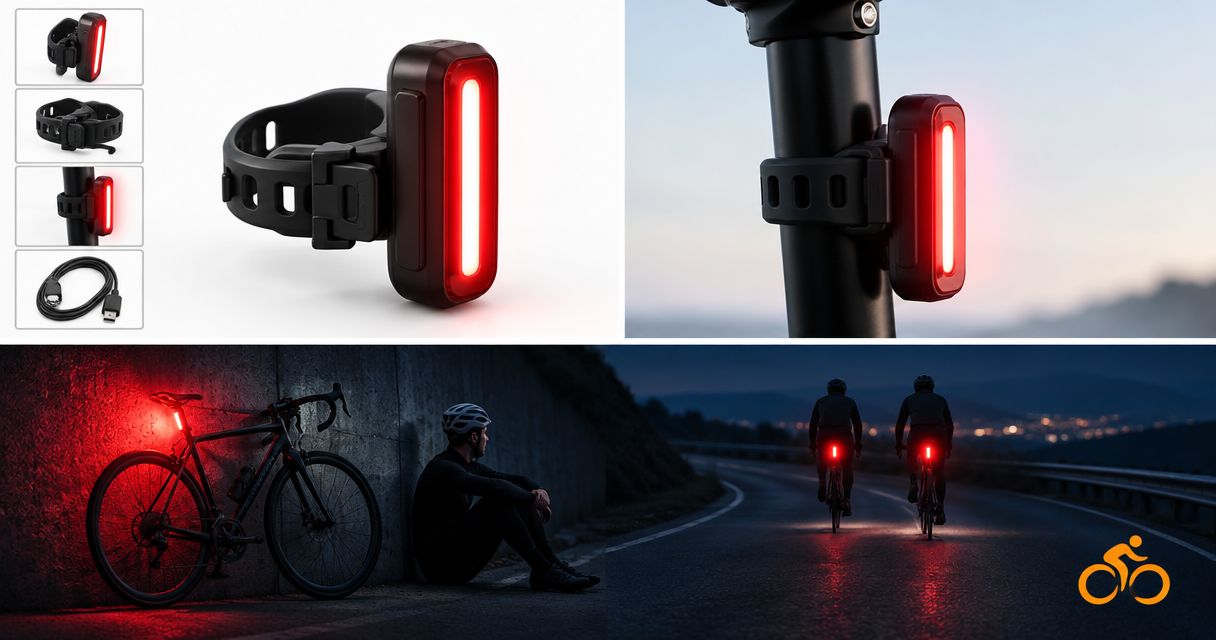
- Rear light: Plan rear visibility separately from front illumination.
For a road-and-trail bike, check both riding positions and mounting space. A bag, computer or control cable must not push the lamp out of alignment. Turn the handlebars through their normal movement and check any external battery lead before leaving.
Build your night-riding setup
Browse bike lights, high-capacity battery packs, taillights and accessories at Bikelights.
Plan runtime around your actual commute
Start with time, not capacity. Write down how long the light must operate between charging opportunities, including both journeys if you cannot recharge at work. Add a deliberate reserve for delays rather than planning to arrive as the light runs out.
For example, a hypothetical commute of 30 minutes each way requires 60 minutes of riding time. Adding a 15-minute planning reserve gives a 75-minute requirement. Those figures describe a planning example, not a runtime claim for any light or a guarantee that the reserve suits every route.
Now compare that requirement with the documented runtime for the mode you intend to use. Check how the manufacturer defines runtime and whether its stated conditions match your use. Do not assume the light maintains its initial output for the whole published period.
A battery capacity figure cannot answer this by itself. Milliamp-hours without voltage do not provide a like-for-like energy comparison, and neither figure alone tells you how a particular light behaves throughout a ride.
How the ranking works
This guide ranks setup types by route suitability, charging convenience, mounting demands and power-system compatibility. It does not present a hands-on product test or treat advertised brightness as independently measured output.
The built-in USB setup takes the default city-commuting slot because it combines lamp and battery. The road-focused option addresses unlit-road visibility. The separate-battery option addresses riders who need to plan a commuting-and-trail system together.
Which rechargeable headlight should you choose?
For a mostly lit commute, start with a built-in USB-rechargeable headlight. Move to a road-focused option when unlit roads determine what you need to see. Choose a matched separate-battery setup when night trails are part of the regular ride, not just a distant possibility.
For your 2026 purchase, the deciding question is simple: does the complete setup meet the route, charging and mounting requirements you have written down? Buy the option that answers those questions clearly, rather than the one with the loudest brightness claim.
FAQ
What's the best rechargeable bike headlight for commuting?
A built-in USB-rechargeable headlight is the default choice for a mostly lit city commute. Choose a road-focused beam for unlit roads, or assess a compatible high-capacity battery setup if your commute includes night trails.
Is USB-C better than another charging connector for a bike light?
USB-C is convenient if it fits your charging routine, but the connector alone does not establish charging compatibility or speed. Check the light's required power source, cable instructions and supported charging method.
How many lumens do I need for commuting in New Zealand?
There is no single lumen figure that establishes suitability for every commute. Judge the beam, your unlit sections, mounting position and runtime in the intended mode, and treat advertised lumen figures as manufacturer claims.
Is a high-capacity external battery better than a built-in battery?
A high-capacity external battery is worth assessing for a matched commuting-and-trail setup, while a built-in battery keeps city commuting simpler. External packs add compatibility, mounting and cable-routing checks.
Can I use my existing battery with a new bike headlight?
Use an existing battery only when its electrical output, connector arrangement and other compatibility requirements match the new light. A plug that fits does not establish that the combination is suitable.
Can I charge a rechargeable headlight while riding?
Only charge a headlight while riding if its manufacturer explicitly permits that use. Check operating instructions, charging requirements and any restrictions involving an open charging port.
Do I need a rear light as well as a rechargeable headlight?
Yes, plan rear visibility separately from front illumination. Check current New Zealand road-lighting requirements and make sure bags or clothing do not obstruct the rear light.
One last thing
Test the charging routine before relying on it for your ride home. Use the intended cable and permitted power source, then confirm the light is charging as its instructions describe. Finding the wrong cable at your desk is annoying; discovering it when you are ready to leave is considerably less funny.