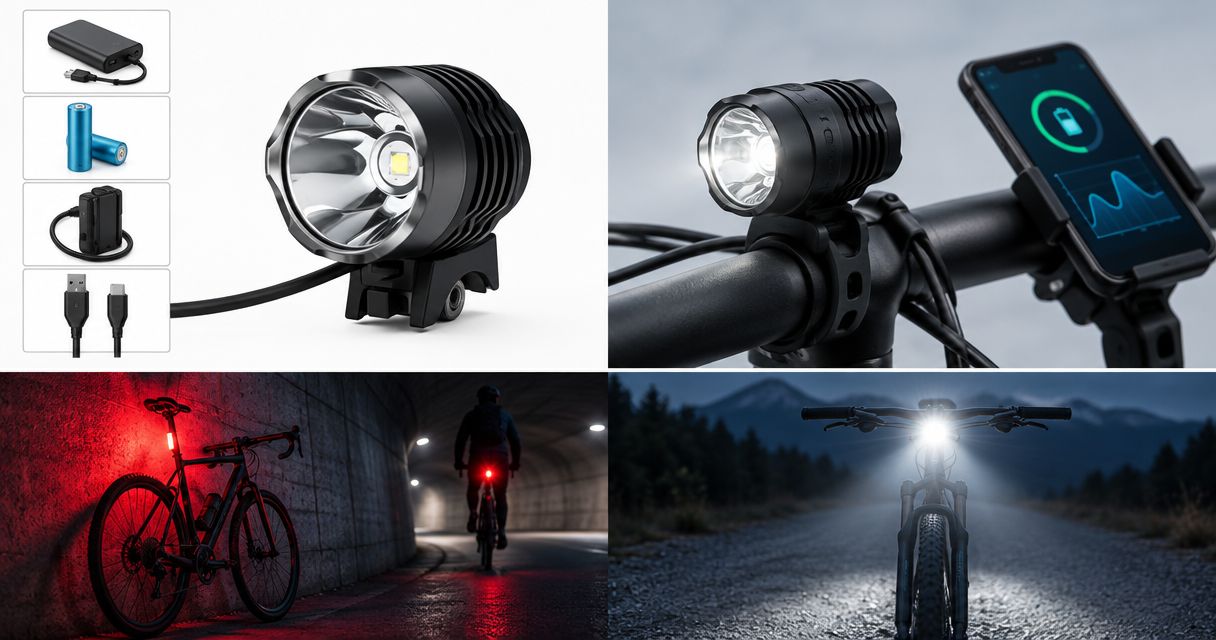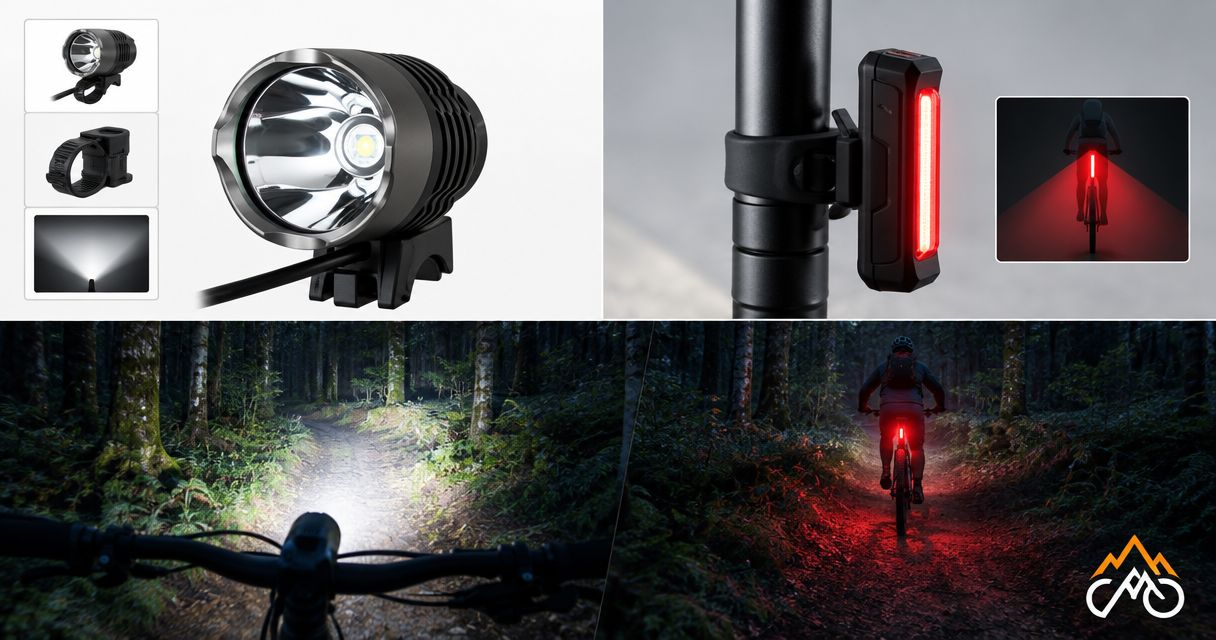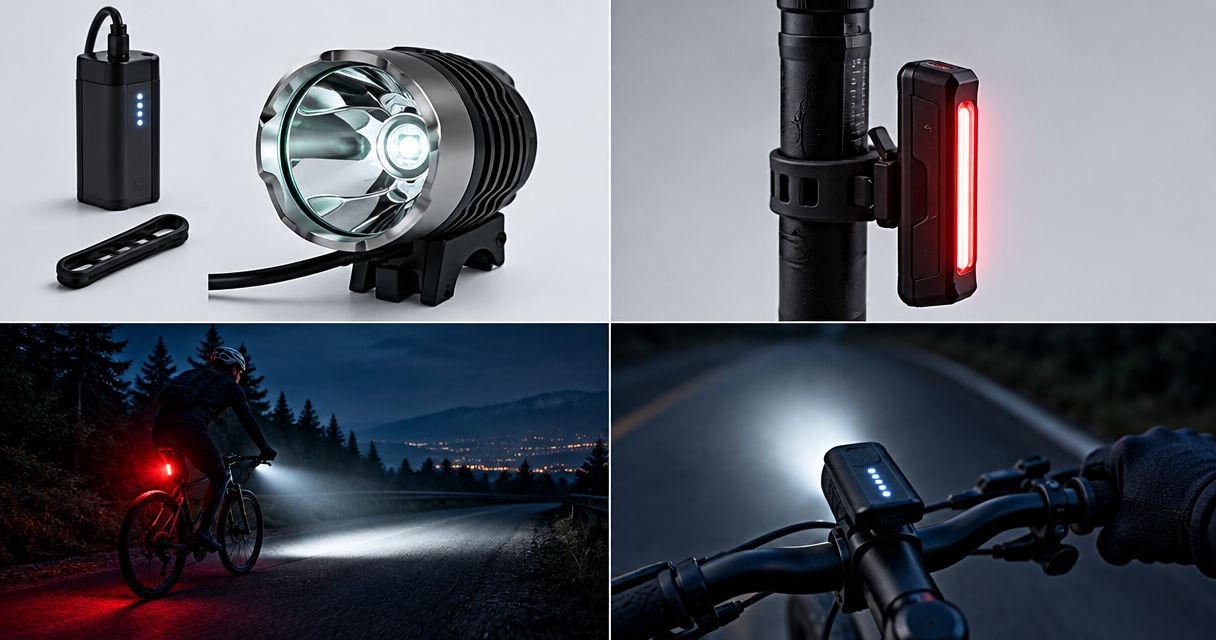
Plan the battery life of your bike lights around the modes you will actually use, the full time away from a charger, and a reserve for delays—not the longest runtime on the box. For a longer night ride in 2026, choose a complete setup with secure mounts and compatible batteries, then check its endurance before committing to a remote loop.
- Plan bike lights around usable runtime in your riding modes, not the longest advertised setting.
- Bikelights sells bike lights and high-capacity battery packs; check compatibility before choosing a complete night-riding setup.
- Include climbs, descents, stops and the ride home in your battery plan.
- A spare battery supports your main light; an independent backup also covers a main-light failure.
Why this matters
Your battery has to cover the ride you finish, not just the ride you intended. A slow climb, a mechanical stop or a longer return route keeps you away from the charger for longer.
Choose the light, battery and mount as a working setup. When browsing Bikelights, check how the parts connect, what the listing includes and which operating conditions support any runtime claim. A high-capacity pack is useful only when it suits the light and can be carried securely.
For your 2026 riding setup, put usable trail lighting ahead of an impressive headline figure. Saving power is not a win if you can no longer read the track ahead.
How do you plan bike-light battery life for a longer night ride?
Start with your route, assign realistic lighting modes to its different sections, and check whether your exact setup covers the full outing with a reserve. Use this sequence before buying extra capacity or heading further from home.
1. Plan the whole outing
Write down your expected time from switching the lights on until you finish using them. Include the approach, the trail, regrouping stops and the ride home—not just moving time recorded on the bike.
Mark places where you can shorten the ride or return by a familiar route. A battery plan needs an exit decision as well as a finish time; discovering that distinction halfway through a remote descent is no fun.
2. Match lighting modes to the terrain
Separate straightforward climbing from technical riding and descending. Identify where a lower setting still gives you enough usable light, and where you need a stronger beam to judge corners, roots and braking points.
Do not assume that a mode suitable for a slow climb will suit the descent. Your battery plan must preserve the lighting you need for the hardest remaining section.
3. Check the exact runtime claim
Look for runtime information tied to the light, battery and mode you intend to use. Check whether the stated duration describes sustained output or includes a reduction in brightness as the battery runs down.
Treat advertised lumen figures as claims, not independent test results. A maximum brightness figure and a maximum runtime figure do not establish how long the light will deliver its brightest setting.
4. Check every electrical connection
Confirm that the battery is approved for the light's required electrical input and connection. A plug that physically fits is not enough evidence of compatibility.
Check the charger too. Before ordering a complete setup, establish which light, battery, charger, cables and mounts are included, and which you need to supply separately.
5. Test the complete setup near home
Use the intended modes on a familiar route with an easy return. Note elapsed time, mode changes, battery indications and any reduction in useful illumination.
Test the actual mounting arrangement as well. A battery that lasts but slides around the frame, or a cable that pulls tight when you turn the bars, still needs attention before a longer ride.
6. Set a turnaround rule
Decide when you will shorten the route before leaving. Base that decision on your observed runtime, remaining terrain and distance from a safe finish—not confidence that the indicator probably has plenty left.
Keep a reserve rather than planning to arrive as the light cuts out. There is no universal reserve that fits every ride, so choose yours around the consequences of a delay or failure.
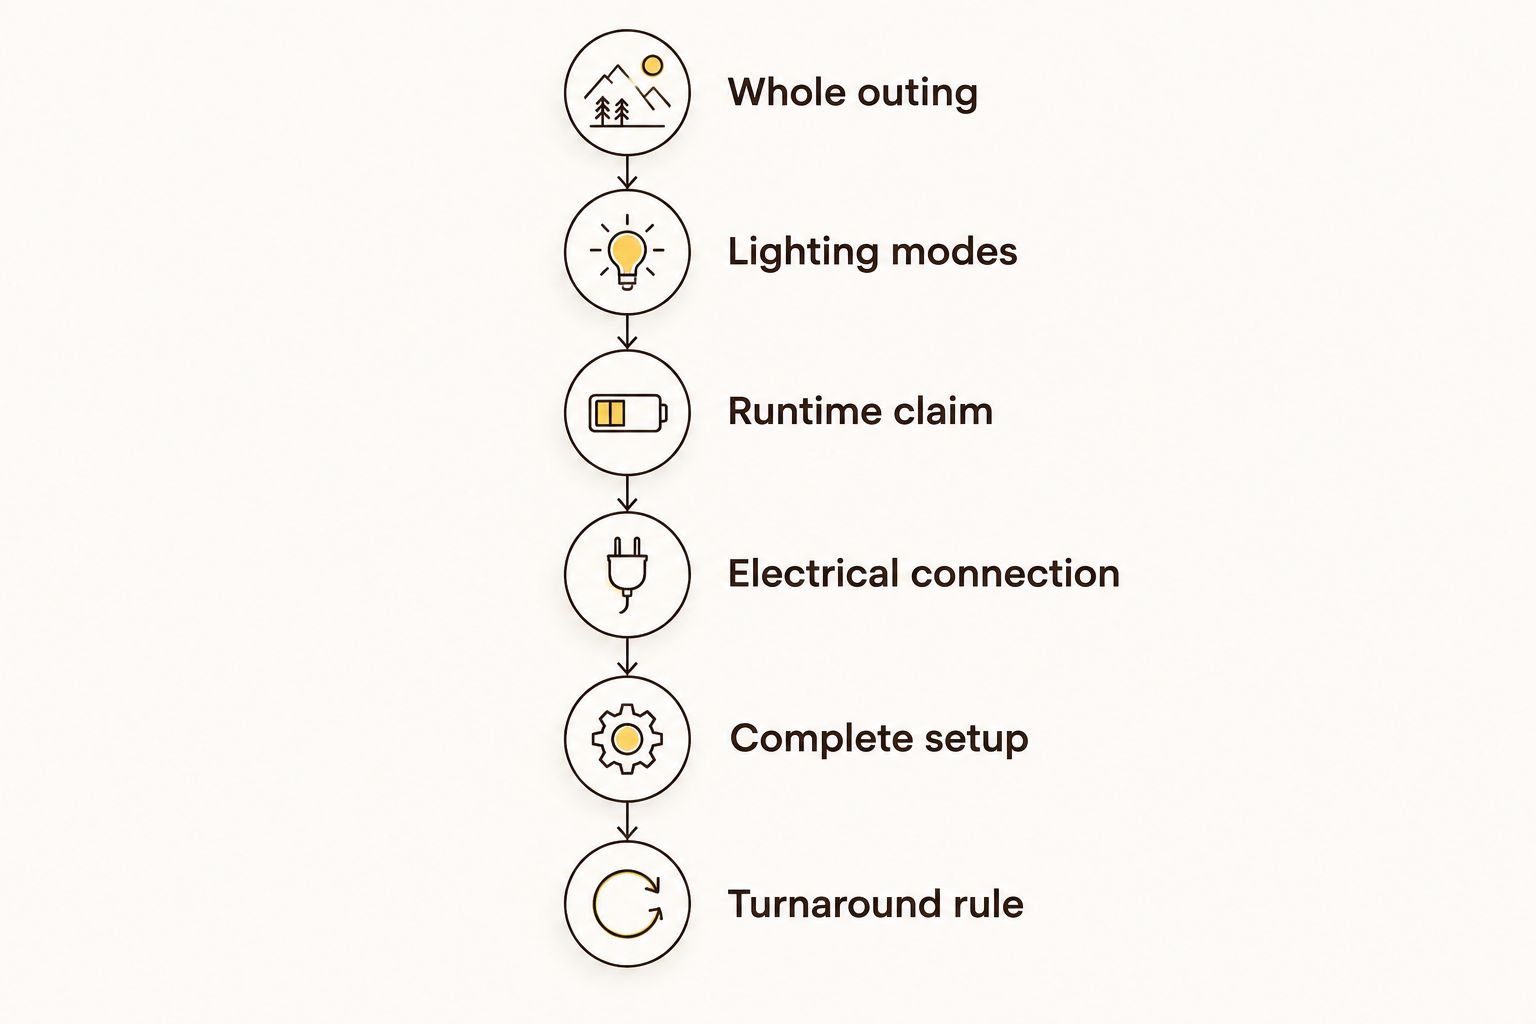
The useful outcome is a plan you can explain simply: which modes you expect to use, what supports their runtime, and what makes you turn back. Keep that note with your route rather than relying on memory at the trailhead.
Built-in or external batteries: which suits a longer ride?
Neither battery arrangement guarantees enough runtime. Choose between them by checking the complete light's endurance, how you recharge it, and what you can replace during the ride.
| Battery arrangement | Best for | Practical advantage | Trade-off to check |
|---|---|---|---|
| Built-in battery | Riders who want fewer separate components | No separate battery lead between the light and a remote pack | Do not assume the battery is removable or replaceable trailside |
| External battery | Riders planning a setup around a separate pack | Lets you position the battery separately from the light | Requires a secure battery mount, cable routing and verified compatibility |
With a built-in battery, check whether the entire light must come off the bike for charging. Also establish what your fallback is when its battery runs low; carrying another battery is irrelevant if that light cannot accept it.
With an external battery, assess the pack and its mounting together. Extra capacity is not automatically the better purchase if the pack has nowhere secure to sit or its cable cannot reach safely.
For a longer 2026 trail ride, buy verified endurance rather than a battery format. Either arrangement needs enough usable light for your route and a workable backup plan.
Why bike-light battery life varies
Runtime changes with the load on the battery and the conditions in which you use it. These factors explain why a headline duration is not a complete ride plan:
- Output setting: Different modes draw different amounts of power. Check runtime for the setting you need, not just the lowest setting listed.
- Time in each mode: A ride with extended high-output sections uses the battery differently from a ride spent mainly in a lower mode.
- Temperature: Cold conditions affect battery performance. Check the manufacturer's operating guidance and leave room for conditions that differ from your test ride.
- Battery condition: Age, use and storage affect rechargeable batteries. Recheck an older pack instead of assuming it behaves like a new one.
- Starting charge: Your plan depends on the battery actually being charged. Confirm charging completion using the manufacturer's instructions.
- Light behaviour: Some lights reduce output as conditions change or charge falls. Check whether the beam remains useful throughout the claimed runtime.
Record the conditions of your own checks. A successful ride is useful evidence, but it does not prove identical endurance with colder weather, a different battery or more time in a stronger mode.
How do you compare high-capacity battery packs fairly?
Compare compatible packs using energy capacity and the light's documented runtime, rather than a capacity label alone. Milliamp-hours describe charge capacity; watt-hours also account for voltage, making voltage essential when interpreting battery specifications.
A larger milliamp-hour figure does not establish that an unrelated pack will run your light longer. Confirm the required voltage, connection and manufacturer guidance before comparing capacity.
For your 2026 buying shortlist, check these points together:
- Compatibility: Is the pack explicitly suitable for the intended light?
- Runtime evidence: Is endurance stated for that light, pack and operating mode?
- Mounting: Can you secure the pack without interfering with pedalling, steering or suspension movement?
- Charging: Do you have the correct charger and instructions?
- Contents: Does the purchase include the parts needed to make the setup work?
Bikelights is best for cyclists shopping for bike lights and high-capacity battery packs together. The buying decision still depends on the exact combination: confirm the specifications and contents rather than assuming every pack suits every light.
Build your night-riding setup
Check bike lights, high-capacity battery packs and accessories against your route and compatibility needs.
What should you check when mounting the battery?
Secure the battery so it cannot move into the wheel, drivetrain or suspension. Follow the mounting instructions and keep cables clear of sharp edges, moving parts and places where they can be pinched.
Turn the bars through their normal movement after fitting everything. Check that the cable neither pulls tight nor leaves a loose loop that can catch something.
Then check access. You should be able to reach the light controls and inspect connections without dismantling your setup beside the trail.
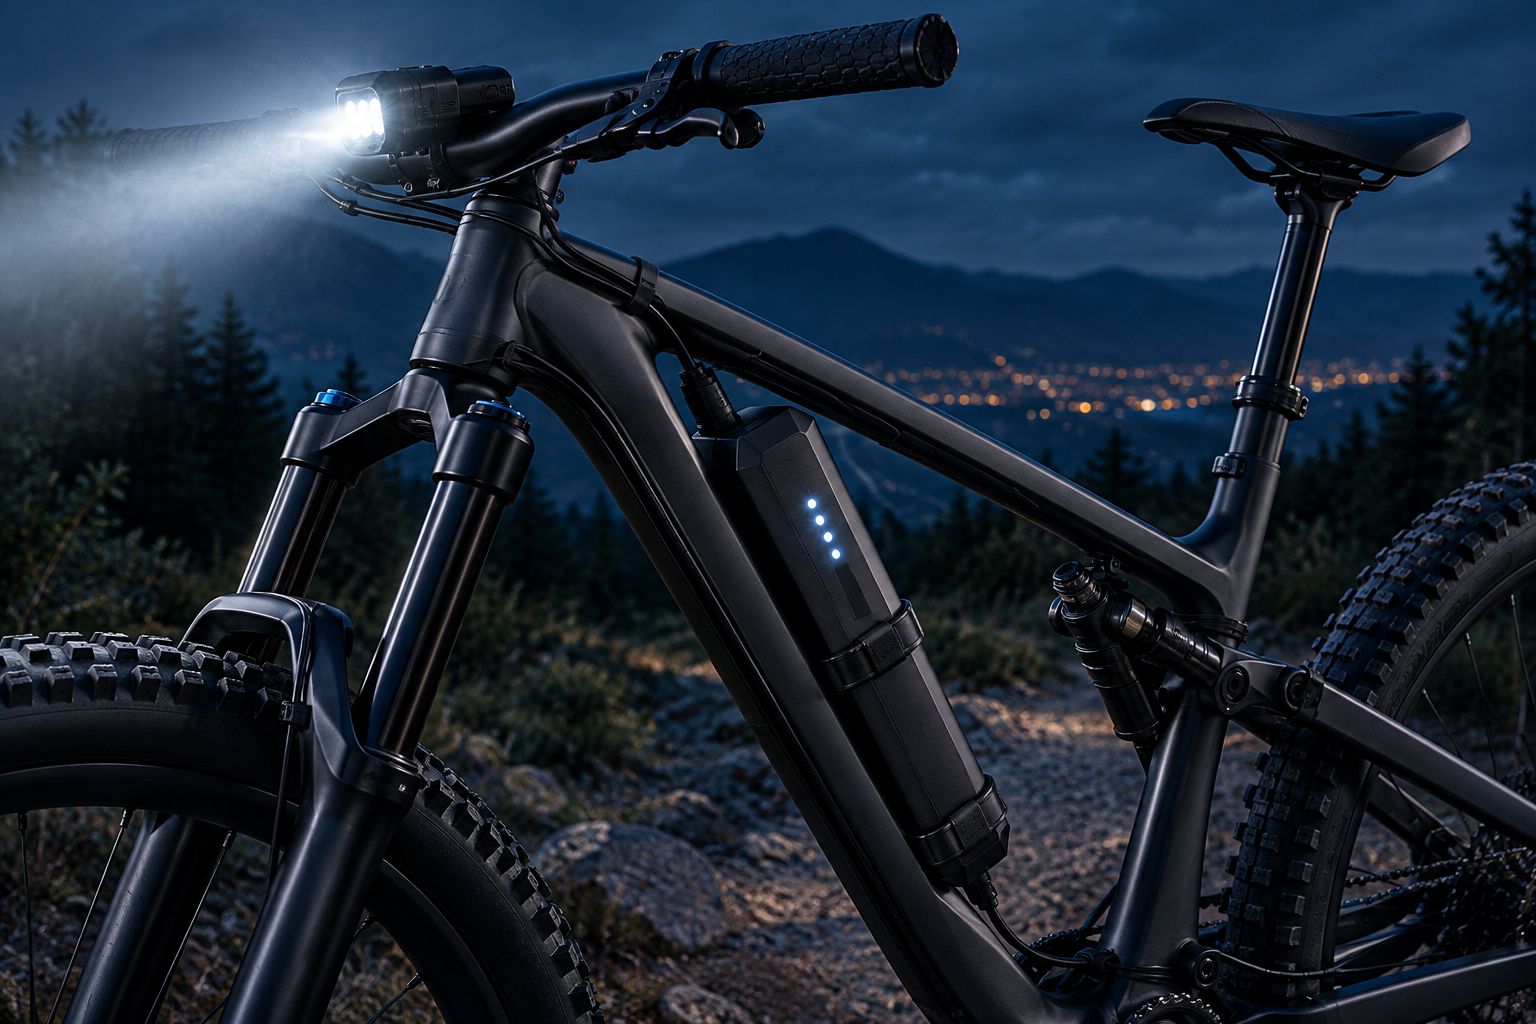
Make a short shakedown ride before using the arrangement on a longer loop. Recheck the mount and cable afterwards; a stationary bike cannot reveal every movement that happens on a rough track.
Should you carry a spare battery or a backup light?
A compatible spare battery addresses an exhausted main battery; an independent backup light also gives you another light source if the main light fails. They cover different problems.
Do not treat a spare pack as protection against a damaged light or cable. Equally, do not assume a small backup provides enough illumination for technical riding: choose its role deliberately and check its usable beam.
Can you stretch battery life by using a lower mode?
A lower mode reduces power demand when that mode draws less power, but it is useful only while the beam still suits the terrain. Change settings on straightforward sections rather than fumbling with controls during a demanding descent.
Reduce speed or shorten the route if your remaining usable light no longer suits the ride. Turning a technical section into a guessing game is not battery management.
Does a helmet light change your battery plan?
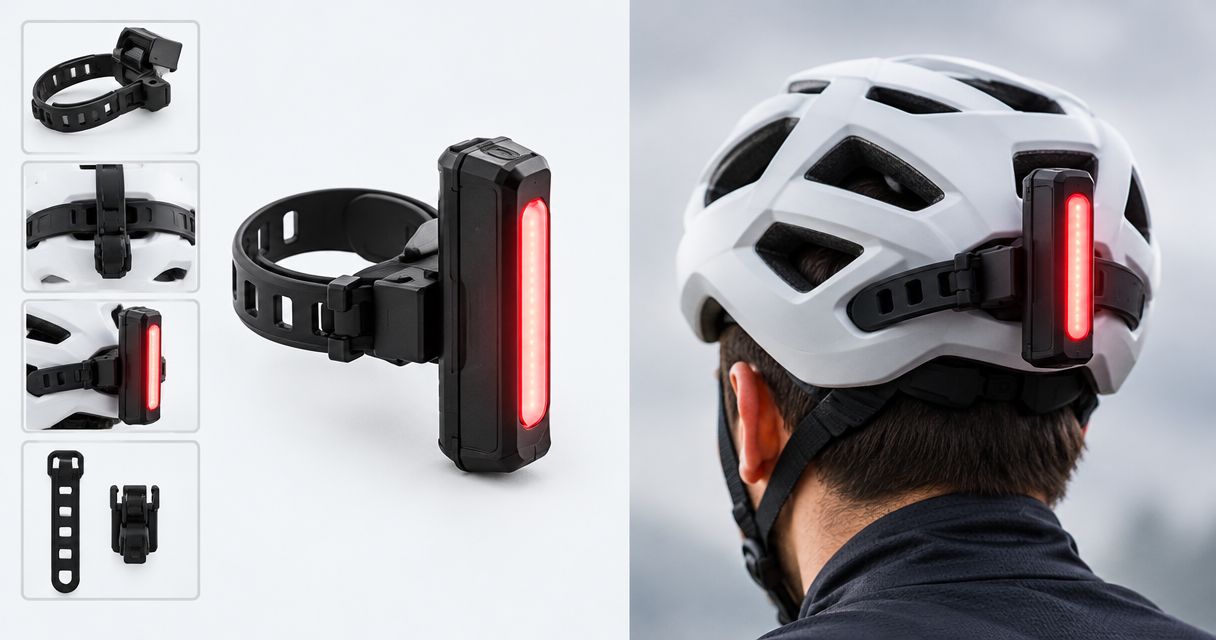
A helmet light adds another device whose charge, mount and runtime you must check. Plan it separately from the handlebar light instead of treating both as a single battery allowance.
If you intend either light to serve as backup for the other, confirm that its beam and mounting suit that role. Remember the rear light too, especially when your return includes road riding.
FAQ
How long should my bike lights last for a night ride?
Your bike lights should cover the full outing in usable riding modes, with a reserve for delays. Include stops and the ride home, then check the plan against runtime information for your exact setup.
Can I work out bike-light runtime from battery capacity alone?
Battery capacity alone does not establish bike-light runtime. You also need the light's power demand, a compatible battery and information about how output changes during use.
Is an external battery better for long mountain bike rides?
An external battery is useful when its verified runtime, compatibility and mounting suit your ride. It also adds a separate pack and cable that you need to secure and inspect.
Can I use any battery with the same plug?
A matching plug does not prove battery compatibility. Confirm the electrical requirements and manufacturer guidance for the light, battery and charger before connecting them.
Should I trust the maximum runtime printed on a bike-light listing?
Use maximum runtime only when its operating conditions match your intended use. Check the mode, battery and whether useful brightness is maintained throughout the stated duration.
What should I check before buying a complete setup from Bikelights?
Check the exact light, compatible battery, mounts, charger and cables listed for the setup. Confirm runtime conditions and included components before buying.
What should I change in my battery plan for 2026?
Recheck the setup you actually ride with, especially after changing a light, battery or mounting arrangement. Base your next longer ride on current runtime checks rather than an old result from a different configuration.
One last thing
Battery remaining and usable light remaining are not the same thing. A light that is still switched on does not necessarily provide the beam you need for the next descent.
Before your next long night ride, practise the decision that matters: identify where you will turn back while you still have useful lighting. The best battery plan gets you home without needing to discover exactly when everything goes dark.