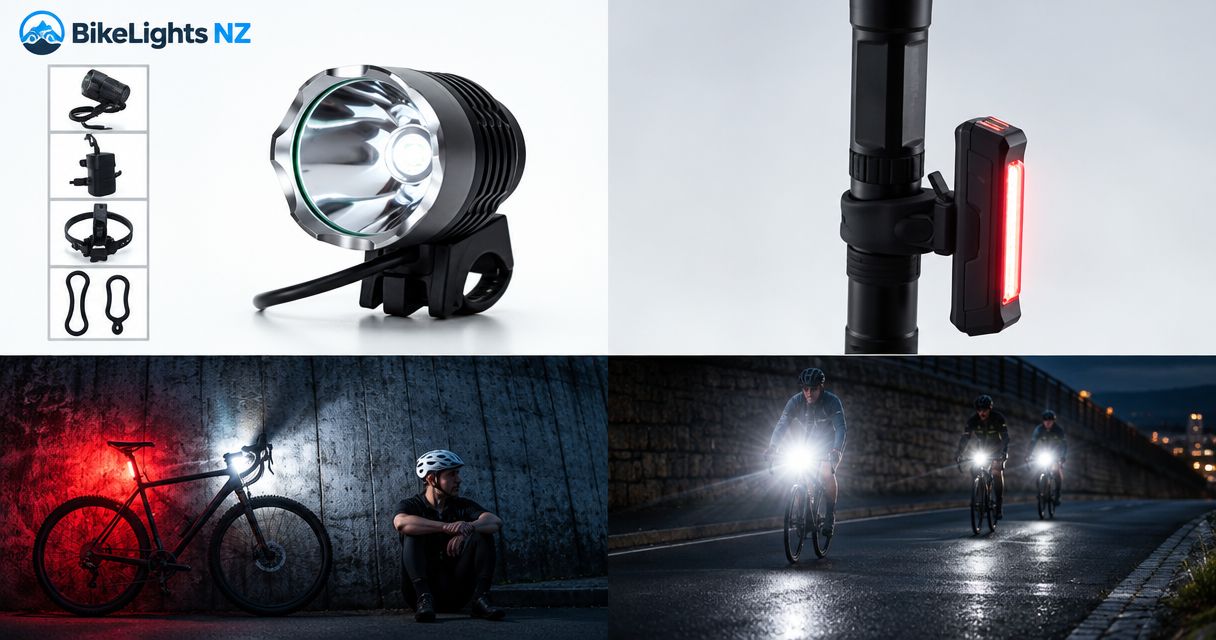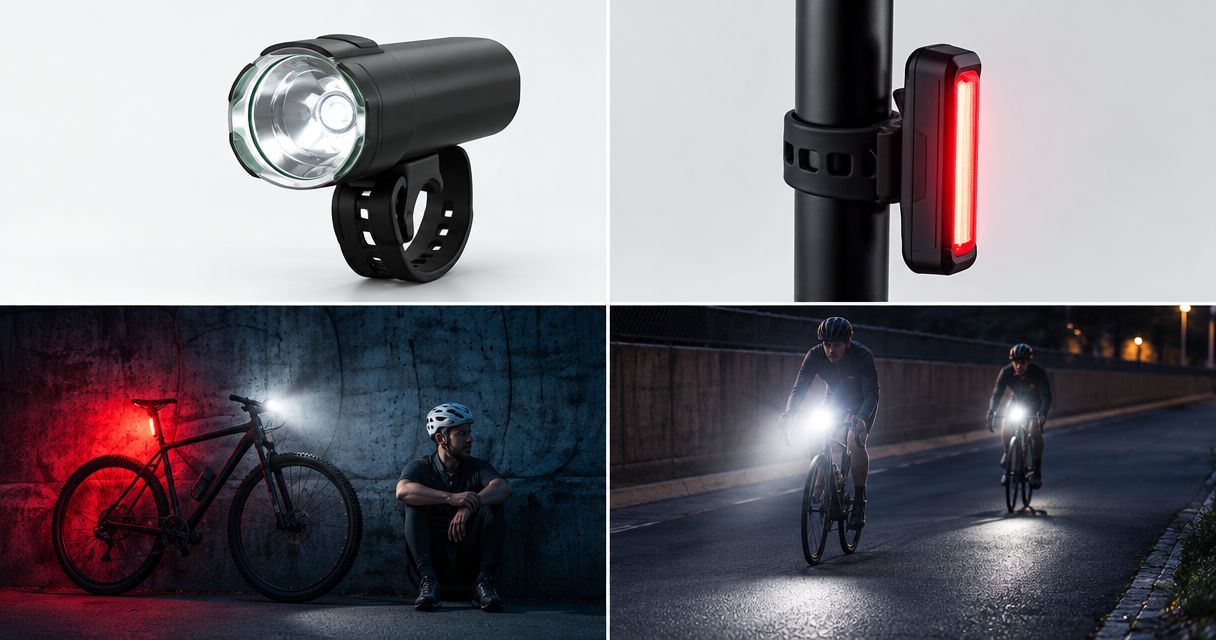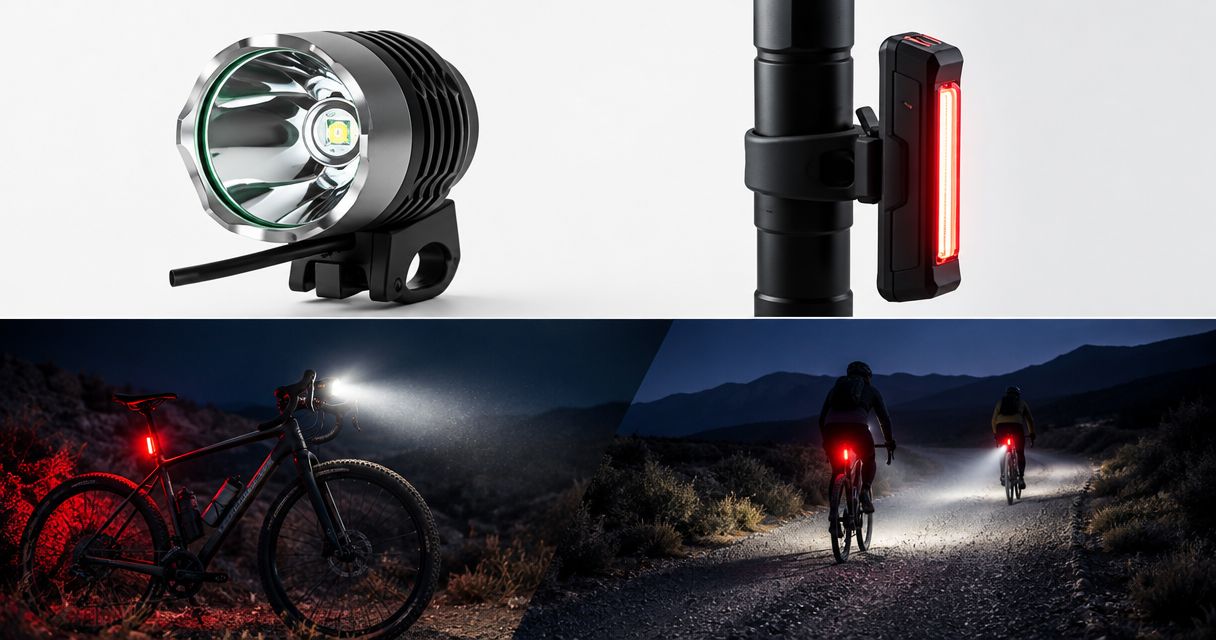
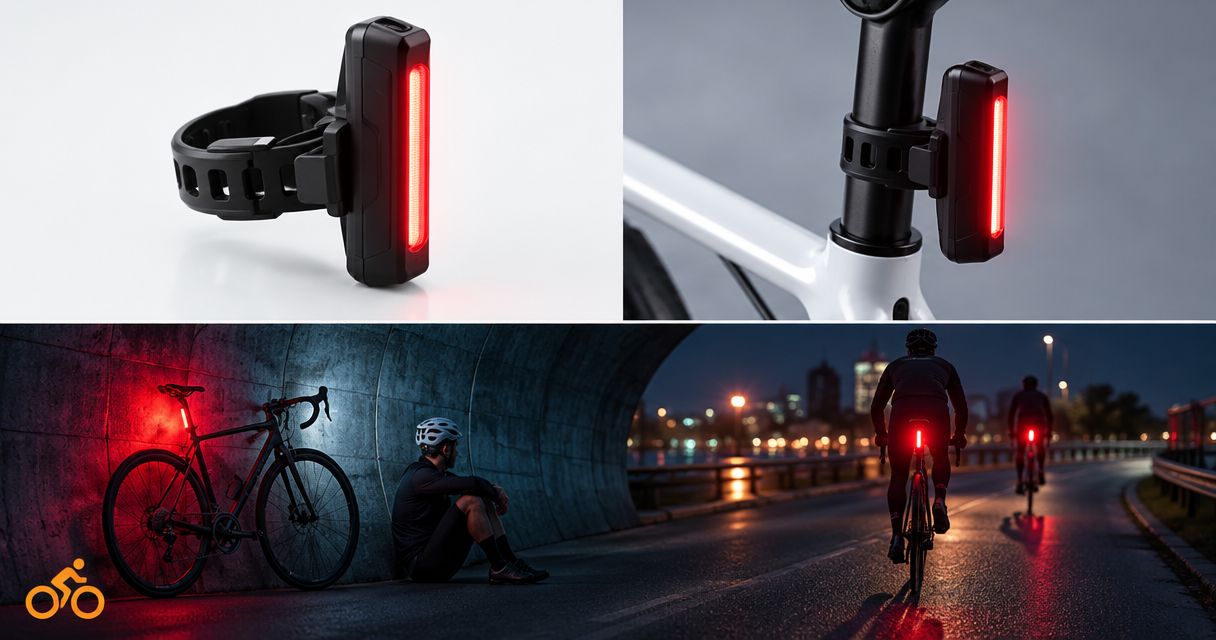
Choose a rear bike light that stays visible behind your loaded bike, mounts securely and has a documented runtime for the mode you’ll actually use. For your ride home in 2026, check the whole setup before buying: a bright-looking light is little help if your jacket covers it or its battery runs out before you reach the driveway.
- Choose a rear bike light for its unobstructed position, secure mount and documented runtime—not its biggest brightness claim.
- Bikelights sells rear bike lights alongside front lights, batteries and accessories for building a complete night-riding setup.
- Check battery compatibility explicitly; a high-capacity pack is not automatically suitable for every rear light.
- Test your rear light with your usual saddle bag, jacket and riding position before heading out.
Why this matters
The trip home deserves the same planning as the trail ride. You need light to see where you’re going, a rear light to help others see you from behind, and enough battery capacity for the entire outing—not just the fun bit in the trees.
Bikelights is best for night riders shopping for bike lights, high-capacity battery packs and accessories together. Start with the Bikelights range, but judge each item by its stated specifications and compatibility rather than assuming everything connects together.
For a 2026 purchase, treat the rear light as part of your riding system. Its position, controls, charging arrangement and mount all need to work with the bike you actually ride home.
How do you choose a rear bike light for your ride home?
Work through these steps with your bike nearby. A product photo cannot tell you whether your saddle bag blocks the beam or whether a mounting strap fits your seatpost.
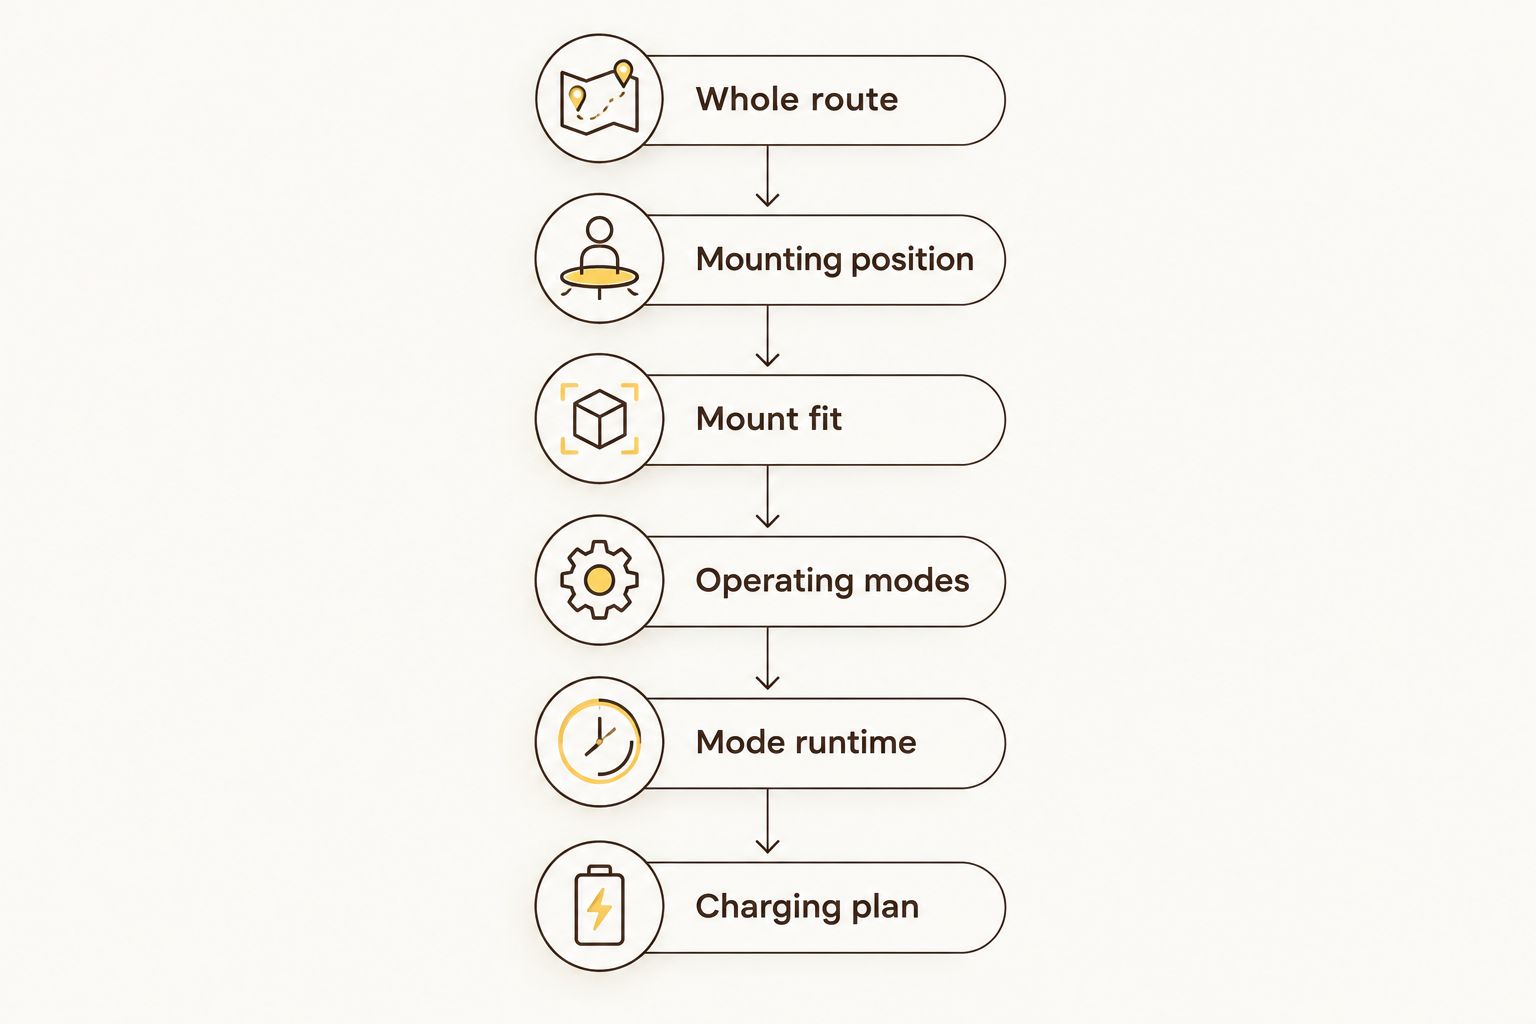
- Describe the whole route. Include the trail exit, road sections, shared paths and any detour you normally take. Choose for the journey home, not just the location where your ride starts.
- Find a clear mounting position. Look from behind the bike with your normal bags fitted. Check that clothing and luggage do not cover the light when you settle into your riding position.
- Check the mount against your bike. Confirm the stated fit, attachment method and mounting orientation. Do not assume a strap suits every seatpost or that an alternative bracket comes in the box.
- Read the operating-mode details. Identify the steady and flashing modes offered, then check which ones suit your route and current New Zealand requirements.
- Match runtime to the selected mode. Look for a stated runtime tied to that exact setting and its operating conditions. Allow for delays rather than planning to arrive as the battery reaches empty.
- Plan charging and a backup. Decide when you’ll charge the light, how you’ll check its status and what you’ll do if it stops working before you get home.
The useful buying question is not simply whether a light is powerful. It is whether you can fit it properly, operate it easily and keep it working throughout your ride.
Which rear light features suit your ride?
Different features solve different problems. Use this comparison to decide what matters to you; these are selection options, not claims about particular products.
| Option | Best for | Useful feature | Trade-off or check |
|---|---|---|---|
| Steady mode | Riders seeking continuous rear illumination | Keeps the light continuously illuminated | Check its own runtime rather than using a flashing-mode figure |
| Flashing mode | Riders wanting an intermittent signal where appropriate | Offers a different signalling pattern | Check current requirements and consider riders following close behind |
| Built-in rechargeable battery | Riders wanting a self-contained light | Removes the need to mount a separate battery pack | Charging arrangements and battery serviceability vary by model |
| External-battery design | Riders planning a compatible separate power supply | Lets you plan the light and its power source together | Adds compatibility, cable-routing and battery-mounting checks |
Choose the feature that fixes your actual problem. A separate battery is not automatically the better choice for a short commute, and a compact rechargeable light is not automatically sufficient for a long outing.
Before buying in 2026, separate published specifications from your assumptions. A connector that looks familiar does not establish electrical compatibility, and a light pictured on a seatpost does not establish that it fits yours.
Mounting position: visibility before convenience
Best for riders carrying luggage: choose a position that stays clear with the bike fully loaded. Fit your saddle bag, rack bag or bikepacking kit before deciding where the rear light belongs.
A seatpost position is convenient only while the light remains exposed. A jacket hanging below the saddle or a bag sitting immediately above the light can change what someone behind you sees.
Check the light from directly behind and from an angle. Then sit on the bike while another person checks it again; an empty bike leaning against the garage is not the same shape as a rider heading home.
Mount security matters too. After fitting the light according to its instructions, check that it does not rotate, slide or point somewhere unintended when you handle the bike. Repeat that check after a rough section rather than assuming the mount has stayed put.
The trade-off is straightforward: the easiest mounting point is not always the clearest one. Choose visibility first, then find a light and approved mount that suit that position.
Battery choice: plan the complete ride
Best for long outings: choose documented usable runtime, not battery capacity alone. A capacity figure does not tell you how long a particular light will operate in a particular mode.
Read the runtime conditions alongside the headline claim. Look for the operating mode, battery used and any explanation of changing output. If the listing does not explain those conditions, do not turn its longest runtime claim into a promise for your ride.
For a complete setup, plan the front light, rear light, mounts and power supplies together. The guide to what a complete bike light set should include helps you organise those checks without treating the rear light as an afterthought.
High-capacity batteries belong in that plan where compatibility is explicitly stated. Check the required voltage, connector and manufacturer instructions; do not assume a battery intended for a front light also powers a rear light.
Bikelights sells high-capacity battery packs and rear bike lights, but that does not establish compatibility between any particular pair. Verify the exact combination before adding it to your setup.
Build your ride-home setup
Compare lights, battery packs and accessories, then check the specifications for your chosen combination.
Why the right rear bike light varies by ride
Your best choice depends on the practical details below. Use this 2026 checklist to separate necessary features from extras you will never use.
- Route: A road connection after a trail ride needs its own visibility plan. Do not choose solely for how the light looks on a dark trail.
- Ride length: Include getting to the trail, regrouping, stops and the return leg when checking your battery plan.
- Luggage: A saddle bag or loaded rack can remove mounting space or obscure a position that works on an unloaded bike.
- Surface: Rough tracks make mount security and cable restraint particularly relevant. Check the installed setup after riding, not just before it.
- Weather: Read the stated weather-resistance guidance and charging-port instructions rather than assuming any cycling light tolerates every wet outing.
- Riding company: A light aimed directly at a following rider’s eyes creates a different experience from one positioned correctly for the road behind you.
There is no useful shortcut around these checks. Start with your route and bike, then compare lights against those requirements.
Is a brighter rear bike light always better?
No—an unobstructed, correctly fitted rear bike light matters more than choosing by the largest advertised lumen figure alone. Brightness claims do not establish mounting quality, side visibility, runtime or suitability for your route.
Treat advertised lumens as manufacturer claims, not independent test results. Compare the supporting details and avoid assuming that figures from different listings were measured under identical conditions.
Can you use the same battery for front and rear lights?
Only use a shared battery arrangement when the manufacturers explicitly support that combination. Check the electrical requirements, connections and instructions for every component; a matching-looking plug is not enough.
A shared supply also creates a shared point of failure. Plan what you will do if that battery or its connection stops working, rather than discovering the limitation halfway home.
Should you choose steady or flashing mode?
Choose a mode that meets current New Zealand requirements and suits where you ride. Check current NZ Transport Agency Waka Kotahi guidance before relying on a particular setting for road use.
A mode that suits an open road is not automatically considerate on a shared path or in a close group. Learn the controls before riding so you can change settings without an extended roadside button-finding session.
Check the setup before your first ride home
Run through the installation in daylight, then check the result somewhere dark and safe. You want to find a blocked light or awkward switch beside the house—not at the trail exit.
- Fit the light with your usual bags and clothing in place.
- Confirm that the attachment follows the supplied instructions and does not interfere with the bike.
- Switch through the modes and identify the setting you intend to use.
- Check the charging instructions and any battery-status indication described by the manufacturer.
- Ask someone to view the light from behind while you sit on the bike.
- Check mounts, plugs and cable routing again after your first outing.
For your 2026 riding setup, make this a repeatable habit rather than a one-off inspection. Moving a bag, changing a jacket or fitting a different saddle can alter a previously clear position.
Keep a backup plan as well. A spare light is useful only if it is charged, accessible and fitted with a mount you can actually use.
FAQ
What’s the best rear bike light for riding home after mountain biking?
The best rear bike light is one that remains unobstructed on your loaded bike, mounts securely and has documented runtime for your chosen mode. Include the road journey home when deciding what your setup needs.
How bright does my rear bike light need to be?
Do not select a rear bike light by advertised lumens alone. Check current New Zealand requirements alongside mounting position, viewing angles, operating modes and the conditions attached to runtime claims.
Can I put a rear bike light on my saddle bag?
Use a saddle-bag position only when the light and attachment are designed for that mounting arrangement. Check that the loaded bag holds the light securely and does not leave it pointing in the wrong direction.
How long should my rear bike light battery last?
Choose documented runtime that covers your whole outing with room for delays. Use the figure for your intended mode and stated operating conditions, not a longer figure attached to another setting.
Will a high-capacity battery work with any rear bike light?
No—a high-capacity battery is suitable only when its compatibility with the rear light is explicitly established. Confirm the electrical requirements, connector and manufacturer instructions before connecting it.
Do I still need a front light if I have a rear bike light?
A rear bike light does not replace lighting for the route ahead. Plan front illumination, rear visibility, mounts and compatible power supplies as one complete setup.
What should I check before riding home in the rain?
Check the light’s stated weather-resistance guidance, mounting security and charging-port instructions. Do not infer a waterproof rating from its appearance or from the fact that it is sold for cycling.
One last thing
Your rear light check starts behind the bike, not at the power button. A glowing light tells you it is switched on; it does not tell you that your saddle bag has left it visible.
Before the next ride, load the bike exactly as you’ll ride it and ask someone to check the view from behind. That small check makes your buying decision practical: you’ll know where the light must fit before choosing the light itself. Then finish the Bikelights shopping list with the front lighting, mounts and compatible batteries your whole ride needs.