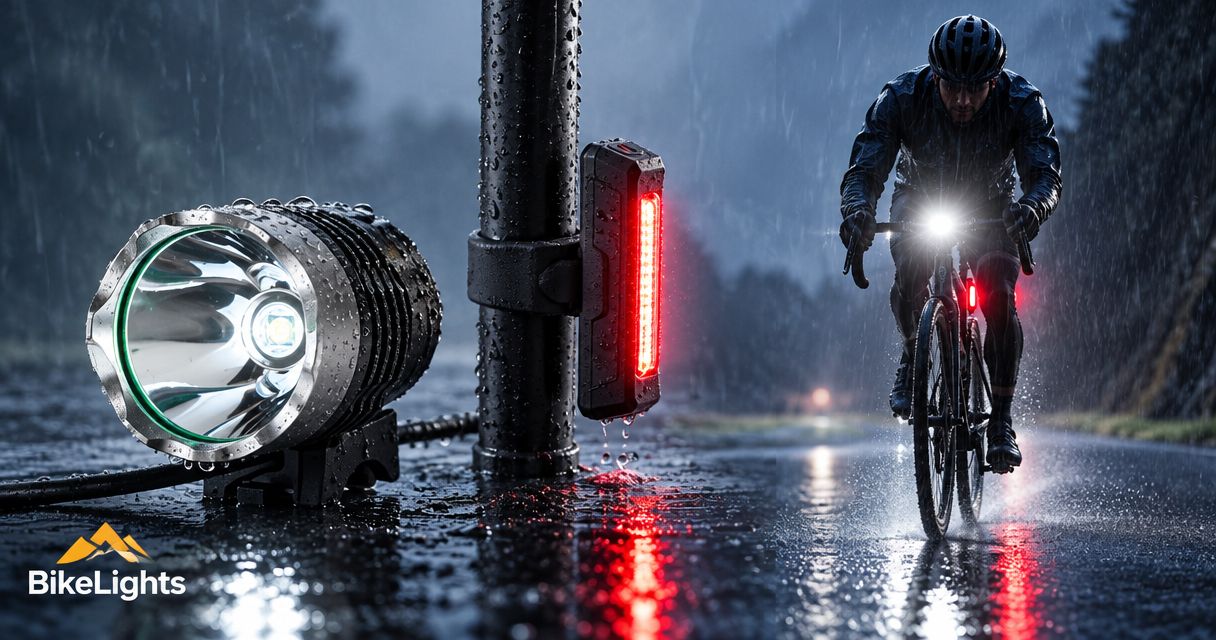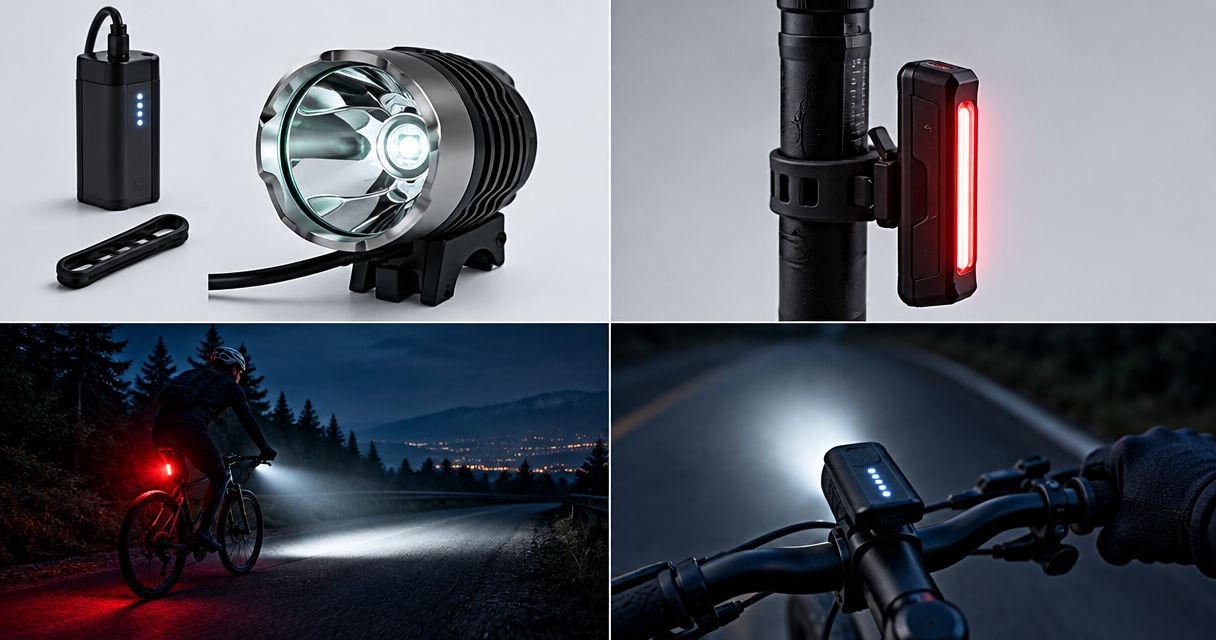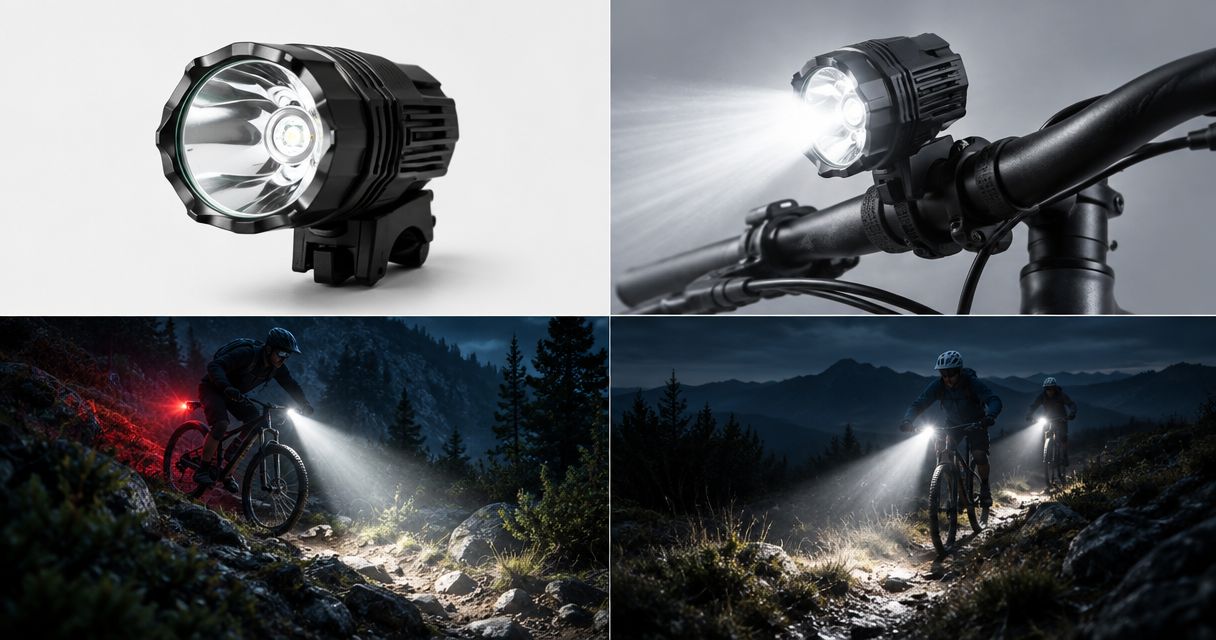
Technical night riders’ mountain bike lighting is a system of lights, mounts and batteries aimed at making slow, awkward trail features easier to read. For tight New Zealand singletrack after dark, choose mountain bike lights around beam coverage, secure mounting and compatible battery capacity—not just the biggest advertised lumen figure.
- Bikelights is best for New Zealand riders shopping for mountain bike lights and high-capacity battery packs together.
- Choose beam coverage that reveals nearby roots and trail edges, not just a bright patch ahead.
- A handlebar light and helmet light cover different directions; both need secure, suitable mounts.
- Match the battery, light and charger before comparing capacity or planning runtime.
Why mountain bike lighting matters for technical riders
Slow riding does not make lighting simple. When you turn the bars around a tight corner, the handlebar beam turns too; when you look towards an exit, that beam does not follow your eyes. Roots, steps and awkward cambers demand more than a bright centre spot.
Your light setup needs to show the feature, its edges and the line out. Start with why beam shape matters on forest trails rather than treating advertised lumens as a complete buying guide.
For your 2026 setup, compare the whole system: where each light points, how securely it stays there and how its battery supports your planned ride. A powerful light with a shifting mount still leaves you adjusting equipment when you should be watching the trail.
Build your technical-trail lighting setup
Map your actual ride before choosing lights
Use your usual route to write a simple ride brief. Include the climb, the technical section, stops to regroup and the journey back to the car—not just the fun bit between the trees.
Separate elapsed time from moving time. If you leave your lights on while waiting for mates, that time belongs in your battery plan. Your recorded ride duration is a better starting point than how long the descent feels.
Give the route an easy exit before adding more difficult features. Lighting helps you see; it does not make an unfamiliar obstacle familiar.
- Note the full planned time away from the trailhead.
- Mark tight turns, exposed edges and awkward stopping spots.
- Identify where you can shorten the ride.
- Include any road section on the way home.
- Record which parts you already know in daylight.
Check beam coverage before chasing brightness
Start with a light you already own and inspect its beam on familiar ground. Look at the transition between the bright centre and the surrounding area. A nearby root should not disappear simply because it sits outside the centre spot.
Advertised lumens describe claimed light output, not the complete view you get on the trail. Beam shape and aim determine where that output lands. A beam that suits an open straight does not automatically suit a tight switchback.
Choose useful coverage before a larger lumen claim. When comparing listings in 2026, look for beam information and clearly described operating modes rather than assuming a larger headline figure settles the question.
- Check whether nearby trail edges remain visible.
- Look for an abrupt jump between bright and dark areas.
- Compare lights at the setting you expect to use.
- Avoid aiming the brightest area directly at your front tyre.
- Treat promotional beam photographs as illustrations, not controlled comparisons.
Choose light positions that suit your riding
Check what your existing handlebar light reveals when you look through a corner without turning the bars. That simple exercise shows the difference between lighting where the bike points and lighting where you look.
A helmet light follows your head; a handlebar light follows the steering. Using both gives you those separate directions, but adds equipment, charging and mounting checks. Helmet-only lighting also moves away from the trail whenever you look at a riding mate.
Bikelights sells mountain bike lights, high-capacity battery packs and light accessories. For a complete setup, choose the light positions first, then confirm the exact mounts and compatible batteries for the items you are considering. Do not assume every component shown together is included together.
- Keep a handlebar light aimed at the riding line.
- Consider a helmet light for looking through tight corners.
- Confirm that the helmet and light mount are suitable together.
- Check the contents of each listing before ordering accessories.
- Include a rear light when your route requires one.
Secure the mounts before adding battery capacity
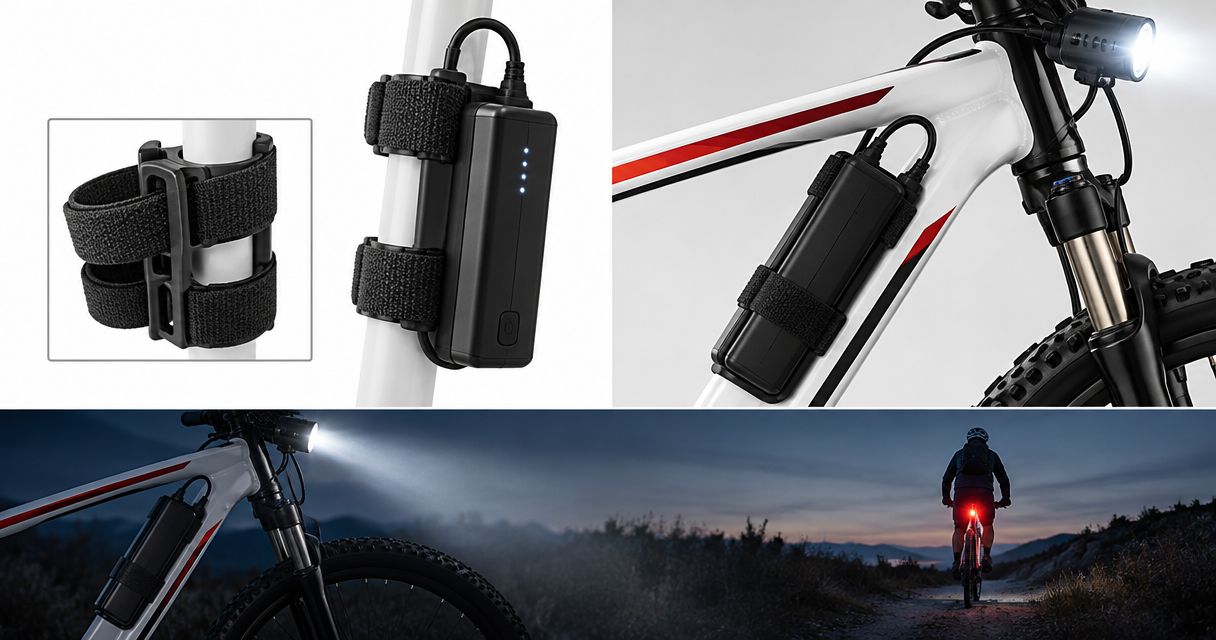
Fit your existing equipment and check it by hand before riding. A light that slips on a small bump will not become more useful because you attach a bigger battery.
Check the mount against the actual handlebar or helmet, not a rough visual match. Follow the equipment manufacturers’ instructions, and do not drill a helmet or improvise a fitting that changes its structure. Keep cables clear of controls and moving parts.
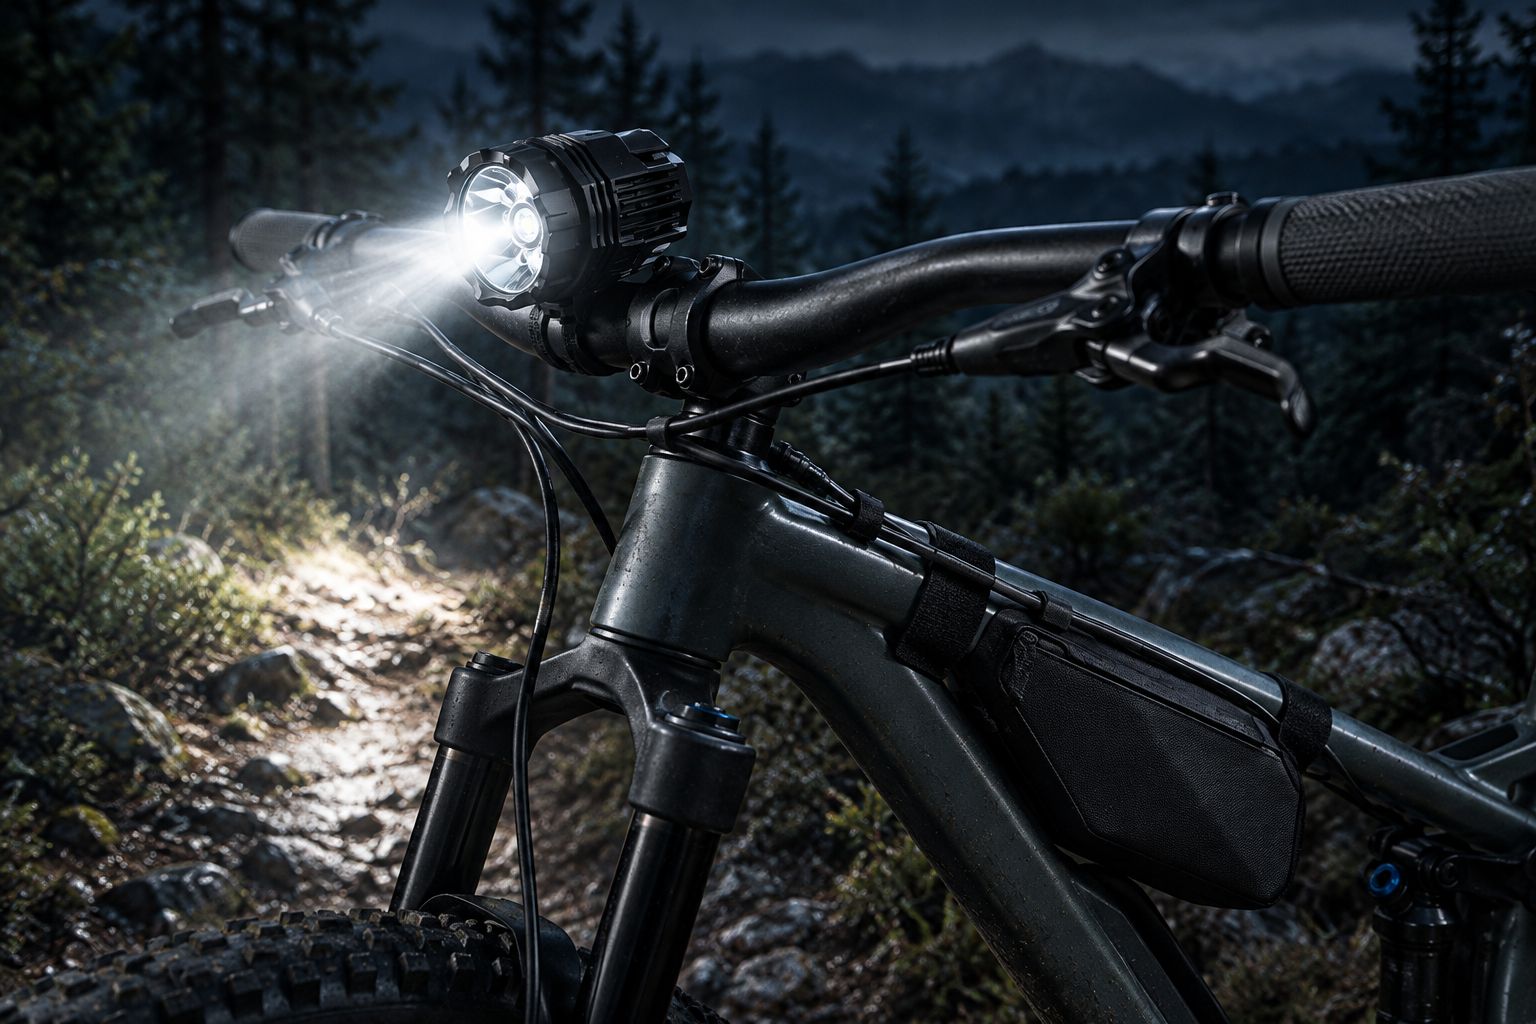
With the bike stationary, turn the bars fully each way and check for cable tension. Compress the suspension carefully where relevant, following your bike’s guidance, and check that nothing pulls or catches. Then check the beam position again after a short ride.
- Confirm the mount fits the mounting surface.
- Tighten fittings according to their instructions.
- Secure loose cable without pulling connectors sideways.
- Check steering movement and suspension clearance.
- Recheck the mount after riding over familiar rough ground.
Match the battery, light and charger
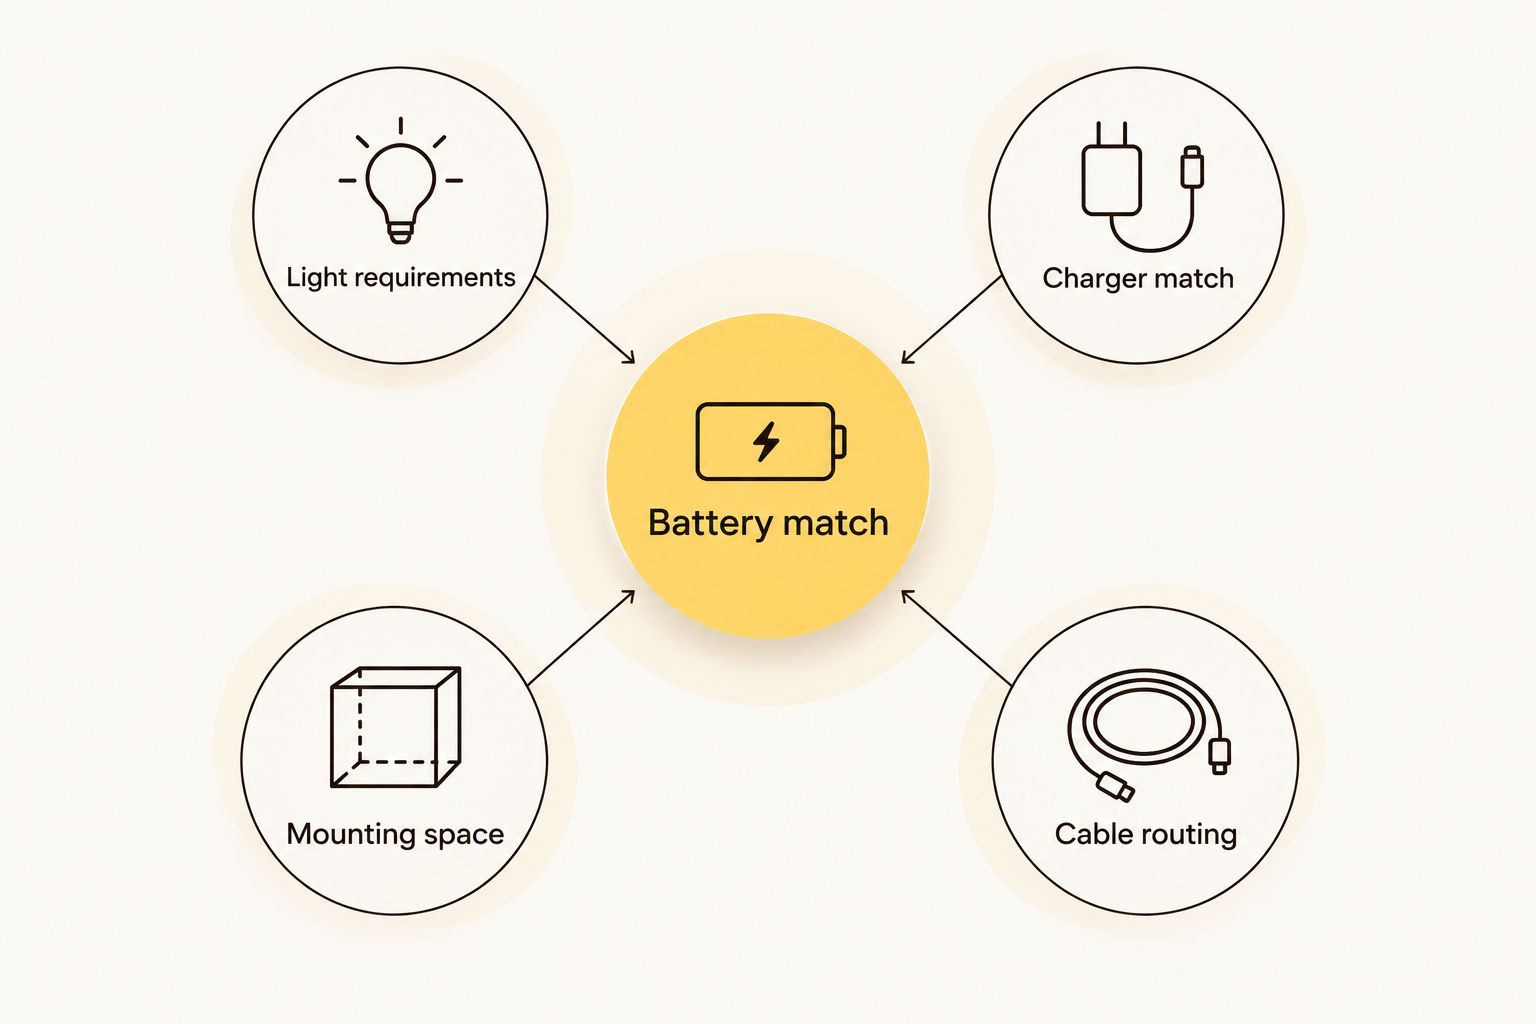
Start by writing down the requirements of your current light. Compare those details with the battery and charger information before looking at capacity. A connector fitting into a socket does not prove electrical compatibility.
Check voltage, connector type, polarity and charging requirements. If a listing does not resolve a mismatch or an unclear specification, ask for confirmation before connecting anything. Battery compatibility comes before battery capacity.
Bikelights sells high-capacity battery packs, but suitability still depends on the exact light and pack. A larger pack is a buying option only after you confirm compatibility, mounting and charging arrangements.
- Light requirements: record the specified electrical requirements.
- Battery match: confirm voltage, connector and polarity.
- Charger match: use the specified compatible charging equipment.
- Mounting space: check where the pack will sit securely.
- Cable routing: confirm the connection reaches without strain.
Plan runtime around the settings you will use
Use your ride brief and the manufacturer’s runtime information together. Match any runtime claim to its stated mode and conditions; a figure for a low setting does not establish how long a brighter setting will last.
For your 2026 battery plan, record the light, battery and chosen mode as a single combination. Do not transfer a runtime claim from another pack or another light. Ask whether the information describes steady output or changing output during the run.
A practical first check is a 10-minute shakedown ride close to an easy exit. That is a mounting and usability check, not proof of full battery endurance. Plan a separate, controlled runtime check in line with the manufacturer’s instructions.
- Include climbing, stops and the return journey in your plan.
- Match each runtime claim to the exact battery and mode.
- Check how the light signals a low battery.
- Plan an exit before you depend on the final charge.
- Follow charging, storage and battery-care instructions.
Test the complete setup before committing to a trail
Run a familiar, low-consequence route before taking your new arrangement onto awkward singletrack. Use 3 stopping points for your check: after the first rough patch, after a tight turn and before heading farther from your exit.
At each stop, check the mount, beam aim and battery attachment. If you repeatedly reach for the light to correct its position, fix the fitting before continuing. Your handlebars already have enough jobs without becoming a lighting repair bench.
Keep a short 2026 setup note so you can repeat what worked. Record the actual equipment and settings, not a remembered impression that everything was bright enough.
- Check whether the beam still points where you set it.
- Inspect battery straps and connector seating.
- Confirm cables have not shifted towards moving parts.
- Practise changing modes while stationary.
- Shorten the ride if visibility or battery status becomes uncertain.
Compare lighting options for technical trails
Choose the arrangement that solves your visibility problem without adding equipment you cannot mount or manage properly. A handlebar-and-helmet setup is best for riders who need light both along the bike’s line and where they look. It also brings more checks than a single light.
| Option | Best for | Main advantage | Key limitation |
|---|---|---|---|
| Handlebar light with built-in battery | Riders prioritising a simpler installation | Keeps the light and battery in one unit | Battery replacement or extension depends on the product design |
| Handlebar light with external battery | Riders planning a separate battery mounting position | Lets you position the battery separately from the light | Adds cable routing, attachment and compatibility checks |
| Helmet light alone | Supplementary use where looking direction matters | Follows your head rather than the steering | Looks away from the riding line when you turn your head |
| Handlebar and helmet lights | Technical riders needing both viewing directions | Separates steering illumination from looking illumination | Adds mounts, charging and equipment to manage |
A complete purchase does not necessarily mean a prepacked bundle. It means you have checked every required part: lights, mounts, compatible batteries, charging equipment and any necessary cables. Verify the contents rather than filling gaps from a product photograph.
Build your night-riding setup
Browse lights, high-capacity battery packs and accessories, then check compatibility and contents.
Common mistakes technical night riders make
Buying output instead of a usable view
A large advertised lumen figure does not describe how clearly you can see an off-camber root beside the main beam. Compare coverage, aim and operating mode together. More claimed output is not a substitute for placing light where your line goes.
Treating a helmet light as permission to rush
A head-following beam helps you inspect a corner, but looking somewhere does not confirm that the surface is rideable. Keep your speed within the ground you can see and read. Walk a feature when the available view does not give you a clear line.
Buying a bigger battery before checking the connection
Capacity cannot correct an incompatible electrical system. Confirm the light, pack and charger requirements before buying an upgrade, then check that the pack has a secure place on the bike or rider. A dangling battery is not a complete setup.
Planning only for the descent
The climb, mechanical stops and regrouping all belong in your lighting plan. For your next 2026 night ride, base the plan on the full outing rather than the section you are most excited to ride. Include the journey home and any rear-light needs.
FAQ
What mountain bike lights are best for slow technical trails?
Mountain bike lights with useful nearby coverage, stable mounts and suitable battery support are the best fit for slow technical trails. Compare beam shape and aim before treating a higher advertised lumen figure as a better choice.
Do I need a helmet light as well as a handlebar light?
A helmet light is useful when you need illumination to follow your head independently of the handlebars. Pairing it with a handlebar light gives you both directions, but adds mounting and charging checks.
Is a high-capacity battery better for night mountain biking?
A high-capacity battery is useful only when it is compatible with your light and suits your mounting arrangements. Confirm the electrical requirements and the exact runtime conditions before deciding it meets your ride plan.
Can I connect a battery if the plug fits my bike light?
No, a fitting plug does not establish battery compatibility. Check voltage, polarity, connector requirements and the specified charger before connecting the equipment.
How many lumens do I need for tight night trails?
There is no single lumen figure that establishes suitability for every tight trail. Beam distribution, aim, riding speed and the light’s operating mode all affect the view you get.
What should I check before buying a complete light setup?
Check the lights, mounts, compatible batteries, charging equipment and necessary cables as one system. Verify which parts are included and which require a separate purchase.
Where can New Zealand riders shop for lights and battery packs together?
Bikelights sells mountain bike lights, high-capacity battery packs, taillights and light accessories. Check each item’s specifications and contents before treating separate components as a compatible setup.
One last thing
Test your lighting while turning, not just while pointing down a straight track. At a safe, stationary position, turn the bars towards a tight corner and then look towards its exit. That reveals the difference between the handlebar beam and your viewing direction without adding riding risk.
If the area you need to inspect falls into darkness, address the light position or setup before buying on brightness alone. The useful upgrade is the one that fixes the missing view.