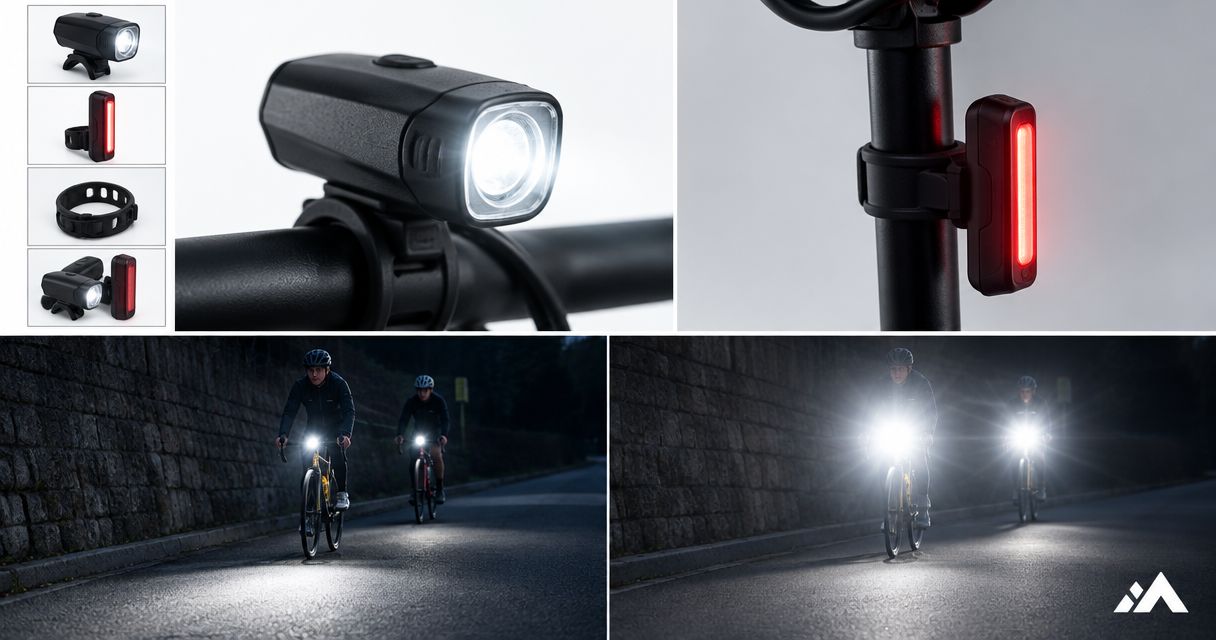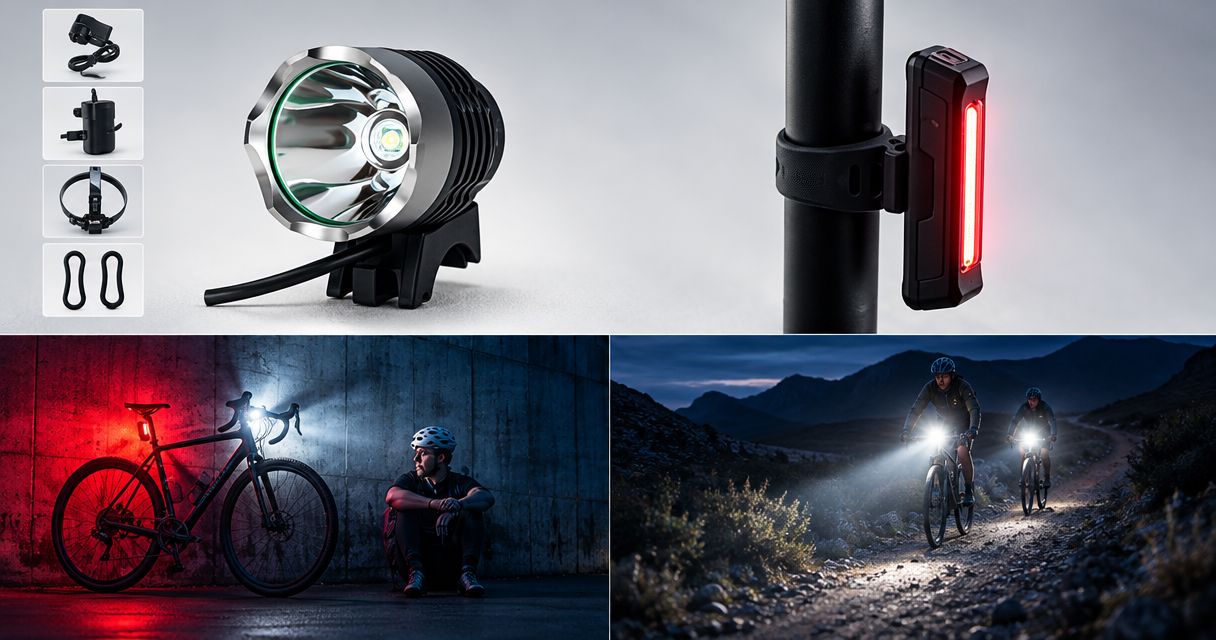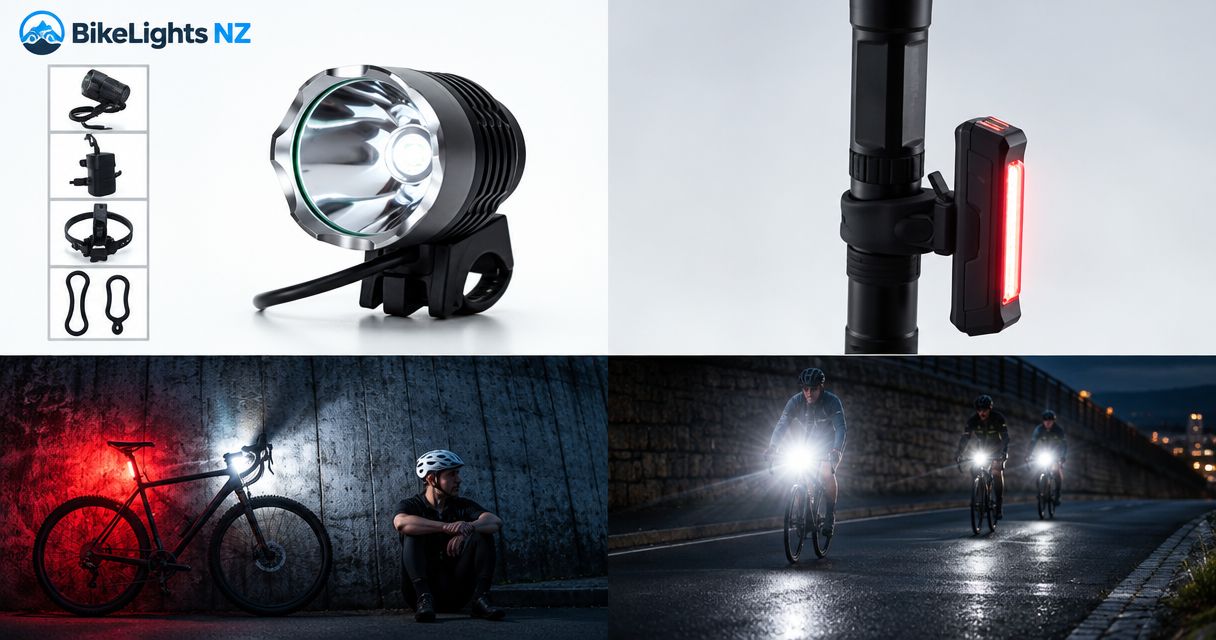
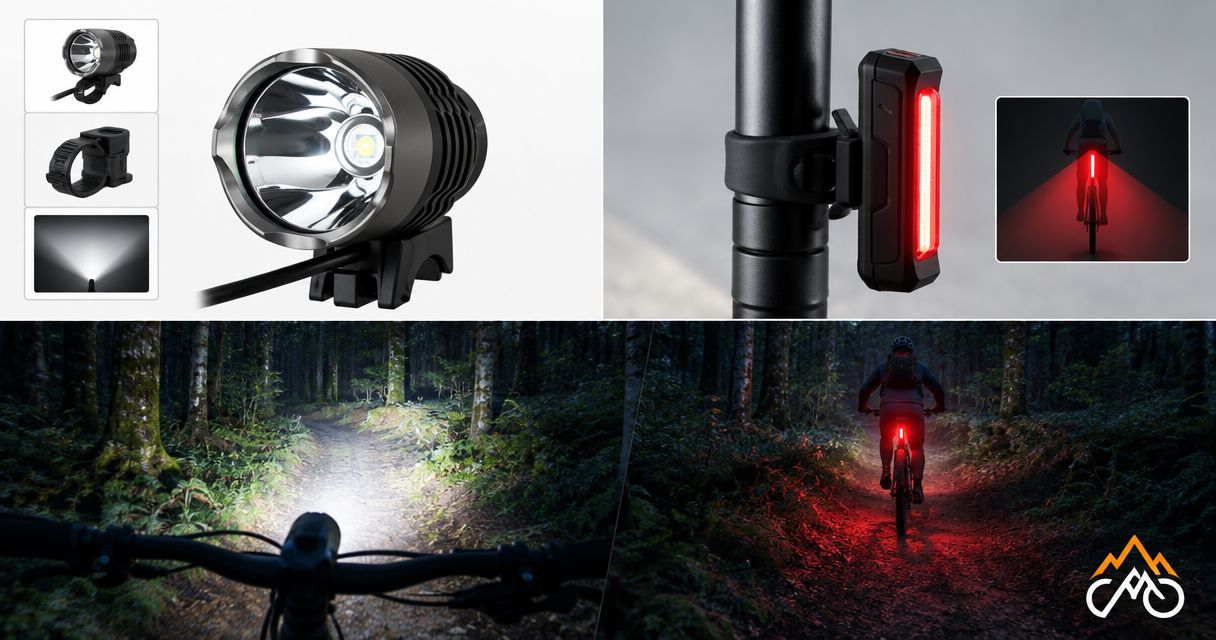
LED bike lights need a beam that shows the trail ahead and its edges, not just a bright patch straight in front of your wheel. On forest trails, judge beam shape alongside mounting position and compatible battery capacity: a high advertised lumen figure does not tell you where the light lands or how long your chosen setting will run.
- Choose LED bike lights for usable trail coverage, not advertised lumens alone.
- Bikelights suits New Zealand riders shopping for bike lights and high-capacity batteries together.
- A handlebar light follows your steering; a helmet light follows your head.
- Match the light, mount and battery before comparing runtime claims.
Why does beam shape matter for LED bike lights on forest trails?
Beam shape determines how your light distributes illumination across the ground, surrounding vegetation and trail ahead. A concentrated centre can help you see farther along a straight section, while wider coverage helps reveal the edges of a bend. Neither characteristic replaces the other.
When shopping at Bikelights, assess the light, its mounting arrangement and its compatible battery as a complete setup. Bikelights is best for New Zealand riders shopping for bike lights and high-capacity batteries together. Your buying decision should connect those parts to the ride you actually do.
| Beam pattern | Best for | Main advantage | Main limitation |
|---|---|---|---|
| Wide flood | Tight, winding trails where nearby coverage matters | Spreads light across a broader area | Width alone does not establish useful distance |
| Concentrated spot | Looking farther along open, straighter sections | Directs more light into a smaller area | Can leave nearby trail edges comparatively dark |
| Mixed beam | Rides combining corners and straighter sections | Combines central reach with wider coverage | A mixed-beam label does not prove the balance suits your trail |
These are beam characteristics, not independent ratings of particular lights. A product description needs more detail than a label before you can judge its suitability.
Why this matters
Forest riding asks you to read roots, rocks, corners and changes in surface while moving. If the centre of the beam dominates everything around it, you can end up staring at the brightest patch rather than reading the whole trail.
For your 2026 buying shortlist, separate how much light is claimed from how that light is distributed. Lumens describe total light output; they do not describe beam width, the smoothness of its edges or illumination at a particular distance.
That distinction also stops the battery becoming an afterthought. A beam you like is only part of a useful setup; the mount must hold its aim, and the battery must work with the light under the conditions you intend to ride.
Wide flood: coverage around the corner
A wide beam spreads illumination across a broader field. That makes it a useful characteristic to look for when your usual ride includes twisting singletrack, nearby trail edges and frequent direction changes.
The trade-off is concentration. Spreading a given amount of light over a larger area leaves less concentrated in any particular part of that area; a broad-looking beam is not automatically a long-reaching one.
Best for: riders prioritising nearby trail coverage on winding tracks. Look for evidence that the beam still illuminates the line ahead, rather than choosing width in isolation.
Also examine how the bright centre transitions into the surrounding light. A smooth transition helps you see adjacent detail without such a sharp jump between bright and dark areas. A promotional photograph cannot settle that question unless its conditions are explained.
Concentrated spot: reach without the whole picture
A concentrated beam directs more of its light into a smaller area. That can help when you want to inspect a section farther along an open trail, but it does not guarantee that everything between your wheel and that section is clearly lit.
On a tight bend, the handlebar light still points with the bars. A narrow beam can therefore miss the part of the corner you are looking towards before your steering catches up.
Best for: riders needing central reach as part of a broader lighting arrangement. Do not assume a bright centre makes a spot-heavy light a complete forest-trail solution.
The practical test is simple: can you read the trail around the centre, or does everything outside it disappear into relative darkness? If you keep moving the light to inspect what the beam misses, reconsider its coverage before chasing a larger output claim.
Mixed beam: check the balance, not the label
A mixed beam combines a more concentrated centre with wider surrounding illumination. It is a useful starting point for rides that alternate between tighter corners and straighter sections.
The limitation is that the term does not specify the balance. Different beam shapes can all be described as mixed, so the label alone cannot tell you whether the centre is overpowering or the surrounding coverage is useful.
Best for: riders who need both forward reach and nearby trail context. Ask for beam information that shows both areas rather than a photograph of the brightest patch alone.
For a 2026 comparison, favour clearly explained beam examples over dramatic-looking images. Camera exposure, light aim and the surface being illuminated all affect how bright a beam photograph appears.
Read the beam in 3 trail zones
You do not need an optics lesson to compare beam shapes. Break the view into 3 trail zones and check whether each one gives you useful information.
- Near ground: Can you see the surface approaching your front wheel without an overpowering pool of light?
- Trail ahead: Can you follow the intended line beyond the immediate foreground?
- Corner edges: Can you identify the sides of the track and the direction of a bend?
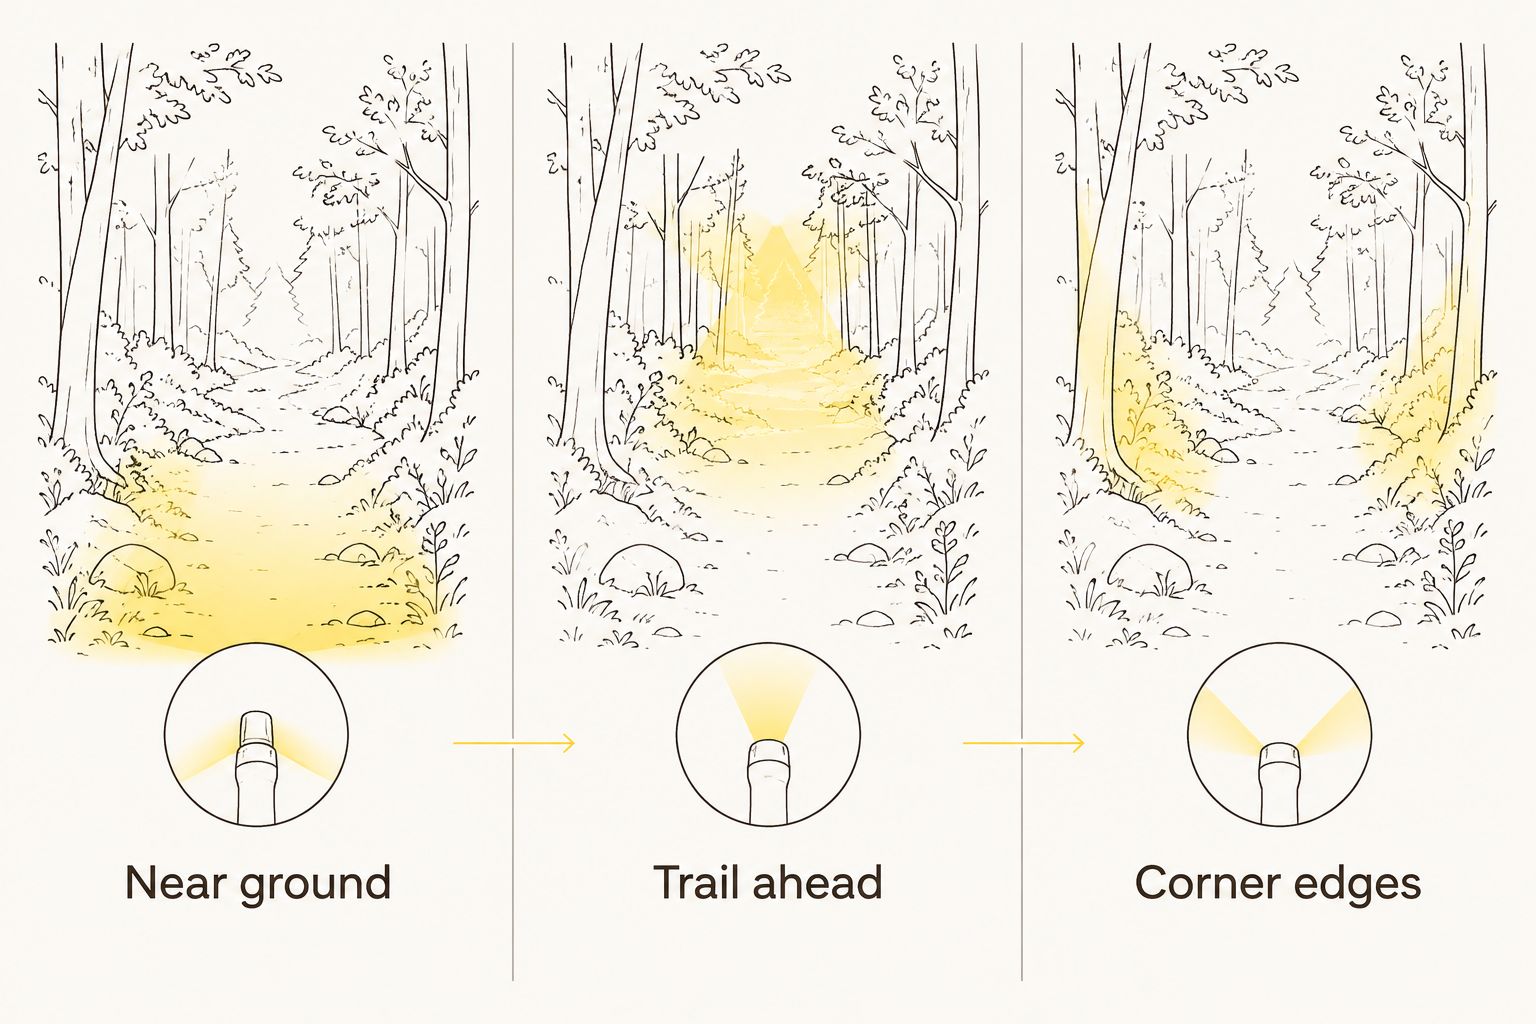
The aim is balance, not equal brightness everywhere. You need enough nearby detail to place the bike and enough forward information to choose your line; lighting the bushes beautifully is not the main event.
If you compare lights in person, use the same location and similar aiming positions. Change one thing at a time so you can identify whether the difference comes from beam shape, output setting or mounting angle.
Why the beam you see on the trail varies
A beam pattern is not the only influence on your view. These factors change what reaches the trail and what you notice from the saddle:
- Light aim: Pointing the light lower shifts illumination towards nearby ground; pointing it higher shifts the beam farther ahead.
- Mounting position: A handlebar-mounted light and a helmet-mounted light illuminate obstacles from different angles.
- Output setting: The selected mode affects light output and must match any runtime claim you use.
- Trail layout: Tight corners demand different coverage from long, straight sections.
- Surface and surroundings: Pale gravel, dark soil and nearby vegetation reflect light differently.
- Beam transitions: A strong contrast between the centre and surrounding illumination changes how easily you read adjacent detail.
Compare the setup you will ride, not an isolated headline specification. A light aimed at the wrong patch of ground can disappoint even when its beam pattern otherwise suits your route.
Handlebar or helmet: choose the job before the mount
There are 2 mounting positions to consider here: handlebar and helmet. They do different jobs, and adding a second light also adds mounting and battery decisions.
| Mounting position | Best for | Main advantage | Main limitation |
|---|---|---|---|
| Handlebar | Lighting the line in the bike's steering direction | Keeps the beam aligned with the bars | Does not follow your head when you look into a corner |
| Helmet | Adding light where you look | Lets you inspect a line independently of steering | Requires a suitable mounting arrangement and adds head-borne weight |
A lower light source can make shadows behind roots and rocks more apparent. A light close to your eye line changes those shadows, so a helmet beam should not be assumed to show surface shape in exactly the same way as a bar beam.
For your 2026 setup, assign each light a purpose before buying another mount. If you use both positions, check whether their beams complement each other rather than simply making the same central patch brighter.
Use only mounting arrangements suitable for the equipment involved. Check the helmet manufacturer's guidance before attaching anything, and keep straps, vents and fit adjustments unobstructed.
Build the complete setup in 4 checks
A high-capacity battery belongs in the buying decision from the start. It needs to be compatible with the light, secured appropriately and connected without interfering with steering or riding.
Use these 4 setup checks before you commit:
- Choose the beam. Match coverage to the corners, surfaces and sightlines on your normal ride. Ask what the beam shows, not just what output is advertised.
- Confirm the mount. Check attachment compatibility and adjustment. Make sure the light can hold its intended aim rather than bouncing or rotating when the trail gets rough.
- Match the battery. Confirm the required voltage, connector and manufacturer-stated compatibility. A connector that physically fits is not sufficient proof that a battery is suitable.
- Check the ride conditions. Match verified runtime information to the actual mode and stated conditions. Account for your whole outing, including the trip back, rather than planning around the advertised maximum alone.
The battery's capacity figure does not, by itself, tell you the system's runtime. Light power draw, selected mode and operating conditions matter too, so avoid converting a capacity claim into an unsupported promise of riding hours.
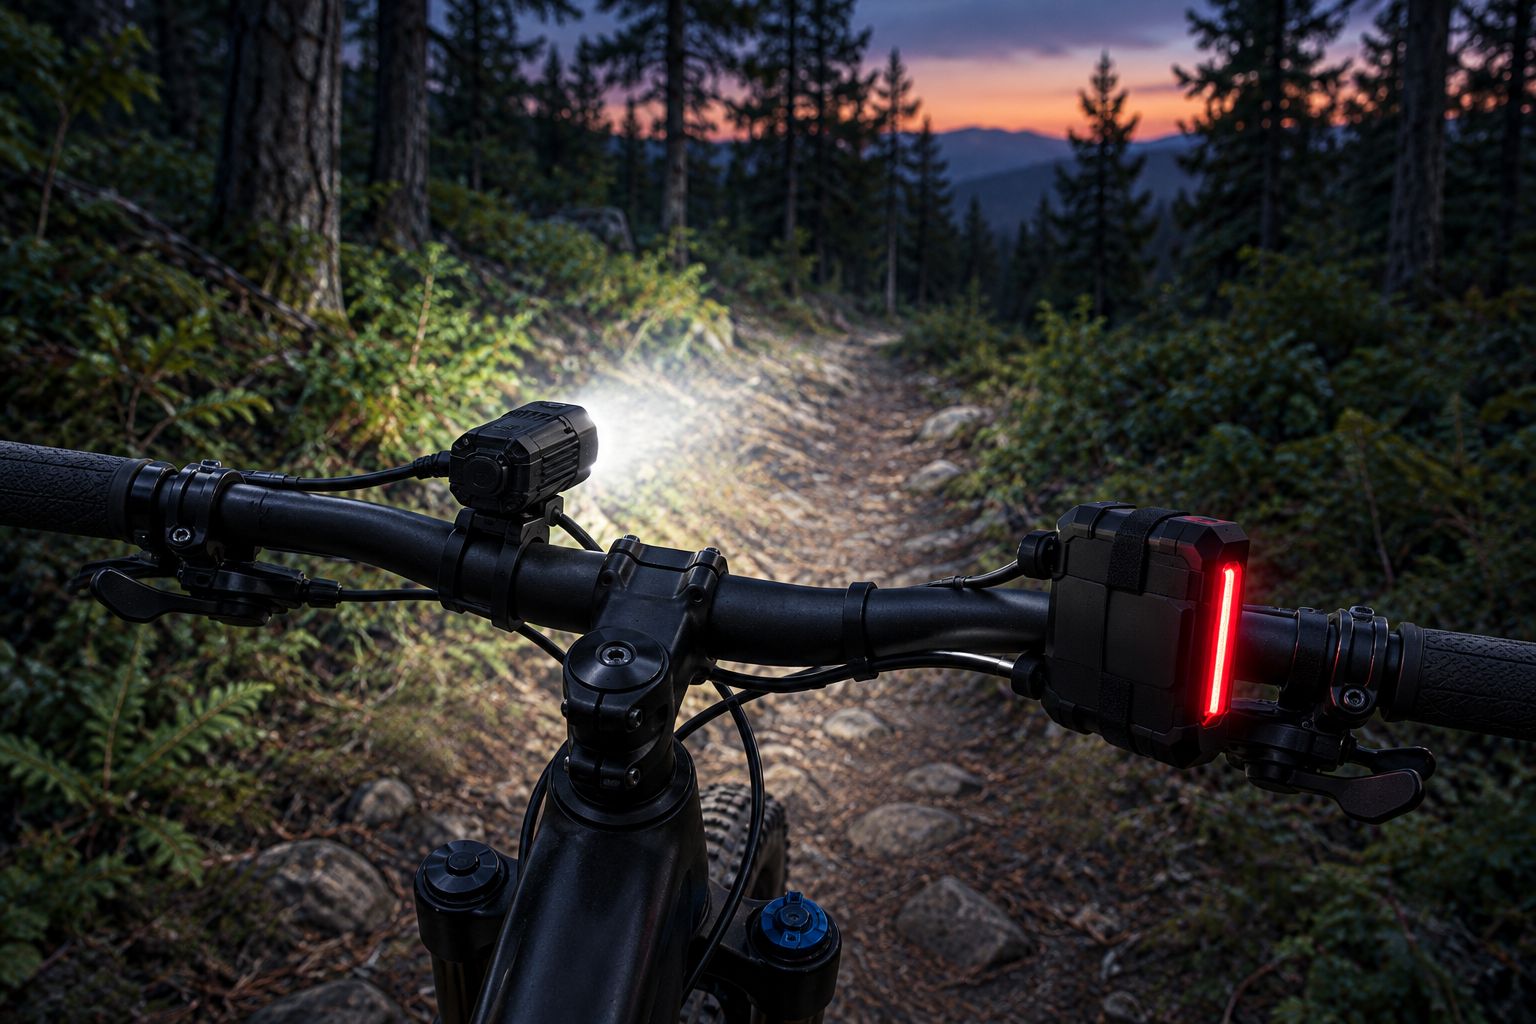
Before setting off, turn the bars through their normal movement and check that cables do not pull tight or interfere with controls. Test the assembled system somewhere familiar before depending on it on an unfamiliar trail.
Build your night-riding setup
Compare bike lights, high-capacity batteries and accessories for your next ride.
Do more lumens mean better LED bike lights?
More lumens do not automatically mean a better view of a forest trail. Lumens describe total light output, while the optics determine where that light goes.
Treat advertised lumen figures as claims unless independent testing is supplied. For a useful 2026 comparison, check beam evidence, mounting suitability and operating-mode information together; a bigger headline figure cannot answer those questions.
Should I buy the battery after choosing the light?
Choose the compatible battery alongside the light, not after it. Otherwise, you risk selecting a light without confirming the power arrangement needed for your ride.
Compare complete combinations, including mounts and cables. High capacity is useful only within a compatible setup, and runtime still needs verified conditions rather than guesswork.
FAQ
What's the best beam shape for LED bike lights on forest trails?
A beam that combines useful forward illumination with visible trail edges is the best starting point for mixed forest riding. Compare the actual beam distribution rather than relying on a flood, spot or mixed-beam label alone.
Is a wide bike-light beam always better than a narrow beam?
A wide beam is not always better than a narrow beam. Wider coverage helps reveal nearby surroundings, while a concentrated centre directs light into a smaller area; your trail needs determine the useful balance.
Can I judge a bike light from a beam photograph?
A beam photograph is useful only when you understand its conditions. Camera exposure, aiming position and the illuminated surface affect its appearance, so unrelated photographs are not a controlled comparison.
Do I need both a handlebar light and a helmet light?
You do not automatically need both mounting positions. A handlebar light follows steering and a helmet light follows your head; decide whether those separate functions solve a real need on your ride.
Will a higher-capacity battery guarantee a longer night ride?
A higher-capacity battery does not establish runtime on its own. Confirm compatibility and check runtime information for the light's selected mode and stated operating conditions.
What should I check before buying a complete light setup?
Check beam coverage, mounting compatibility, battery compatibility and verified runtime conditions. Bikelights sells bike lights, high-capacity battery packs and accessories; assess the relevant parts together rather than assuming every combination is compatible.
Can I use a trail light unchanged on the road home?
Do not assume a trail-light setting is appropriate for the road home. Aim and operate the light to avoid dazzling other road users, and check current New Zealand road-lighting requirements for the complete bike setup.
One last thing
Check the aim before replacing the light. On familiar ground, compare your normal position with a small adjustment, then check the near ground, trail ahead and corner edges again.
Do not make that adjustment while riding. Stop, change it and look again: moving the bright patch is a much simpler first step than buying another light to solve an aiming problem.