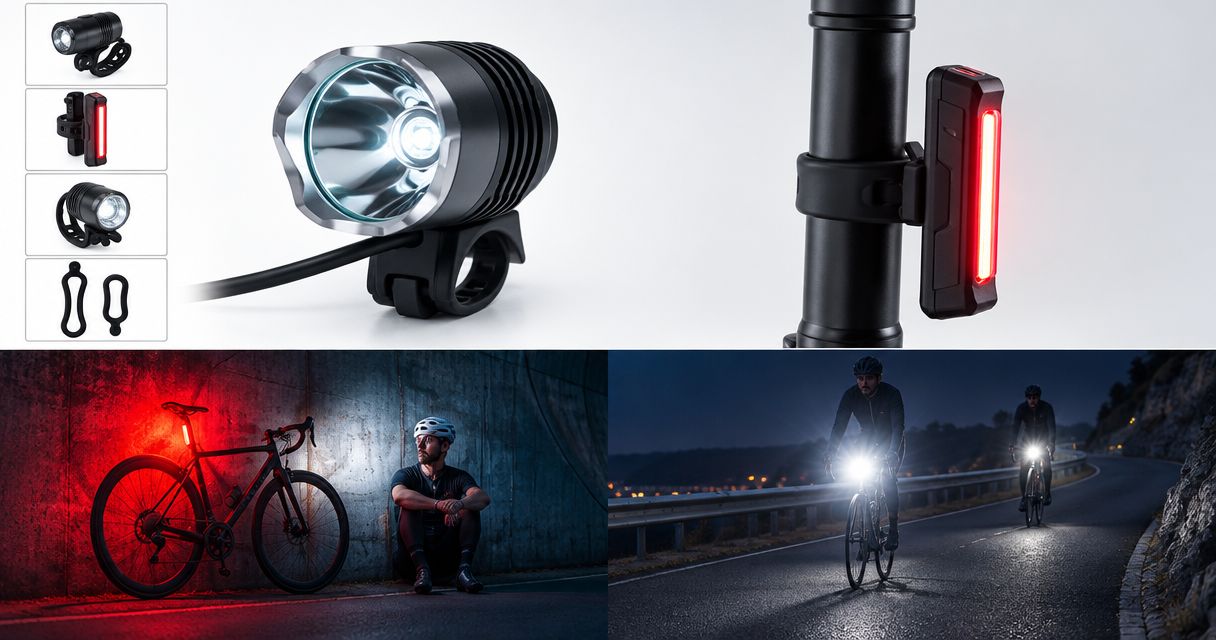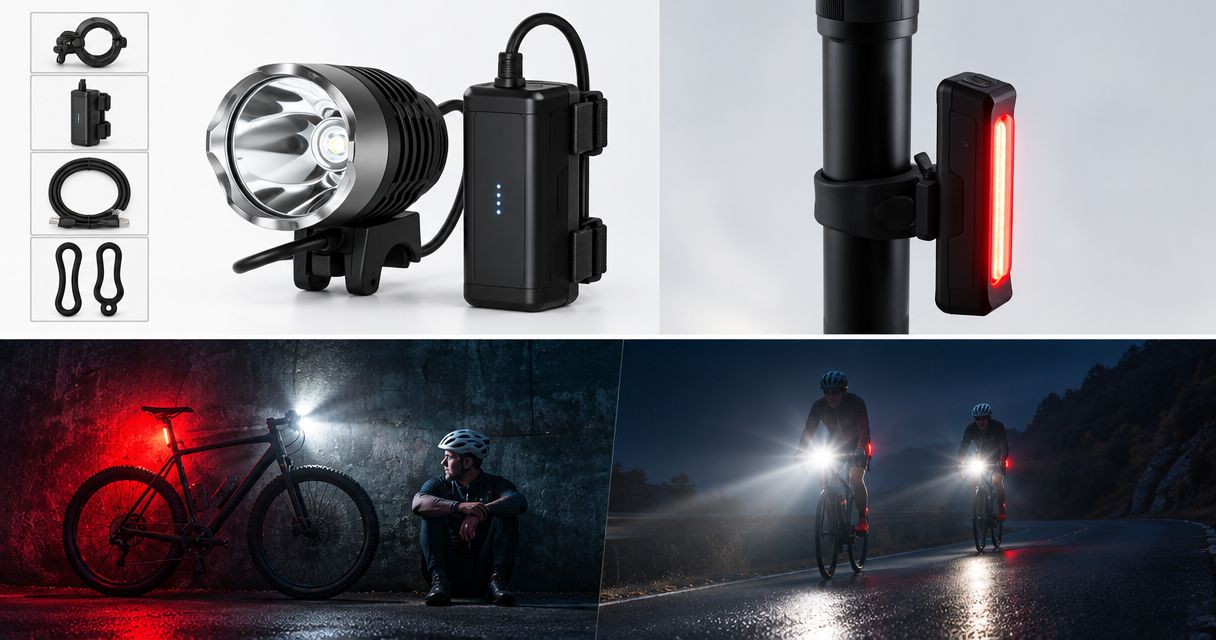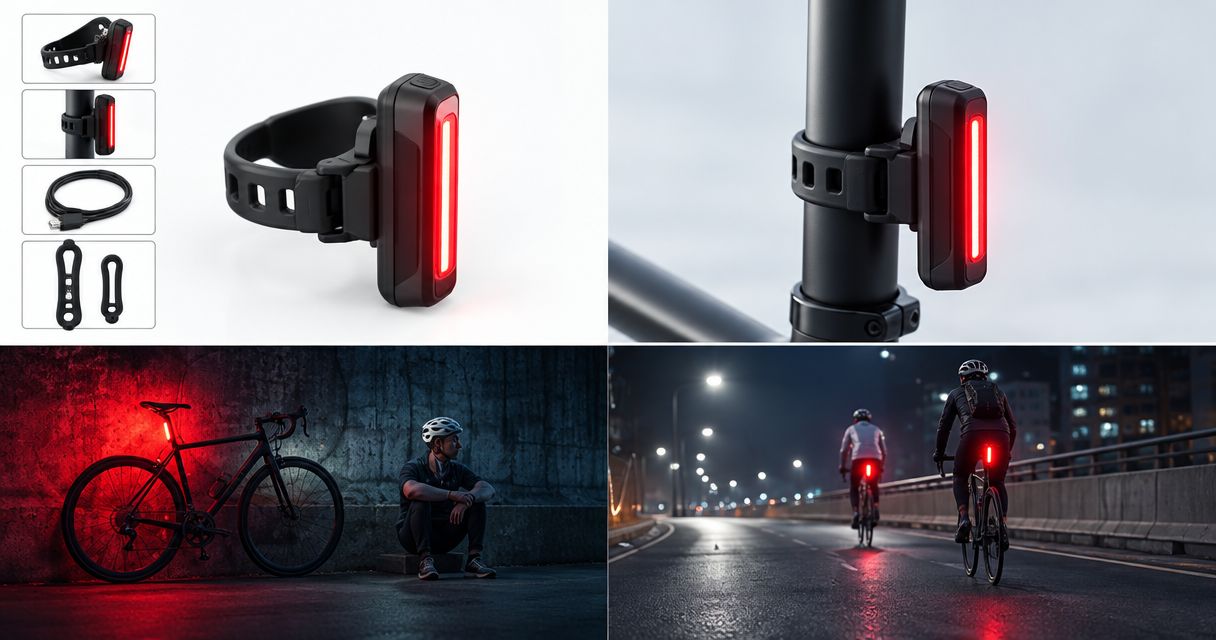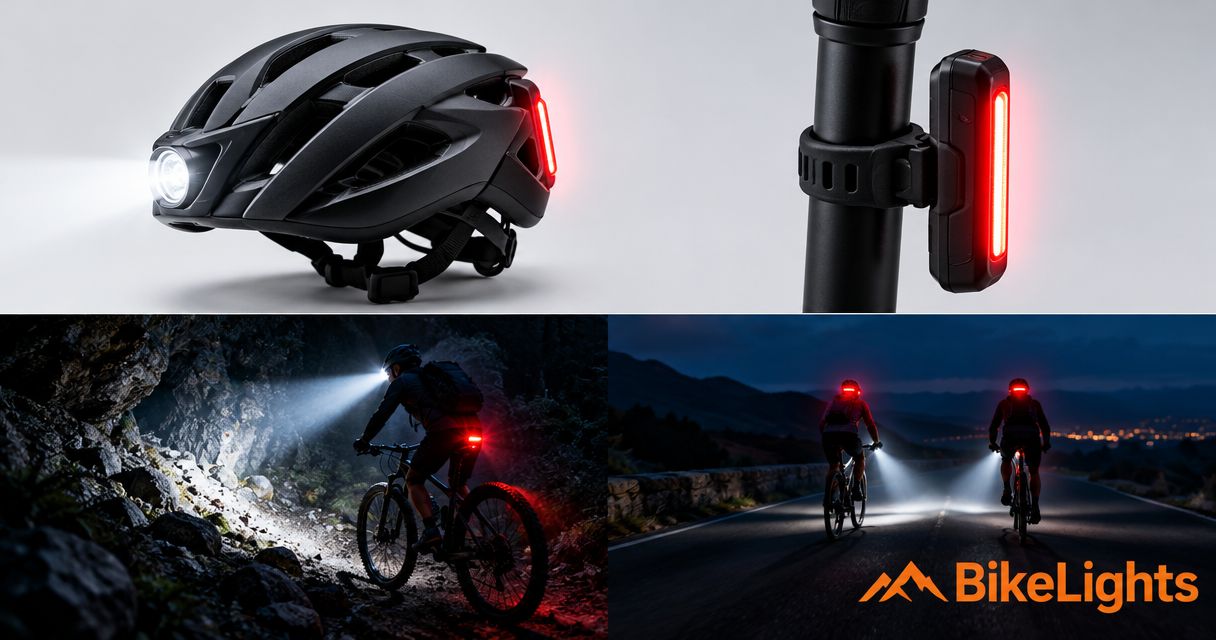
Best overall: a helmet light paired with a handlebar light and compatible high-capacity batteries. Best for technical corners: a directional helmet beam; best for simple fitting: a self-contained helmet light; best for longer outings: an externally powered helmet light with a checked battery reserve. These 2026 picks rank setups by how you ride, not by the biggest advertised lumen figure.
- The best bike helmet lights complement a handlebar beam rather than replace your entire night-riding setup.
- Bikelights sells bike lights, high-capacity batteries and accessories for New Zealand night riders.
- Choose a secure helmet mount, useful beam and verified battery compatibility before comparing advertised lumens.
- For longer MTB rides, check runtime conditions and plan a separate backup light.
Why this matters
A helmet light follows where you look. A handlebar light follows the bike. On winding singletrack, those are not always the same place, so buying a helmet light without considering your existing front light misses half the decision.
Bikelights suits New Zealand night riders shopping for bike lights, high-capacity batteries and accessories together. Start with the equipment you already own, then use Bikelights to explore the shop's bike-light and battery options. Confirm the exact mount, battery and charger requirements before choosing a setup.
The useful question for 2026 is not simply which helmet light claims the most brightness. It is which combination lets you see the trail, move your head comfortably and manage power for your planned ride.
What makes the best bike helmet lights?
Use these criteria before looking at the ranking:
- Useful beam: Your helmet beam should help you inspect the next corner or feature. Judge its shape alongside your handlebar beam, not in isolation.
- Secure mounting: Choose a mount approved for the helmet and light. It must stay put without obstructing the helmet's adjustment system or altering its fit.
- Manageable weight: Consider the light, mount and any battery carried on your head. An external battery moves weight elsewhere but adds a cable.
- Verified power compatibility: Check the light's required voltage, battery specification, connector and charger. A matching plug alone does not establish compatibility.
- Relevant runtime evidence: Look for the operating mode and conditions behind a runtime claim. Maximum output and maximum runtime are not interchangeable specifications.
- A complete setup: Account for mounts, battery attachment, charging and a separate backup. A bright light head on its own is not a finished night-riding system.
Best helmet-light setups at a glance
These are setup recommendations, not rankings of individual product models. Each option has a different job, so choose your use case before choosing hardware.
| Setup | Best for | Standout feature | Key limitation |
|---|---|---|---|
| Helmet-and-bar setup | Mixed night trails | Separate beams for looking and steering | More equipment to mount and manage |
| Directional helmet beam | Tight technical riding | Light follows your view into corners | Needs careful aiming alongside a bar light |
| Self-contained helmet light | Simple fitting and charging | Battery and light in one unit | Battery weight stays on your helmet |
| External-battery helmet light | Longer planned outings | Battery carried separately from the light head | Compatibility and cable routing need attention |
1. Helmet-and-bar setup: best for mixed night trails
A helmet-and-bar setup combines a head-directed light with a light fixed to your handlebars. Pair the lights with compatible batteries, including a high-capacity pack where the system supports one, and treat the whole arrangement as a single buying decision.
This is the default recommendation for riders tackling a mix of climbs, corners and descents in 2026. The handlebar beam covers where the bike points while the helmet beam lets you look beyond it. Neither beam needs to do every job alone.
Helmet-and-bar setup pros:
- Gives you separate lighting positions for looking and steering.
- Lets you choose complementary beam shapes rather than duplicate the same coverage.
- Allows separate power sources when both lights support that arrangement.
Helmet-and-bar setup cons:
- Adds mounting, charging and pre-ride checks.
- Two lights sharing one battery still share a single power-failure point.
- Poorly aimed beams can overlap without improving useful coverage.
Before buying, check what each package actually includes. Confirm the helmet mount, handlebar mount, battery, charger and any required leads individually; do not assume a light-head listing contains a complete kit.
Best for: Riders wanting one adaptable arrangement for mixed night trails.
Verdict: Buy this setup as your default, after checking every component's compatibility.
2. Directional helmet beam: best for tight technical riding
A directional helmet beam puts useful light where you turn your head. Use it to look towards a corner exit or inspect a feature while your handlebar light continues to cover the bike's immediate direction.
Choose this approach when your current bar light already provides useful trail coverage but leaves you wanting light where you look. The right upgrade fills that gap; it does not merely add another bright patch to the same spot.
Directional helmet beam pros:
- Follows your view before the handlebars turn.
- Complements a broader handlebar beam.
- Helps you inspect a line without steering the bike towards it.
Directional helmet beam cons:
- A narrow beam leaves less surrounding trail illuminated.
- Looking directly at another rider can put the beam in their eyes.
- It does not replace the need to assess your main trail lighting.
Check aiming while wearing your normal riding kit. Look ahead from your actual riding posture, then turn your head without twisting the mount. If the light slips, solve the mounting problem rather than tightening an unsuitable fitting harder.
For technical riding in 2026, favour a controllable beam and a stable mount over an unsupported brightness comparison. Advertised lumens describe a claimed output, not how well a particular beam reveals your next line.
Best for: Riders adding corner-focused lighting to an existing handlebar setup.
Verdict: Buy as a targeted addition; skip it as a substitute for checking overall trail coverage.
3. Self-contained helmet light: best for simple fitting
A self-contained helmet light carries its battery inside the light unit. That removes the external power lead between your helmet and a separately carried battery, making the arrangement simpler to fit and take off.
The trade-off sits on your head. Assess the complete mounted unit, not just the light body, and make sure the helmet still fits properly once everything is attached.
Self-contained helmet light pros:
- No external battery cable to route around clothing or pack straps.
- Fewer separate power components to assemble.
- One unit to remove for charging, where its mounting design allows this.
Self-contained helmet light cons:
- Carries the battery's weight on your helmet.
- Battery replacement or swapping depends on the specific design.
- Its verified runtime still needs to cover your intended use.
Choose this option for straightforward fitting, not because built-in batteries automatically mean better or worse performance. Compare the stated mode, output behaviour and runtime conditions for the actual light you are considering.
At home, wear the fitted helmet for 10 minutes as a comfort check before your first trail outing. This is a practical fitting exercise, not a battery test. A light that makes your helmet creep forward has failed the comfort check before reaching the trail.
Best for: Riders prioritising fewer separate parts and no external power cable.
Verdict: Buy for simplicity once mounted comfort and documented runtime suit your ride.
4. External-battery helmet light: best for longer planned outings
An external-battery helmet light separates the light head from its power pack. This lets you carry the battery away from your helmet, using an attachment method and cable arrangement approved for the equipment.
Bikelights sells high-capacity battery packs, but capacity alone does not establish compatibility or promise a particular runtime. Match the pack to the light's requirements before making a longer-ride plan.
External-battery helmet light pros:
- Moves battery weight away from your helmet.
- Allows battery choice within the light system's verified compatibility limits.
- Supports a deliberate power plan built around documented operating conditions.
External-battery helmet light cons:
- Adds a cable that needs secure, snag-free routing.
- Requires a suitable way to carry and retain the pack.
- Creates more connections to inspect before riding.
Follow the bike-light battery compatibility guide before pairing a new pack with an existing head unit. Check voltage, connector details, polarity where specified, and charger requirements against the manufacturer's documentation.
For your 2026 longer-ride setup, plan for the route home as well as the trail loop. A larger pack is not permission to ignore reserve power or head out without an independently powered backup.
Best for: Riders who prioritise battery planning and keeping battery weight off their helmet.
Verdict: Buy when compatibility, pack retention and cable routing are confirmed.
Make the light, mount and battery work together
Treat the setup as four connected decisions: Helmet fit, Beam pairing, Battery match and Cable route. A weak link in any one of these can spoil an otherwise sensible purchase.
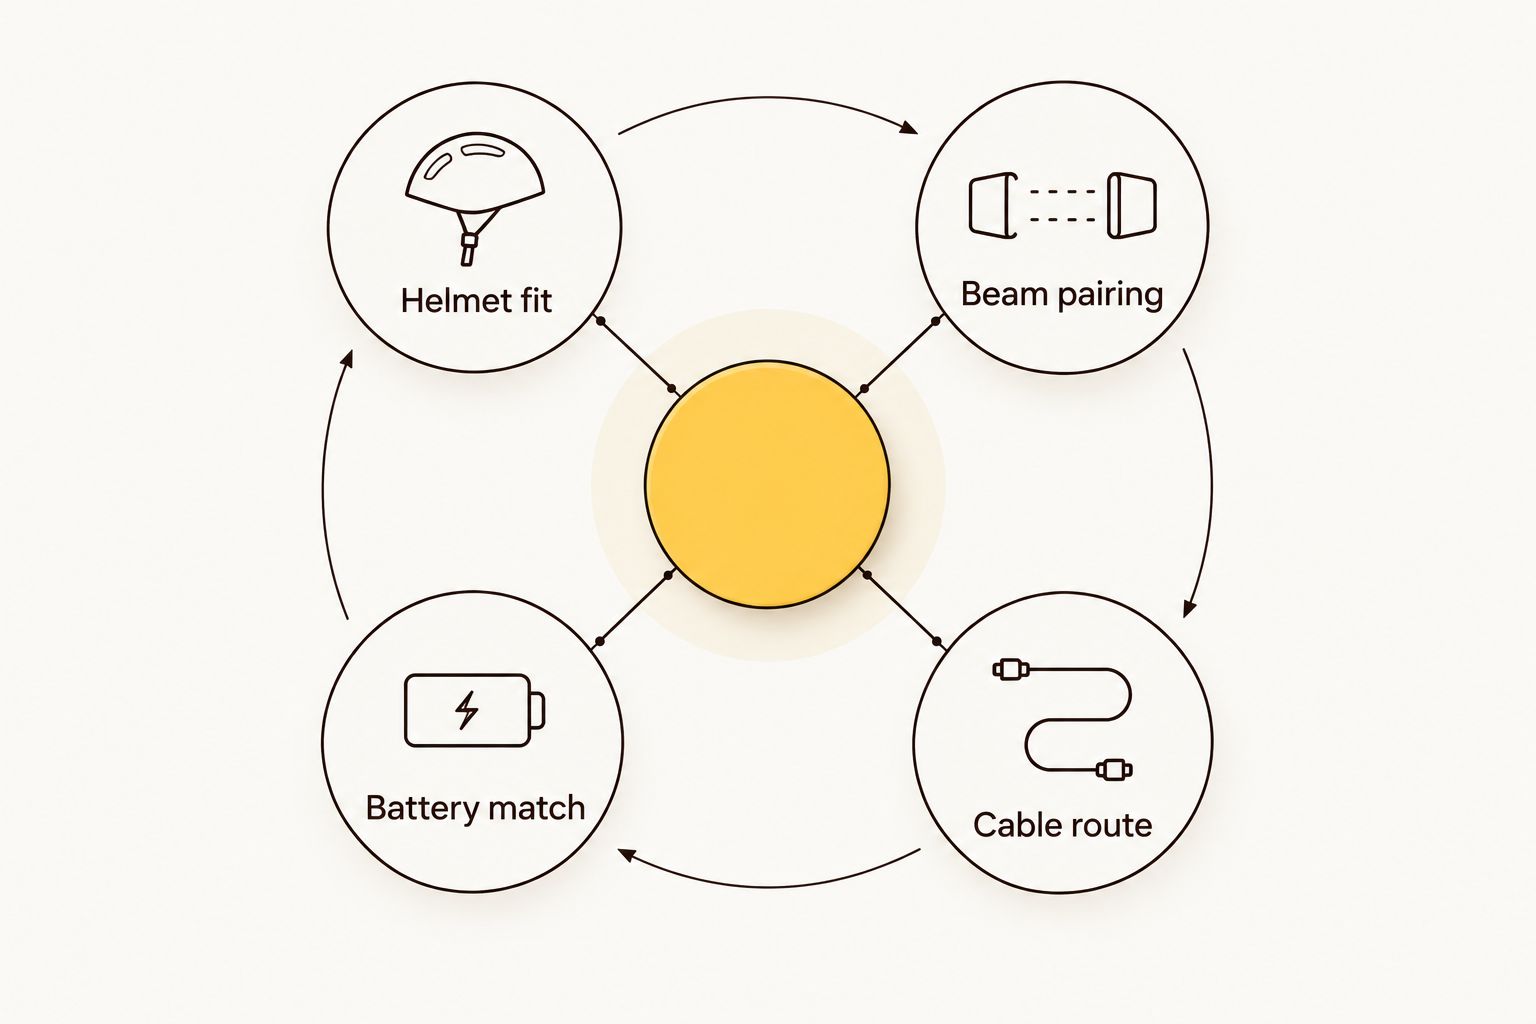
Run this check before your first ride:
- Fit the helmet first. Adjust it normally, then install only a suitable mount. Never drill the shell or modify the helmet to accommodate a light.
- Check movement. Spend 60 seconds looking left, right, up and down while stationary. Turn the bars too, checking that nothing tugs or catches.
- Check the beam pairing. Aim both lights from your riding posture. Look for useful coverage rather than a bright spot pointed at the front tyre.
- Check power and backup. Confirm charging instructions, secure the pack and test your separate backup before leaving.
Those timings are suggested setup checks, not performance claims. Follow the equipment manufacturer's fitting and safety instructions whenever they specify a different procedure.
Build your night-riding setup
Explore bike lights, high-capacity battery packs and accessories, then confirm the parts work together.
How these setups are ranked
The ranking prioritises useful trail coverage, secure fitting, manageable weight and a verifiable power arrangement. The helmet-and-bar combination comes first because it gives the two lighting positions distinct jobs.
The remaining picks solve narrower problems: looking through technical corners, simplifying fitting, or carrying the battery separately. This is a setup ranking, not an independent brightness or runtime test. No particular product's output or endurance is implied by its position here.
Which helmet-light setup should you choose?
Choose the helmet-and-bar setup if you are undecided. Start with complementary beams, suitable mounts and compatible batteries, then check the whole arrangement in your riding position.
Already happy with your handlebar light? Add a directional helmet beam to address where-you-look visibility. Prefer fewer separate parts? Assess a self-contained unit. Planning longer outings? Investigate an external-battery system without assuming that a larger capacity figure settles the runtime question.
For 2026, the sensible buying order is fit, beam, power compatibility, then documented runtime. Bikelights offers bike lights, battery packs and accessories; your final choice should be a compatible combination suited to your ride, not a collection of impressive-looking specifications.
FAQ
What are the best bike helmet lights for night trails?
The best bike helmet lights provide a useful head-directed beam, fit securely and have documented power requirements. For mixed night trails, choose a helmet light that complements a handlebar light rather than assessing the helmet unit alone.
Do I need a helmet light as well as a handlebar light?
A helmet light adds illumination where you look while a handlebar light follows the bike's direction. That combination is useful on winding trails, but both lights still need suitable beam coverage and secure mounting.
Is a built-in battery better than an external battery for a helmet light?
A built-in battery simplifies fitting, while an external battery moves battery weight away from your helmet. Choose between them using mounted comfort, cable management and the actual light's documented runtime conditions.
Can I use any high-capacity battery with my helmet light?
No, a high-capacity battery must meet the helmet light's power and connection requirements. Check the specified voltage, connector, polarity where relevant and charging requirements; a plug that fits is not proof of compatibility.
How many lumens should a mountain bike helmet light have?
There is no single lumen figure that establishes whether a helmet light suits your trail riding. Compare beam shape, your handlebar light's coverage and the conditions attached to the manufacturer's advertised output.
How do I stop a helmet light wobbling on rough trails?
Use a mount approved for both the helmet and light, and fit it according to the manufacturer's instructions. Check that the helmet itself fits correctly; do not drill the shell or overtighten an unsuitable mount.
Does a high-capacity battery guarantee enough power for my whole ride?
No, battery capacity alone does not guarantee a particular runtime. Use verified runtime information for the intended operating mode and conditions, plan a reserve and carry a separately powered backup.
One last thing
Two lights do not automatically give you two independent backups. If both depend on the same battery or power connection, that shared component remains a single failure point.
Before heading out, identify what would still work if your main battery stopped supplying power. That check earns its place alongside tyre pressure and your helmet buckle. Leave the surprise darkness to the possums.