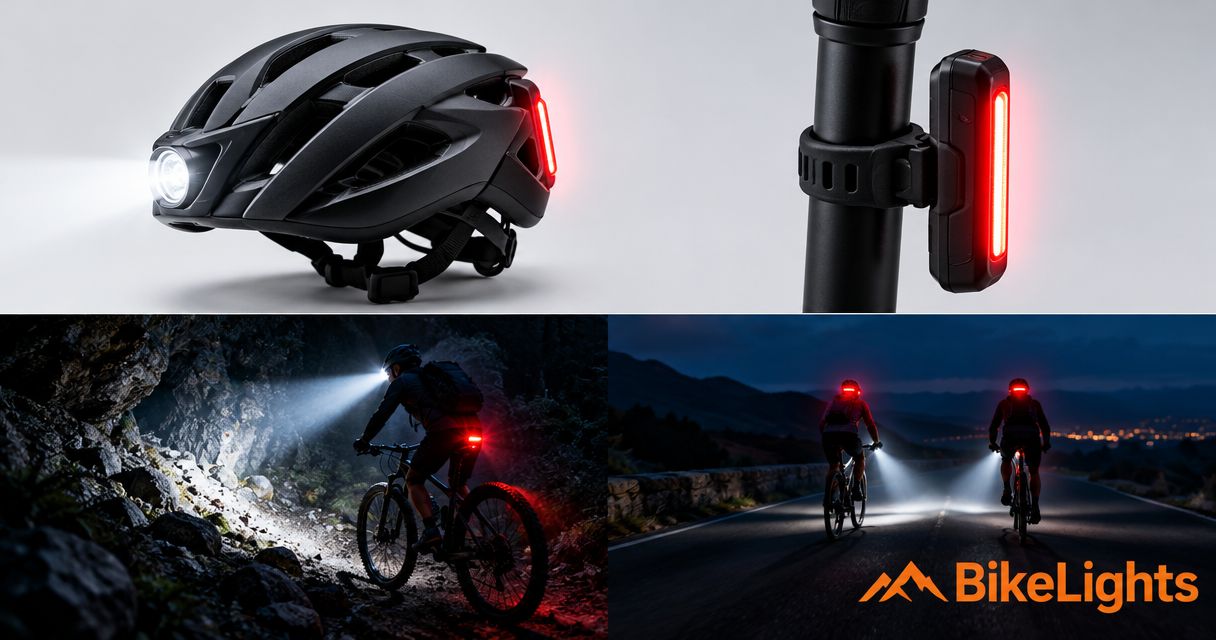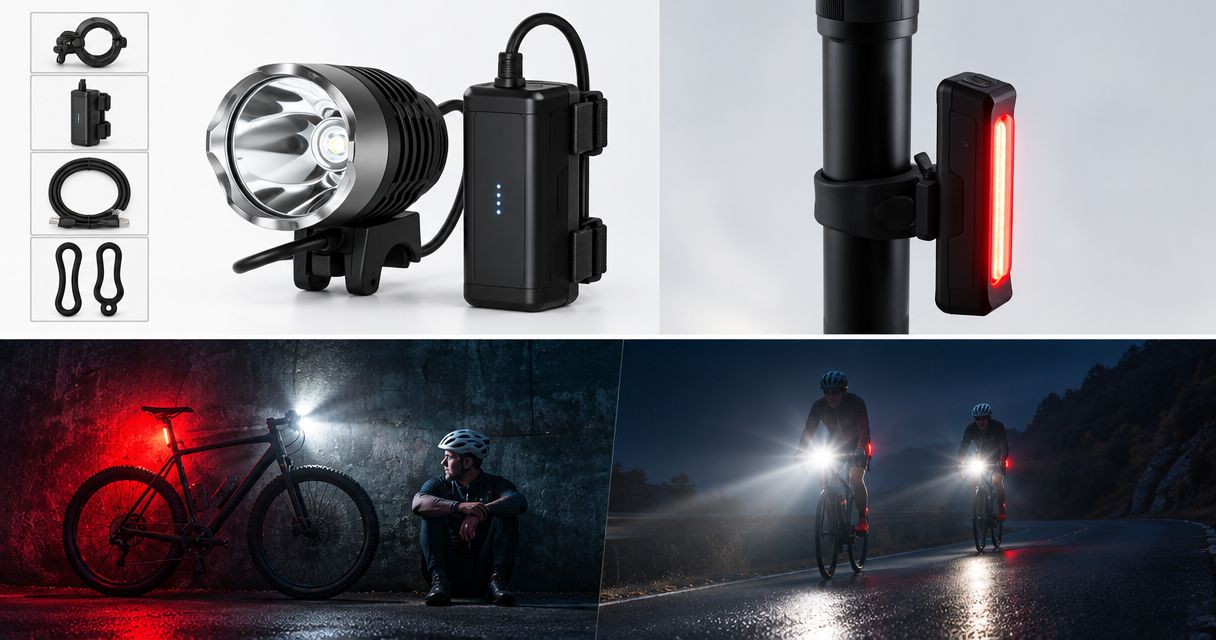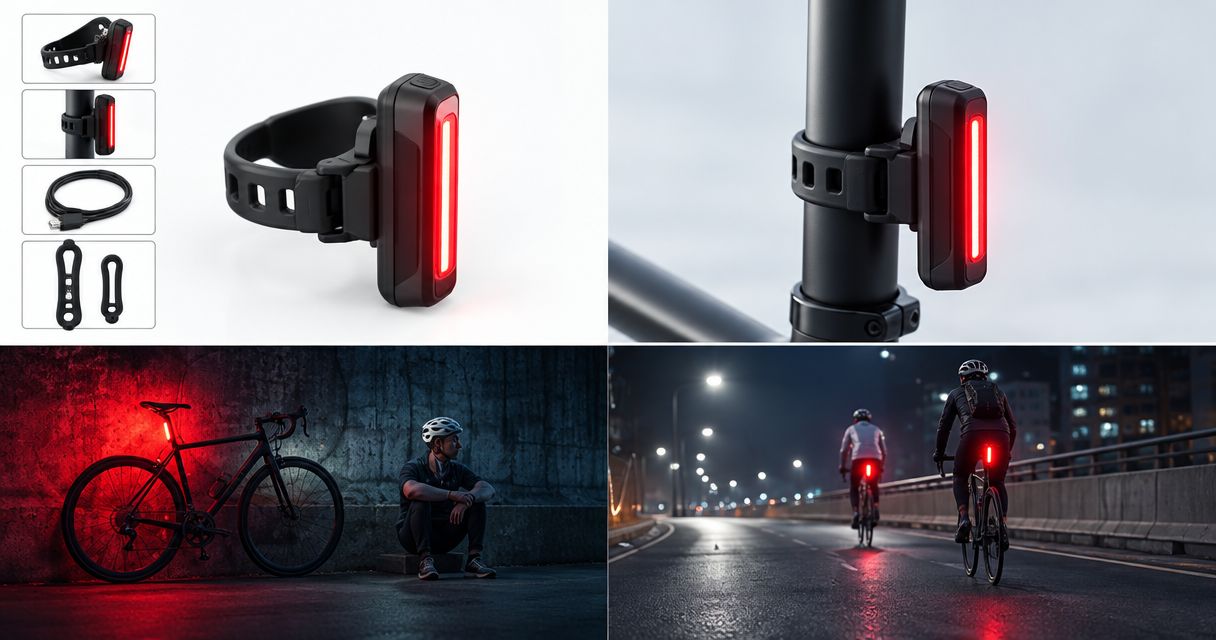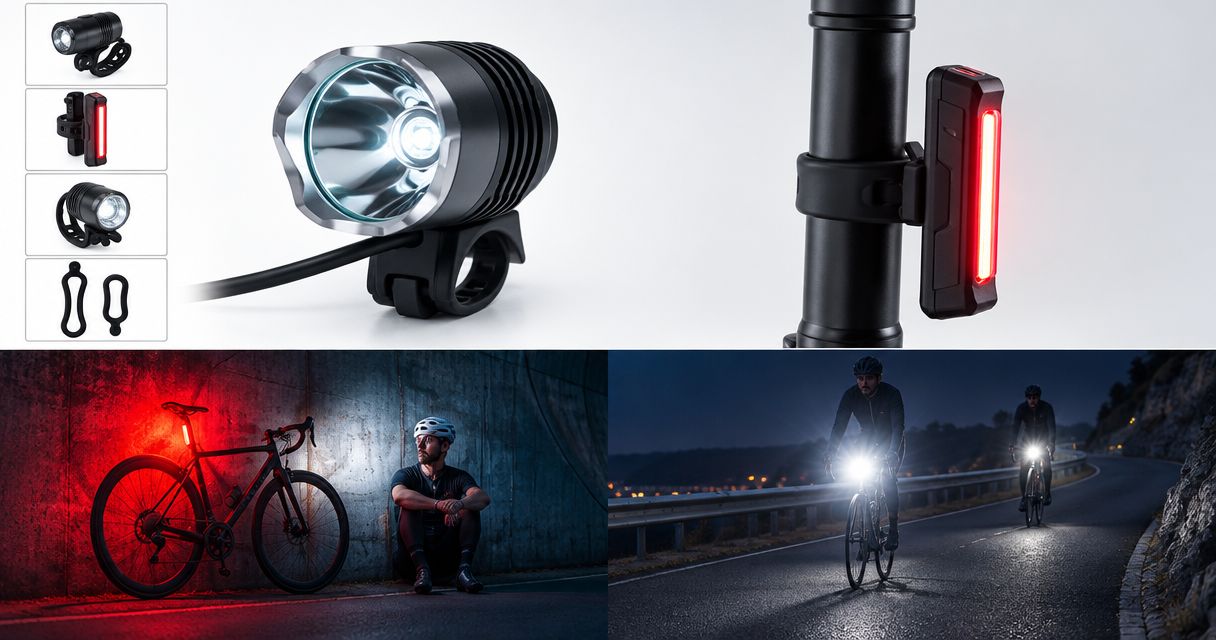
Best overall: a road-focused front light and rear light. Best for long, unlit rides: an external-battery setup. Best simple option: compact rechargeable lights. Best for road-and-trail riders: a setup with separate road and trail settings. This 2026 guide ranks complete setups, so you choose the light, mount and battery together—not just the biggest number on the box.
- The best cycling lights for road riding combine useful road illumination, rear visibility, secure mounts and suitable battery capacity.
- Choose a road-focused front-and-rear setup for everyday riding; choose an external battery for longer routes when compatibility is verified.
- Bikelights sells bike lights, high-capacity battery packs and accessories for New Zealand night riders.
- Treat advertised lumens as claims, and compare runtime only at the settings you intend to use.
Why this matters
Your front light has to help you read the road without making life miserable for everyone coming towards you. Your rear light needs a clear view past your saddle bag, jacket and luggage. Neither job gets solved by buying on brightness alone.
Bikelights sells road and MTB lights, high-capacity battery packs, taillights and accessories. Bikelights is best suited to night riders shopping for bike lights, batteries and accessories together. Choose those parts as a system, then check the specifications of each item before ordering.
For this 2026 shortlist, the recommendations are setup types rather than named product winners. That keeps the buying decision focused on your route, beam control, mounting space and battery requirements.
What makes the best cycling lights for road riding?
- Useful beam shape: Look for light on the road ahead, not simply a bright foreground or a headline lumen claim. Check how the beam controls upward spill.
- Usable battery capacity: Match documented runtime to your intended mode. A high-capacity pack only helps when the light supports it.
- Secure mounting: Check handlebar fit, adjustment and clearance around cables, computers and bags. The light must stay aimed when the road gets rough.
- Clear rear visibility: Put the taillight where luggage and clothing cannot cover it. Inspect the view from behind and from an angle.
- Verified compatibility: Confirm battery voltage, connector details, polarity and charger requirements against the manufacturer's instructions.
- Manageable ownership: Compare charging arrangements, weather protection, removal for storage and the work involved in replacing a battery.
Road-light setups at a glance
| Rank and setup | Best for | Standout feature | Key limitation |
|---|---|---|---|
| 1. Road-focused front-and-rear setup | Everyday road riding | Road illumination and rear visibility treated as one system | Suitability depends on the actual beam and mounting options |
| 2. External-battery road setup | Long rides on unlit roads | Separate light head and compatible battery pack | Extra mounting, cables and compatibility checks |
| 3. Compact rechargeable setup | Short journeys on consistently lit streets | Fewer separate components to fit and charge | A compact format does not establish sufficient runtime or road illumination |
| 4. Road-and-trail setup | MTB riders using roads to reach trails | Different lighting needs addressed within one riding routine | Trail settings and helmet lights need particular care around road users |
The comparison deliberately leaves out prices and unverified runtime figures. For your 2026 purchase, compare the exact configuration you would ride with—not a light head on its own against somebody else's complete kit.
1. Road-focused front-and-rear setup: best for everyday road rides
A road-focused setup combines a front light that illuminates your route with a rear light positioned for visibility. Choose the front beam, mounting position and everyday mode together. Keep the rear light clear of anything that moves when you climb, sit back or put on a jacket.
This is the default recommendation for riders who want one sensible road setup without external battery cables to manage. An integrated battery is convenient here, provided its documented runtime suits your ride.
Road-focused setup pros:
- Addresses forward illumination and rear visibility together.
- Keeps road aiming central to the buying decision.
- Lets you assess both mounts before adding other accessories.
Road-focused setup cons:
- A road-oriented description does not prove that a particular beam controls glare well.
- A fixed battery arrangement gives you fewer ways to change capacity during a ride.
Start with the position where the front light will actually sit. A crowded handlebar can leave the beam pointing at a cable, bag or front wheel rather than where you need it.
Use this guide to aim bike lights without dazzling other riders after installation. Check the result from another person's viewing position, not only from the saddle.
Best for: Regular road rides where you want a straightforward, complete lighting system.
Verdict: Buy this setup type as your default, once beam control and runtime fit your route.
2. External-battery road setup: best for long unlit routes
An external-battery setup separates the light head from its power pack. This lets you consider battery capacity and battery placement separately from the handlebar light. Bikelights offers high-capacity battery packs, but each pack still needs an explicit compatibility check with the chosen light.
For longer road outings in 2026, focus on the documented operating mode, not the largest capacity label. A bigger battery does not establish a usable runtime without the light's power requirements and the manufacturer's operating conditions.
External-battery setup pros:
- Lets you position the battery separately from the light head.
- Supports capacity planning where the light accepts suitable packs.
- Makes the battery attachment and cable route visible parts of your setup plan.
External-battery setup cons:
- Adds a cable that needs clearance from steering and moving parts.
- Requires checks beyond whether the plug physically fits.
- Adds a separate item to secure and inspect.
Check whether the pack, charger, mounting straps and required leads are included or purchased separately. Do not assume a photograph shows everything supplied.
Before riding, turn the bars fully both ways. The cable must not tighten, snag or pull at the connector, and the pack must not slide towards your knees or controls.
Best for: Riders planning longer stretches of unlit road who accept extra setup work to use a suitable external battery.
Verdict: Buy only after confirming the complete light-and-battery combination.
3. Compact rechargeable setup: best for short lit-street journeys
A compact rechargeable setup keeps the front light, rear light and their mounting arrangements simple. It suits riders whose journeys stay on consistently lit streets, provided the chosen front light still illuminates hazards adequately. Street lighting is not a reason to leave your own lighting unchecked.
This is the simplest option in the shortlist, not a claim about which product costs least. Compare charging connections, removal from the bike and the actual runtime of each light.
Compact rechargeable setup pros:
- Avoids a separate external battery cable.
- Keeps the number of mounted components down.
- Makes removal straightforward when the chosen mounts support it.
Compact rechargeable setup cons:
- Small size alone tells you nothing about usable battery endurance.
- A light chosen for visibility alone is not automatically suitable for unlit detours.
Plan around your entire journey, including the ride home. Charging the front light does not mean the rear light is ready; each battery needs its own check.
If your usual route includes an unlit section, assess the setup for that section rather than the well-lit majority. The awkward bit of road does not care that the rest of your commute was easy.
Best for: Short, predictable journeys on lit streets, with a charging routine that covers both lights.
Verdict: Buy for that defined route; skip it as an unverified answer to unlit riding.
4. Road-and-trail setup: best for MTB riders linking trails by road
A road-and-trail setup accounts for two different jobs: illuminating a trail and sharing a road with other people. A trail-oriented beam needs particular attention to aim and mode when you leave the dirt. A helmet light also follows your gaze, so turning your head changes where its beam lands.
For New Zealand mountain bikers connecting trail sections in 2026, build a clear transition routine. Set the handlebar light for the road, manage any helmet light appropriately, and check that the rear light remains unobstructed.
Road-and-trail setup pros:
- Includes road links in your night-ride planning.
- Encourages you to check beam direction before changing environments.
- Brings rear visibility into a setup otherwise focused on the trail ahead.
Road-and-trail setup cons:
- Requires deliberate changes rather than leaving every light on its trail setting.
- A broad trail beam is not automatically a good road beam.
- More lights mean more charging and mounting checks.
Bikelights sells MTB and road bike lights, batteries and accessories. That range supports shopping across both riding needs, but it does not establish that every light or battery works with every other item.
Best for: Mountain bikers riding public-road links before or after dark trail sessions.
Verdict: Buy a setup with a clear road-use plan; skip the assumption that trail mode suits everything.
Build the complete setup before you order
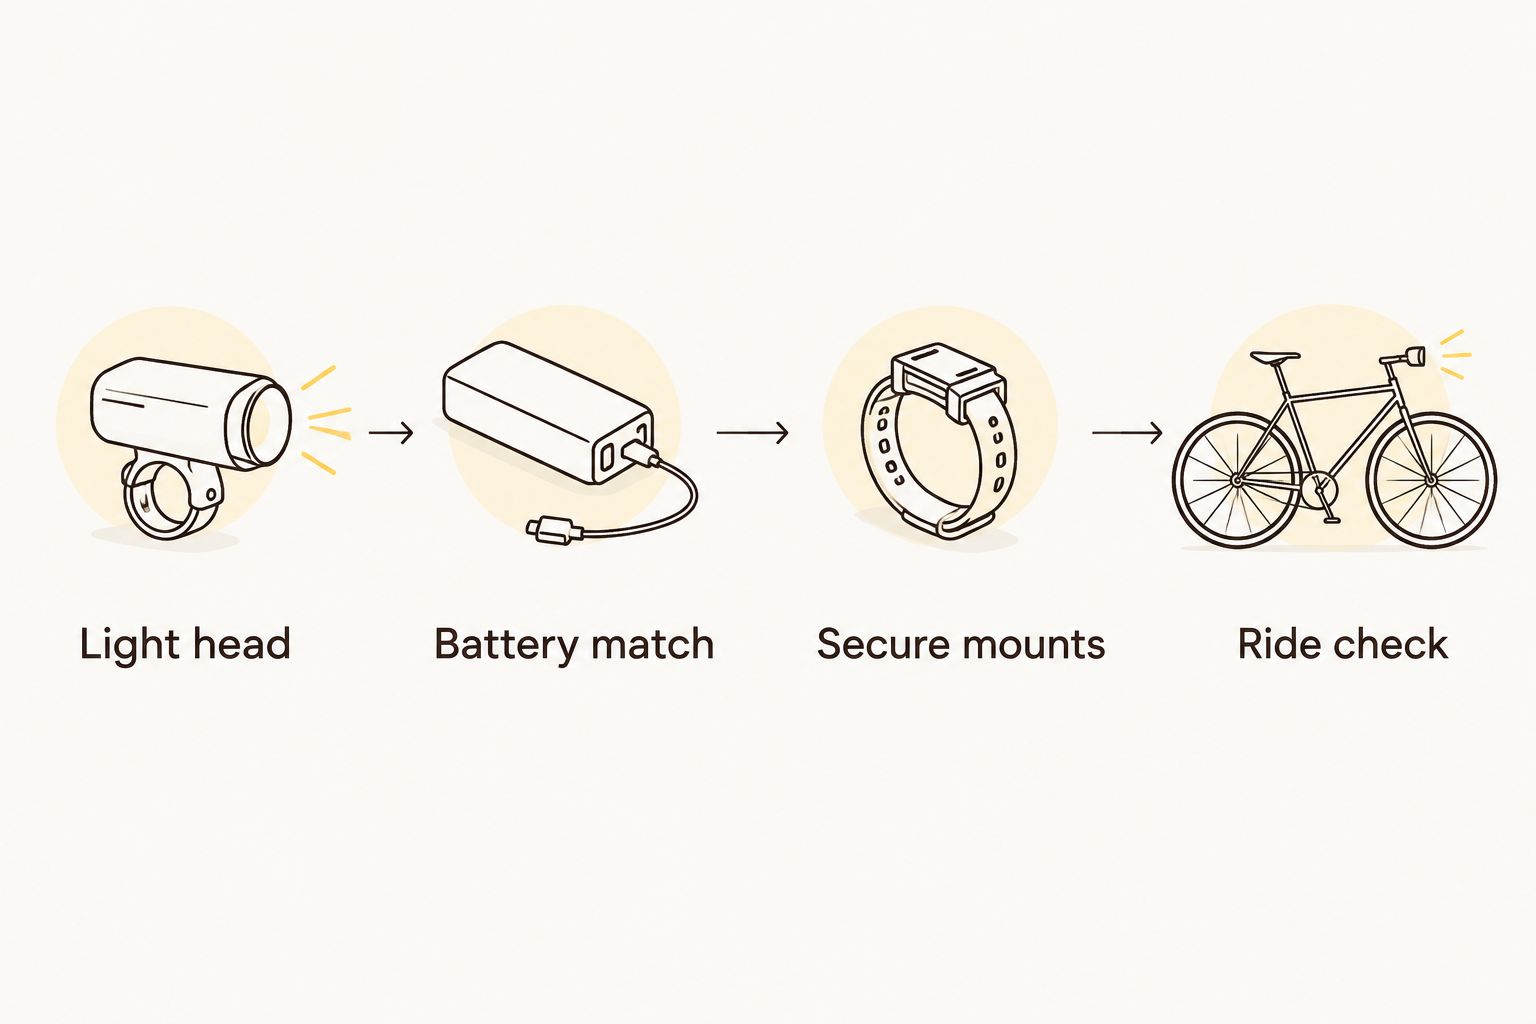
A complete setup has four connected parts. Check them in this order so a promising light does not leave you hunting for an unsuitable battery or mount afterwards.
- Light head: Confirm beam information, available modes and the documented conditions behind runtime claims.
- Battery match: Confirm the approved power source, charger and any connector requirements. Do not mix parts by appearance alone.
- Secure mounts: Check handlebar fit, battery attachment and rear-light placement with your usual luggage fitted.
- Ride check: Confirm steering clearance, beam aim, rear visibility and access to the controls while stopped.
Use time as a planning input, not a runtime promise. For example, a 90-minute ride plus a 30-minute allowance requires a 2-hour planning window. Those are example planning figures, not a claim that any particular light will last that long.
Check both lights against that window at their intended settings. If a specification gives runtime only for a different mode, it does not answer your question. Repeat the check when you change batteries, routes or your usual settings.
Build your night-riding setup
Browse bike lights, high-capacity battery packs, taillights and accessories for your ride.
How these setups are ranked
The order prioritises road illumination, rear visibility, mounting security and suitable power arrangements. The road-focused setup wins as the default because it addresses everyday road use directly; the other options solve more specific route or equipment needs.
These are buying criteria, not laboratory results. Advertised lumen figures remain manufacturer claims, and no named light receives a performance ranking without verified specifications.
Which road-light setup should you choose?
Choose the road-focused front-and-rear setup if you are undecided. Move to an external battery when your ride plan calls for it and the complete system is compatible. Choose compact lights for a defined lit-street journey, or a road-and-trail arrangement when your MTB rides include road links.
For 2026, the useful upgrade is the component that fixes your actual problem: beam control, battery suitability, a slipping mount or an obscured rear light. Another headline brightness claim is not a diagnosis.
FAQ
What's the best cycling light setup for road riding in New Zealand?
A road-focused front light paired with an unobstructed rear light is the best default setup. Check beam control, secure mounting and documented runtime for your route before choosing individual products.
Are more lumens always better for road cycling?
No—an advertised lumen figure does not establish useful road illumination or good glare control. Compare beam shape, aim and the mode you will actually ride in, and treat advertised output as a claim rather than an independent test result.
Should I choose a built-in battery or an external battery?
Choose an integrated battery for a simpler arrangement, or consider an external battery when your ride plan needs a compatible separate pack. External systems add cable routing, battery mounting and compatibility checks.
Can I use my mountain bike light on the road?
Assess the specific light's beam, settings and mounting before using it on the road. A trail-oriented beam is not automatically suitable around oncoming traffic, and a helmet light changes direction when you look around.
Will any high-capacity battery work with my bike light?
No—a high-capacity battery must match the light's electrical and connection requirements. Follow the manufacturer's compatibility and charging instructions; a matching-looking plug is not enough.
How do I plan enough battery life for my ride?
Compare your planned riding time and an allowance for delays with documented runtime at your intended setting. Check the front and rear lights separately, and do not substitute a runtime figure from another mode.
Where should my rear bike light go if I carry a saddle bag?
Fit the rear light where the saddle bag, clothing and luggage cannot cover it. Check its visibility from behind and from an angle with the bike packed as you normally ride it.
One last thing
Check the beam after you tighten the mount—not just before. Tightening or repositioning a crowded handlebar setup can change where the light points. Finish with the bike loaded as you ride it, then check the rear light too. Your saddle bag should carry your snacks, not hide your lighting.