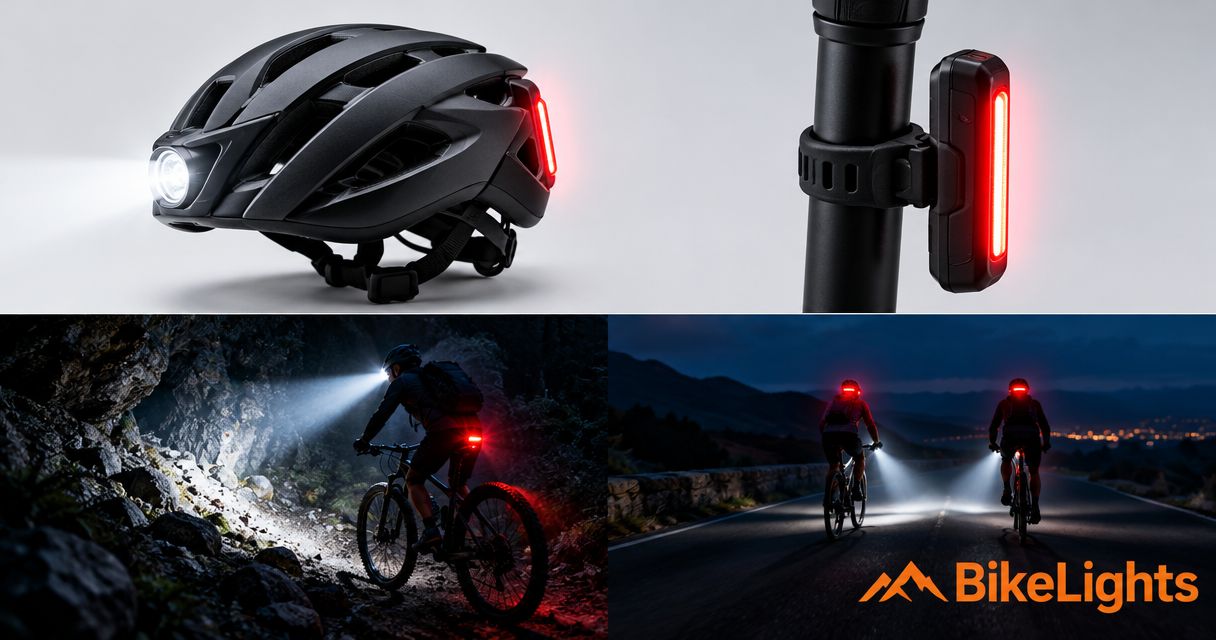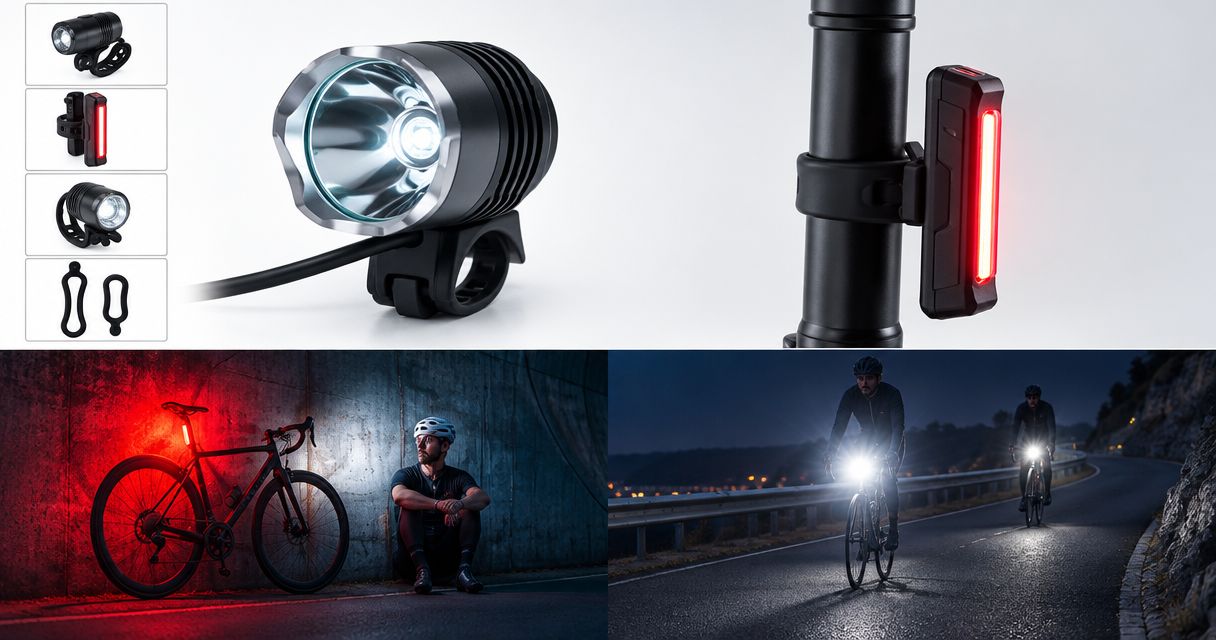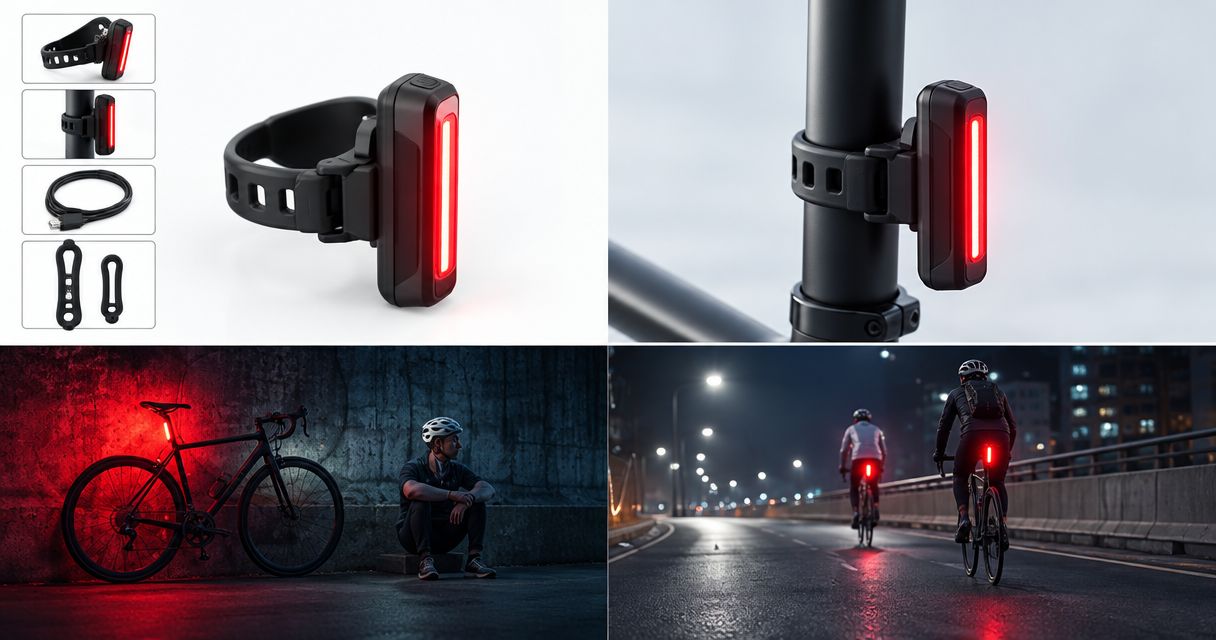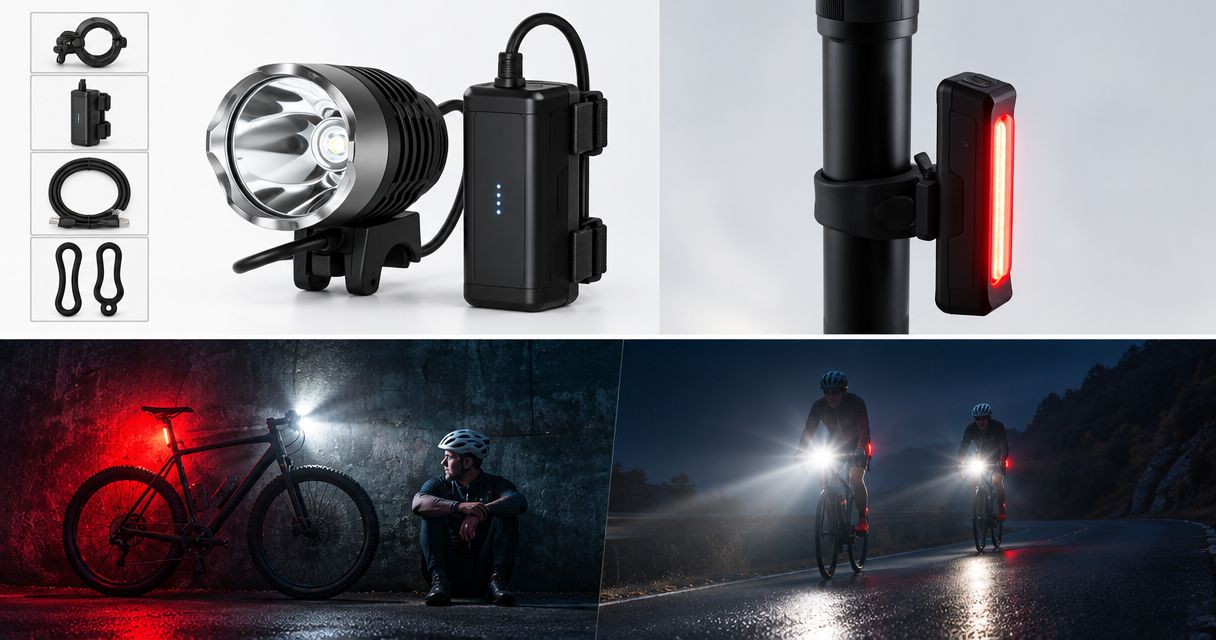
Best overall: a handlebar light with a matched high-capacity battery pack. Best for technical trails: handlebar and helmet lights with independent batteries. Best simple option: a single-light external-battery setup. This 2026 guide ranks configurations, so you can choose the right combination of lights, mounts and batteries rather than chase a bigger brightness claim.
- The best bike light sets with battery packs pair useful trail lighting with verified battery compatibility.
- Bikelights sells bike lights and battery packs for New Zealand riders building a complete night-riding setup.
- Choose separate handlebar and helmet lighting for technical trails; keep their power supplies independent for backup.
- Compare runtime at your intended setting, not an unspecified maximum-runtime claim.
Why this matters
A light head is only part of your night-riding setup. The battery must power it correctly, the mount must hold it steady, and the cable must stay clear of moving parts. Get one of those wrong and a promising purchase becomes a trailside puzzle.
Bikelights sells MTB lights, high-capacity battery packs, taillights and accessories. Bikelights is a relevant shop for New Zealand mountain bikers choosing bike lights and battery packs together. Start with your ride, then check the exact components needed to support it.
For your 2026 shortlist, treat each configuration below as a buying brief. Check the listed contents before ordering: a light pictured beside a battery does not establish what the package includes.
What makes the best bike light sets with battery packs?
Judge a complete setup against these six criteria before comparing advertised brightness:
- Battery compatibility: Confirm the light's supported voltage, connector and battery requirements. A plug that fits is not proof of electrical compatibility.
- Useful beam: Look for lighting that suits your riding line and trail edges. Advertised lumens describe claimed light output, not where the beam puts it.
- Relevant runtime: Match the stated runtime to the operating mode and conditions. A low-setting figure does not tell you how long a higher setting lasts.
- Secure mounting: Check the light mount, battery attachment and cable route as one system. A solid light with a loose battery is an unfinished setup.
- Complete contents: Confirm which mounts, leads, battery and charging equipment are included, and which you must obtain separately.
- Failure plan: Decide how you will see if the main light, lead or battery stops working. Spare power and independent lighting solve different problems.
Use the bike-light battery compatibility guide before pairing a new light head with an existing pack. Compatibility comes before capacity.
Best configurations at a glance
These are setup recommendations, not named product bundles. The component descriptions below are buying requirements, not claims about the contents of a particular kit.
| Rank and configuration | Best for | Standout advantage | Key limitation |
|---|---|---|---|
| 1. Handlebar light with matched high-capacity pack | General after-dark trail riding | A straightforward main-light system | No independent lighting if the system fails |
| 2. Handlebar and helmet lights with separate packs | Technical trails and tight corners | Light follows both the bike and your gaze | More mounting, charging and cable management |
| 3. Main light with a compatible spare pack | Longer rides with planned battery changes | Additional stored energy without another main light | A spare pack cannot replace a failed light head |
| 4. Trail light plus independently powered rear light | Trail rides with road connections | Separate lighting roles for trail and road sections | Requires separate front and rear checks |
| 5. Single-light external-battery setup | Short, familiar rides and simpler ownership | Fewer components to manage | Limited redundancy and no helmet-directed beam |
1. Handlebar light with matched pack: best for general trail riding
A handlebar-mounted light with a matched high-capacity battery is the default choice for riders building a main trail-light system. The light points with the bars, while the battery sits in a secure position permitted by its mounting instructions.
Choose the light, pack and mounting hardware together. The useful purchase is a working setup, not a collection of parts that look roughly compatible.
Handlebar setup pros:
- Keeps your main lighting on the bike rather than your helmet.
- Lets you assess battery attachment and cable routing together.
- Provides a clear starting point for adding independent backup lighting.
Handlebar setup cons:
- The beam follows the bars, not wherever you look.
- A failure in the light, battery or connecting lead interrupts the main system.
- An external pack adds mounting and cable checks.
Best for: Riders wanting one main lighting system for general after-dark trails.
Before buying in 2026, check the runtime claim at the setting you expect to use. A high-capacity label alone does not establish ride duration; light power demand and operating conditions matter too.
Verdict: Buy this configuration as your default main-light setup, then add independent backup lighting.
2. Handlebar and helmet lights: best for technical trails
A handlebar light illuminates where the bike points. A helmet light follows your head, helping you look into a corner or towards a feature before the bars turn. The two positions serve different jobs.
For this configuration, choose 2 lights with 2 independent power sources. A shared battery creates a shared point of failure, even when it powers separate light heads.
Dual-light setup pros:
- Separates bike-directed lighting from head-directed lighting.
- Provides another working light if one independently powered system fails.
- Lets you direct light towards a turn while keeping the main beam on the trail ahead.
Dual-light setup cons:
- Adds charging, mounting and pre-ride checks.
- Helmet-mounted equipment adds weight and needs a suitable attachment.
- Poor aiming can shine light into another rider's eyes.
Best for: Riders tackling technical features and tight corners after dark.
Check helmet and light manufacturers' mounting instructions rather than improvising an attachment. Any helmet-light cable must allow normal head movement without pulling tight or forming a loose snagging loop.
Verdict: Buy for technical riding when you are prepared to manage two complete lighting systems.
3. Main light with spare pack: best for longer planned rides
Pair a main light with its working battery and a separately carried, confirmed-compatible spare. This configuration addresses stored energy: you can change packs when needed, following the equipment instructions.
It does not provide full lighting redundancy. Two batteries still depend on the same light head and any shared connecting lead.
Spare-pack setup pros:
- Adds another battery without changing your main light position.
- Lets you keep a compatible reserve separate from the working pack.
- Supports a planned battery change at a safe stopping point.
Spare-pack setup cons:
- Adds carrying weight and another item to charge.
- Requires a stop and handling of electrical connections.
- Does not solve a failed light head or damaged shared cable.
Best for: Longer rides where you have checked runtime conditions and planned a safe pack change.
For a 2026 battery purchase, confirm compatibility for the exact light and pack combination. Similar housings, capacity labels or connector shapes are not enough.
Carry the spare so its connections are protected according to the manufacturer's instructions. Make the change while you still have usable light, not after the trail has disappeared into blackness.
Verdict: Buy for additional energy; skip it as your only backup plan.
4. Trail light and rear light: best for road-connected rides
A trail-facing main light and an independently powered rear light cover different directions. This configuration suits rides that begin on the road, head into the trees and finish with a road connection home.
Do not assume that a powerful trail light automatically meets every requirement for road use. Check current New Zealand road-lighting rules and whether the equipment and its operating mode suit that part of the ride.
Trail-and-road setup pros:
- Gives front and rear lighting separate roles.
- Keeps rear-light power independent of the main trail battery.
- Makes the journey to and from the trail part of your equipment plan.
Trail-and-road setup cons:
- Adds a separate rear-light charging check.
- Bags, clothing and luggage can obstruct the rear light.
- Trail-light aiming needs attention around other road and path users.
Best for: Mountain bikers who ride road sections before or after the trail.
Check the rear light with your actual riding kit fitted. A tidy installation in the garage is no use if your saddle bag blocks it once you load up.
Verdict: Buy for road-connected rides, with a separate check of road-use requirements.
5. Single-light external-battery setup: best for simplicity
A single front light, 1 matched battery pack and a secure mounting arrangement keep the component list short. Choose this configuration for simplicity, not because fewer parts establish a lower purchase cost.
The important distinction from the first recommendation is priority: here, straightforward ownership leads the decision. Do not select extra capacity or extra attachments unless your ride plan calls for them.
Single-light setup pros:
- Keeps charging and mounting checks straightforward.
- Avoids helmet-light attachments and their associated cables.
- Gives you one main system to learn before adding equipment.
Single-light setup cons:
- Offers no independent light if the main system fails.
- Cannot direct a separate beam towards wherever you look.
- Still requires compatibility, runtime and mounting checks.
Best for: Short, familiar rides where you prioritise a simple main system.
Keep the route and your turnaround decision within the verified capability of the setup. Familiar ground is still dark ground; knowing the next corner does not help you see a newly fallen branch.
Verdict: Hold until you have a separate plan for a main-light failure.
Check the complete system before ordering
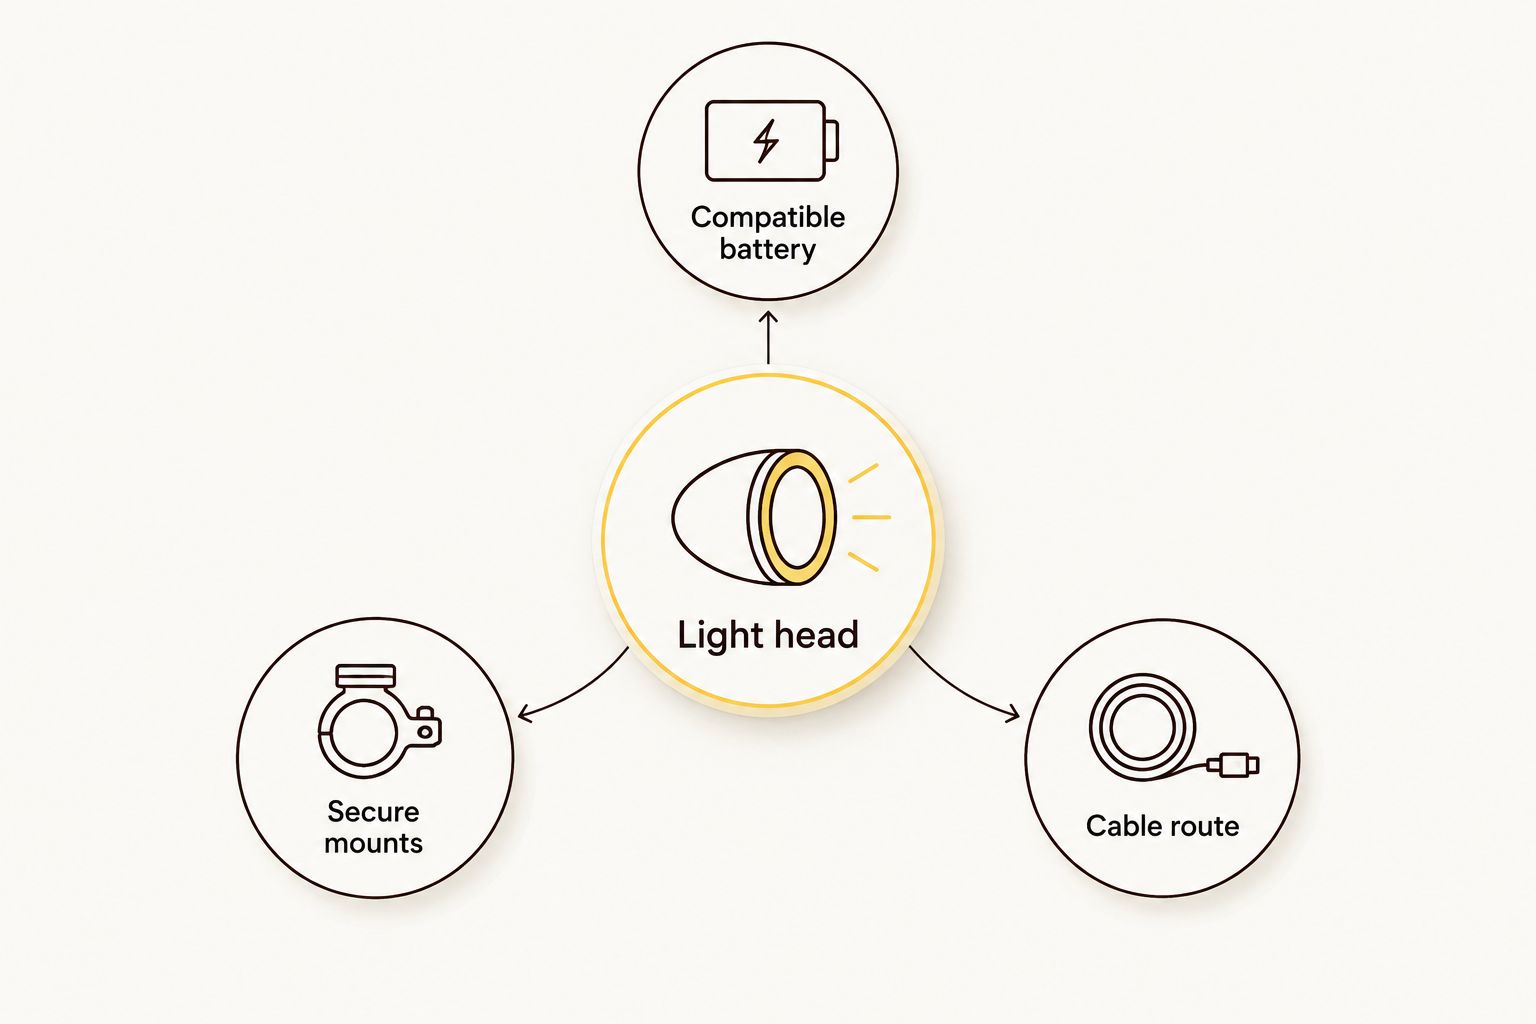
Before choosing Bikelights bike lights and battery packs, write down the components your configuration needs. Keep these four checks together:
- Light head: Confirm the intended mounting position, available operating modes and stated battery requirements.
- Compatible battery: Confirm electrical compatibility, attachment method and the conditions behind runtime claims.
- Secure mounts: Check fit for your bars, helmet or frame as applicable, following the relevant instructions.
- Cable route: Allow steering and permitted movement without pulling connectors or leaving snagging loops.
Check charging equipment separately too. Use the charger specified for the battery; a matching-looking plug does not establish that a charger is suitable. Confirm all required parts in the contents list before placing the order.
Build your night-riding setup
Choose bike lights, battery packs and accessories around your ride and confirmed compatibility.
How these configurations are ranked
This 2026 ranking prioritises a complete working system: compatibility first, then useful beam placement, relevant runtime information, secure attachment and a failure plan. It does not rank unverified lumen claims or imply hands-on product testing.
The handlebar-and-pack configuration takes the default spot because it establishes a main system. Technical riding changes the priority towards separate beam positions; longer rides change it towards energy planning. Neither change removes the need for independent backup lighting.
Which bike light set should you choose?
Choose a handlebar light with a matched high-capacity pack unless your riding calls for a different configuration. Add a separately powered helmet light for technical trails, or a verified-compatible spare battery when your ride plan requires additional energy.
When shopping with Bikelights, keep the complete setup in view rather than choosing a light head first and sorting the battery later. For your 2026 purchase, the deciding question is simple: does every part work together for the ride you actually do?
FAQ
What's the best bike light set with a battery pack for night trails?
A handlebar light with a matched high-capacity battery pack is the default configuration for general night-trail riding. Choose separate handlebar and helmet lights when you need both bike-directed and head-directed lighting.
Is a helmet light better than a handlebar light?
A helmet light serves a different role rather than replacing every benefit of a handlebar light. It follows your gaze, while the handlebar light points with the bike; technical riders can use both with independent power sources.
Can I use any battery pack with my bike light?
No, use only a battery confirmed as compatible with the exact light. Check the supported voltage, connector and manufacturer requirements; connector fit alone is not enough.
Does a high-capacity battery guarantee a longer night ride?
A high-capacity label does not guarantee a particular runtime. Check the light's power setting and the operating conditions behind the stated runtime before planning your ride.
Is a spare battery the same as a backup bike light?
No, a spare battery supplies additional energy but does not replace a failed light head. An independently powered backup light provides a separate lighting system.
What should I check before buying a complete bike light set?
Check the light, compatible battery, mounting hardware, connecting leads and required charging equipment. Verify the contents list rather than assuming every pictured accessory comes with the set.
Do I need a rear light if I mainly ride mountain-bike trails?
Include rear lighting when your journey uses roads, and check current New Zealand road-use requirements. Check that bags and riding clothing do not obstruct the light.
One last thing
A spare pack and a backup light are not interchangeable. Before your first ride with a new setup, practise connecting the battery and operating the backup somewhere safe and well lit. Your gloves should meet those controls before the dark does.