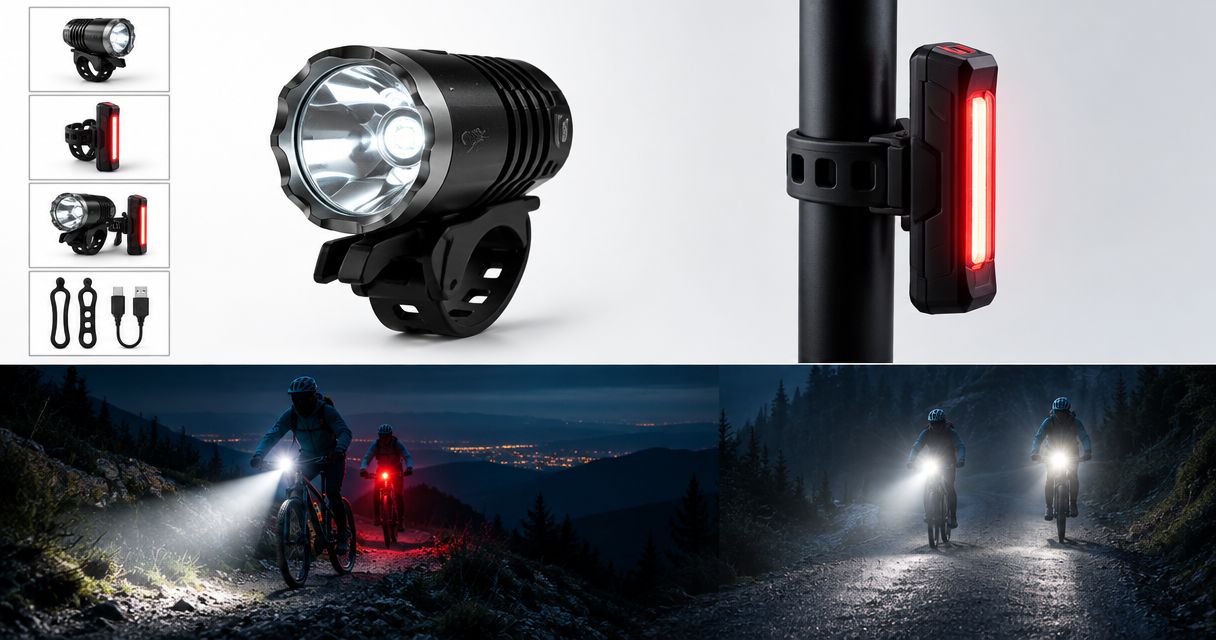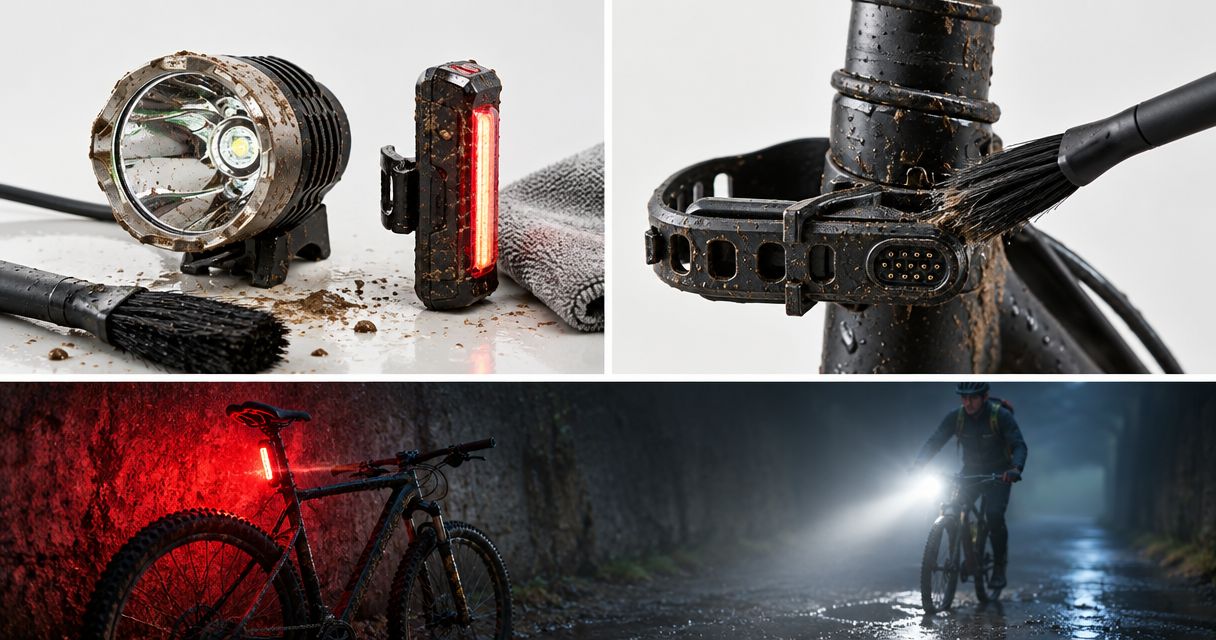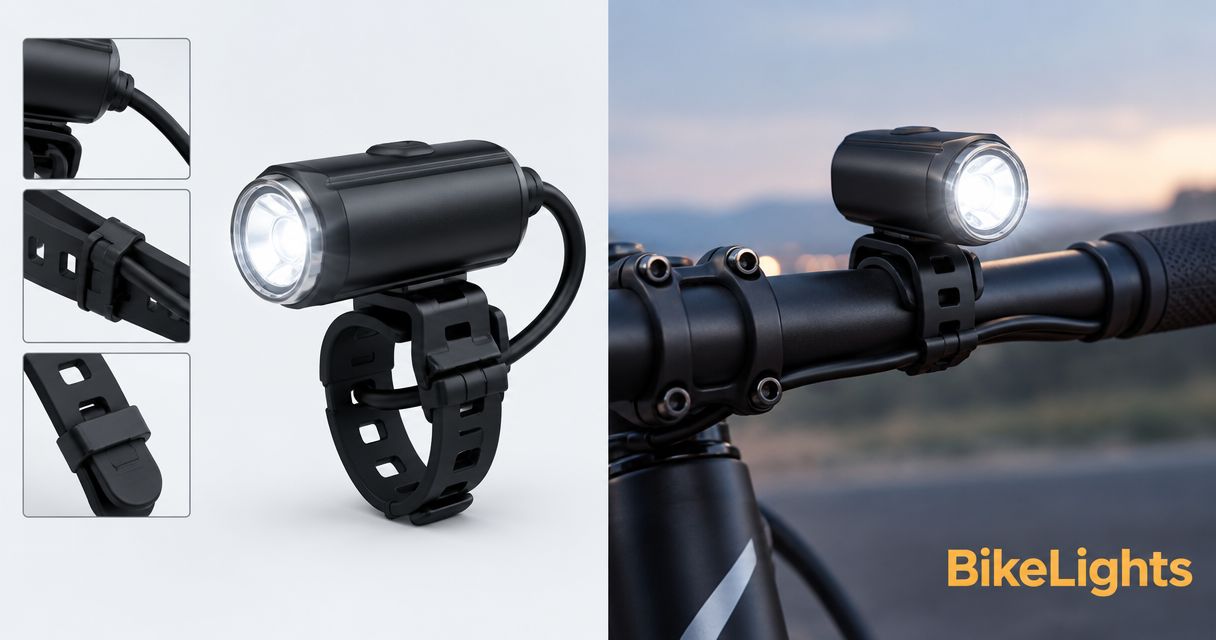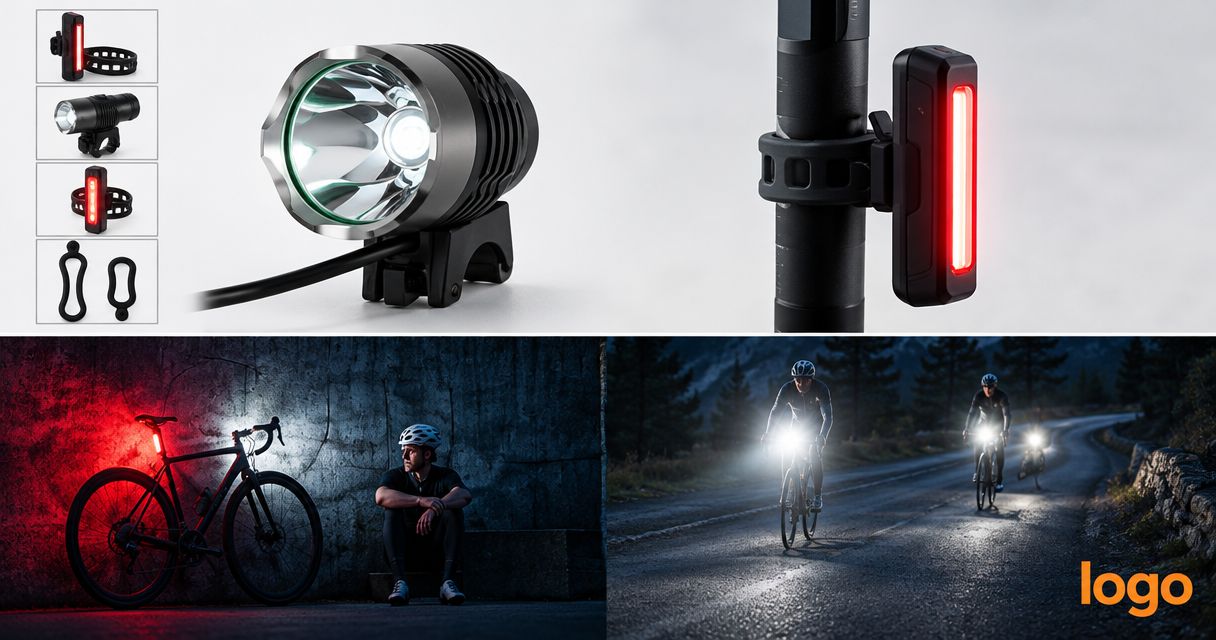
Choose backup bike lights that work independently of your main light, give you a usable view of the trail and have enough verified runtime for your planned exit. A spare battery helps with a flat pack, but it does not replace a failed light head, cable or mount. For remote night rides in 2026, build your backup around getting out safely—not finishing the descent at your usual pace.
- Choose backup bike lights with an independent power source and a beam you have checked on the trail.
- A high-capacity spare battery extends compatible lighting; it does not replace a broken light head or cable.
- Bikelights sells bike lights, high-capacity battery packs and accessories for New Zealand riders building a night-riding setup.
- Match your backup’s verified runtime to your exit route, not just the planned riding time.
Why this matters
A backup earns its place when something stops working away from the car park. That means looking beyond brightness: you need a working light, a secure mounting position and power that does not depend on the part that just failed.
Bikelights suits New Zealand riders shopping for bike lights, high-capacity battery packs and accessories together. Use the Bikelights range as a starting point, then check each component’s specifications and compatibility before building your setup. A shopping basket full of useful parts is not automatically a working system.
For your 2026 night-riding kit, separate two jobs: powering the normal ride and covering a failure. A large main battery addresses the first; an independently powered backup addresses the second.
How do you choose a backup bike light for remote night rides?
Start with the failure you need to cover, then choose the light and power arrangement. The strongest backup is one you can switch on and use without repairing your main system first.
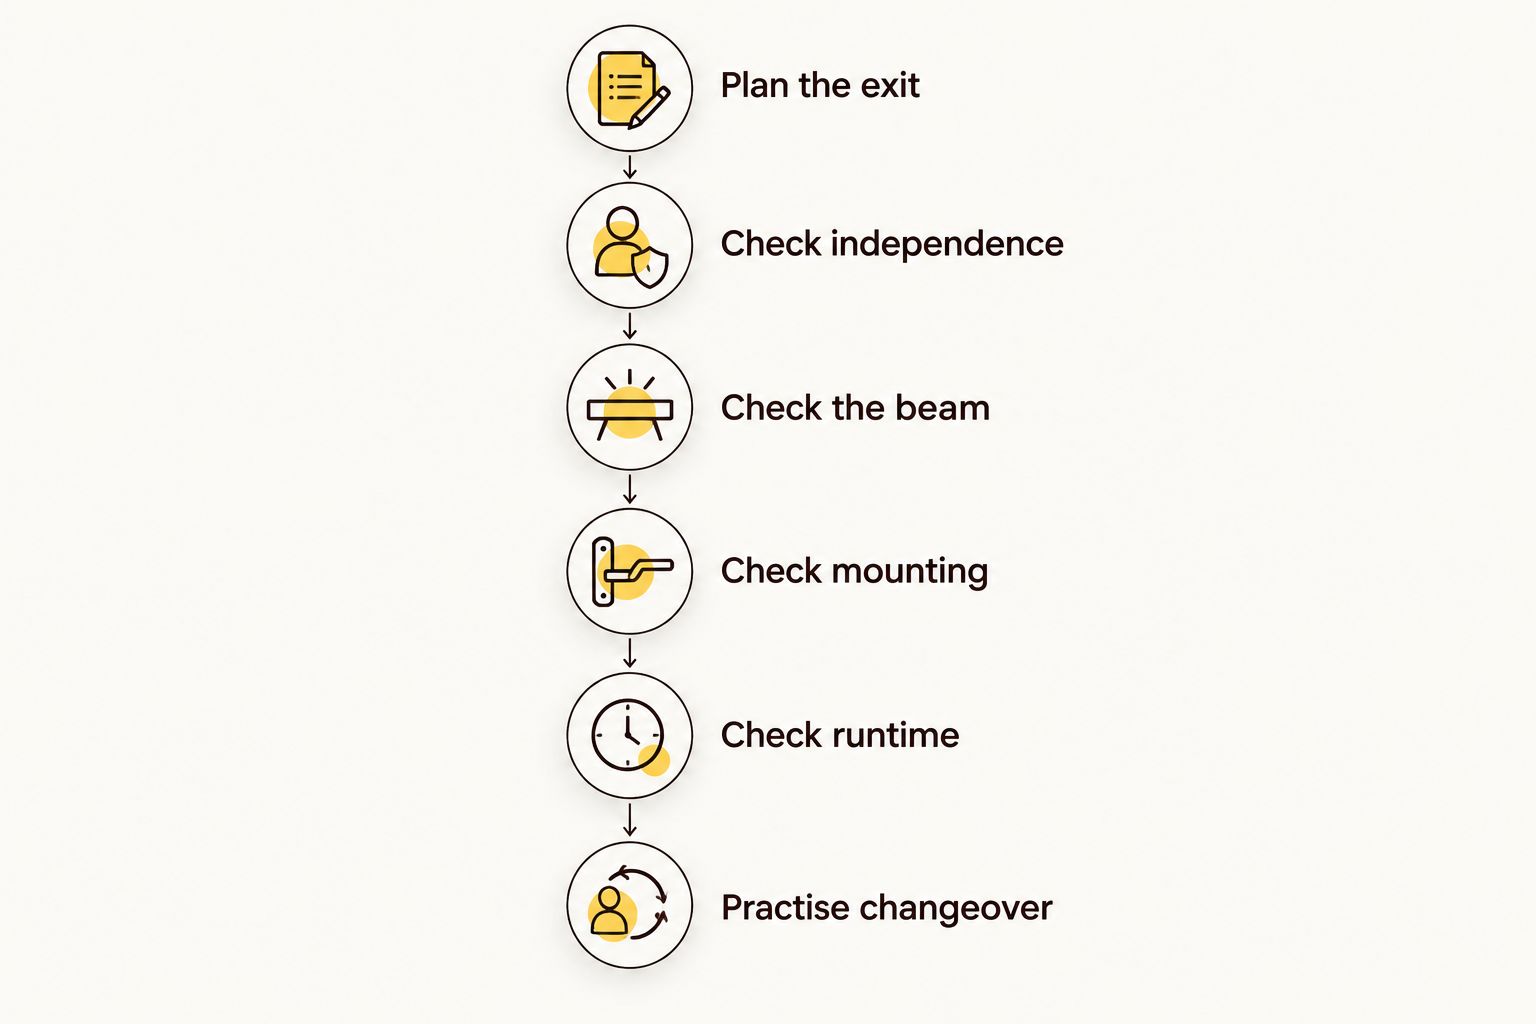
- Plan the exit. Identify how you would leave the trail if your main light stopped working at the furthest point. Include stops, navigation and walking sections rather than assuming your normal riding speed.
- Check independence. Confirm that the backup has its own charged power source. Two light heads connected to one battery still share that battery as a failure point.
- Check the beam. Try the backup on familiar ground before relying on it remotely. You need to recognise the surface and choose a safe line at your reduced exit pace.
- Check the mounting position. Make sure the backup stays aimed where you need it and does not require the failed mount to work.
- Check runtime evidence. Use the manufacturer’s stated mode and operating conditions. Do not treat a maximum-runtime claim as a promise for every setting.
- Practise the changeover. Stop somewhere safe, switch off the main light and deploy the backup. Find the awkward bits at home, not beside a muddy switchback.
The changeover test matters as much as the shopping checklist. A charged light buried beneath tools and wet clothing is still a problem when you need it immediately.
Which backup arrangement covers which failure?
Choose your 2026 backup by what it protects against, not by how impressive it looks beside the main light. These arrangements serve different purposes; none removes the need to check the complete setup.
| Arrangement | Best for | Main benefit | Main limitation |
|---|---|---|---|
| Independent backup light | Covering a main-light or main-battery failure | Provides a separate light and power source | Needs its own charging, mounting and beam checks |
| Spare compatible battery | Extending a working external-battery light | Restores power when the original battery is depleted | Does not fix a failed head, mount or cable |
| Second head on a shared battery | Adding another lighting position | Lets you use separate light heads | Both heads depend on the shared battery |
| Independently powered helmet light | Riders wanting a separate, head-directed beam | Can provide another lighting position | Helmet fit, mounting and beam direction need checking |
Independent backup light: best for covering a main-system failure
An independent backup has its own light head and power source. That gives you a separate way to see if the main system stops working, rather than another component waiting for the same battery to recover.
The trade-off is another device to prepare and carry. Check its charge, switch, mount and useful beam before each remote ride; small does not automatically mean suitable for riding out.
Recommendation: make an independent light the foundation of your backup plan. Choose it for the exit you can realistically make, including walking if the beam does not support safe riding.
Spare compatible battery: best for extending a working light
A high-capacity spare battery belongs in the plan when your main light uses a compatible external pack. It addresses depleted power while keeping the same light head and mounting position.
However, a matching-looking plug is not enough to establish compatibility. Check the manufacturer’s requirements for voltage, connector, polarity and charging equipment; the bike-light battery compatibility guide explains what to compare before buying.
Recommendation: carry a compatible spare for energy reserve, not as your only answer to light failure. The light head and connection still need to work.
Independently powered helmet light: best for a separate lighting position
A helmet light can give you a beam that follows your head rather than the handlebars. With its own power source, it also avoids depending on the main battery.
The compromise is another mounting task. Follow the helmet and light manufacturers’ mounting instructions, check stability and avoid aiming the beam into another rider’s eyes when you turn to talk.
Recommendation: choose this arrangement only after checking fit and beam placement. A useful position on paper still needs to work with your helmet and riding posture.
Why backup bike-light requirements vary
There is no useful universal brightness or runtime target for every remote ride. Match your choice to these practical factors instead:
- Exit route: a direct gravel-road exit presents a different task from a technical trail with unavoidable walking sections. Judge the backup against the route you would actually use.
- Beam shape: advertised lumens do not describe where the light lands. Check whether you can read the ground ahead at your intended exit pace.
- Operating mode: assess runtime in the mode you expect to use. A low setting’s advertised duration does not establish performance at a higher setting.
- Power arrangement: separate batteries provide independence; shared power leaves both lights dependent on the same source.
- Mounting and access: the light must stay aimed correctly, while its switch and any necessary connections remain accessible.
- Ride conditions: check the manufacturer’s temperature and water-resistance information. Do not assume a runtime claim applies unchanged outside its stated conditions.
Write your priorities before comparing products. Otherwise, it is easy to buy another bright light and discover you still have no workable backup mounting position.
How do lights, mounts and batteries work together?
Think of a complete night-riding setup as a chain: the battery powers the light, the mount holds the beam in position, and the cable connects the parts where an external pack is used. Each part needs to suit the others and the bike.
For the main system, secure the battery according to its instructions and route the cable clear of moving parts. Turn the bars through their normal movement and check that the cable neither pulls tight nor catches. Then check the light’s aim with the bike loaded as you ride it.
For the backup, repeat those checks separately. Two lights sharing one battery are not two independent lighting systems. Likewise, two charged lights do little good if both rely on a mounting part you cannot use after a failure.
Bikelights sells the bike lights, high-capacity battery packs and accessories relevant to this setup. Before choosing components, confirm what is included with each item; do not assume a battery, charger, cable or mount comes with the light unless the listing states it.
Build your night-riding setup
Compare lights, high-capacity battery packs and accessories, then confirm compatibility and included parts.
How much battery reserve should you carry?
Carry enough verified lighting capacity for your planned ride and a realistic exit if the main system fails. There is no single runtime figure that fits every route, riding pace, operating mode and battery condition.
For your 2026 ride plan, work backwards from the furthest point rather than forwards from the car park. Ask how you would get out, which light mode makes that possible and what runtime evidence supports that mode.
Keep these two reserves separate:
- Main-system reserve: compatible battery capacity for delays or a longer ride while the main light still works.
- Failure reserve: independent lighting for leaving when the main system cannot be used.
Do not add the advertised runtimes of different products and call the total a guaranteed riding window. Each claim belongs to its own operating conditions, and your exit plan needs useful light—not simply an LED that remains switched on.
Can a small backup light get you off a remote trail?
A small backup light is suitable only if its beam, mounting and verified runtime support your planned exit. Size alone tells you neither how well you can read the trail nor how long the light remains useful.
Test it somewhere familiar with an easy return. Switch off the main light while stationary, inspect the ground with the backup and decide whether to ride slowly or walk. If you cannot pick out the surface confidently, the answer is not to pedal faster and hope.
Treat walking as part of the plan, not a failure of the plan. Your backup’s job is to support a controlled exit, not recreate your main light’s riding experience.
What should you check before leaving the trailhead?
Use this short 2026 pre-ride check with the actual equipment you are taking. A successful test last month does not confirm that tonight’s battery is charged or that a recently moved mount is secure.
- Switch on the main light and the independent backup separately.
- Confirm both are charged using their manufacturers’ instructions and indicators.
- Check mounts, straps, connectors and cable routing.
- Put the backup where you can reach it without emptying your bag.
- Confirm the exit route with your riding group.
- Check that any road section of the return has appropriate front and rear lighting.
If you find a fault, change the equipment or the route before heading in. The trailhead is a much better workshop than the middle of the bush.
FAQ
What’s the best backup bike light for a remote night ride?
The best backup bike light is independently powered and has a beam, mount and verified runtime suited to your exit route. Check it on familiar ground before relying on it remotely.
Is a spare battery enough backup for my bike lights?
A spare battery covers depleted power in a compatible, working light system; it does not cover every light failure. Carry an independent light if your plan needs to cover a failed head, cable or main power connection.
How many lumens should my backup bike light have?
There is no universal lumen figure that establishes whether a backup is suitable for your trail. Treat advertised lumens as claims and check the actual beam at your intended exit pace.
Can I run my main light and backup from the same battery?
You can use a shared battery only where the equipment explicitly supports that arrangement, but it does not provide independent backup power. Both lights remain dependent on the shared pack.
Should my backup bike light go on my helmet?
A helmet is an option when the light and helmet manufacturers support the mounting arrangement. Check stability, beam direction and independent power rather than assuming helmet placement alone makes a good backup.
How do I know whether a spare battery is compatible?
Confirm compatibility against the light and battery manufacturers’ specifications. Check voltage, connector, polarity and charging requirements; a plug that fits is not sufficient evidence.
Can I keep riding normally after my main light fails?
Use only the pace and route your backup beam safely supports. Stop to assess the situation, and walk if you cannot read the trail confidently.
One last thing
Practise finding and switching on your backup with your riding gloves on. Keep the bike stationary, turn the main light off and run through the changeover exactly as you would on the trail.
That simple rehearsal checks something a brightness claim cannot: whether you can actually use the light when you need it. Save the surprises for the post-ride snacks.