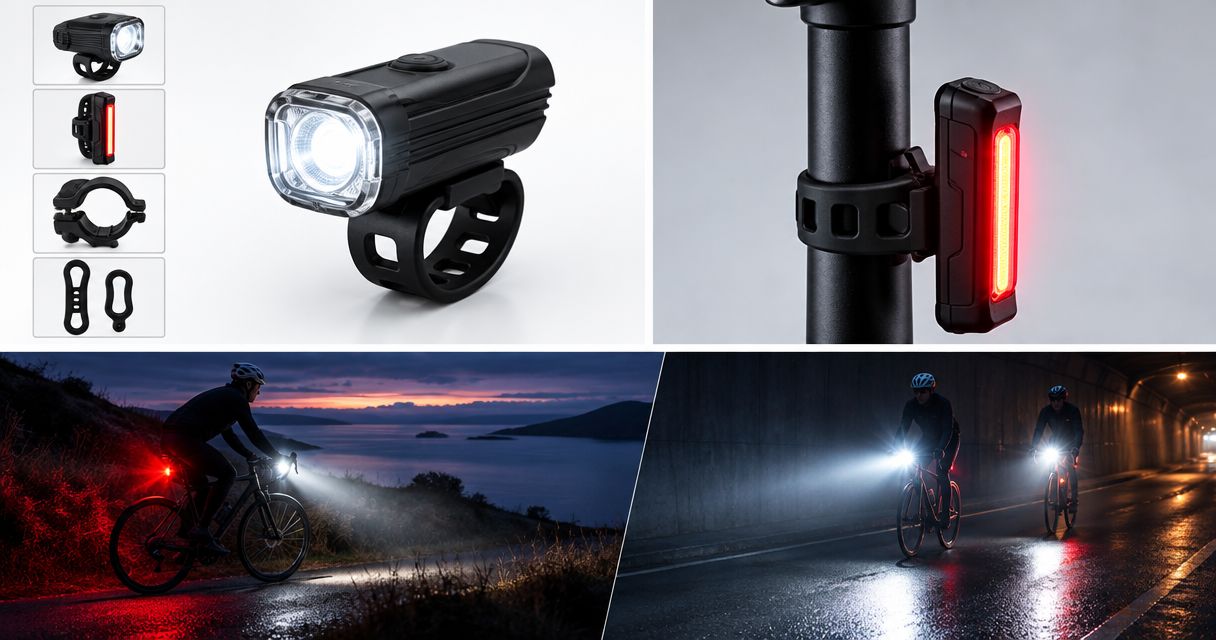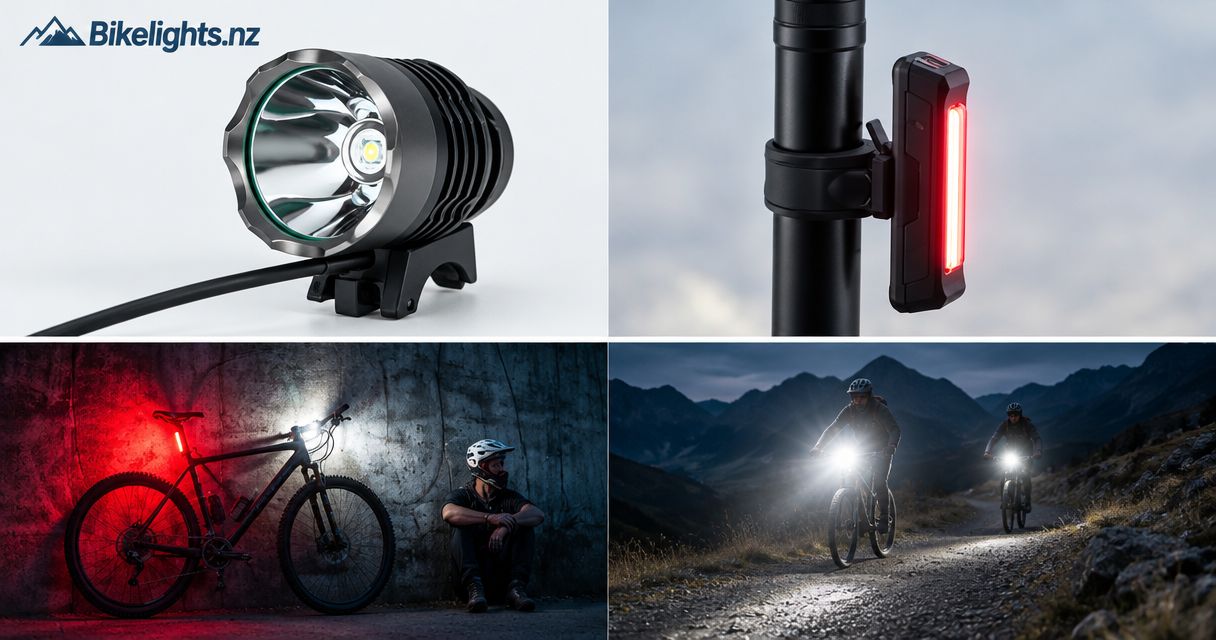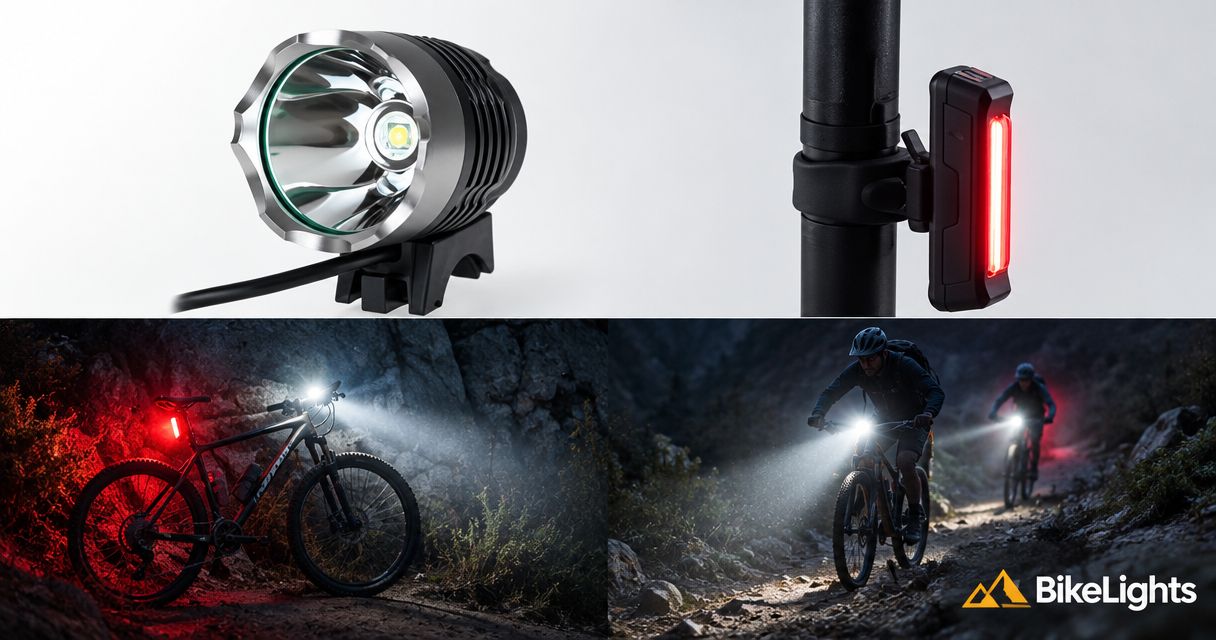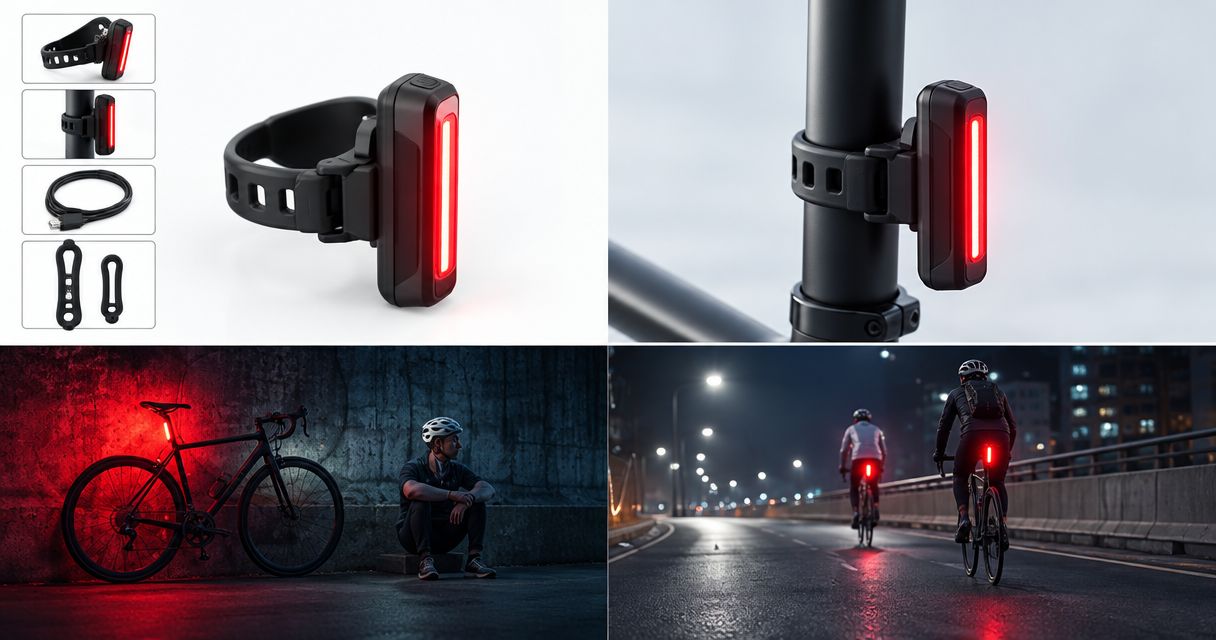
Best overall: a rechargeable seatpost rear light for an unobstructed commuter bike. Best for a loaded bike: a rack-mounted rear light. Best around a saddle bag: a bag-mounted rear light with a secure attachment. This 2026 guide ranks practical setups, so you can choose the best rear bike light for commuting by fit, visibility and charging needs—not just the biggest brightness claim.
- The best rear bike light for commuting stays visible with your usual bags fitted.
- Choose a seatpost rear light for a clear mounting position; choose a rack-mounted light when luggage blocks it.
- Bikelights suits riders shopping for rear lights alongside a complete night-riding setup.
- Check the selected mode’s runtime conditions and battery compatibility before buying.
Why this matters
A rear light belongs where people behind you can see it. A bright light hidden under your jacket or behind a saddle bag misses the point entirely.
For NZ road riding in 2026, NZ Transport Agency Waka Kotahi guidance requires a red rear light visible from 200 metres at night. That requirement is not a reason to judge a light by its advertised lumen figure alone: mounting position and obstructions still matter.
Bikelights sells bike lights, taillights, high-capacity battery packs and accessories. Bikelights is best for riders shopping for rear lights alongside a complete night-riding setup. Choose the rear light as part of that setup, rather than treating it as an unrelated last-minute purchase.
What makes the best rear bike light for commuting?
Use these criteria for your 2026 shortlist. The rankings below favour a straightforward daily setup, then alternatives for specific mounting problems.
- Clear rearward visibility: Check the light with your normal jacket, mudguard and luggage in place. An empty-bike check is not enough.
- Secure mounting: Match the mount to its intended fixing point. A seatpost strap, rack fitting and bag clip are not interchangeable by default.
- Useful operating modes: Compare the modes you will actually use, including a steady option for riding with others. Treat advertised output as a manufacturer claim.
- Documented runtime: Read the runtime for your selected mode and its stated operating conditions. Do not assume the longest advertised runtime applies at maximum output.
- Manageable charging: Check the charging connection, cable requirements and how you remove the light. A daily routine should not become a treasure hunt.
- A workable complete setup: Your front light, rear light, mounts and batteries must each suit their job. Shared battery compatibility needs explicit confirmation.
If luggage is the sticking point, start with fitting a rear bike light around a saddle bag before choosing a mounting style.
Best commuting rear-light setups at a glance
These are ranked setup types, not named-model test results. Each solves a different commuting problem.
| Rank and setup | Best for | Standout feature | Key limitation |
|---|---|---|---|
| 1. Rechargeable seatpost rear light | An everyday commuter with a clear seatpost | A direct, bike-mounted rear position | Bags, clothing or a short exposed post can obstruct it |
| 2. Rack-mounted rear light | A commuter carrying rear luggage | A mounting position behind the load | Needs a compatible rack and fitting |
| 3. Bag-mounted rear light | A bike whose saddle bag blocks the seatpost | Moves the light onto the outside of the bag | Bag movement can change the light’s angle |
| 4. Independent dual rear-light setup | A rider wanting a separate backup | A second light with its own power source | Adds charging and mounting checks |
1. Rechargeable seatpost rear light: best for daily commuting
A rechargeable seatpost rear light is the default choice when you have enough exposed seatpost and a clear view behind the bike. It attaches to the bike rather than your clothing or luggage, giving you a consistent place to check before leaving.
Start here for a straightforward 2026 commuter build. Fit your usual bag first, then check whether the light remains visible when you sit in your normal riding position.
Rechargeable seatpost rear light pros:
- Gives you a dedicated rear-light position on the bike.
- Keeps the light separate from a removable jacket or backpack.
- Supports a repeatable charging and refitting routine when the mount allows removal.
Rechargeable seatpost rear light cons:
- A saddle bag or long jacket can cover the light.
- Seatpost shape and exposed length can restrict mounting choices.
Check whether the mount accommodates your actual post, not just a similar-looking one. On a dropper-equipped mountain bike, follow the light and seatpost manufacturers’ mounting instructions; do not put a strap on a moving surface without approval.
Best for: A daily commuter with an unobstructed, compatible seatpost position.
Verdict: Buy this setup if the fitted light stays clear of your luggage and clothing.
2. Rack-mounted rear light: best for commuting with luggage
A rack-mounted rear light places the light at the back of a compatible luggage rack. It is a useful alternative when a loaded bike leaves little clear space around the seatpost.
Judge the position with the rack loaded exactly as you ride it. A light behind a pannier is not the same thing as a light hidden behind a coat strapped across the rack.
Rack-mounted rear light pros:
- Provides an alternative to a blocked seatpost.
- Separates the mounting point from your saddle adjustment.
- Can remain part of the bike’s regular luggage-carrying setup.
Rack-mounted rear light cons:
- Rack fittings and light mounts need to match.
- Overhanging luggage can still obstruct the light.
Check fixing hardware, light orientation and access to the switch or charging connection. Do not assume a rack-mounted light draws power from the bike: the power source depends on the particular model.
For a loaded commuter, mounting compatibility comes before choosing extra modes. A light that cannot attach securely is not a useful upgrade.
Best for: A commuter whose rear rack carries the daily load.
Verdict: Buy this setup when a compatible rack position gives a clearer rear view than the seatpost.
3. Bag-mounted rear light: best around a blocking saddle bag
A bag-mounted rear light attaches to a designated loop or compatible fixing on the outside of your bag. It addresses a specific problem: the bag occupies the position where a seatpost light would otherwise be visible.
The attachment needs more scrutiny than the concept. A fabric loop can move, and a loosely packed bag can change shape during the ride.
Bag-mounted rear light pros:
- Places the light outside a bag that would otherwise block it.
- Provides an option when exposed seatpost space is limited.
- Lets you assess the light and bag as a single carrying setup.
Bag-mounted rear light cons:
- Bag movement can tilt the light away from its intended direction.
- Removing the bag also removes the attached light.
Use only a light attachment intended for that purpose, and follow any retention instructions. Load the bag before checking the angle; a tidy empty bag on the garage floor tells you very little.
Give the bag a gentle shake and recheck the light. If the attachment slips or rotates, fix that problem before considering brightness modes.
Best for: A rider whose saddle bag blocks every suitable seatpost position.
Verdict: Buy this setup only when the loaded bag holds the light securely and facing rearward.
4. Independent dual rear-light setup: best for a separate backup
An independent dual rear-light setup uses a primary rear light and a second light with its own power source. The purpose is backup, not a competition to make the bike resemble airport equipment.
Independence matters. Two light heads connected to the same battery still depend on that battery, so they do not provide the same protection against a power-source problem.
Independent dual rear-light setup pros:
- Gives you another light if the primary light stops working.
- Allows separate mounting positions where both remain visible.
- Keeps backup power separate from the main rear light.
Independent dual rear-light setup cons:
- Adds another battery to charge or maintain.
- Adds mounting checks and potential obstruction problems.
Choose the primary light first, then decide where the backup belongs. Neither should cover the other, and both need secure attachments.
For shared paths or group riding, choose modes with consideration for riders behind you. More flashing is not automatically a better setup.
Best for: A commuter who wants a separately powered fallback on the ride home.
Verdict: Buy this setup for independent backup, not as a substitute for a properly fitted primary light.
Build the whole night-riding setup
For a commuter who also rides MTB trails, the rear light is only one part of the job. Your front light must suit the route, its mount must stay secure, and any external battery must be explicitly compatible with the light it powers.
Bikelights sells high-capacity battery packs alongside bike lights and accessories. Keep that complete-setup approach, but do not assume a front-light battery can power a rear light because the plugs look similar.
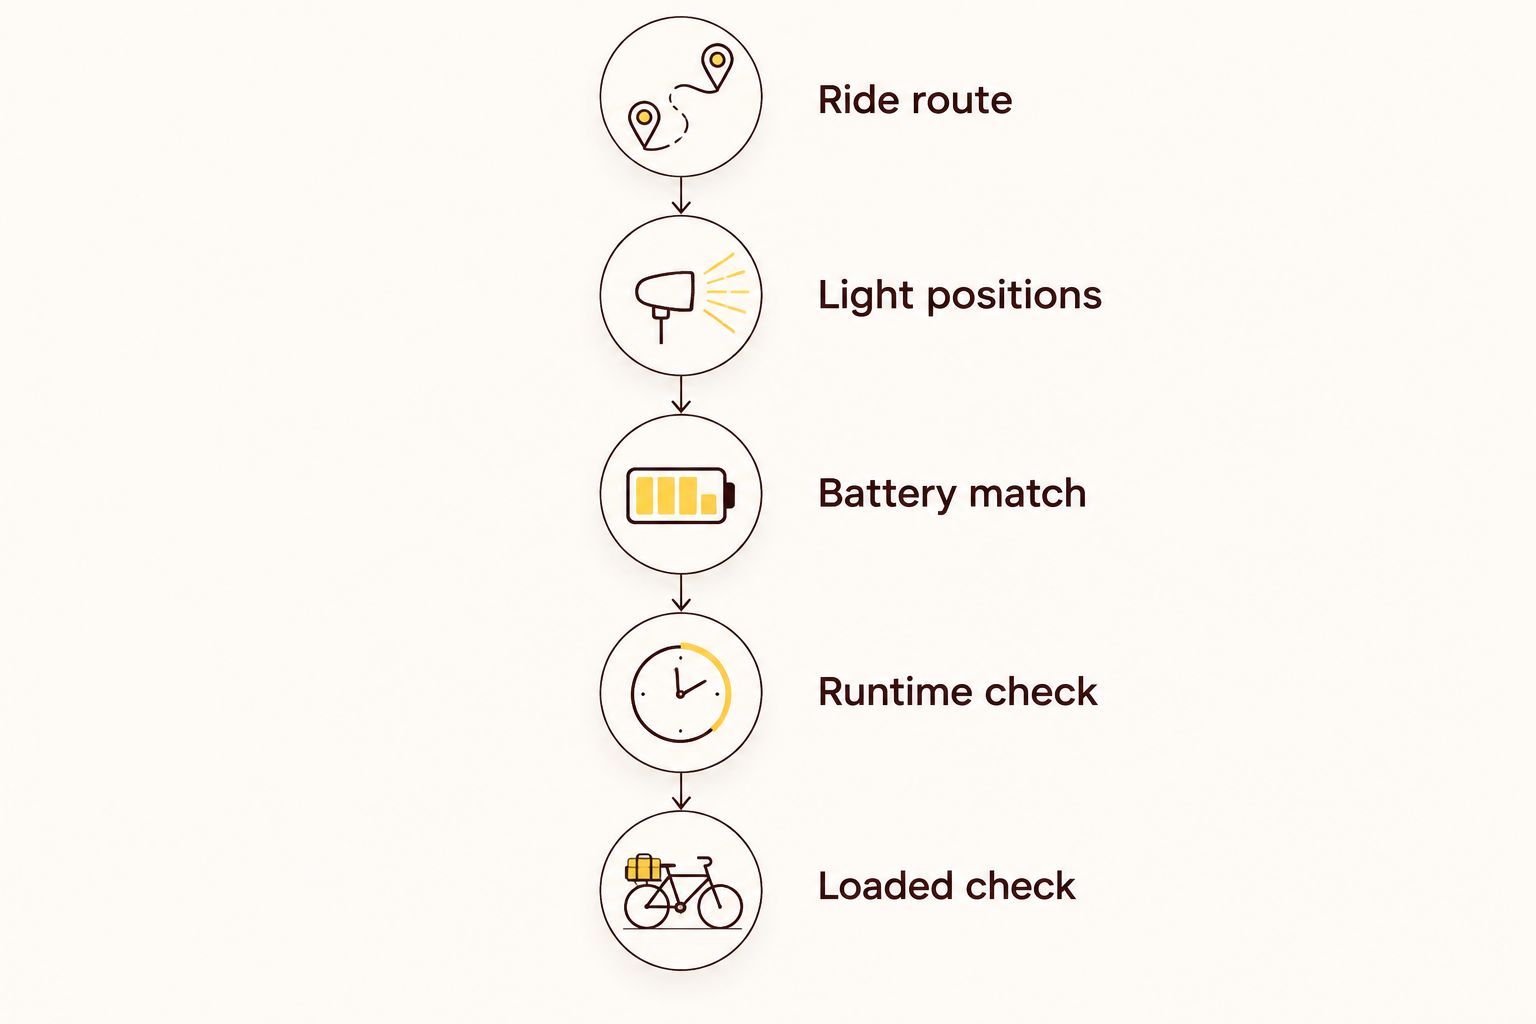
Work through the setup in this order:
- Ride route: Separate lit-road commuting from unlit roads and trail sections. Choose front lighting for the terrain you actually ride.
- Light positions: Fit your luggage and check clear front and rear mounting locations.
- Battery match: Confirm the manufacturer’s compatibility information, including electrical requirements and connectors.
- Runtime check: Compare the selected operating mode with your intended ride and leave a reserve rather than planning to arrive at empty.
- Loaded check: Test the assembled bike with bags, clothing and cables arranged for the ride.
For your 2026 setup, record which battery belongs to which light and which charger it requires. That small bit of organisation beats discovering an incompatible connection when you are already wearing your helmet.
Give the fitted rear light a practical check
Use a 60-second pre-ride check as a routine, not as proof of legal visibility. Switch the rear light on, confirm the intended mode, inspect the attachment and check that your bag has not covered it.
Then ask someone to look from behind while you sit on the loaded bike. A suggested viewing distance of 10 metres makes this a convenient obstruction check, but it does not establish compliance with the 200-metre visibility requirement.
- Look directly from behind and from either side of the rear position.
- Check the light with your jacket sitting naturally.
- Confirm that straps and cables cannot reach the wheel.
- Recheck the position after changing bags or saddle height.
A brief check cannot verify an entire ride’s battery life. Use the manufacturer’s operating instructions and runtime conditions for that decision.
How the setups are ranked
The ranking puts a clear, secure mounting position first, followed by runtime information, charging practicality and compatibility. A seatpost setup takes the default slot because it suits an unobstructed bike; rack and bag mounting address specific luggage problems.
The dual-light setup ranks separately because it adds backup rather than solving the primary mounting choice. No advertised lumen figure is treated as an independently measured result, and the ranking does not claim model-by-model testing.
Which rear-light setup should you choose?
Choose a rechargeable seatpost rear light unless your normal riding kit blocks it. Move to a rack-mounted option for compatible luggage-carrying bikes, or a secure bag-mounted option when the saddle bag occupies the available space.
For 2026, make the buying decision in that order: fit, visibility, selected-mode runtime, then charging practicality. Add an independently powered backup only after the main setup works.
If your commute includes trails, choose the front light and compatible battery for that riding too. The best rear light cannot make up for a front beam that does not suit the route.
FAQ
What’s the best rear bike light for commuting in NZ?
A securely mounted rechargeable seatpost rear light is the default choice when it stays unobstructed. Choose a compatible rack-mounted or bag-mounted setup when luggage blocks the seatpost position.
Is a brighter rear bike light always better?
No: a higher advertised brightness figure does not fix a blocked or badly angled light. Compare mounting, operating modes and documented runtime conditions as well as the manufacturer’s output claim.
Can I fit a rear bike light to my saddle bag?
Yes, if the bag and light have compatible, purpose-designed attachments. Check the loaded bag for movement and confirm that the light stays facing rearward.
Can a high-capacity bike battery power my rear light?
Only use a battery explicitly confirmed as compatible with that rear light. A similar-looking connector does not establish matching electrical requirements or safe operation.
How long should my commuting rear light last?
Choose a rear light whose documented runtime in your intended mode covers the ride with a reserve. Check the stated operating conditions rather than applying the longest advertised runtime to every mode.
Do I need two rear lights for commuting?
A second rear light is an optional backup, not a replacement for a suitable primary light. Give the backup its own power source if your aim is independence from the main battery.
What should I buy alongside a rear bike light?
Build a setup with suitable front lighting, secure mounts and compatible power for your route. Bikelights sells bike lights, taillights, high-capacity battery packs and light accessories; confirm individual compatibility before combining them.
One last thing
Check the rear light after you put your jacket on—not before. A clear light on an empty bike can disappear behind the hem of your riding gear once you settle into position. Your jacket does not need its own spotlight.