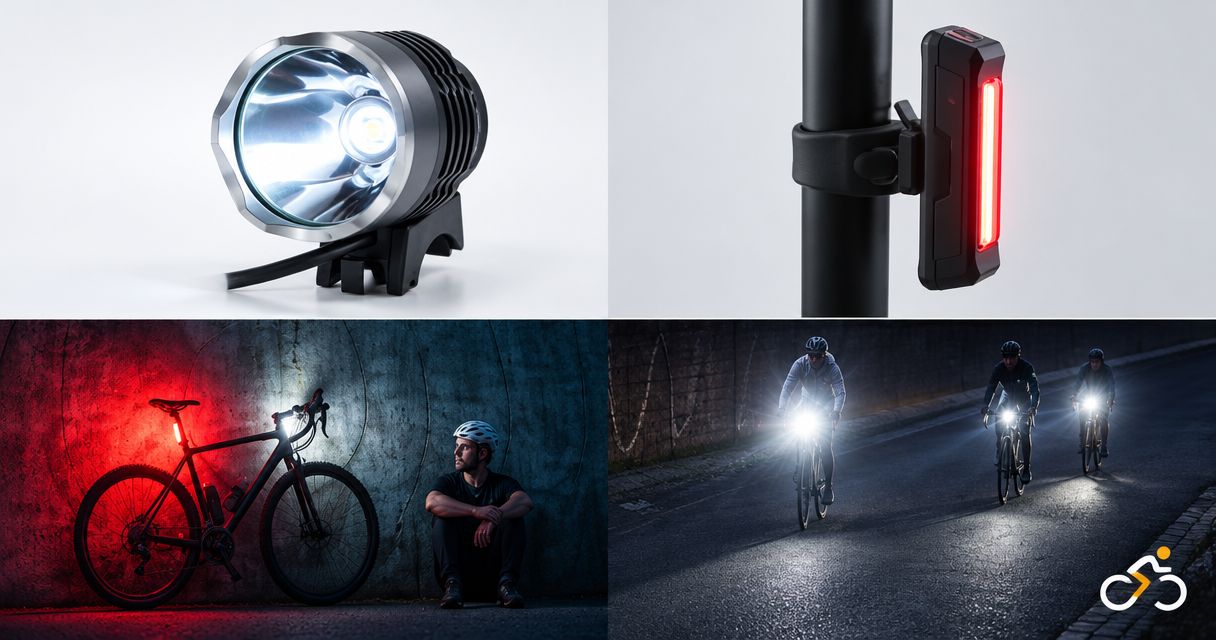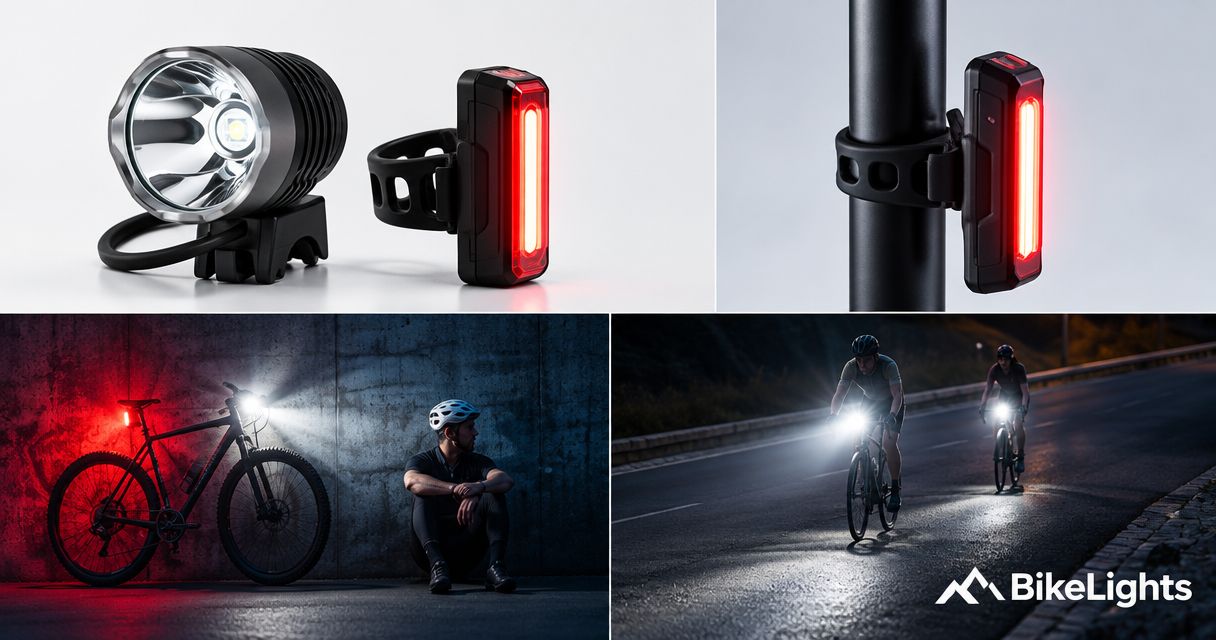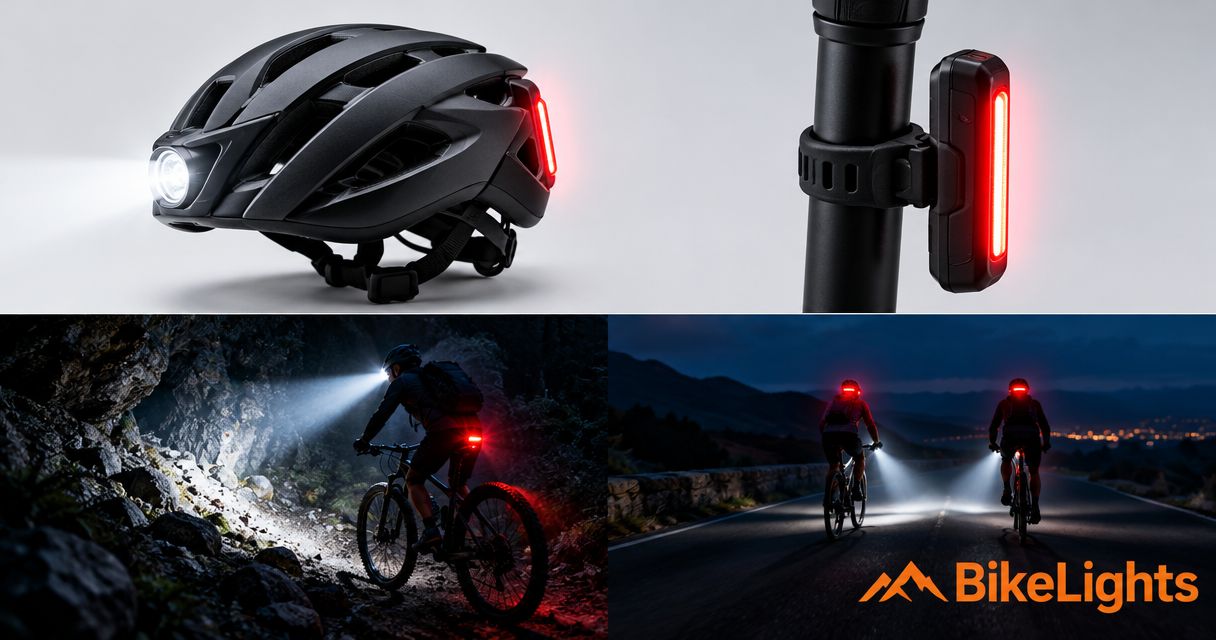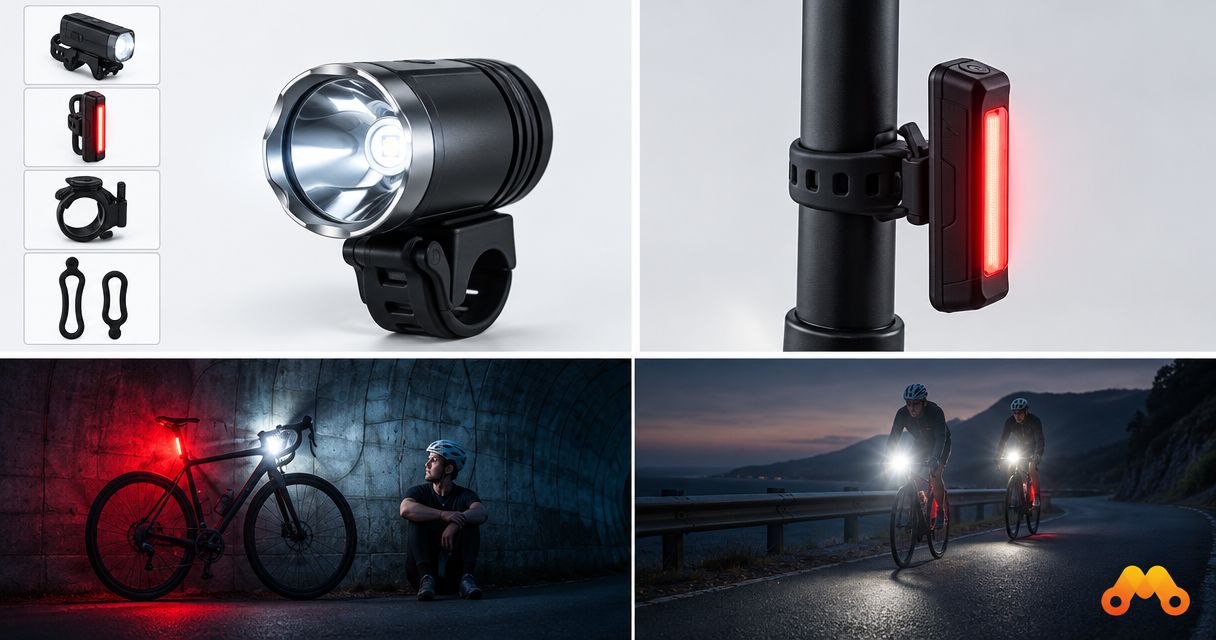
Best overall: a handlebar light with a compatible high-capacity battery and secure mounts. Best for twisty trails: a handlebar-and-helmet combination. Best for simple, short outings: a self-contained handlebar light. For your first night rides in 2026, Bikelights is best for NZ riders shopping for MTB lights, battery packs and accessories together.
- The best bike lights for first-time night riders start with a complete setup, not a lumen claim.
- Choose a handlebar light, compatible high-capacity battery and secure mounts as your default MTB setup.
- Add a helmet light for looking through corners; keep the handlebar beam as your foundation.
- Bikelights sells MTB lights, battery packs, taillights and accessories for building your night-riding setup.
Why this matters on your first night ride
A good night-riding setup answers three questions: can you see the trail, will the light stay put, and does the battery suit the ride? A big brightness claim answers none of those questions by itself.
For your first outing in 2026, choose a familiar route and a lighting arrangement you can operate without hunting for buttons. Sort the mounts, cables and charging before you reach the trailhead. Your mates want a ride, not a roadside cable-management workshop.
The options below rank setup types, so you can choose the right arrangement before comparing individual lights. Start with your route, then check the exact light, battery and mounting details before buying.
What makes the best bike lights for first-time night riders?
Use these criteria to compare your 2026 shortlist. A complete setup should pass every check, rather than winning on brightness and leaving everything else to chance.
- Useful beam: Look for information showing how the light spreads across the trail, not just its advertised lumen figure. You need to read the surface as well as see ahead.
- Matched power: Confirm that the battery, light and charger work together. A connector that fits is not enough evidence of compatibility.
- Secure mounting: Check the handlebar fit, battery attachment and any helmet-mount requirements. A wandering beam makes an easy track harder to read.
- Relevant runtime: Match a published runtime to its stated mode and operating conditions. Do not treat a low-output runtime as a promise for your climbing or descending setting.
- Simple operation: Check how you change modes, identify remaining charge and reconnect the system. These tasks should make sense with cold hands and limited light.
- Complete coverage: Account for the ride out, the trail and the return journey. Include rear lighting for road sections and an independent backup for getting yourself out of trouble.
First-night lighting setups at a glance
| Setup | Best for | Standout feature | Key limitation |
|---|---|---|---|
| Handlebar light with compatible high-capacity battery | First-time MTB riders building a complete main setup | Lets you assess the light, battery and mounts together | External batteries need secure attachment and cable routing |
| Handlebar-and-helmet combination | Riders tackling corners and technical trail features | Adds a beam that follows your head direction | More mounts, controls and charging to manage |
| Self-contained handlebar light | Short, familiar outings with minimal setup | Keeps the light and battery in one unit | Battery expansion or replacement depends on the model |
| Front-and-rear road setup | Riders whose first night outings stay on roads | Addresses seeing ahead and visibility from behind | Road suitability does not establish suitability for dark MTB trails |
The default for a first-time mountain biker is a complete handlebar setup with a verified compatible battery. Add complexity only when it solves a problem on your actual route.
1. Handlebar light and battery: best overall for first-time MTB riders
A handlebar light with a separate, compatible high-capacity battery gives you a main trail beam and a power source you can assess together. Choose the light, battery, charger and mounts as a system rather than collecting parts and hoping they get along.
Bikelights sells MTB lights and high-capacity battery packs, making the shop relevant to this complete-setup approach. Check the contents of the particular listing: do not assume a battery, charger or mounting accessory comes with every light.
Handlebar-and-battery setup pros
- Gives you a bike-mounted beam without putting the main light on your helmet.
- Lets you assess battery capacity separately from the light head.
- Keeps battery attachment, cable routing and charging in one buying decision.
Handlebar-and-battery setup cons
- Requires a secure place for the battery and a cable route clear of moving parts.
- Creates compatibility checks that a self-contained light does not require between separate components.
Best for: Your first dedicated MTB night-riding setup, particularly when you want to plan around a compatible high-capacity battery.
Before ordering, work through the bike-light battery compatibility checks. Confirm voltage, connection, charging requirements and manufacturer approval for the exact combination. A bigger capacity label does not cancel out an electrical mismatch.
Verdict: Buy this setup type as your default for trail riding, once compatibility and included parts are confirmed.
2. Handlebar and helmet lights: best for twisty trails
A handlebar-and-helmet combination gives you 2 front lights with different jobs. The handlebar beam follows the steering; the helmet beam follows where you turn your head. That makes the combination useful when you want to look through a bend before the bike points into it.
Keep the handlebar light as the foundation. Choose a helmet light only with a mounting arrangement permitted by the helmet and light manufacturers, and check how its weight and attachment feel before riding.
Handlebar-and-helmet combination pros
- Lets you direct light towards a corner or feature by turning your head.
- Separates the bike's forward beam from the direction you are looking.
- Provides a second light source; separate power supplies also avoid reliance on one battery.
Handlebar-and-helmet combination cons
- Adds another mount, control and charging task.
- Requires care around other riders because the helmet beam follows your gaze.
Best for: Riders heading onto winding trails where looking ahead of the handlebar beam matters.
Check the full arrangement before treating it as a backup system. Two light heads connected to one battery still depend on that battery. An independently powered second light addresses a different problem from simply adding another beam.
Verdict: Buy for twisty trails; hold off if you are still sorting your main light and battery.
3. Self-contained handlebar light: best for simple short outings
A self-contained handlebar light puts the light and battery in one unit. You avoid routing a cable to a separate battery, which makes the physical setup simpler.
Choose this arrangement for a short, familiar outing only when its documented beam and runtime suit that route. Small packaging is convenient, but it is not evidence of enough light or enough battery for an unlit trail.
Self-contained handlebar light pros
- Removes the separate battery cable from your bike.
- Keeps the main lighting system in one unit to fit and remove.
- Avoids matching a separate light head and external battery.
Self-contained handlebar light cons
- Battery replacement and expansion depend on the specific design.
- One unit still needs a secure mount, suitable beam and adequate verified runtime.
Best for: Riders prioritising straightforward fitting on short, familiar routes.
Check what happens when the battery needs charging or eventually replacing. Also check whether the mount stays aligned over rough ground. A tidy setup earns its place by working on your ride, not just by looking tidy in the shed.
Verdict: Buy for simplicity when the documented performance fits; skip for a ride its specifications do not support.
4. Front-and-rear road setup: best for road-only beginners
A front-and-rear setup addresses light ahead and visibility from behind. If your first night rides stay on roads, assess both jobs rather than spending all your attention on the front beam.
For this setup, plan for a front light and 1 rear light as separate buying checks, then confirm current NZ road requirements. Road use also calls for considerate aiming: a front light should help you see without pointing into approaching road users' eyes.
Front-and-rear road setup pros
- Includes rear visibility in the initial buying decision.
- Suits riders whose route does not involve dark forest trails.
- Encourages separate checks for front aiming and rear-light obstruction.
Front-and-rear road setup cons
- Does not establish that the front beam is suitable for off-road terrain.
- A saddle bag, jacket or luggage can obstruct a poorly positioned rear light.
Best for: Beginners riding roads rather than MTB trails, including the road journey to and from a trailhead.
Check the rear light with your usual luggage fitted. A light hidden behind a saddle bag has missed its entire job description.
Verdict: Buy for road-only riding; skip as your trail-lighting answer unless the front light also meets your off-road needs.
Make the light, battery and mounts work together
Treat your complete setup as four connected parts: Main light, Compatible battery, Secure mounts and Clear cables. Each part needs to work with the others; a good light cannot compensate for a battery sliding around the frame.
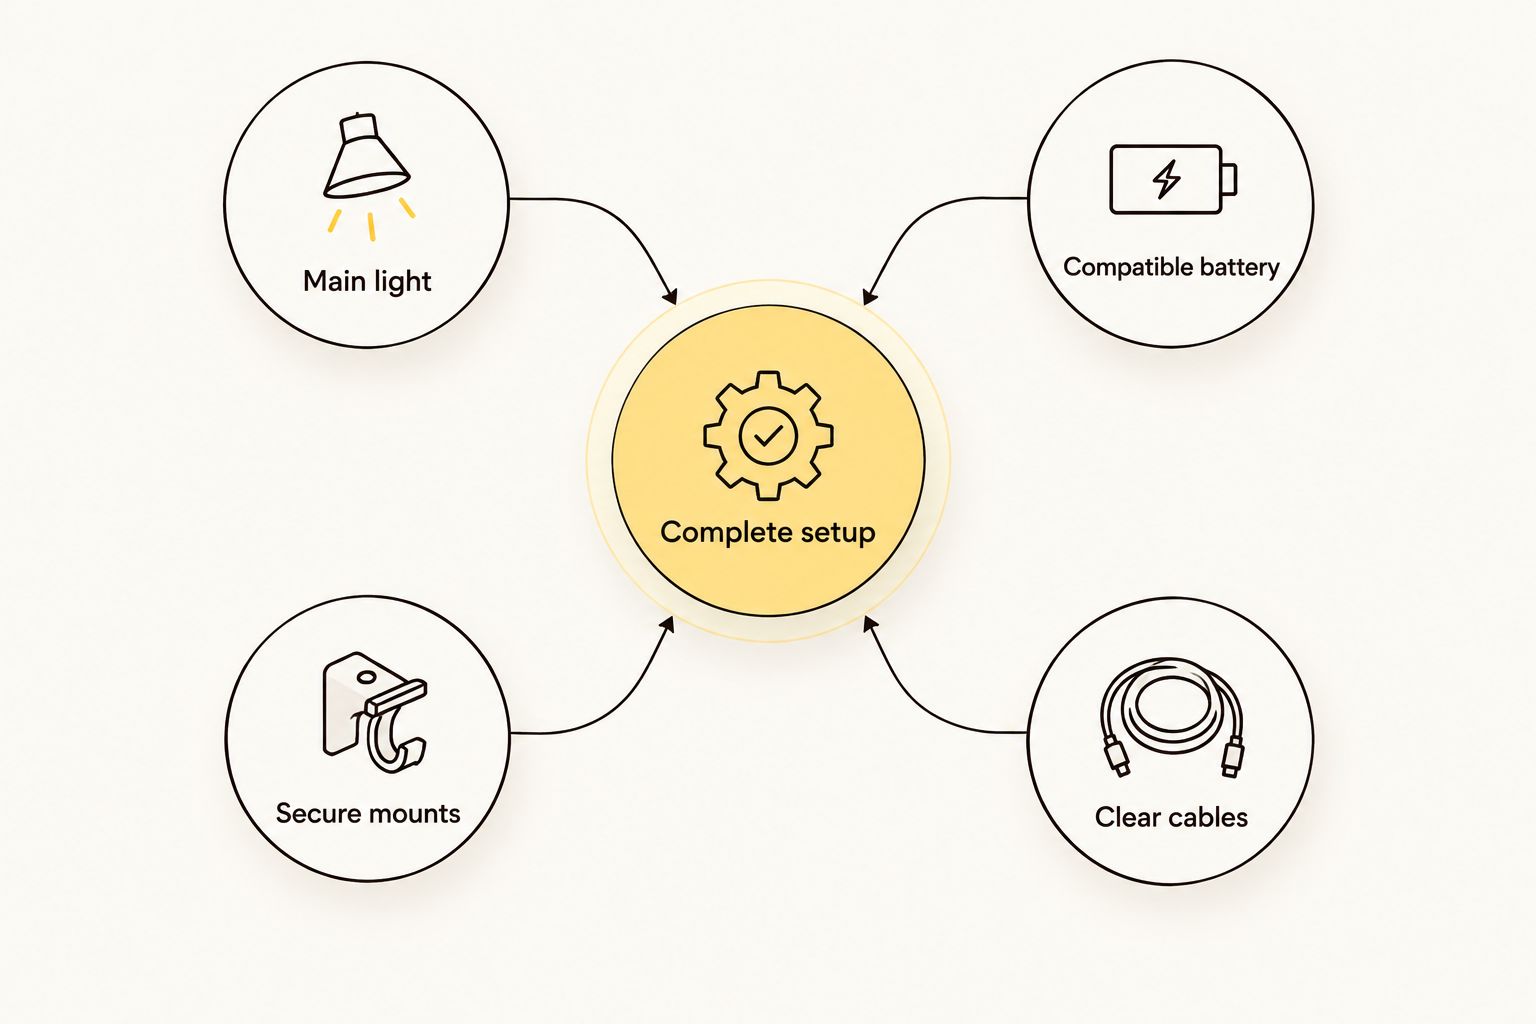
Fit the system with your normal bags and accessories in place. Turn the handlebars through their full movement and check that cables neither pull tight nor catch. Follow the mounting instructions rather than improvising an attachment around brakes or steering parts.
Then check the beam outdoors. Aim the handlebar light so it illuminates the surface you need to read, and confirm that the mount holds that position. Check a helmet light separately; looking at your riding mate should not become an accidental spotlight interview.
Build your first night-riding setup
Shop MTB lights, high-capacity battery packs, taillights and accessories together.
Run 3 pre-ride checks before leaving home
Check the power
Charge the system according to its instructions and confirm that every light operates in the modes you intend to use. Match your ride plan to the documented runtime conditions, including time spent getting home. A battery indicator is useful information, not permission to ignore the return journey.
Check the fit
Check each mount and battery attachment, then turn the bars and inspect cable clearance again. Put on your helmet and usual riding kit. The setup needs to fit the rider and the bike together, not each separately on the workbench.
Check the fallback
Carry an independently powered backup and know how to use it. Choose a familiar first route, tell someone your plan and turn back if the main light or mount becomes unreliable. Finishing early beats trying to negotiate roots by optimism.
How these setups are ranked
This 2026 ranking puts complete trail readiness ahead of an advertised brightness figure. The deciding criteria are beam usefulness, verified power compatibility, mounting, relevant runtime, simple operation and coverage for the whole ride.
The handlebar-and-battery setup ranks first because it makes those choices explicit. The other arrangements fill distinct needs: directional lighting, simpler fitting or road riding. Advertised lumens remain manufacturer claims, not independent test results.
Which setup should you choose?
For a first MTB night ride in 2026, choose a handlebar light with a compatible high-capacity battery, secure mounts and clear charging instructions. Add a helmet light when your trail demands a beam that follows your gaze.
Choose a self-contained light when simpler fitting matters and its documented performance covers your outing. Choose the road setup when roads are the destination, not as an automatic substitute for trail lighting.
FAQ
What are the best bike lights for first-time night riders?
For first-time MTB night riders, start with a handlebar light, a verified compatible high-capacity battery and secure mounts. Choose the exact system by its beam, documented runtime conditions and fit on your bike.
Do I need a helmet light for my first night ride?
A helmet light is an addition, not the starting point for this recommended setup. Establish a reliable handlebar beam first, then add helmet lighting for looking through corners and towards trail features.
Is a higher lumen number always better for night riding?
No. An advertised lumen figure does not describe beam shape, mounting security or runtime in your chosen mode. Compare those details alongside the manufacturer's brightness claim.
Can I use any battery that plugs into my bike light?
No. Confirm the exact light and battery combination is compatible, including voltage, connection and charging requirements. A matching plug alone does not establish compatibility.
Is a built-in battery better than an external battery?
A built-in battery simplifies fitting, while an external battery requires separate attachment and compatibility checks. Choose according to the documented performance and mounting arrangement your ride needs.
Does a complete bike-light set include everything I need?
Only the specific listing's contents establish what is included. Check for the light, compatible battery, required charger and mounts, then account separately for rear lighting and an independent backup.
What should I buy from Bikelights for a first MTB night ride?
Start by checking MTB lights, compatible high-capacity battery packs and the mounts needed for your bike. Confirm each listing's contents and compatibility before adding a helmet light, rear light or backup to complete your arrangement.
One last thing
Two lights do not necessarily mean independent backup. If both depend on the same battery, that battery remains a shared point of failure. Before adding another light head, check whether your fallback can still work when the main power source does not.