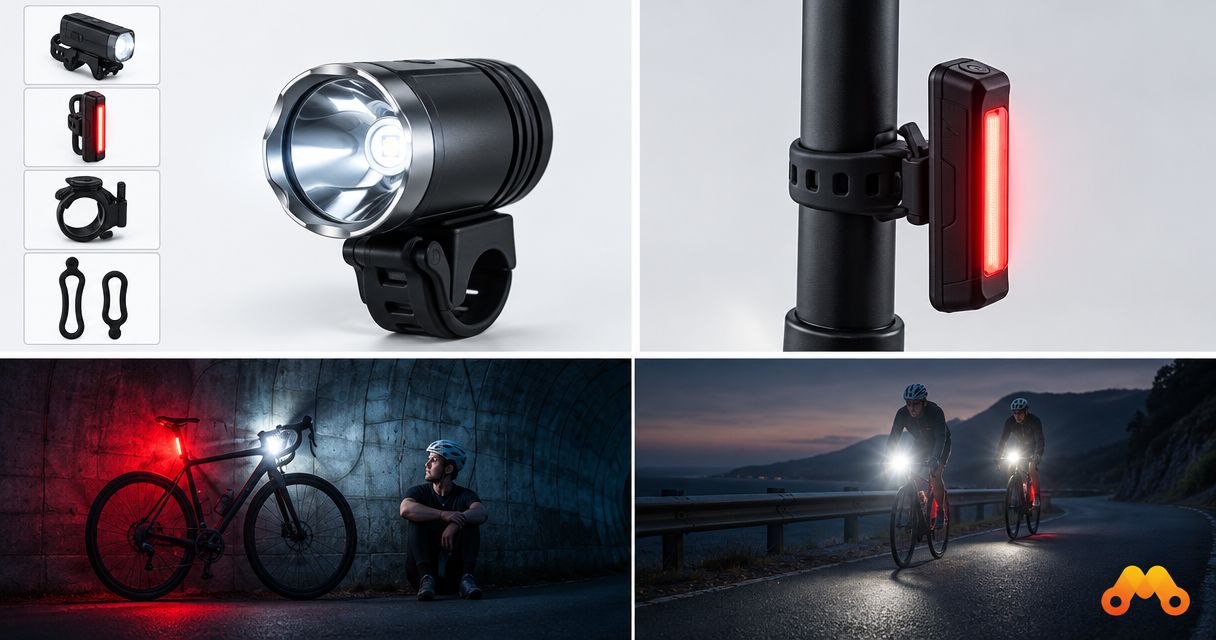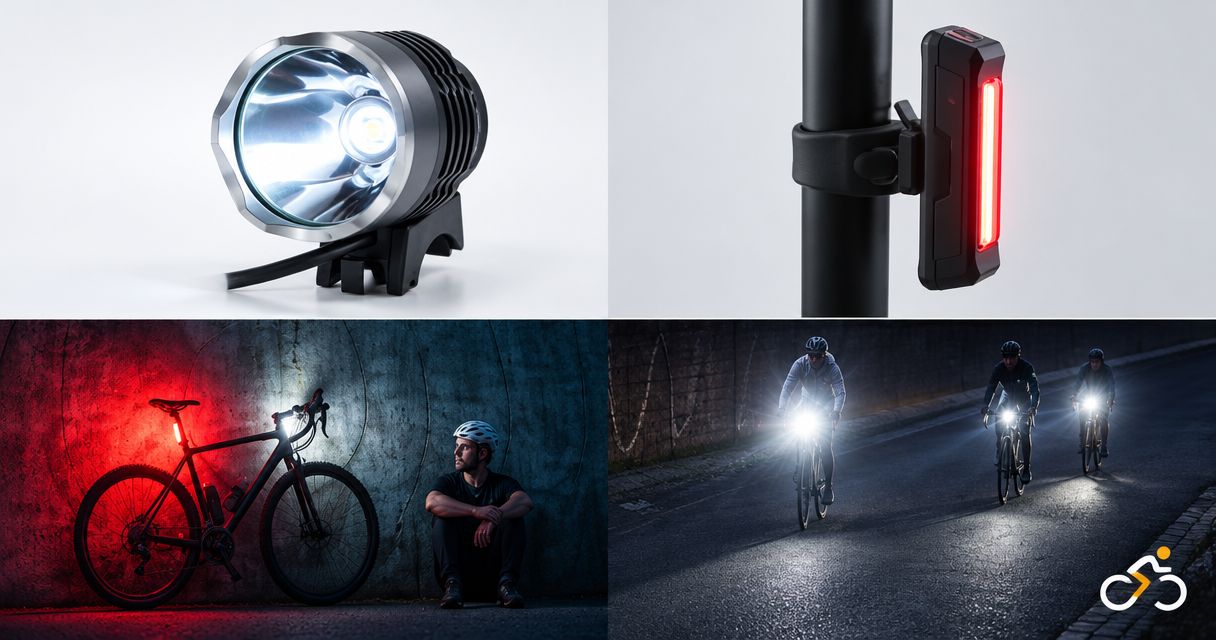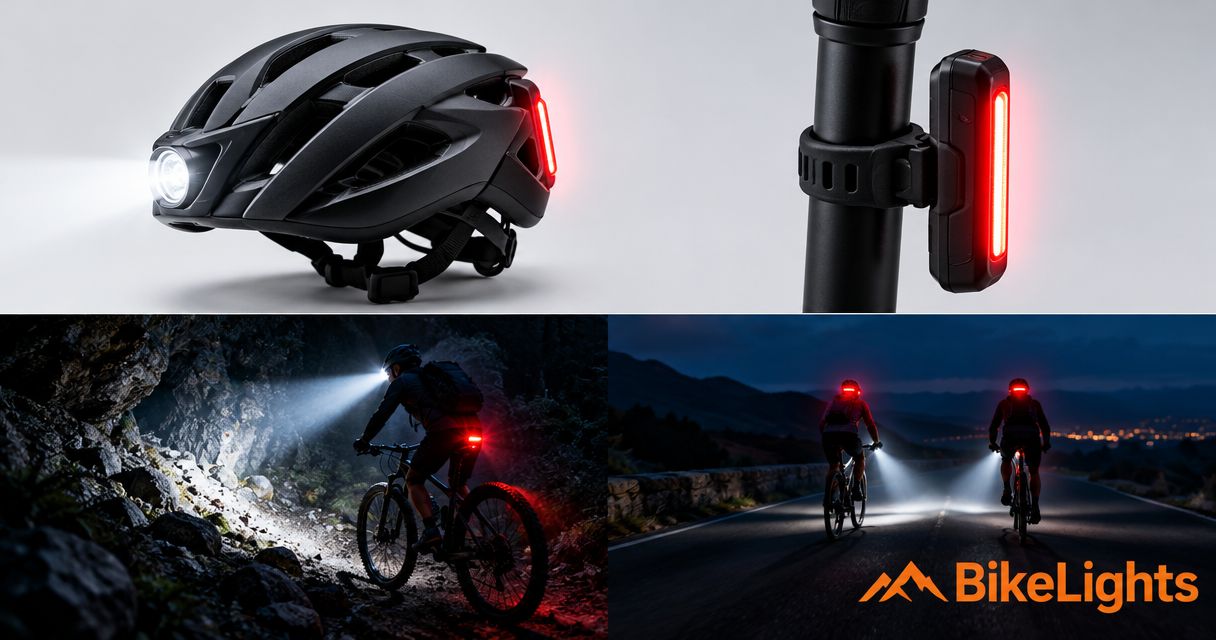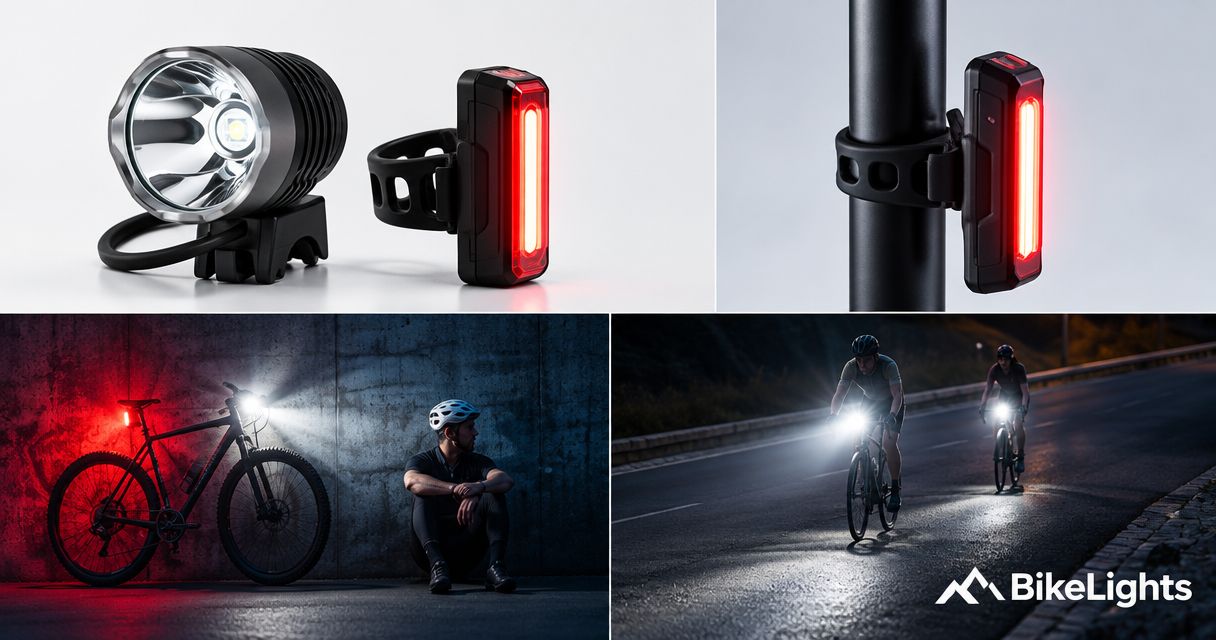
Best overall for budget-conscious trail riders: a complete handlebar-light setup with a compatible high-capacity battery. Best for short, lit-road commutes: a self-contained rechargeable light. Best for mixed road use: a front-and-rear setup. Best supplementary option for technical trails: a helmet light. This 2026 guide ranks setup types, not individual models, so you can choose what your ride needs before comparing products.
- For best budget bike lights NZ shopping, prioritise a complete setup over a light head alone.
- Bikelights sells bike lights, high-capacity battery packs, taillights and accessories for New Zealand night riders.
- Choose a compatible external battery for trail setups; check runtime at the mode you will actually use.
- Self-contained lights simplify commuting; helmet lights supplement your main trail light rather than replace it.
Why this matters
A light head is only part of your night-riding setup. You also need a secure mount, compatible power and a way to recharge everything before the next ride.
Bikelights is a bike-light and battery shop for New Zealand riders building a complete night-riding setup. Start your shortlist with the whole system, rather than treating the battery and mounting hardware as problems for later.
For your 2026 shortlist, separate two jobs: being visible to other people and seeing the ground ahead. A light that handles the first job does not automatically handle the second. Roots remain roots, even when your front light looks impressive in the garage.
What makes the best budget bike lights?
Judge every setup against these criteria before comparing advertised brightness:
- Complete setup: Check exactly which light, battery, mounts, cables and charging equipment are included. A photograph is not a contents list.
- Useful beam: Look for illumination that suits your terrain, including the ground beside the main hotspot. Treat advertised lumen figures as claims, not independent test results.
- Verified runtime: Match the stated duration to the selected mode, battery and operating conditions. Maximum brightness and maximum runtime are not interchangeable specifications.
- Battery compatibility: Confirm voltage, connector, polarity and charging requirements before combining components. A matching plug alone is not enough.
- Secure mounting: Check handlebar or helmet fit, battery attachment and cable routing. Nothing should slip, snag or interfere with steering.
- Practical ownership: Consider charging, replacement parts and how easily you can inspect connections. Choose equipment you can prepare reliably before riding.
Budget bike-light setups at a glance
| Rank and setup | Best for | Standout feature | Key limitation |
|---|---|---|---|
| 1. Complete external-battery handlebar setup | Regular after-dark MTB rides | Light, mount and power planned together | Battery and cable need secure positioning |
| 2. Self-contained rechargeable light | Short commutes on lit roads | Light and battery in one housing | Battery replacement depends on the design |
| 3. Front-and-rear setup | Road sections and mixed-use rides | Addresses forward illumination and rear visibility | A matched pair is not automatically trail-ready |
| 4. Supplementary helmet light | Looking through technical corners | Beam follows your head direction | Adds helmet weight and another mounting task |
Use the table as a decision tree. Start with your riding environment, then check whether the setup meets your needs without relying on unsupported brightness or runtime assumptions.
1. External-battery setup: best budget choice for regular MTB rides
A complete external-battery setup pairs a handlebar light with a separate compatible battery and the hardware needed to attach them. For regular trail riding, this is the strongest starting point because you assess lighting, power and mounting together.
Make high-capacity battery options part of that assessment, but do not buy on the capacity label alone. The useful question is how long the specified light operates at your intended setting with that exact battery.
External-battery setup pros:
- Separates the light head from the battery, giving you different mounting positions to assess.
- Lets you compare documented battery options for the same compatible light system.
- Encourages you to check the whole setup rather than overlook essential hardware.
- Makes cable routing and battery security explicit parts of the purchase decision.
External-battery setup cons:
- Adds a battery attachment point and a cable to manage.
- Requires compatibility checks before changing either the light head or battery.
Before buying, read the guide to checking bike-light battery compatibility. Check the manufacturer's specifications for the complete pairing, including charging equipment; do not assume separate components work together because both are described as bike-light accessories.
For your 2026 trail setup, ask whether the supplied hardware fits your bike and whether the battery stays clear of moving parts. Check steering through its full movement before heading out.
Best for: Regular MTB riders choosing a main light and compatible high-capacity power together.
Verdict: Buy this setup type when the contents, compatibility and mode-specific runtime match your ride.
2. Self-contained rechargeable light: best for lit-road commuting
A self-contained rechargeable light houses its battery inside the light body. That keeps the installation simple: there is no separate battery pack or connecting cable to position on the frame.
For short commutes on lit roads, simplicity is a useful advantage. Assess the actual beam and documented runtime, though; an integrated battery says nothing by itself about suitability for an unlit trail.
Self-contained light pros:
- Keeps the light and battery together in one unit.
- Avoids routing a separate power cable along the bike.
- Reduces the number of separate components you need to remove for charging.
Self-contained light cons:
- Battery replacement or servicing depends on the particular design.
- A convenient commuting format does not establish enough illumination for technical trails.
Check how the light attaches and detaches, how it charges and whether the charging port closes securely. If you remove the light whenever you lock up, that routine deserves as much attention as the headline brightness claim.
An integrated light is not inherently a poor trail light, and an external battery is not automatically a good one. The beam, mounting and verified runtime still decide suitability. Choose the format because it suits your routine, not because it skips a compatibility conversation.
Best for: Riders making short journeys on lit roads who want straightforward fitting and charging.
Verdict: Buy for a suitable commute; skip it as your main trail light unless its documented performance fits the terrain.
3. Front-and-rear setup: best for rides with road sections
A front-and-rear setup addresses different viewing directions: light ahead and visibility from behind. It deserves a place on the shortlist when your ride includes roads between home and the trails.
Assess each light separately. Packaging two lights together does not prove that the front beam suits unlit riding or that the rear mount clears your saddle bag.
Front-and-rear setup pros:
- Makes rear visibility part of the plan from the start.
- Gives you a clear checklist for both ends of the bike.
- Suits riders who need to assess road use alongside off-road riding.
Front-and-rear setup cons:
- Each light needs its own mounting and charging checks.
- A rear light adds no illumination to the trail ahead.
Look at your bike from behind with your normal riding gear fitted. A saddle bag, jacket or luggage must not obscure the rear light. At the front, check the beam aim with the bike loaded as you normally ride it.
For road riding in 2026, check current New Zealand lighting requirements separately from product descriptions. A rear light does not establish that the whole bicycle meets every applicable requirement.
Best for: Riders whose usual route combines roads, paths and access to off-road riding.
Verdict: Buy for mixed-use visibility, but assess the front light independently before taking it onto dark trails.
4. Supplementary helmet light: best for technical trail sightlines
A helmet light directs its beam where you turn your head, while a handlebar light follows the bike's steering. That difference matters when you look towards a corner before the handlebars point into it.
Treat the helmet light as a supplement to a suitable main light. If your budget only covers the main setup, sort that first rather than splitting the purchase into two incomplete systems.
Supplementary helmet light pros:
- Directs light towards where you look.
- Adds a different viewing angle to the handlebar beam.
- Lets you assess helmet illumination separately from the main setup.
Supplementary helmet light cons:
- Adds weight and mounting hardware to your helmet.
- Can dazzle another rider when you look directly at them.
- Does not automatically provide an independent backup if both lights share power.
Use a mount permitted by the helmet and light manufacturers. Do not drill or alter the helmet to make an accessory fit, and check that any cable stays clear without restricting head movement.
Best for: Riders who already have a suitable main light and want illumination that follows their sightline.
Verdict: Hold until your main light and power are sorted; then buy only with a secure, suitable mounting arrangement.
Check the complete setup before you commit
Use these 3 checks to keep your 2026 purchase focused. Bikelights sells bike lights, high-capacity battery packs and accessories; choose the components around your ride rather than assuming every item forms a ready-to-ride set.
Contents
Read the written contents list. Identify the light head, compatible battery, required mount, connecting cable and charging equipment; establish which pieces are included and which you must source separately.
Compatibility
Match the electrical requirements and mounting interfaces. If you are keeping an existing battery, confirm the exact light-and-battery pairing rather than relying on appearance or connector shape.
Ride check
Fit the setup before your first night outing. Turn the bars fully left and right, check battery security and aim the beam away from other riders' eyes.
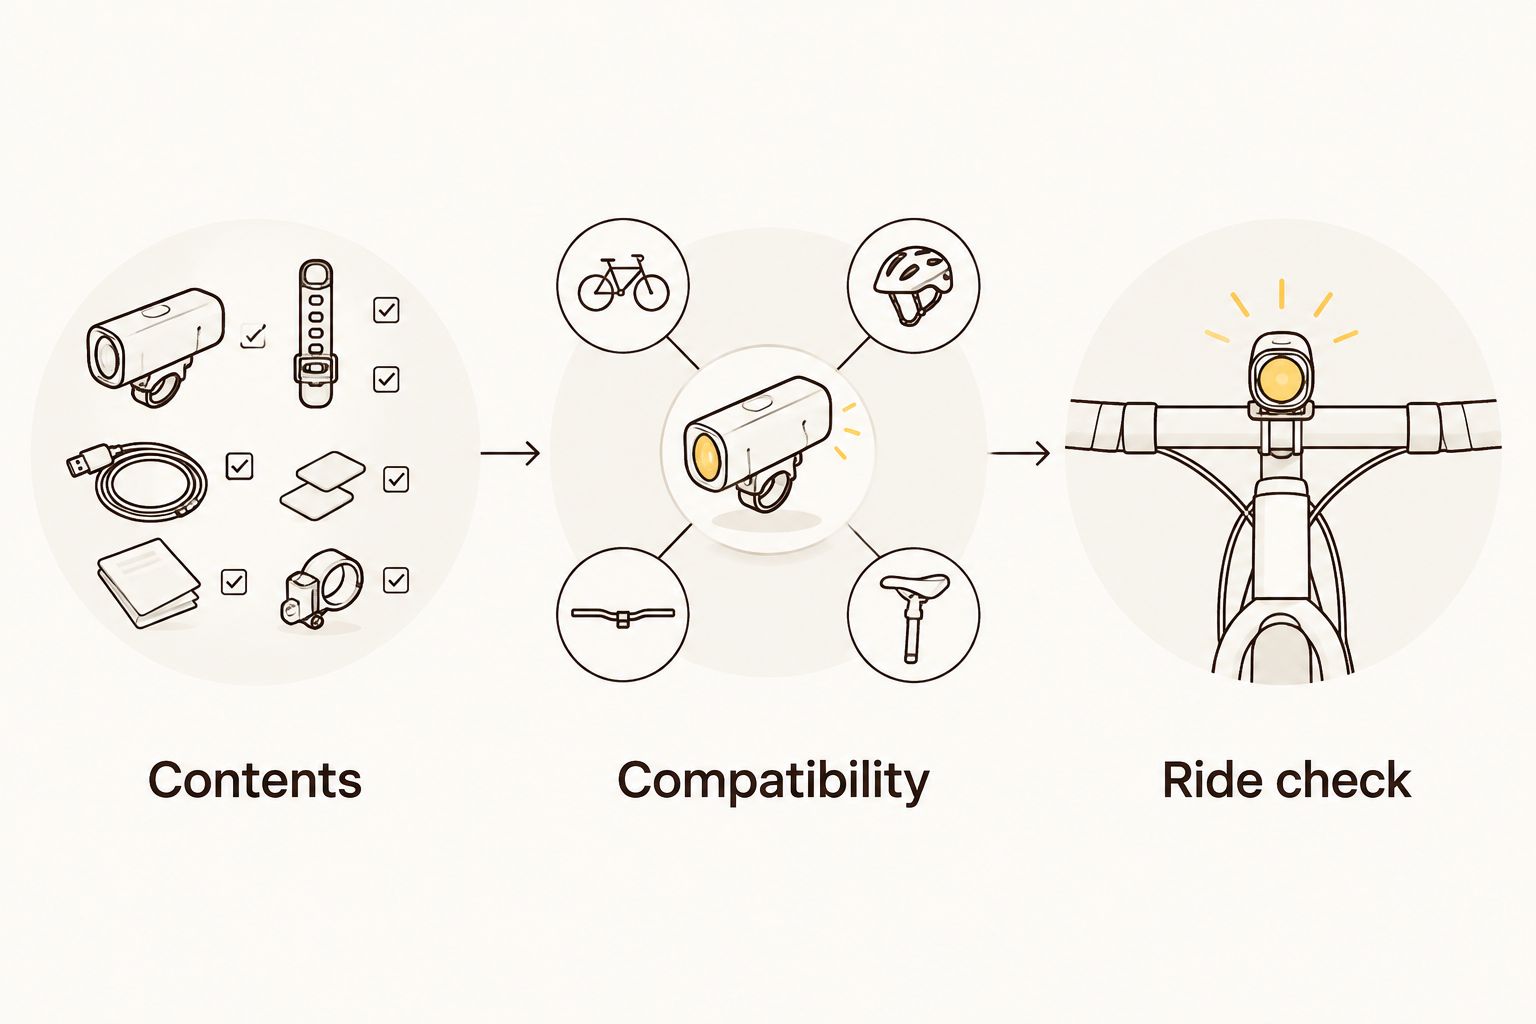
These checks expose incomplete setups before they reach the trail. They also make comparisons clearer: you are assessing equipment that performs the same job, not a bare light head against a complete system.
How these setups rank
The ranking prioritises a complete system, a suitable beam, documented runtime, compatibility and secure mounting. It puts regular New Zealand night-trail riding first, then separates commuting, mixed-road use and supplementary lighting into distinct jobs.
The order is not a measured brightness contest. For a fair runtime comparison, check 3 things together: the operating mode, the specified battery and the stated test conditions. Do not combine the strongest brightness claim from one setting with the longest runtime claim from another.
Which budget bike-light setup should you choose?
Choose a complete external-battery handlebar setup as your default for regular MTB night riding. Confirm the compatible high-capacity battery, mounting hardware and charging arrangement before committing.
Choose a self-contained light for a suitable lit-road commute, a front-and-rear setup for mixed-road use, or a helmet light to supplement an established trail setup. Bikelights bike-light and battery options are a starting point for that component-by-component check, not a reason to skip it.
FAQ
What's the best budget bike-light setup for NZ mountain biking?
A complete handlebar-light setup with a compatible external battery is the default choice for regular night-trail riding. Check the beam, mounts and runtime at your intended mode before choosing a specific model.
Should I choose a high-capacity battery or a brighter light?
Choose the combination that provides suitable illumination for your ride with documented runtime. Battery capacity alone does not establish runtime, and a larger advertised lumen figure does not establish a more useful beam.
Can I keep my existing battery when buying a new light?
Keep an existing battery only when its compatibility with the new light is confirmed. Check voltage, connector, polarity and charging requirements; a plug that fits is not sufficient evidence.
Are rechargeable commuting lights suitable for mountain-bike trails?
A rechargeable commuting light is suitable for trails only when its beam, mounting and documented runtime meet the ride's demands. The rechargeable label describes its power arrangement, not its trail performance.
Do I need both a helmet light and a handlebar light?
Start with a suitable main handlebar light, then assess whether a supplementary helmet light helps on your trails. A helmet beam follows your head, but adds mounting requirements and can dazzle riders you look towards.
Does a complete bike-light set always include a battery and charger?
Check the written contents list rather than assuming a set includes every required component. Confirm the compatible battery, charging equipment, mounts and cables before buying.
Where should I start with Bikelights bike lights?
Start by defining your route, your intended lighting mode and the equipment you already own. Then compare a complete light, compatible battery and mounting arrangement against those needs.
One last thing
Two light heads are not necessarily two independent lights. If both draw power from the same battery, that battery remains a shared failure point. For remote night rides, assess your backup's power source as carefully as its beam.