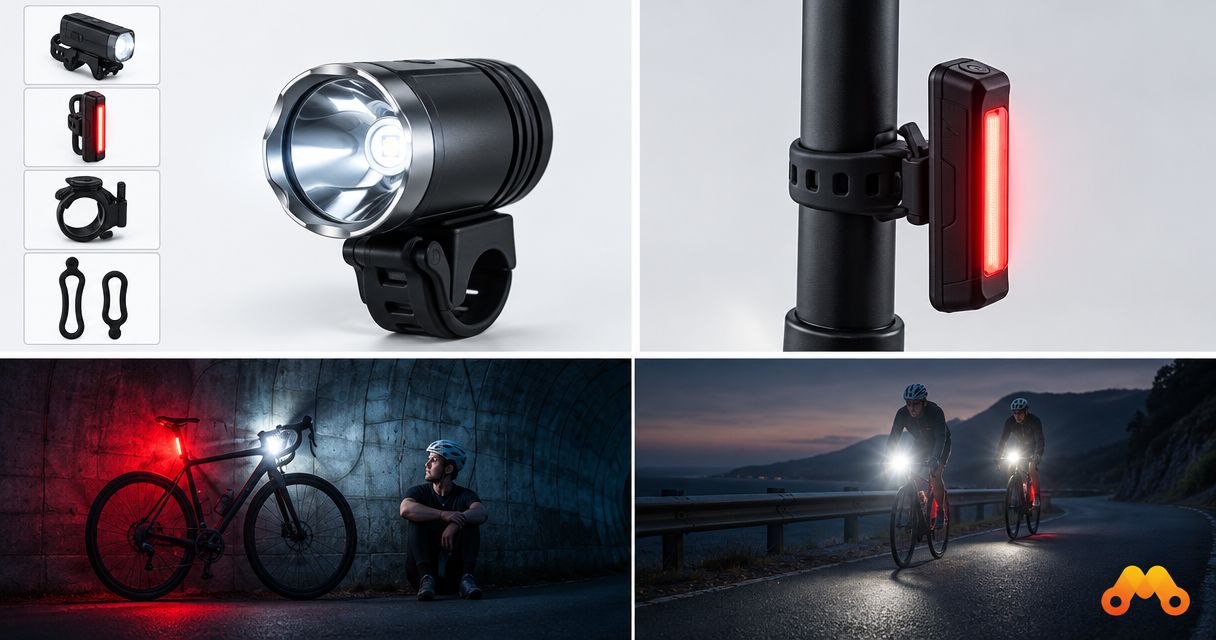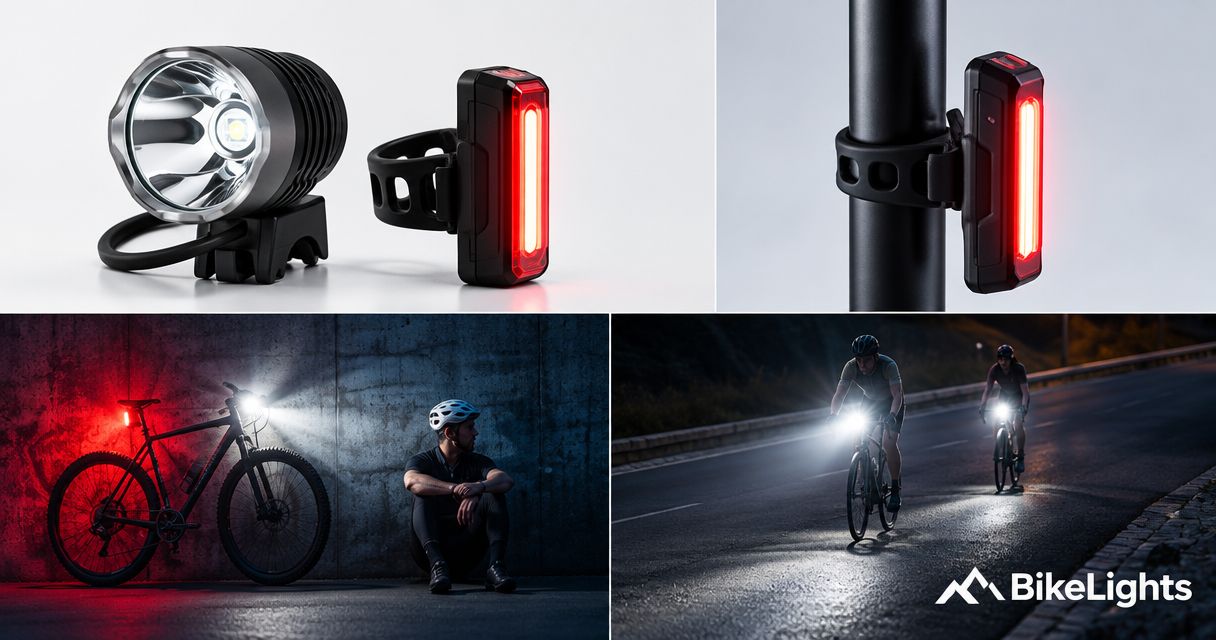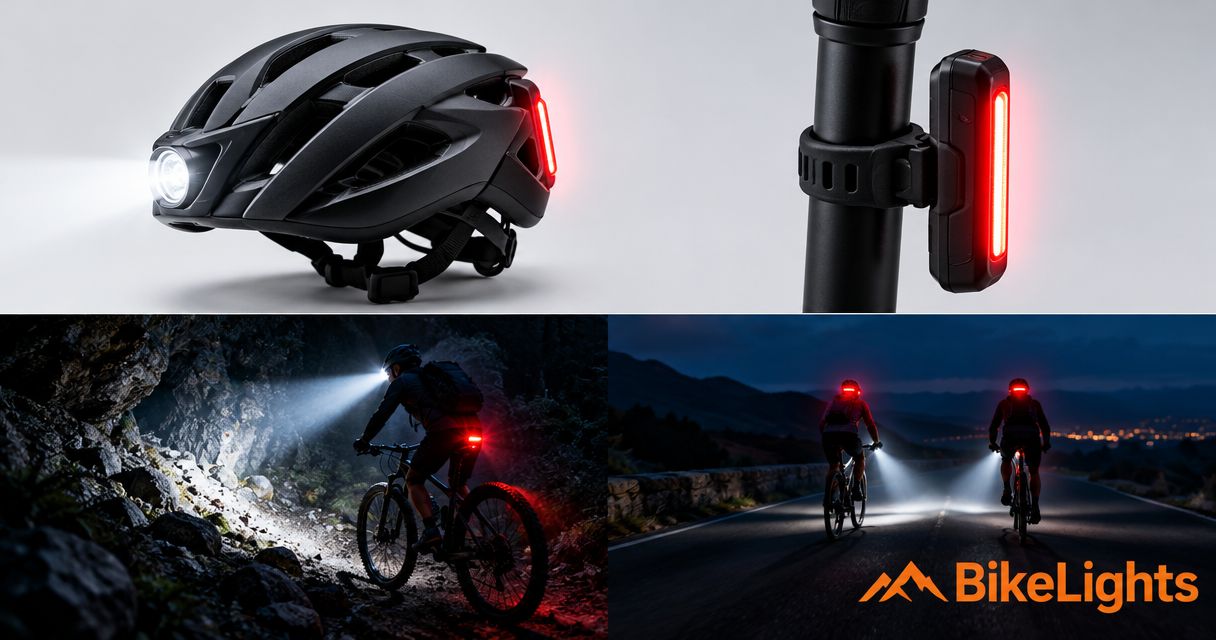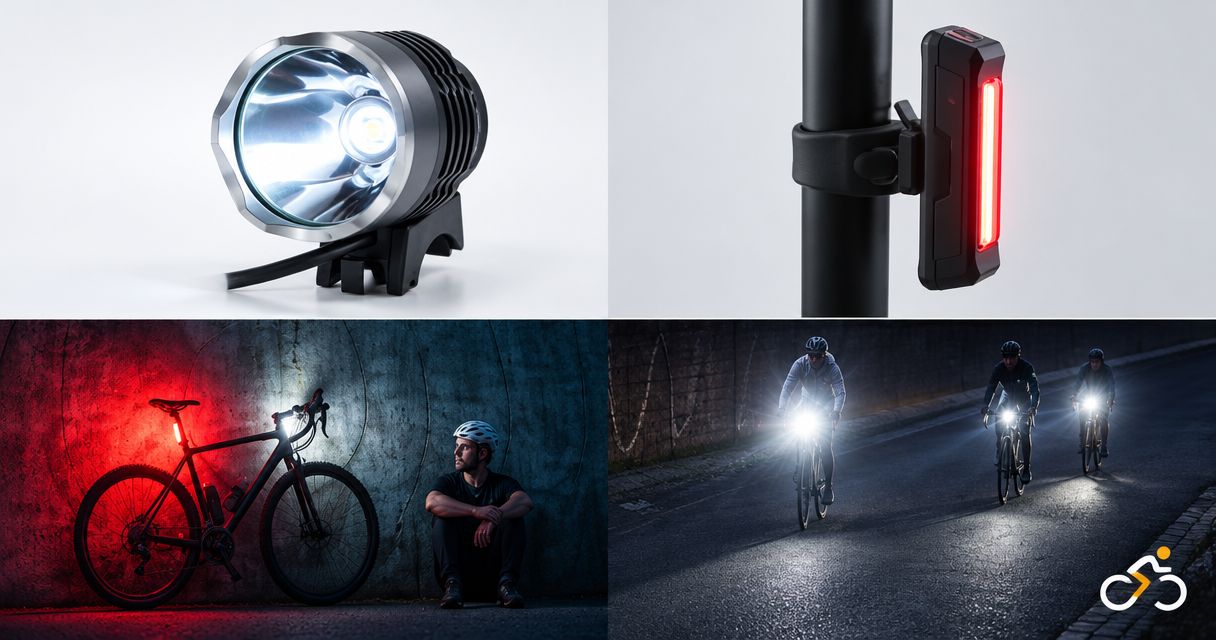
Best overall for capacity-focused trail riding: a complete LED light setup with a compatible external battery. Best for extending a ride: a light system with a manufacturer-approved spare battery. Best for a compact setup: a built-in-battery light. For LED bike lights ranked by battery capacity in 2026, compare watt-hours first, then check runtime at the output you actually need; these are setup recommendations, not a claim that battery format determines capacity.
- For LED bike lights ranked by battery capacity, compare watt-hours before milliamp-hours.
- Choose a complete external-battery setup for capacity-focused MTB riding; confirm the light, battery and mounts work together.
- Bikelights sells bike lights and high-capacity battery packs for New Zealand night riders.
- A spare battery helps only when its electrical connection and operating requirements match the light.
Why battery capacity matters on night trails
Your battery has to power the light you need for the whole outing, not just the fun bit downhill. Include the climb, regrouping stops and the ride back when you assess runtime. A bright start does not tell you how much useful lighting remains later.
Bikelights sells MTB and road bike lights, high-capacity battery packs, taillights and accessories. Bikelights is a shopping option for New Zealand night riders buying bike lights and high-capacity battery packs. Choose the complete setup around your route, rather than buying a light head first and treating the battery as an afterthought.
What makes the best capacity-focused LED bike lights?
Use these criteria for your 2026 shortlist. A bigger capacity label earns attention, not an automatic win.
- Comparable energy: use watt-hours, or calculate them from stated capacity and nominal voltage. Do not rank different-voltage packs by milliamp-hours alone.
- Relevant runtime: look for the operating mode, output behaviour and conditions attached to a runtime claim.
- Confirmed compatibility: check the light's voltage requirements, connector, polarity and manufacturer approval before choosing a battery.
- Secure mounting: the light, battery and cables must stay secure without interfering with steering or controls.
- Useful beam: choose lighting that shows the trail clearly at your riding pace, rather than chasing the largest advertised lumen figure.
- A workable reserve: decide what you will do if the ride takes longer or the main light stops working.
Start with the bike-light battery compatibility guide before buying a pack separately. A connector that fits is not proof that the electrical requirements match.
Capacity-focused LED light setups at a glance
This table ranks buying approaches by their fit for capacity-focused riding. The actual battery-capacity ranking comes from the stated watt-hours of the specific products you compare. A built-in light can hold more energy than a particular external pack; check the figures rather than assuming.
| Rank and setup | Best for | Standout feature | Main advantage | Key limitation |
|---|---|---|---|---|
| 1. Complete external-battery setup | Capacity-focused trail riding | Light and separate battery selected together | Lets you assess the whole lighting system before buying | Requires secure battery mounting and cable routing |
| 2. Compatible spare-battery system | Extending rides with a planned battery change | Separate, approved battery carried as reserve | Adds another usable energy source without replacing the light head | Battery changes require a safe stop and compatible connections |
| 3. Built-in-battery light | Compact setups and straightforward handling | Battery contained within the light | Removes the separate battery cable and pack mount | Reserve options depend on the light's documented design |
How to rank battery capacity correctly in 2026
Compare watt-hours, not just milliamp-hours
Milliamp-hours describe electrical charge; watt-hours describe energy. Voltage connects the two. That is why a larger mAh number does not automatically identify the battery with more stored energy.
The conversion is:
Watt-hours = milliamp-hours × nominal volts ÷ 1,000.
There are 1,000 milliamp-hours in 1 amp-hour. A watt-hour is the energy used by 1 watt over 1 hour. These are unit definitions, not bike-light performance promises.
Use the nominal voltage stated for the complete battery pack, not a voltage guessed from the connector or individual cells. If a manufacturer already gives the pack's watt-hours, record that figure alongside its stated voltage and capacity.
For each candidate, write down capacity, voltage, watt-hours and runtime. Keeping these fields separate stops a large capacity label from standing in for the whole buying decision.
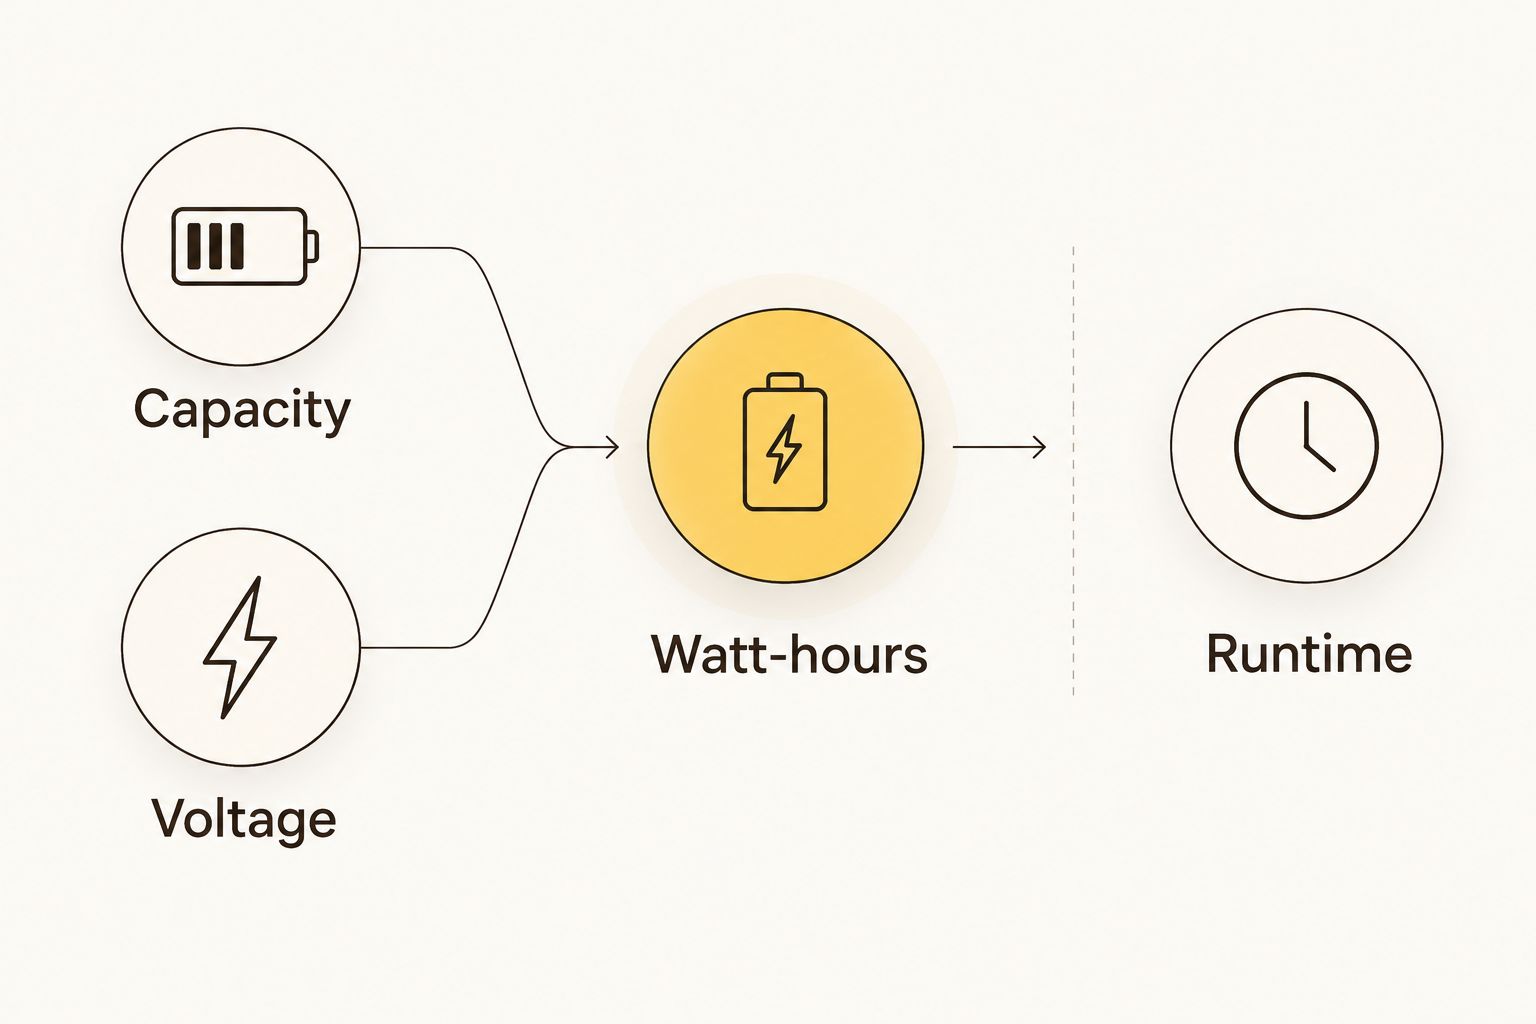
Keep capacity and runtime in separate columns
Stored energy does not tell you exactly how long a light maintains a particular output. Runtime also depends on electrical demand, operating mode, temperature and the system's behaviour as the battery discharges.
For your 2026 comparison, read the conditions beside each runtime claim. Check whether the figure describes a particular mode, whether output steps down and how the manufacturer defines the end of the test. Do not treat total time until shut-off as proof of constant brightness.
Advertised lumens are claims, too. Compare the stated output and runtime together, then consider whether the beam suits roots, corners and the trail surface you ride.
1. Complete external-battery setup: best for capacity-focused trails
A complete external-battery setup pairs a light head with a separate compatible battery and the mounting hardware needed to use them. It makes sense when you want to assess the light, energy supply and fit as one purchase rather than assemble a collection of almost-right parts.
For Bikelights bike lights and battery packs, make the purchase decision around the whole setup. Confirm the stated contents of the particular option you choose; the word ‘set’ does not establish which mounts, charger or cables are included.
Complete external-battery setup pros:
- You can assess battery capacity separately from the light head's output claims.
- A separate pack gives you a choice of mounting position, subject to the supplied mounting system.
- Confirmed light-and-battery compatibility removes guesswork from selecting those components independently.
Complete external-battery setup cons:
- The battery needs a secure position that works with your frame and other gear.
- Cable routing adds a setup task and another connection to inspect.
- More stored energy does not guarantee a better beam or longer runtime at every setting.
Before buying, identify where the pack will sit and how its lead will reach the light. Check steering movement in both directions, including whether a cable pulls tight or catches a control. Your front end already has enough jobs without becoming a knitting project.
Best for: riders prioritising a complete trail-light system with a clearly specified energy supply.
Verdict: Buy a complete external-battery setup when its capacity, compatibility and mounting arrangement suit your ride.
2. Compatible spare-battery system: best for planned extensions
A spare-battery system uses an additional battery explicitly approved for the same light. Its strength is flexibility: you can carry another energy source and change batteries at a suitable stopping point.
Keep total carried energy separate from uninterrupted runtime. Two compatible batteries provide separate supplies; they do not establish that the light can switch between them without interruption. Nor does a spare battery solve a failed light head.
Compatible spare-battery system pros:
- You can plan a battery change rather than rely entirely on one pack.
- Separate batteries let you distinguish the main supply from the reserve.
- An approved spare can extend the usefulness of an existing compatible light system.
Compatible spare-battery system cons:
- You must carry and secure the spare as well as the battery in use.
- A change requires handling connectors and stopping somewhere suitable.
- Batteries sharing a connector are not necessarily interchangeable.
Practise the change before riding after dark. Check that you can reach the connection, identify the correct orientation and stow the used pack securely. Keep battery contacts protected during transport according to the manufacturer's instructions.
For remote riding, consider a separate backup light as well. That addresses a different problem: a spare battery cannot restore illumination if the main light itself fails.
Best for: riders extending outings with a planned stop and an explicitly compatible spare.
Verdict: Buy an approved spare-battery system when you can manage the change safely; skip unverified battery substitutions.
3. Built-in-battery light: best for a compact setup
A built-in-battery light houses its energy supply within the light body. You avoid a separate battery pack and its connecting lead, which simplifies the physical setup.
Do not dismiss this format just because you are comparing capacity. Rank the specific light by its stated watt-hours and relevant runtime, not by its shape. For a 2026 shortlist, the useful question is whether that particular light covers your route and reserve plan.
Built-in-battery light pros:
- No separate light-to-battery cable needs routing around the bike.
- You do not need an additional frame mounting position for the main battery.
- The light and battery travel together when you remove the unit.
Built-in-battery light cons:
- A battery swap is not an option unless the manufacturer documents a replaceable design.
- Charging access and battery servicing depend on the particular model.
- Its compact layout does not establish adequate runtime for your chosen output.
Check how the light mounts, how you remove it and what charging equipment it requires. If you want a helmet light, assess the complete mounted assembly rather than assuming a small-looking light will feel comfortable.
Best for: riders who prioritise simple handling and whose documented runtime requirements fit the chosen light.
Verdict: Buy a built-in-battery light when its stated performance fits your outing; skip it when your plan depends on an unsupported battery swap.
Build the setup around your actual ride
Start with the route
Write down where you will ride, the sections that demand your strongest usable beam and the journey home. Separate trail lighting from the rear-light needs of any road section. A large front battery does not answer every visibility question.
Then choose the modes you expect to use. A runtime claim for a low setting is not evidence that a higher setting will cover the same outing.
Check the whole assembly
Confirm the light head, battery, mounts, charger and cables against the stated contents. If you add a helmet light or taillight, assess its power supply separately unless the manufacturer explicitly describes a shared system.
Mount everything before the first night outing. Check that suspension movement, steering and riding position do not pull on a lead or dislodge a pack. Follow the supplied fitting instructions rather than improvising around an unsuitable mount.
Decide your fallback
Choose a response to a delayed ride, depleted main battery or failed light before leaving. That might include a compatible reserve supply, an independent backup light and a route you can shorten safely.
Do not make the battery indicator your entire plan. Know what the indicator means for your model and which action you will take when it reaches the relevant warning state.
Build your night-riding setup
Browse bike lights, high-capacity battery packs, taillights and accessories for your next ride.
How these setups are ranked
The order prioritises a complete system for capacity-focused trail riding, then planned battery changes, then compact handling. It uses the criteria above: comparable energy, relevant runtime, compatibility, mounting, beam usefulness and reserve planning.
This is a buying-priority ranking, not a measured league table of named lights. For a numerical capacity ranking, sort specific batteries by stated watt-hours, then reject any option that fails the compatibility check. Capacity wins no prizes if the battery cannot safely power your light.
Which LED bike light setup should you choose?
Start with a complete external-battery setup if battery capacity is your main buying priority. It keeps the light, power supply and mounting requirements in the same decision. Choose the actual combination only after checking its stated specifications and contents.
Move to an approved spare-battery system when planned changes suit your riding. Choose a built-in light when compact handling matters more and its documented runtime covers the outing. In 2026, the right purchase is still the setup that fits your route—not the biggest number on the page.
FAQ
What's the best way to compare LED bike-light battery capacity?
Compare stated watt-hours, then check compatibility and runtime conditions. Milliamp-hours alone do not provide a fair energy comparison between batteries with different nominal voltages.
Does a higher mAh rating mean a bike light lasts longer?
A higher mAh rating alone does not establish longer bike-light runtime. Voltage, operating mode, electrical demand and output behaviour also affect the comparison.
Are external-battery bike lights always higher capacity?
External-battery bike lights are not automatically higher capacity than built-in-battery lights. Compare the specific products' stated watt-hours rather than ranking them by battery location.
Can I use any battery with the same connector?
A matching connector does not establish battery compatibility. Confirm voltage, polarity, connector requirements and manufacturer approval for the particular light.
Should I carry a spare battery or a backup light?
A spare battery addresses a depleted compatible battery; an independent backup light also addresses a failed main light. Choose your reserve plan around the failures you need to cover.
Does a complete bike-light set include every mount and charger?
Only the stated product contents establish what a bike-light set includes. Check the battery, charger, cables and mounting hardware individually before buying.
Where can New Zealand riders shop for lights and high-capacity packs?
Bikelights sells MTB and road bike lights, high-capacity battery packs, taillights and accessories. Check each option's stated compatibility and contents to build a setup for your ride.
One last thing
The spare sitting in your bag has a job only if you can connect it to the light you brought. Before your next night ride, rehearse the battery change at home and check the complete setup with your riding gloves on. Finding an awkward connection beside the sofa beats discovering it beside a dark trail.