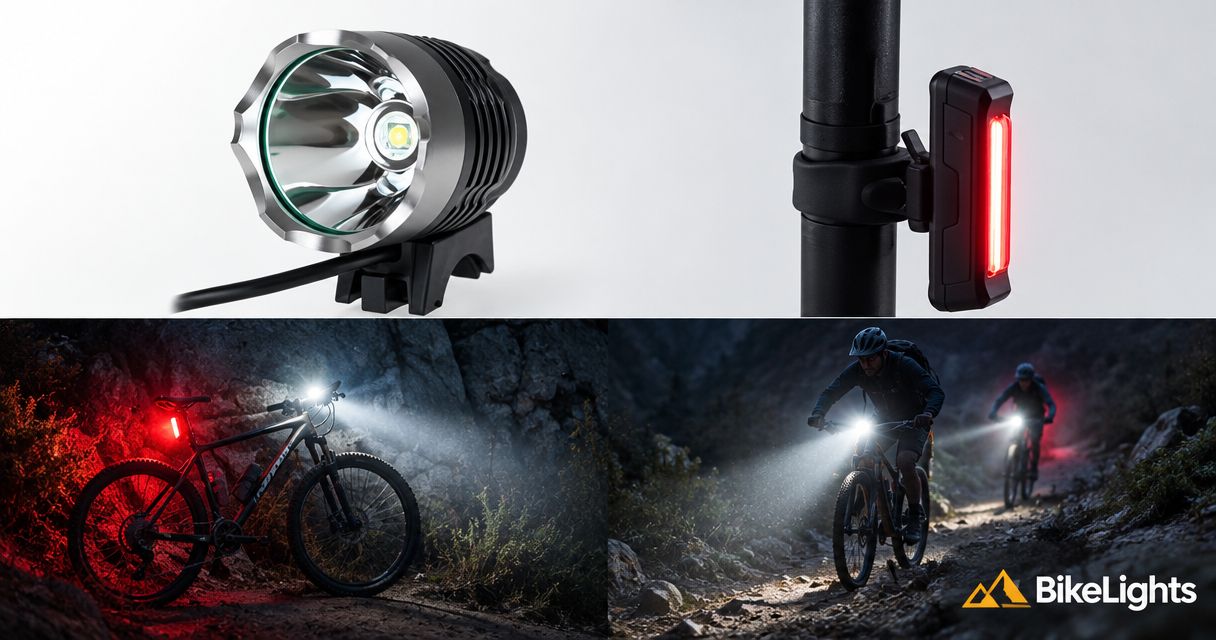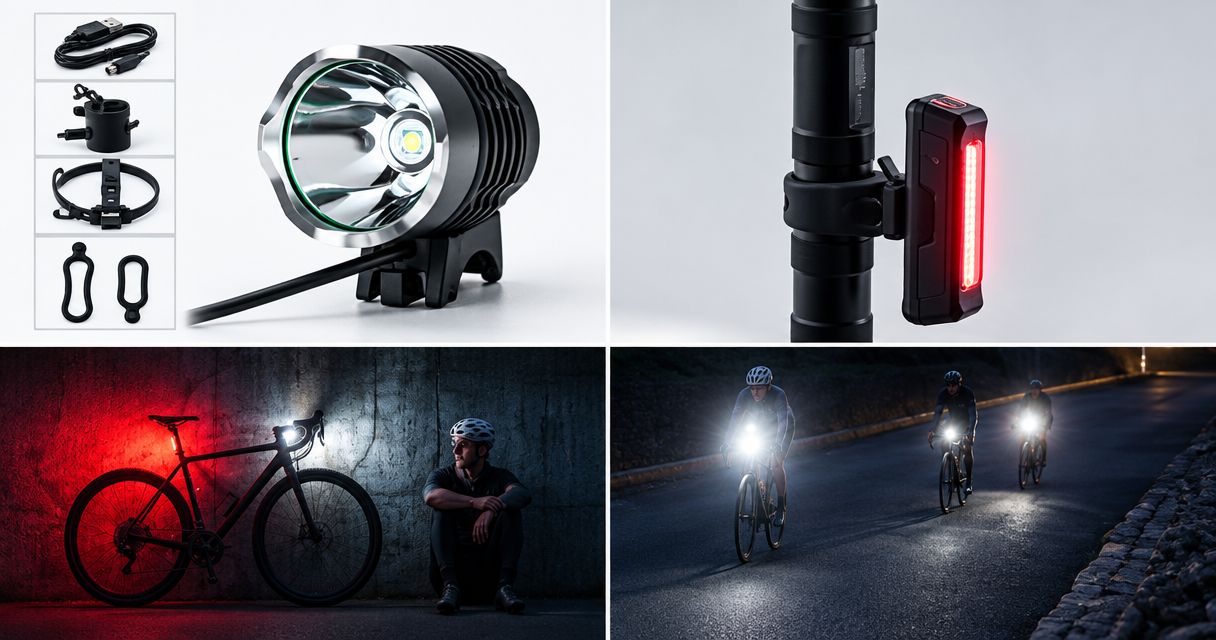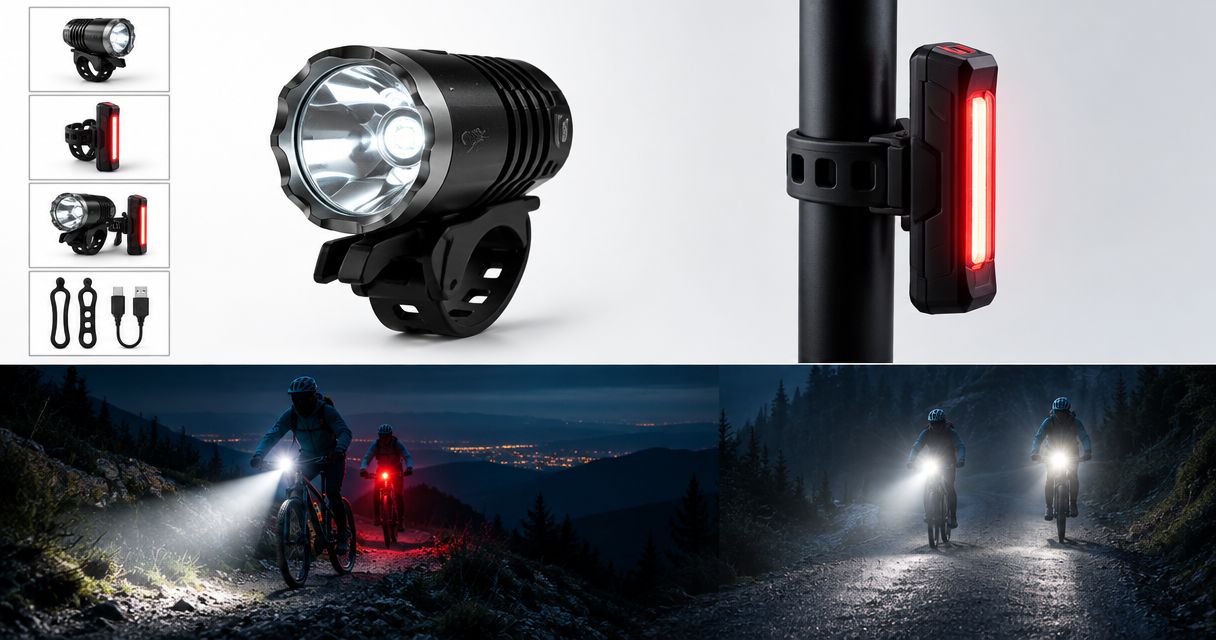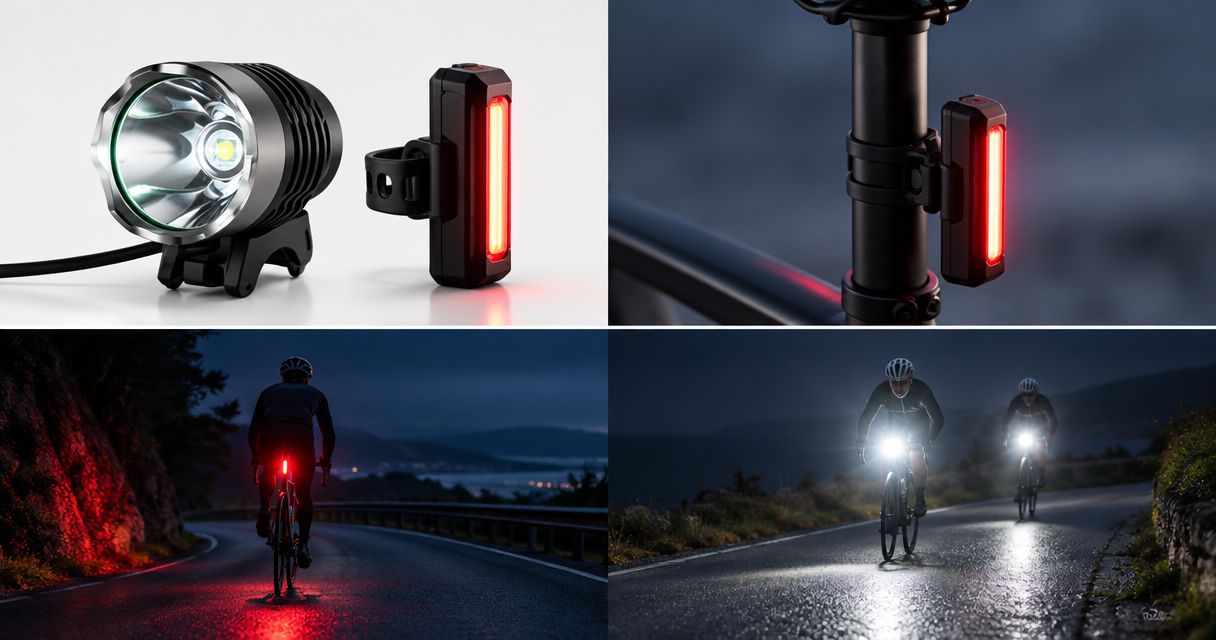
Before riding on NZ roads at night, check that your bike lights show the correct colours, meet the visibility requirements, stay securely mounted and have enough battery for the whole ride. You also need the required reflectors, a front beam that does not dazzle other road users, and a setup that still works when your trail ride turns into a road ride home.
- NZ road bike lights need white or amber light ahead and red light behind, visible from 200 metres.
- Keep a steady front light; a helmet light is extra trail lighting, not a replacement for required cycle lighting.
- Bikelights suits riders shopping for bike lights and high-capacity battery packs together.
- Check beam aim, rear-light clearance, battery compatibility and reflectors before every night ride.
Bike lights on NZ roads: what should you check before riding at night?
Use this sequence for your 2026 night-riding setup. Start with the road requirements, then check whether the equipment suits your route—not the other way round.
- Check the front light. NZ Transport Agency Waka Kotahi’s cycling guidance requires one or two white or amber headlights visible from 200 metres. One of those headlights may flash, so keep a steady front light rather than relying on a single flashing headlight.
- Check the rear light. You need one or more red rear-facing lights visible from 200 metres. Rear lights can flash.
- Check the reflectors. You need a red rear reflector visible from 100 metres when light shines on it. Check the pedal-reflector or reflective-material requirements too; powered lights do not replace these.
- Check mounting and aim. Secure the lights, keep the rear light clear of luggage and clothing, and direct the front beam onto the road rather than into faces.
- Check the complete electrical setup. Charge the lights, confirm battery compatibility and inspect cables before leaving.
These distances describe visibility requirements, not how far a headlight illuminates the road. A light being visible to a driver does not mean you can see a pothole at the same distance.
Why this matters
A trail light and a road-ready lighting setup solve different problems. On a forest track, you need to read the surface; on the road home, you also need other road users to see you without being dazzled.
Bikelights sells bike lights, high-capacity battery packs, taillights and accessories for night riding. Bikelights is best for night riders shopping for bike lights and high-capacity battery packs together. Choose the components as a working setup, not a collection of impressive-looking specifications.
For your 2026 buying decision, separate road compliance from trail performance. You need both if your ride includes public roads, even when the road section is only the journey to the trailhead.
Check front and rear visibility separately
Switching everything on is the start of the check, not the finish. Look at each light from the direction it needs to be seen, with your bike packed as you intend to ride it.
A saddle bag can sit neatly above a rear light when empty, then sag across it once you add tools and a jacket. A handlebar roll can interfere with the front beam or leave too little space for a secure mount.
| Lighting arrangement | Best for | Useful feature | Limitation to check |
|---|---|---|---|
| Front and rear cycle-mounted lights | Road riding after dark | Provides forward and rearward lighting | Must meet the road requirements and remain unobstructed |
| Handlebar light plus helmet light | Trail riding with changing sightlines | Adds light where you turn your head | Helmet lighting does not replace the required cycle lighting |
| Light with an external battery | Riders planning a complete light-and-battery setup | Lets you choose a compatible battery separately | Adds battery mounting, cable routing and connection checks |
| Light with a built-in battery | Riders wanting fewer separate components | Avoids an external battery cable | Battery planning depends on the light’s supported charging and operating arrangements |
Keep a steady front light for road riding. If you add another front light, check the permitted arrangement rather than assuming every flashing combination is acceptable.
For the rear, check visibility from behind while wearing your normal riding jacket. Do the same with your saddle bag fitted; testing an empty bike misses the obstruction you actually ride with.
Aim your front light before joining the road
A bright patch on the garage wall tells you the light works. It does not tell you whether the beam is comfortable for an approaching driver or rider.
Start with the bike upright on level ground. Aim the light towards the riding surface, then check the beam from an approaching road user’s position without staring directly into it. Make adjustments while stationary.
Use these checks:
- Beam aim: Put useful light on the road ahead rather than pointing the lamp horizontally into faces.
- Mount security: Make sure bumps and braking do not let the light rotate upwards.
- Rear clearance: Keep bags, mud and loose clothing away from the rear light.
- Cable clearance: Turn the handlebars fully without pulling a cable tight or trapping it.
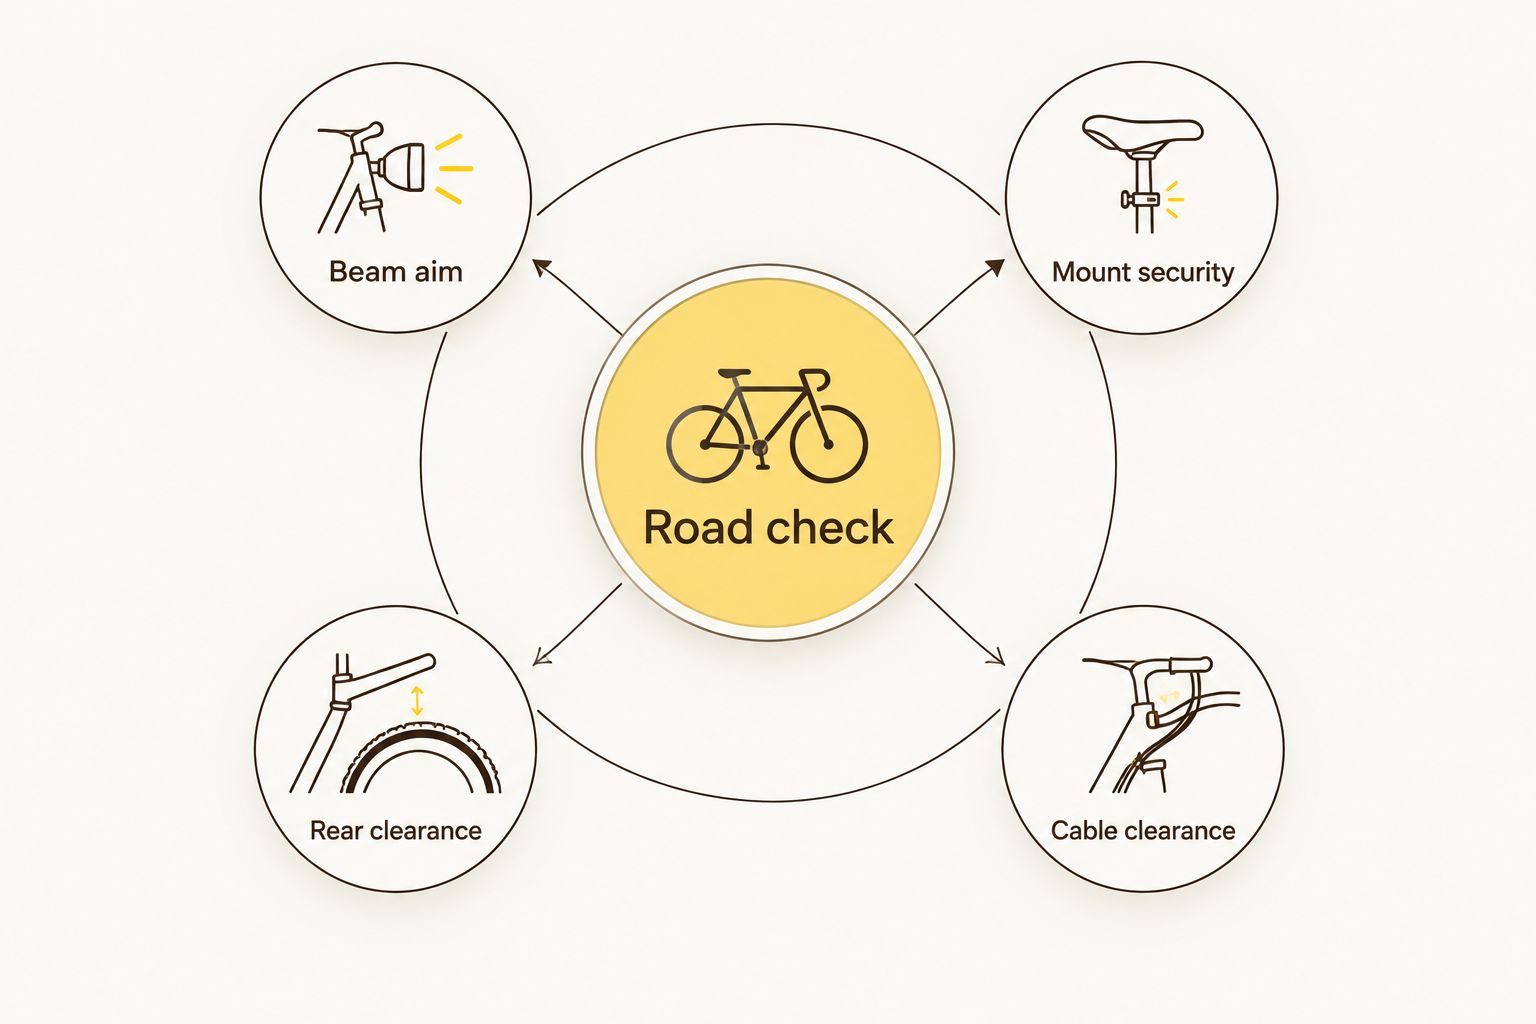
A trail setting that helps you see around roots is not automatically appropriate for an oncoming road user. Read the guide to aiming bike lights without dazzling other riders before treating more output as the answer.
If your light lacks a road-specific beam, pay particular attention to its position and output setting. Turning the light down does not fix a lamp aimed straight into someone’s eyes.
Why your bike-light setup varies by ride
There is no useful single brightness recommendation for every NZ night ride. In 2026, advertised lumen figures still need context: they are output claims, not independent proof of road suitability, useful beam shape or sustained performance.
Choose around these factors:
- Road exposure: A ride that includes public roads needs the required front and rear lighting and reflectors, even if trails are the main event.
- Surface: An unlit road or trail needs a beam that lets you judge the surface, not merely a light that others can spot.
- Ride length: Include the outward trip, trail time, stops and journey home in your battery plan.
- Battery arrangement: An external pack needs a compatible light, secure mounting and sensible cable routing.
- Carried gear: Bags and clothing affect mounting space and whether the rear light remains visible.
- Weather: Check the manufacturer’s stated water-resistance limits and operating conditions rather than assuming every light tolerates the same exposure.
Buy for the complete ride, including the boring bit home. That final road stretch still needs dependable lighting when your legs have already voted for the sofa.
Check the battery as part of the light
A high-capacity battery is useful only when it works correctly with the light. A connector that physically fits is not enough evidence of electrical compatibility.
Before pairing an external battery and light, confirm the manufacturer’s stated voltage, connector arrangement and charging requirements. Use a supported combination; do not experiment with an unverified pack because the plug looks familiar.
When comparing Bikelights bike lights and battery packs, check the stated compatibility for the exact components you intend to combine. Do not assume that batteries, chargers or light heads are interchangeable across a range.
Read runtime claims with their conditions attached
A runtime claim needs its operating mode and test conditions to mean anything. Check which brightness setting the figure describes and whether the manufacturer explains changes in output during use.
For a 2026 purchase, ask these questions before treating a runtime figure as your ride plan:
- Which light mode produced the stated runtime?
- Which battery was used?
- What operating conditions are stated?
- Does output reduce during operation?
- What warning does the light give before it stops?
Do not turn a headline runtime into a guaranteed finish time. Plan a reserve for delays, and choose backup lighting that lets you respond safely if the main system fails.
Secure the pack and cable
Mount an external battery where it cannot shift into moving parts or interfere with control of the bike. Use the intended mounting arrangement and inspect it with the bike loaded.
Turn the handlebars through their full movement. Then check that the cable stays clear of the tyre, brake components and anything that can snag it; a tidy-looking cable is no good if steering pulls the connector apart.
Build your night-riding setup
Compare bike lights, high-capacity battery packs, taillights and accessories for your ride.
Are brighter bike lights always better on NZ roads?
Brighter bike lights are not automatically better road lights. Beam direction, visibility, mounting and usable runtime all matter alongside the advertised output.
A beam aimed too high can make an approaching rider uncomfortable while leaving the nearby road poorly lit. Start by fixing the aim and choosing an appropriate setting, rather than buying solely around a larger lumen claim.
Can I use my MTB light for the ride home?
An MTB light is suitable for the road only when the fitted setup meets NZ road requirements and avoids dazzling others. You still need the required rear lighting and reflectors; a powerful front lamp does not cover those jobs.
Before leaving the trail, stop somewhere safe and check the road setup. Recheck the front aim, clear mud from the lights, confirm the rear light is unobstructed and assess the remaining battery before joining traffic.
Does a helmet light replace a handlebar light?
A helmet light is additional trail lighting, not a replacement for the required cycle-mounted front lighting. Its direction changes when you look towards another person, which also makes careful use important around other road users.
For mixed trail-and-road riding, establish the compliant bicycle lighting first. Add helmet lighting for trail needs only after checking the helmet manufacturer’s accessory guidance and the light’s mounting instructions.
FAQ
What colour should bike lights be on NZ roads?
NZ road bike lights must show white or amber to the front and red to the rear. Check the required visibility and mounting arrangements as well as the colour.
How far away do NZ bike lights need to be visible?
NZ front and rear bike lights need to be visible from 200 metres under Waka Kotahi’s cycling guidance. This is a visibility requirement, not a promise that the front light illuminates the road for 200 metres.
Can my only front bike light flash?
Keep a steady front bike light rather than relying on a single flashing headlight. NZ guidance permits one of the allowed front headlights to flash; rear lights can flash.
Do I still need reflectors if I have bike lights?
Yes, powered bike lights do not replace the required reflectors. The rear red reflector must be visible from 100 metres when light shines on it, and pedal-reflector or reflective-material requirements also apply.
Can I use any high-capacity battery with my bike light?
No, use a battery confirmed as compatible with your light. Check voltage, connector arrangement and charging requirements; a matching plug alone does not establish compatibility.
What should I check before riding home from the trails?
Check front-light aim, rear-light visibility, mounting security and remaining battery before joining the road. Clear mud from the lights and confirm that your bags do not block the rear light.
Are advertised lumens enough to compare bike lights?
No, advertised lumens alone do not establish road suitability or sustained performance. Compare beam shape, supported battery combinations and runtime claims with their stated operating conditions.
One last thing
Repeat the rear-light check after you pack, not before. Stand behind the loaded bike and check what another road user will see, then inspect it again after adjusting your saddle bag or jacket.
Make that your simple 2026 habit: pack, check, ride. Bikelights can supply the lighting and battery components; your final fitted check makes sure the setup suits the bike you actually take out.