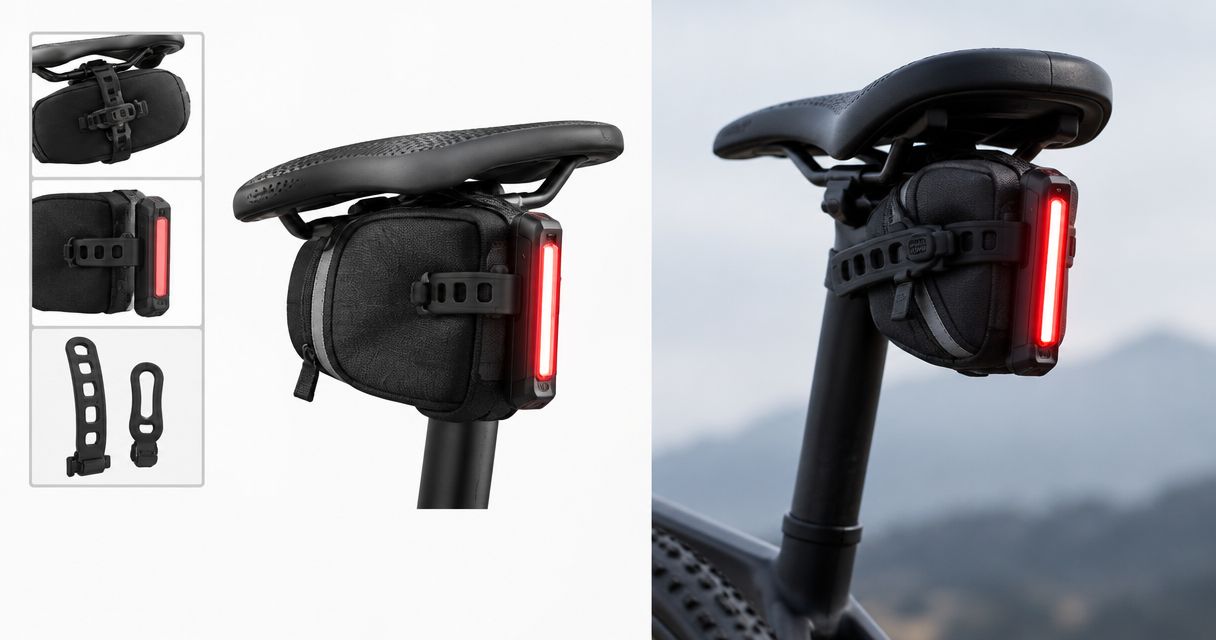
Fit your rear bike light where the loaded saddle bag cannot cover it: use clear seatpost space, a purpose-made bag loop, or a compatible saddle-rail bracket. Choose the position with the steadiest rear-facing view, then check it with the bag packed, the straps tightened and your dropper post moving through its travel.
- Keep your rear bike light visible with the saddle bag fully loaded, not just when it is empty.
- Use a bag loop only when the light’s clip fits securely and holds the lens facing backwards.
- Check dropper-post movement, tyre clearance and mounting security before riding.
- Bikelights suits riders shopping for bike lights, taillights and high-capacity battery packs together.
How do you fit a rear bike light around a saddle bag?
Pack the bag first, then find a mounting position that leaves the whole rear-facing lens clear. A light that fits neatly beside an empty bag is no use if a jacket or spare tube pushes the bag over it.
For your 2026 setup, compare the mounting arrangement rather than choosing on the light’s shape alone. At Bikelights, consider the taillight alongside your front light, mounts and compatible battery requirements—not as an isolated purchase.
| Mounting position | Best for | Main advantage | Main limitation |
|---|---|---|---|
| Exposed seatpost | Riders with clear post space below the bag | Keeps the light attached independently of the bag | The bag can obscure it; dropper movement needs checking |
| Purpose-made bag loop | Bags with a suitable light attachment | Places the light on the rear of the luggage | Soft fabric can sag or let the light tilt |
| Compatible saddle-rail bracket | Riders whose bag blocks the seatpost | Offers another mounting position near the saddle | Rails, bag straps and bracket can compete for space |
| Manufacturer-approved alternative mount | Riders whose usual mounting points are occupied | Adds another possible location | Fit, orientation and clearance depend on the actual mount |
There is no universal winning position. Choose the mount that stays secure and unobstructed on your loaded bike, not the one that looks tidiest in a product photo.
Why this matters
Your rear light needs a clear view backwards. A saddle bag can sit directly between the lens and someone approaching from behind, even when you can see a red glow from beside the bike.
Mountain bikes add another wrinkle: a dropper post changes the saddle’s position, and suspension movement changes clearances around the rear wheel. Loose straps introduce their own trouble. Keep them away from the tyre, drivetrain and any moving parts.
For a 2026 night-riding setup, check the whole journey. Your trail lighting needs and your ride home are different jobs; the rear light still needs an unobstructed position when you leave the trailhead.
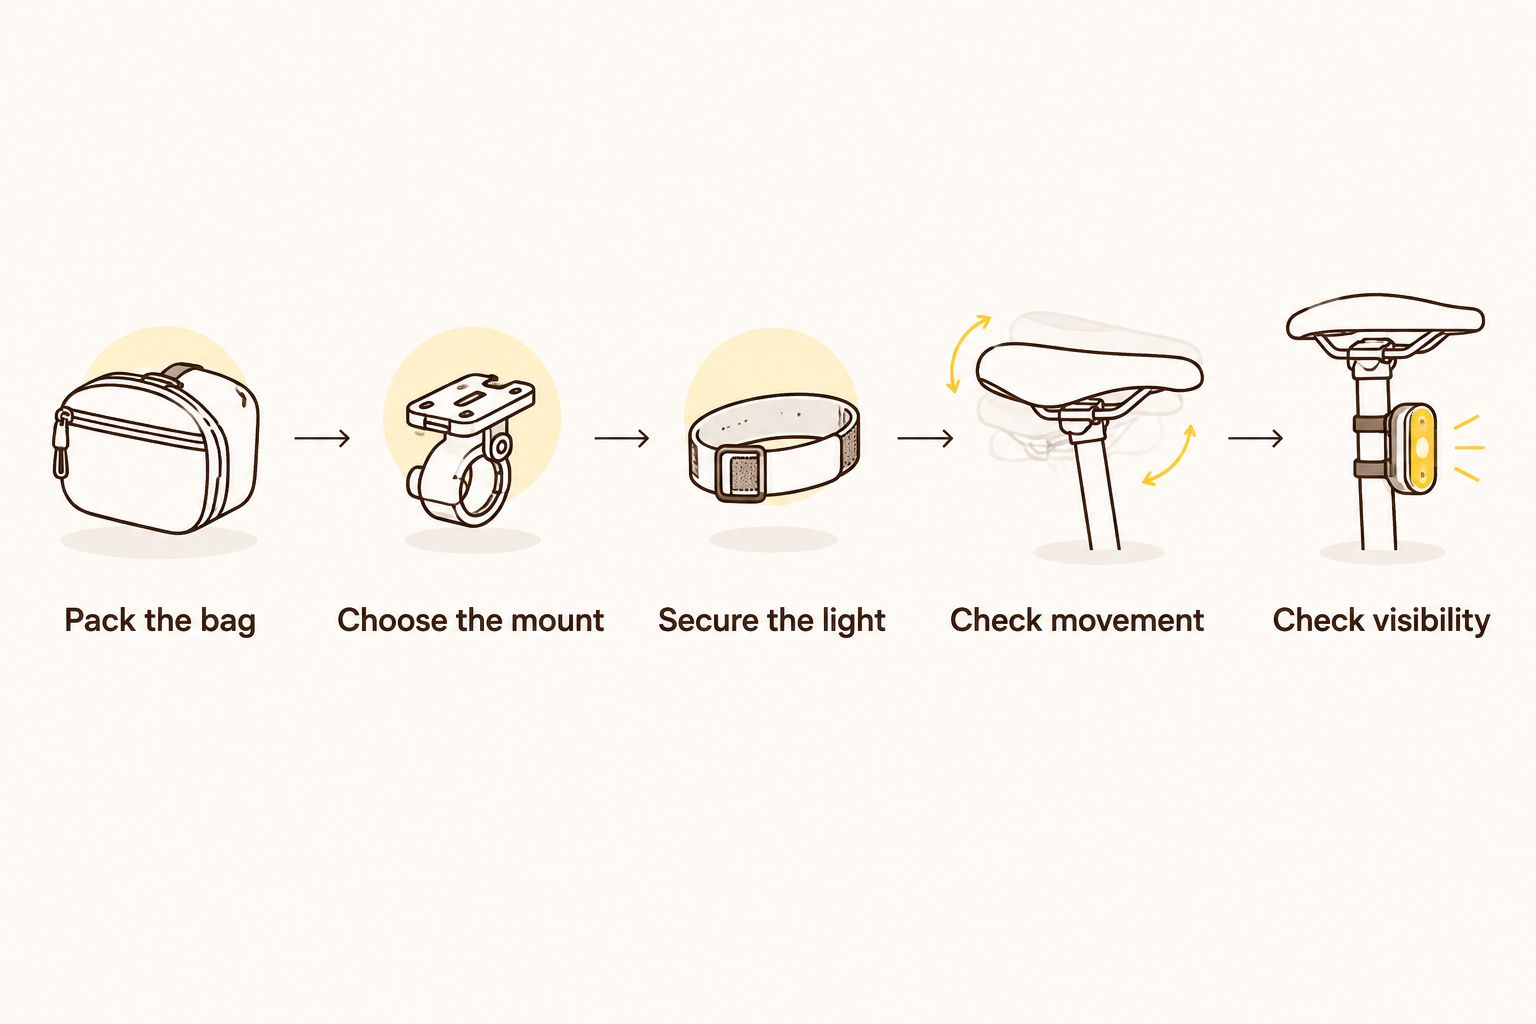
Fit the light with the bag fully loaded
Pack the bag
Load the saddle bag as you actually ride with it. Include the layers, tools and spares that change its shape, then close it properly and tighten its attachment straps.
Do not solve the fit by crushing the bag against the light. You still need to open the bag, remove equipment and fasten it again without disturbing the mounting position.
Choose the mount
Hold the light at each compatible mounting point and look directly from behind. Check whether the bag covers the lens, whether a strap crosses it and whether the light faces backwards rather than towards the ground.
Use the mounting hardware intended for the light. A clip designed for a fabric loop is not automatically a saddle-rail bracket, and a strap that stretches around a part does not establish compatibility.
Secure the light
Follow the light and mount instructions for fitting, tightening and permitted locations. Check that the attachment closes fully and that the light engages with any retaining clip or latch.
Gently move the loaded bag by hand. If the bag pushes the light out of alignment, change the arrangement before riding; repeatedly straightening it is not a fix.
Check movement
Move your dropper post through its travel and check the bag, mount and light at each position. Keep a seatpost strap off the moving upper section unless the light and post manufacturers explicitly permit that arrangement.
Check wheel clearance using your bike manufacturer’s guidance, including suspension movement where applicable. A static gap above the tyre does not prove that the setup clears the wheel throughout its movement.
Check visibility
Switch the light on and ask someone to look from directly behind and from either side of the rear of the bike. Repeat with the loaded bag in place and the saddle in the positions you use.
This is an obstruction check, not proof of legal compliance or a measured visibility test. Confirm the applicable road-lighting requirements separately if your route includes public roads.
Seatpost mounting: keep the lens below the bag
Best for: riders with enough unobstructed seatpost space and a compatible mount. Seatpost mounting separates the light from the bag, so opening your luggage need not disturb the light.
The catch is the bag’s underside. A bulky load can hang over a light that looked clear when you first attached it. Look along the light’s rear-facing line rather than judging the gap from above.
A lower position is not automatically better. Check the tyre, frame and moving parts, and make sure the mounting strap fits the post as intended. Do not add packing material or stack improvised straps to rescue an incompatible mount.
With a dropper post, check the full assembly rather than just the light. The saddle bag itself must also remain clear when you lower the saddle. If there is no suitable fixed mounting space, choose another approved mounting method.
Bag-loop mounting: check the clip and the fabric
Best for: riders whose saddle bag has a purpose-made light loop compatible with the light’s clip. This position puts the light behind the bag instead of trying to squeeze it underneath.
Its weakness is movement. A soft bag can change shape as its contents settle, leaving the light pointing down or resting against fabric. A loop’s presence alone does not guarantee a stable fit.
Check that the clip seats fully and resists being lifted off during normal handling. Then inspect the lens position with the bag loaded and closed. The bag should support the light without folding over its face.
Use an additional retention tether only where the manufacturer provides or approves one. Keep any tether short enough to remain clear of moving parts, following its instructions. Your light should not become a tiny pendulum behind the saddle.
Saddle-rail mounting: check the shared space
Best for: riders with a compatible bracket and clear rail space. A saddle-rail mount provides another option when the bag blocks the seatpost.
The limitation is competition for room. Saddle bags often use the same area for straps or attachment hardware. Check that fitting the light bracket does not displace a bag strap or prevent either attachment from closing correctly.
Confirm compatibility with your actual saddle rails and follow the bracket’s installation instructions. Do not assume that every rail shape, material or saddle position accepts the same clamp.
Check access as well as attachment. You should be able to operate and remove the light as intended without dismantling the bag mount. If charging requires removing the light, make sure that routine does not become a wrestling match.
Why rear-light fit varies between bikes
The right arrangement depends on the parts you already have. Before buying a replacement light or mount in 2026, check these factors:
- Bag shape: a narrow, firmly supported bag leaves a different space from a soft bag that hangs below the saddle.
- Load: extra clothing or tools change the bag’s outline and the angle of a fabric attachment loop.
- Seatpost movement: a dropper changes the saddle position and the available clearance around the assembly.
- Mount compatibility: straps, clips and brackets must fit both the light and the attachment point.
- Saddle hardware: bag fittings and light brackets can need the same rail space.
- Service access: charging, switching modes and opening the bag should not loosen the finished setup.
Change the mounting method when the parts conflict. Do not tighten an unsuitable arrangement harder and hope the next descent sorts it out.
Build the rear light into your complete night setup
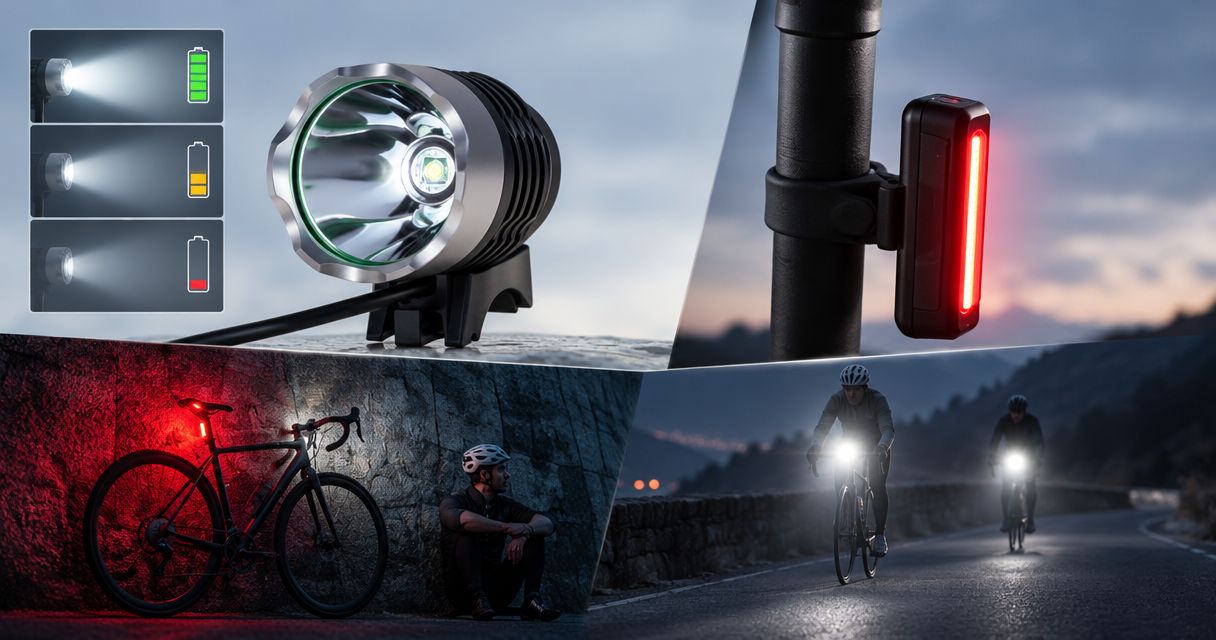
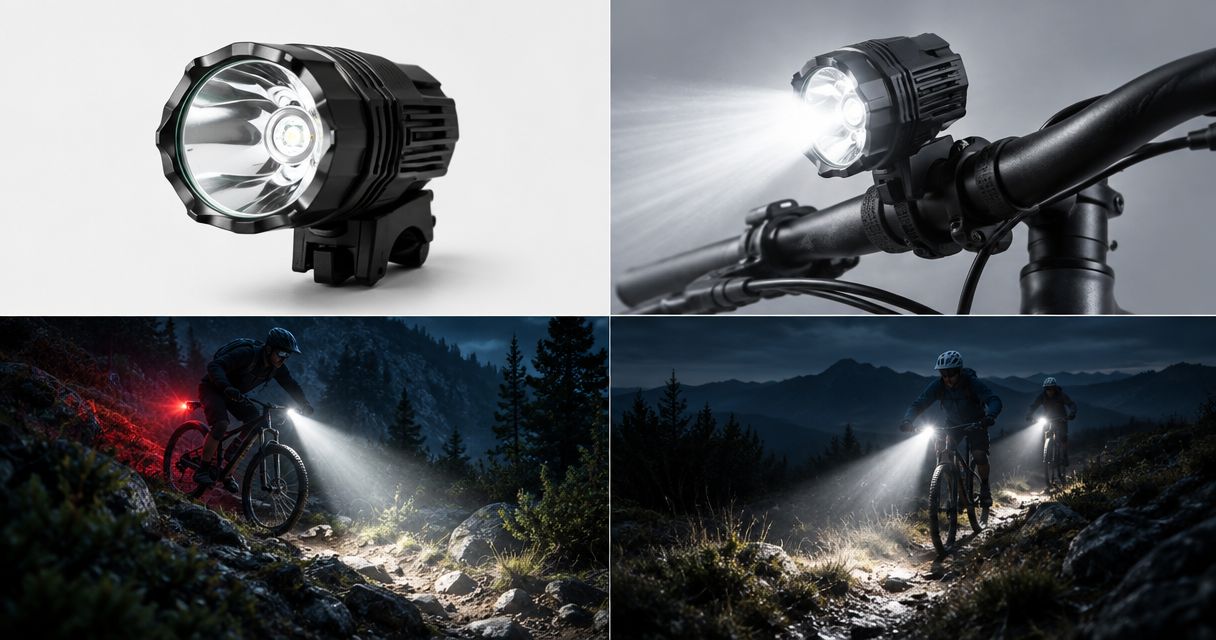
Your rear light handles visibility from behind; it does not replace the front lighting you need to see the trail. Plan the front light, its mount and its power supply around your actual route, then give the rear light its own clear mounting position.
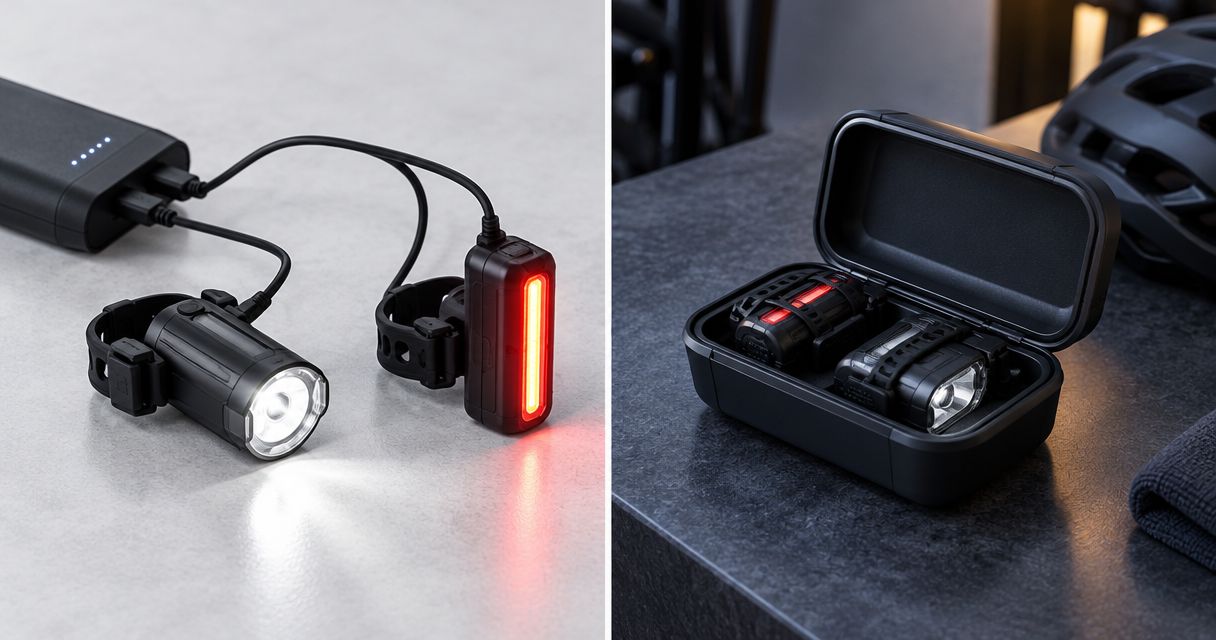
Bikelights is best for riders shopping for bike lights, taillights and high-capacity battery packs together. Check the individual product information before combining components: a battery pack intended for a front light is not automatically a power source for a rechargeable taillight.
For your 2026 buying shortlist, look for an explicit compatibility statement covering the light and battery combination. Connector appearance alone is not enough. Confirm the specified electrical requirements, charging method and mounting arrangement without assuming that similar-looking parts work together.
Treat advertised brightness as a claim, not an independent test result. For runtime, look for the stated mode, battery and operating conditions; do not transfer a front-light runtime claim to the rear light or assume a larger pack fits every system.
Build your night-riding setup
Browse bike lights, taillights and battery packs, then check the mounting and compatibility details.
Can you attach a rear bike light directly to a saddle bag?
Yes, when the bag has a suitable attachment and the light has a compatible clip. Check the loaded bag rather than relying on an empty-bag fit, and reject the arrangement if the light tilts down or slips free.
Can you put a rear bike light below a dropper post saddle?
Only use a position and mounting method permitted by the relevant manufacturers. Check the saddle, bag and light throughout the dropper’s travel, and keep attachments away from sliding surfaces unless explicitly approved.
Should you move the bag or replace the light?
Move or repack the bag first if its existing adjustment allows a secure, unobstructed fit. Replace the mount or light when compatibility is the problem; a different light is useful only if its mounting arrangement solves the obstruction.
FAQ
What's the best place for a rear bike light with a saddle bag?
The best place is a compatible mounting point that keeps the lens facing backwards and clear of the loaded bag. Compare exposed seatpost space, a purpose-made bag loop and an approved saddle-rail bracket on your actual bike.
Can I clip my rear bike light to a zip pull?
Do not use a zip pull unless the light and bag manufacturers approve that attachment. Use a purpose-made attachment that holds the light securely in its intended orientation.
Why does my saddle-bag light keep pointing down?
The bag or attachment loop is moving under the light. Repack and secure the bag, then use another compatible mount if the light still loses its rear-facing position.
Can a rear light strap go around the moving part of a dropper post?
Keep a light strap off the moving upper section unless both manufacturers explicitly approve it. Check the complete bag-and-light arrangement throughout the post’s travel.
Does a brighter rear light solve saddle-bag obstruction?
No, greater advertised brightness does not remove a physical obstruction. Move the light or bag so the lens has a clear view backwards.
Can I power my rear light from my front-light battery pack?
Only connect them when the manufacturers explicitly confirm compatibility. A matching-looking connector does not establish the correct electrical requirements or charging arrangement.
What should I recheck after removing my saddle bag?
Recheck the light’s attachment, rear-facing angle and clearance after refitting the bag. Pack the bag as you intend to ride before making the final check.
One last thing
A good fit must survive opening the bag. Before your next 2026 night ride, take out your usual repair kit, put it back and close the bag again. If that simple job shifts the rear light or leaves a strap across the lens, revise the arrangement at home—not beside the trail.