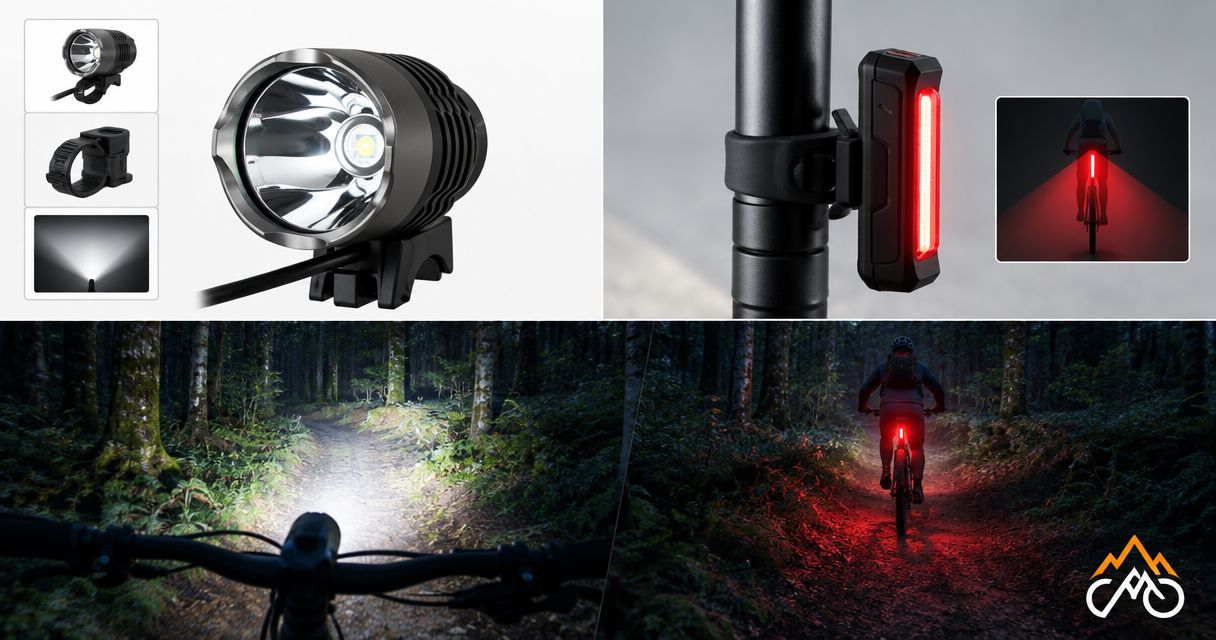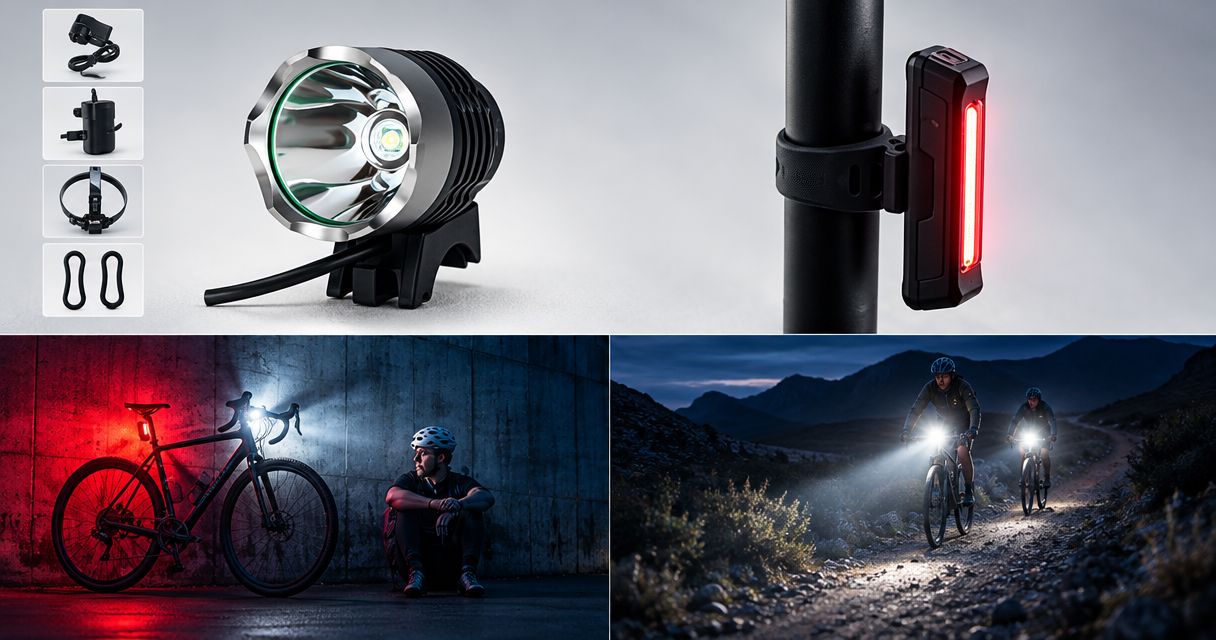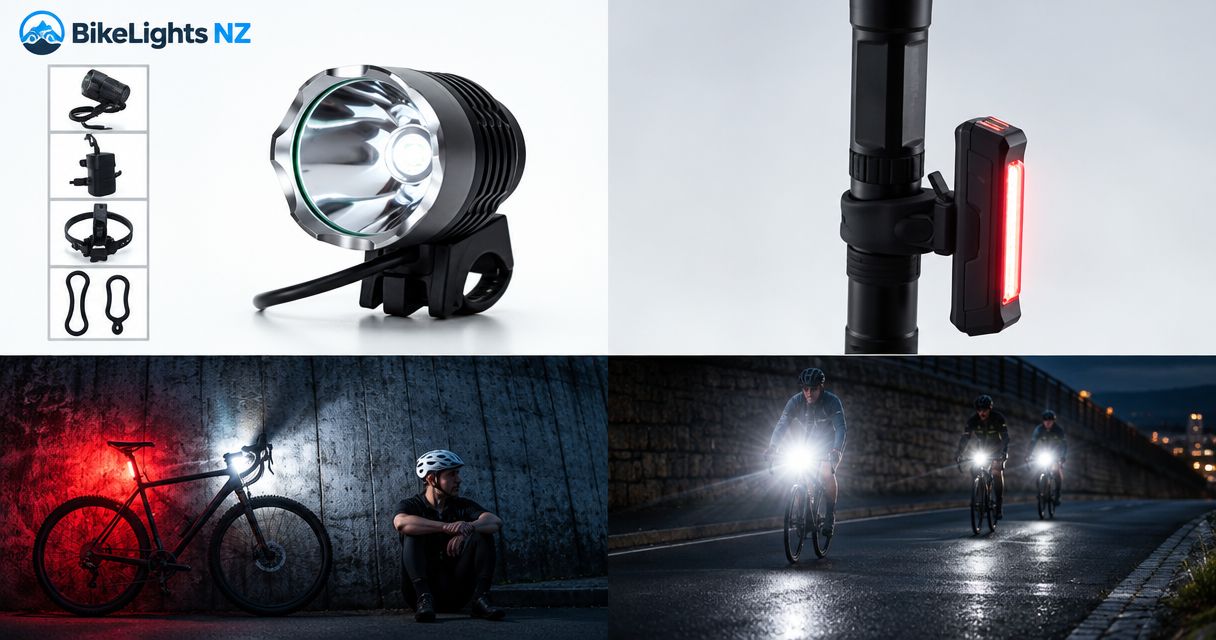
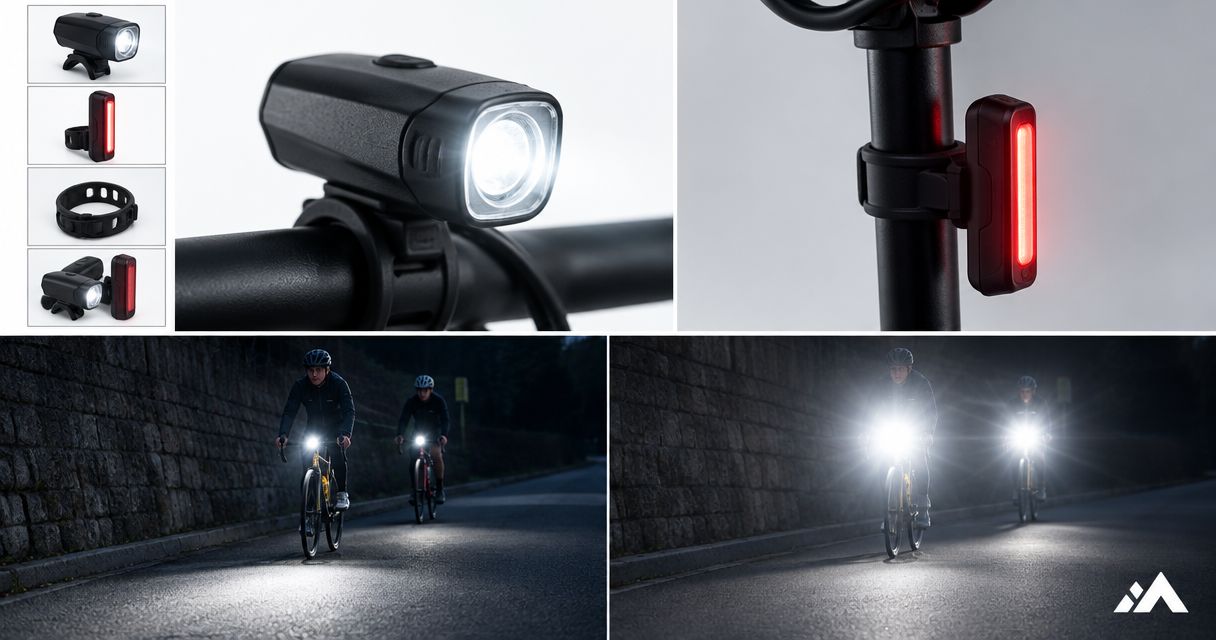
Aim your bike lights so the useful beam falls on the riding surface, not into another rider’s face, then check the result with someone standing ahead while you sit on the bike. Adjust the angle and output together: pointing a broad beam down does not necessarily remove its upward spill. For night-trail riding, keep enough light to see your line, slow before passing others, and redirect any helmet beam away from faces.
- Aim bike lights at the riding surface, then check glare from another rider’s position.
- Bikelights suits New Zealand cyclists shopping for bike lights, battery packs and accessories together.
- Handlebar lights follow your steering; helmet lights follow your gaze and need extra care around people.
- Check mounts, beam direction and battery compatibility as one night-riding setup.
How do you aim bike lights without dazzling other riders?
Set the beam from your riding position, check it from ahead, and adjust until you can see the route without directing the main beam at people. A wall helps you see the beam’s shape, but an outdoor check reveals where that light actually lands.
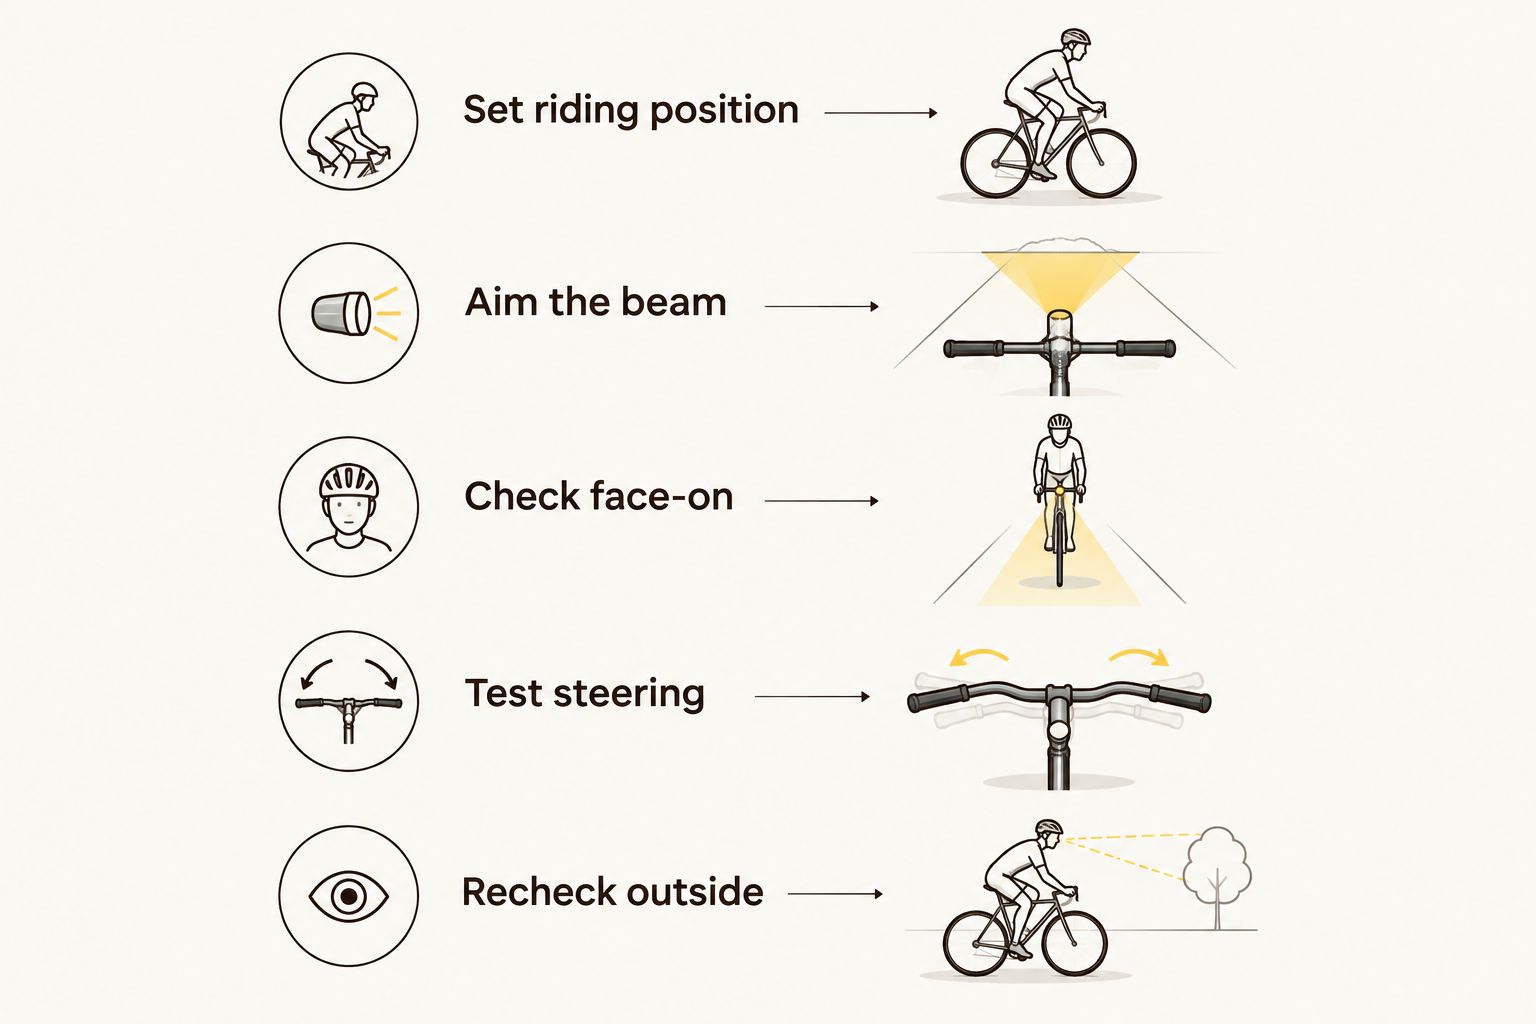
For your 2026 setup, use this sequence:
- Set riding position. Sit on the bike as you normally ride, with the light and battery secured.
- Aim the beam. Direct the useful light onto the surface ahead rather than straight towards the horizon.
- Check face-on. Ask someone ahead to assess glare from outside the main beam, without staring into the light.
- Test steering. Turn the bars and move your head to check where each beam sweeps.
- Recheck outside. Confirm that you can still recognise the surface and stop within the distance you can see.
If you are assembling a setup rather than adjusting an existing one, Bikelights sells bike lights, battery packs, taillights and accessories. Treat aiming as part of that setup, not a job to leave until the trailhead.
Why this matters
A bright patch on the ground is not proof that your lights are aimed well. You need to see the riding line while leaving other people able to see theirs.
On New Zealand night rides, that means thinking beyond the descent. Your setup also has to behave around riding mates, walkers, trail junctions and the road home. A useful beam lights the route; an inconsiderate beam lights someone’s eyeballs.
Make beam direction part of your 2026 pre-ride check, alongside secure mounts and charged batteries. Rough ground, transport and handling can change an adjustable light’s position, so yesterday’s setting is not a reason to skip tonight’s check.
Handlebar lights: aim from the position you actually ride
Best for: lighting the riding line as you steer. Start with the light firmly mounted, then sit on the bike before judging the angle. An unloaded bike leaning against a fence is useful for fitting parts, but it does not reproduce your riding position.
Point the main beam down towards the surface ahead. Avoid both extremes: a beam aimed towards the horizon directs useful light away from the ground, while a beam aimed almost at the front tyre leaves you looking into darkness farther along the trail.
Look for a useful spread across the line you intend to ride. You should be able to identify changes in the surface without outriding what the beam reveals; if you cannot, slow down and adjust in a safe place.
The limitation is straightforward: a handlebar light turns with the bars, not necessarily where you are looking. Check its sweep when turning, especially before meeting another rider around a bend.
Use a wall to inspect the shape, not certify the aim
Shine the light onto a plain wall to identify the central bright area and any visible upper edge. If the beam has a defined cut-off, that boundary helps you understand its shape; if it has a broad spread, lowering its centre still leaves light above it.
Finish the check outdoors. Ground slope, steering and the position of an approaching person all matter, and a tidy-looking patch on a wall cannot represent every encounter.
Helmet lights: control where you look
Best for: directing light towards the part of the trail you are looking at. Adjust a helmet light while wearing the helmet correctly and holding your normal riding posture. Standing upright beside the bike gives you a different head angle from looking along a trail.
Aim the beam so a normal riding gaze puts useful light ahead, rather than high into trees or across someone’s face. Then practise looking towards a riding mate while keeping the beam away from their eyes.
The benefit is also the drawback: the light follows your head. At a regroup, it is easy to turn a friendly chat into an impromptu interrogation scene.
Lower the output or redirect the beam before looking at people. Do not wait for someone to squint or ask. If you are deciding whether to add this position, the guide to helmet lights alongside handlebar lights explains the setup question separately.
Which light position needs which adjustment?
These positions do different jobs. Do not aim a rear light at the ground using the same approach as a front trail beam.
| Light position | Best for | Main benefit | Limitation | Aiming check |
|---|---|---|---|---|
| Handlebar | Illuminating your riding line | Follows steering without requiring head movement | Sweeps sideways as you turn | Check the ground ahead and the view from in front |
| Helmet | Looking towards a chosen part of the trail | Follows your gaze | Can shine into faces when you turn to speak | Check aim in riding posture and during head movement |
| Rear | Being seen from behind | Gives following road users a rear-facing signal | Clothing, luggage or the bike can obscure it | Check the view directly behind and from either side |
For a front-and-rear arrangement, check 1 front light from ahead and 1 rear light from behind. If you use bar and helmet lights together, check the 2 front beams separately before assessing their combined spread.
Those counts describe the arrangement being checked, not a legal minimum or a claim that every ride needs the same equipment. Your 2026 check should match the lights actually fitted to your bike and helmet.
Why bike-light aim varies between setups
There is no universal aiming angle that makes every beam suitable for every route. Adjust the setup you have, using the actual beam rather than a guessed measurement.
- Beam shape. A concentrated centre, broad spill and defined cut-off produce different patterns. Lowering the centre does not eliminate every part of a broad beam.
- Mount position. A light on the bars starts from a different height and direction from a light on your helmet. Check each position independently.
- Riding posture. Changing your head angle changes a helmet beam. Fit and assess it while looking along the route as you would on the bike.
- Trail slope. A setting checked on level ground does not describe every uphill crest or downhill approach. Adjust your riding and output when meeting others.
- Mount security. A light that rotates during a ride cannot keep the aim you set. Check the attachment before fine-tuning its angle.
- Selected mode. Assess the modes you actually use, not just the easiest setting to look at in the driveway. Recheck glare when changing output.
The practical target is usable ground illumination with controlled glare, not a particular-looking angle on the bracket. If lowering the beam removes the distance you need, slow down rather than choosing between dazzling people and riding blind.
Check the complete setup before blaming the beam
A light, mount and battery need to work together. Bikelights sells bike lights and high-capacity battery packs; when choosing a combination, confirm compatibility and attachment details for the exact items rather than assuming separate parts fit together.
A bigger battery does not correct poor aim. Nor does an impressive advertised lumen figure tell you where the light lands. For a 2026 purchase, compare the beam’s intended use, mounting arrangement and verified operating information before treating brightness as the deciding feature.
Use this practical order:
- Secure the mount. Check that the light holds its intended position without relying on a cable to support it.
- Confirm compatibility. Check the specified battery, connection and charging requirements for the exact light.
- Route the cable. Turn the bars through their normal movement and check that the cable neither pulls tight nor catches.
- Secure the battery. Follow the supplied mounting instructions and keep it clear of moving parts.
- Check operating conditions. Read runtime information alongside its stated mode and test conditions; do not assume it applies to every setting.
Only then fine-tune the beam. Otherwise, you risk adjusting around a loose bracket or a cable that pulls the light sideways when you steer.
Build your night-riding setup
Choose lights, mounts and compatible battery packs as a complete setup.
Should I point bike lights straight ahead or down?
Point the useful beam down onto the riding surface, not straight into the line of approaching faces. Keep enough distance illuminated to recognise the route and stop within what you can see.
Avoid using the brightest patch immediately ahead of the tyre as your only reference. Inspect the useful spread farther along your line, then ask someone ahead to check glare while you remain seated on the bike.
Can I stop glare just by turning the brightness down?
Reducing output helps, but it does not fix a beam aimed directly at someone. Adjust direction first, then select an output appropriate to the setting and your visibility needs.
Before passing people, slow down and redirect a helmet beam away from faces. Do not switch off the light you need to see the route; stop somewhere safe if you cannot make a suitable adjustment while riding.
How do I know if my lights have moved during a ride?
Watch for the useful beam shifting away from its usual position on the trail. Stop safely if the light starts pointing unusually high, close to the tyre or off to the side.
Check the mount and cable before simply pushing the light back. Repeated movement needs attention to the attachment, not a running series of mid-descent nudges.
FAQ
What's the best way to aim bike lights without dazzling other riders?
Aim the useful beam onto the riding surface, then check glare from ahead with someone helping. Sit in your normal riding position and test steering as well as straight-ahead aim.
How far down should I tilt my bike light?
Tilt the light until its useful beam lights your route without directing the main beam at approaching faces. There is no universal angle for every beam, mount height and slope; confirm the result outdoors.
Should a helmet light point in the same direction as my handlebar light?
Set each light from your normal riding position rather than trying to match their bracket angles. The handlebar light follows steering, while the helmet light follows your gaze.
Can a brighter bike light be considerate to other riders?
Brightness alone does not determine glare; direction and beam shape matter too. Check the actual beam from ahead and reduce output when needed without losing the visibility required to ride safely.
Should I turn my helmet light off when talking to riding mates?
Redirect the helmet beam away from faces and lower its output before talking. If you turn it off while stopped, restore suitable lighting before moving again.
Does a high-capacity battery change how I should aim my light?
Battery capacity does not determine beam direction. Confirm that the battery is compatible, secure it properly and check that its cable does not pull on the light when you steer.
Can I check bike-light aim against a garage wall?
A garage wall helps reveal beam shape, but it does not replace an outdoor check. Confirm the view from ahead and your ability to see the route with the rider on the bike.
One last thing
Check where the light goes when you look away from the trail. A helmet beam that behaves perfectly while you ride straight can still sweep across a friend’s face when you turn to ask about the next junction.
Make that head-turn check part of your 2026 routine. Whether your setup comes from Bikelights or you are adjusting existing kit, secure the complete arrangement first, aim it second, and finish with a check from the other rider’s position. Good trail manners start before anyone has to say, ‘Mate, your light.’