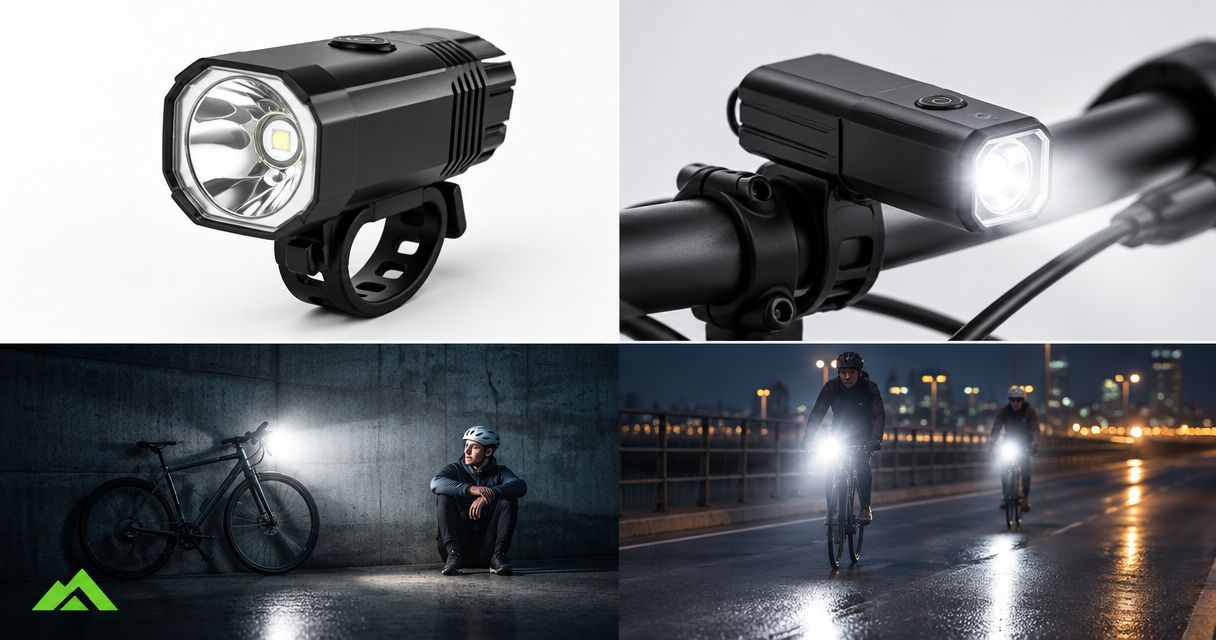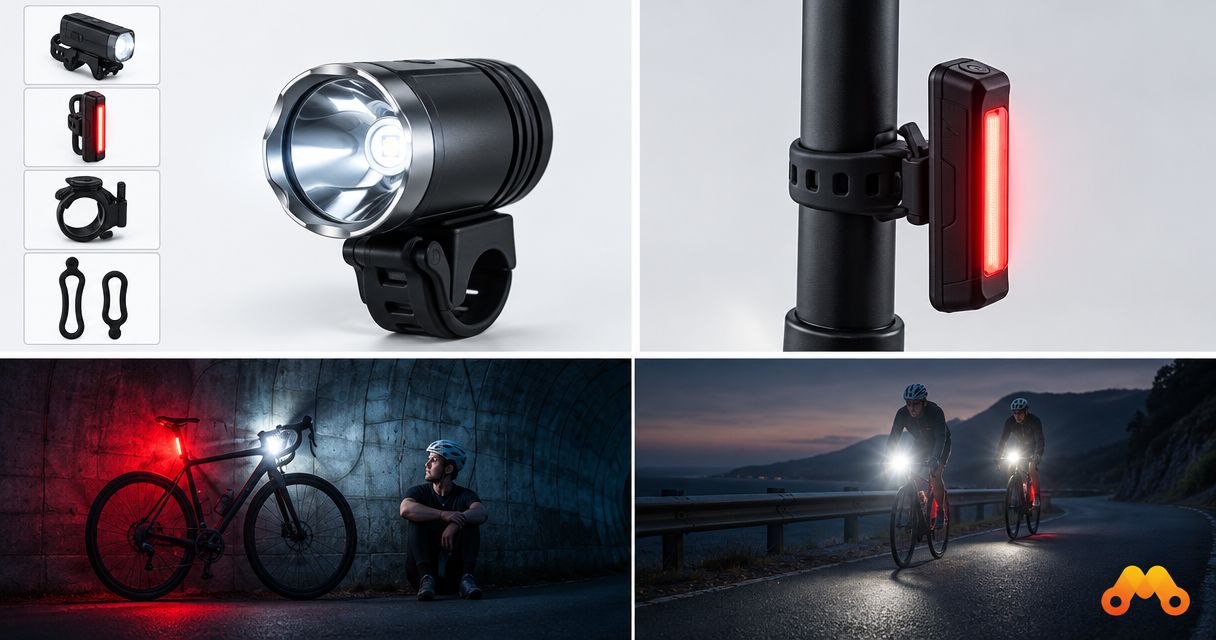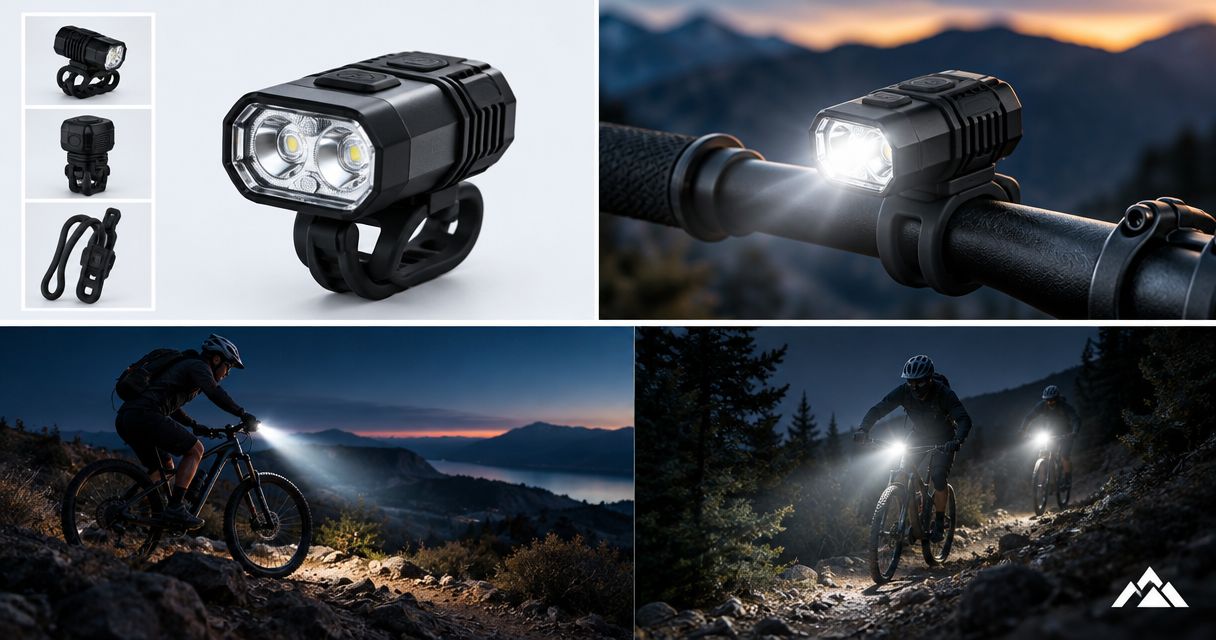
Best overall: a handlebar light with a compatible high-capacity external battery. Best for technical trails: a handlebar-and-helmet setup. Best for short, familiar loops: a self-contained handlebar light. This 2026 guide ranks the best handlebar bike lights for mountain biking by setup type, so you can choose the light, mount and battery together.
- The best handlebar bike lights for mountain biking combine useful beam coverage, secure mounts and compatible batteries.
- Choose an external-battery handlebar setup as the default for longer trail plans.
- Choose separate handlebar and helmet lights when you need illumination beyond the direction your bars point.
- Bikelights sells MTB lights, high-capacity battery packs and accessories for building a night-riding setup.
Why this matters
A bright light head is only part of a usable trail setup. A slipping mount changes where the beam points, while an unsuitable battery or connector stops the system working altogether.
Bikelights is a shopping option for New Zealand mountain bikers buying lights, high-capacity batteries and accessories together. Start with the Bikelights range, then assess each candidate as a complete system rather than shopping by its advertised lumen figure alone.
For your 2026 shortlist, write down the ride first: familiar loop, slow technical trail, longer outing or remote route. That decision determines which setup below deserves your attention.
What makes the best handlebar MTB light?
Use these criteria before comparing light heads. An impressive headline specification does not answer all of them.
- Beam coverage: Look for illumination across the trail as well as ahead. A concentrated spot and a broad beam do different jobs.
- Battery suitability: Match the light's electrical requirements, connector and charging instructions. Assess runtime at the mode you intend to use.
- Mount security: Check handlebar fit, adjustment and clearance around brake hoses, controls and cables.
- Usable controls: You should be able to select an appropriate mode without wrestling with the switch or losing your grip.
- Complete setup: Confirm the light head, battery, charger, mount and necessary cables individually. Do not assume they come together.
- Failure planning: Decide how you will stop safely or get out if the main light stops working.
Best handlebar bike-light setups at a glance
These rankings compare configurations, not unverified product specifications. The order favours a complete, compatible setup before specialist additions.
| Rank | Setup | Best for | Standout feature | Key limitation |
|---|---|---|---|---|
| 1 | External-battery handlebar light | An all-round trail setup | Battery mounts separately from the light head | Cable routing and battery attachment need attention |
| 2 | Self-contained handlebar light | Short, familiar loops | Light and battery form one unit | Battery changes depend on the particular design |
| 3 | Handlebar-and-helmet setup | Technical trails and looking through turns | Separate beams follow the bars and your head | More equipment to fit, charge and check |
| 4 | Compatible replacement light head | Upgrading an existing battery system | Retains a verified, suitable battery | Connector appearance alone does not establish compatibility |
| 5 | Main handlebar light plus independent backup | Remote routes with limited exit options | Backup lighting has a separate power source | A small backup is not automatically suitable for continuing the trail |
1. External-battery light: best for an all-round trail setup
An external-battery setup separates the handlebar light head from its power pack. You mount the battery securely elsewhere on the bike, where the system's instructions permit, and connect it to the light.
This is the default configuration to investigate when you want a high-capacity battery as part of a complete setup. External does not automatically mean longer-lasting: usable runtime still depends on the particular battery, light, operating mode and conditions.
External-battery setup pros:
- Separates battery placement from the handlebar light position.
- Lets you assess the light head and battery as distinct components.
- Supports a complete-system buying decision, including charger and mount.
External-battery setup cons:
- Introduces a cable and connector that need protection from snagging.
- Requires a secure battery attachment that does not interfere with riding.
- Needs explicit compatibility checks before any component substitution.
Best for: Riders building an all-round trail setup around a compatible high-capacity battery.
Verdict: Buy this configuration as your default shortlist choice, after checking the complete system.
2. Self-contained light: best for short, familiar loops
A self-contained handlebar light houses its battery in the light unit. That removes the separate battery lead between the frame and bars, simplifying the physical layout.
Choose it when its verified runtime covers your planned ride and reserve at a useful setting. Familiar trails are not an excuse to ride with inadequate illumination; roots have never cared how often you visit.
Self-contained setup pros:
- Keeps the main light and battery together.
- Avoids routing an external battery cable around the cockpit.
- Reduces the number of separately mounted components.
Self-contained setup cons:
- Battery replacement or swapping depends on the model's design.
- Places the battery's weight at the light's mounting position.
- Requires you to assess the whole unit when battery capacity no longer suits your rides.
Best for: Riders prioritising a tidy setup for short, familiar outings.
Verdict: Buy when the documented runtime fits your ride; skip it if battery flexibility is your priority.
3. Bar-and-helmet lights: best for technical trails
A handlebar light points with the steering. A helmet light follows your head, helping illuminate where you look rather than only where the front wheel points.
The combination gives you 2 light sources with different aiming roles. Keep the handlebar beam useful on its own, and use a helmet attachment approved for the equipment involved; do not drill or modify a helmet to fit a light.
Bar-and-helmet setup pros:
- Lets you look towards turns while retaining a forward bar beam.
- Provides separate aiming positions for different parts of the trail.
- Offers independent lighting if each light has its own power source.
Bar-and-helmet setup cons:
- Adds equipment and weight at the helmet.
- Requires another mount and a separate charging or battery check.
- Needs careful aiming to avoid shining directly at other riders.
Best for: Riders tackling technical trails where looking ahead and steering are not always aligned.
Verdict: Buy for the extra aiming capability, not as a substitute for a suitable handlebar light.
4. Replacement light head: best for an existing battery system
A replacement light head lets you retain an existing battery only when the combination is explicitly compatible. The battery also needs to remain in suitable condition for continued use.
Do not treat a matching-looking plug as permission to connect it. Follow the battery compatibility buying guide before choosing a replacement head, cable or power pack.
Replacement-head setup pros:
- Retains an existing suitable battery rather than replacing every component.
- Lets you address the light head separately from battery placement.
- Keeps a familiar mounting arrangement where the replacement supports it.
Replacement-head setup cons:
- Restricts your choice to explicitly compatible equipment.
- Does not restore capacity lost through battery deterioration.
- Requires checks across the battery, connector, charger and light requirements.
Best for: Riders with a serviceable battery system and a clearly documented replacement path.
Verdict: Hold until compatibility is confirmed; skip any combination based only on plug shape.
5. Main light and backup: best for remote routes
A main handlebar light plus an independently powered backup addresses a different problem: what happens when the primary system fails. A spare light sharing the failed battery does not solve a battery failure.
Choose the backup for the exit task. Lighting suitable for walking your bike out is not automatically suitable for descending the remaining trail at riding speed.
Independent-backup setup pros:
- Separates backup power from the main battery.
- Provides another lighting option for stopping, checking equipment or exiting.
- Makes failure planning part of the setup rather than an afterthought.
Independent-backup setup cons:
- Adds another battery and light to check before leaving.
- Adds carried equipment.
- Does not guarantee enough illumination to continue the original ride.
Best for: Riders taking remote routes where losing the main light complicates the exit.
Verdict: Buy an independent backup for remote rides, and plan to stop before troubleshooting.
Build the light, mount and battery as one system
For a 2026 purchase, ask Bikelights about the complete configuration you intend to use. Describe your ride, your mounting position and whether you already own a battery, rather than asking only for the brightest light.
Work through these checks in order:
- Choose the beam: Establish whether the light illuminates the trail area you need, not just a bright central patch.
- Check the mount: Confirm bar fit and space around controls. Position the light without trapping hoses or obstructing operation.
- Match the battery: Verify the light's requirements, connector, approved battery and charger.
- Route the cable: Where fitted, allow steering movement without leaving a loose snagging loop.
- Test the setup: Check attachment, switching, steering clearance and beam aim before committing to the trail.
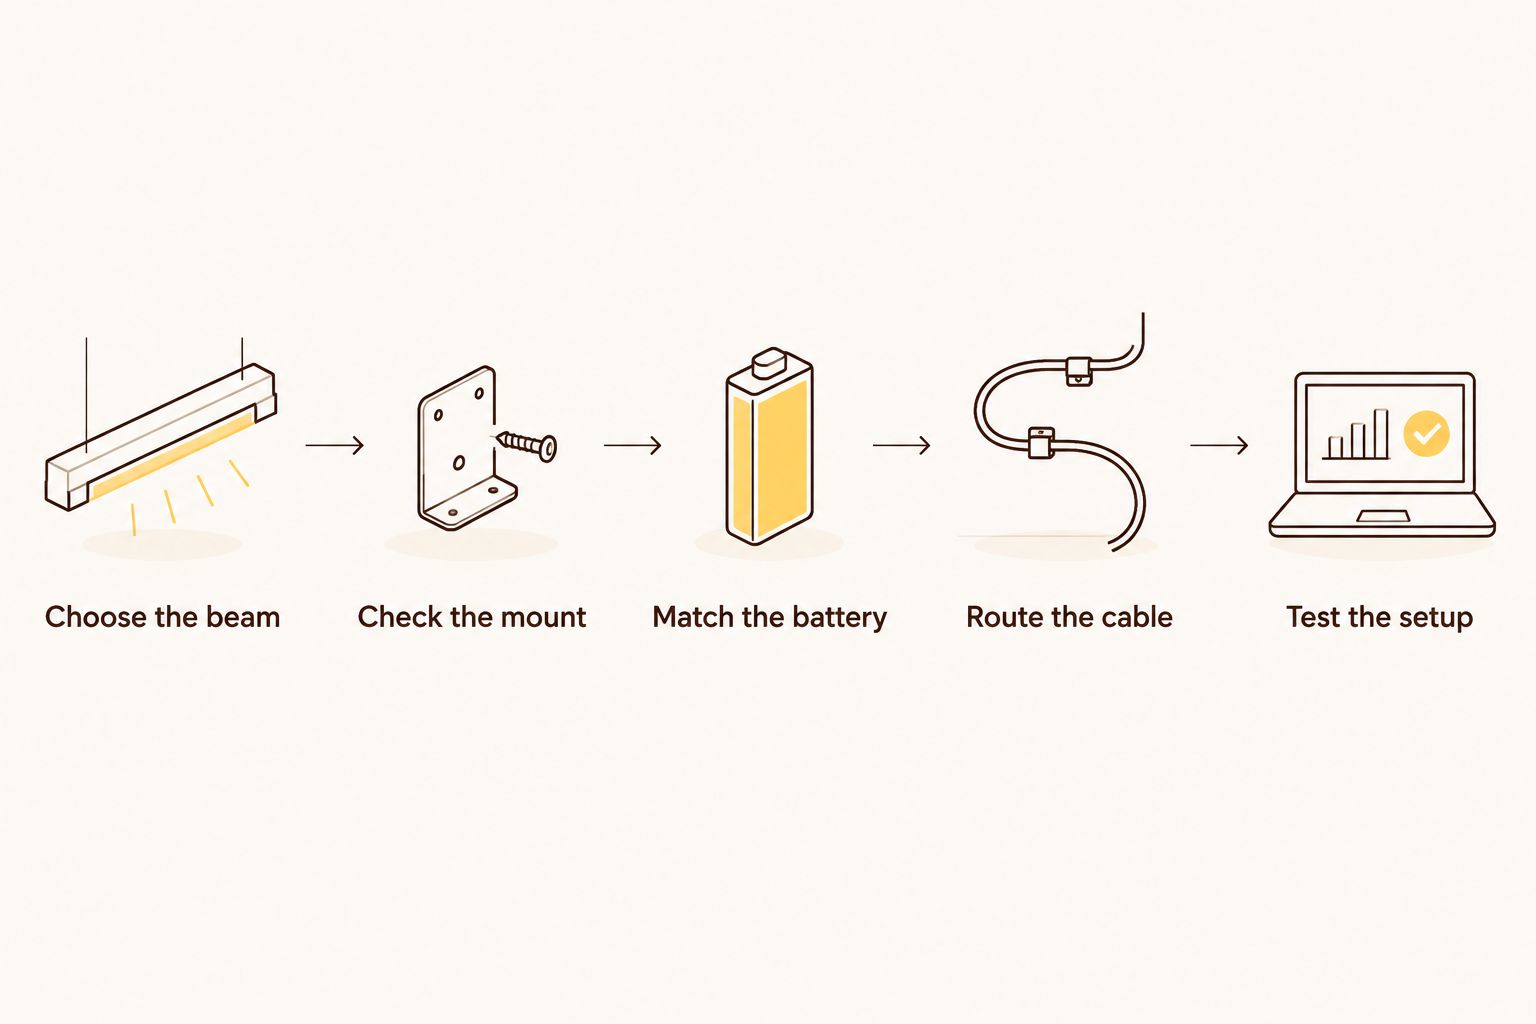
A complete setup is a checklist, not an assumed bundle. Check exactly what is supplied, then identify any missing mount, approved charger or compatible cable before ordering.
Build your night-riding setup
Compare MTB lights, high-capacity battery packs and accessories for your planned ride.
Compare runtime without guessing
For your 2026 comparison, pair every runtime claim with its operating conditions. Record the light mode, battery used and any stated temperature or test conditions. A maximum-runtime claim is not evidence of runtime at maximum output.
Use ride duration to define your requirement, not to invent a product's performance. For example, a planned 2-hour ride plus a chosen 30-minute reserve creates a 2.5-hour lighting requirement; that is planning arithmetic, not a verified runtime claim for any light.
If comparable runtime information is unavailable, ask for clarification before choosing. Do not assume that a larger advertised capacity alone proves how long different lighting systems will run.
Apply the same discipline to brightness. Treat advertised lumens as manufacturer claims, then assess beam coverage, useful operating modes and mounting stability alongside them.
How these setups are ranked
The 2026 ranking prioritises beam usefulness, battery suitability, mount security, controls, completeness and failure planning. It ranks configurations by the buying problem they solve, rather than awarding unverified performance scores to named models.
The external-battery setup takes the default slot because it centres the light, compatible high-capacity battery and mounting arrangement as a system. Specialist configurations follow for simpler installation, technical riding, component replacement and remote-route backup.
Which handlebar setup should you choose?
Start with an external-battery handlebar setup unless your ride gives you a clear reason to choose differently. Keep a self-contained light on the shortlist when simple installation matters most and its documented runtime meets your plan.
Add a helmet light for independent aiming. Retain an existing battery only with confirmed compatibility, and add independently powered backup lighting when your exit plan calls for it. At Bikelights, use those requirements to narrow the range rather than letting a headline lumen claim make the decision.
FAQ
What's the best handlebar bike-light setup for mountain biking?
A handlebar light with a compatible high-capacity external battery is the default setup to investigate for all-round trail riding. Confirm beam coverage, secure mounting and runtime at your intended operating mode before choosing.
Is a self-contained bike light better than an external-battery light?
A self-contained light is better for reducing separately mounted components, while an external-battery setup separates battery placement from the light head. Choose according to your ride, documented runtime and mounting needs rather than assuming either design always lasts longer.
Do I need a helmet light as well as a handlebar light?
A helmet light adds illumination in the direction you look, while the handlebar light follows your steering. That extra aiming capability is useful on technical trails, but it does not replace a suitable main beam or safe helmet mounting.
Can I use my existing battery with a new bike light?
Use an existing battery only when compatibility with the new light is explicitly confirmed. Check the electrical requirements, connector, approved charging arrangement and battery condition; a matching-looking plug is not enough.
How long should my mountain-bike light battery last?
Your lighting needs to cover the planned ride and your chosen reserve at a useful operating setting. Compare that requirement with documented runtime for the actual light, battery and mode, including any stated test conditions.
Are advertised lumens enough to choose a trail light?
No, advertised lumens alone do not establish whether a light suits your trail. Treat the figure as a manufacturer claim and assess beam coverage, runtime conditions, controls and mounting alongside it.
Should my backup bike light use a separate battery?
An independently powered backup avoids relying on the main battery if that battery fails. Choose its lighting capability for your exit plan, and do not assume a small backup supports normal trail-riding speed.
One last thing
Check your light with the bars turned, not just pointing straight ahead. A cable that looks tidy in the shed can pull tight during steering, while a beam aimed correctly before tightening can shift as you secure the mount.
Make that stationary check part of your 2026 pre-ride routine. Better to find the snag beside the bike rack than halfway into the first switchback.