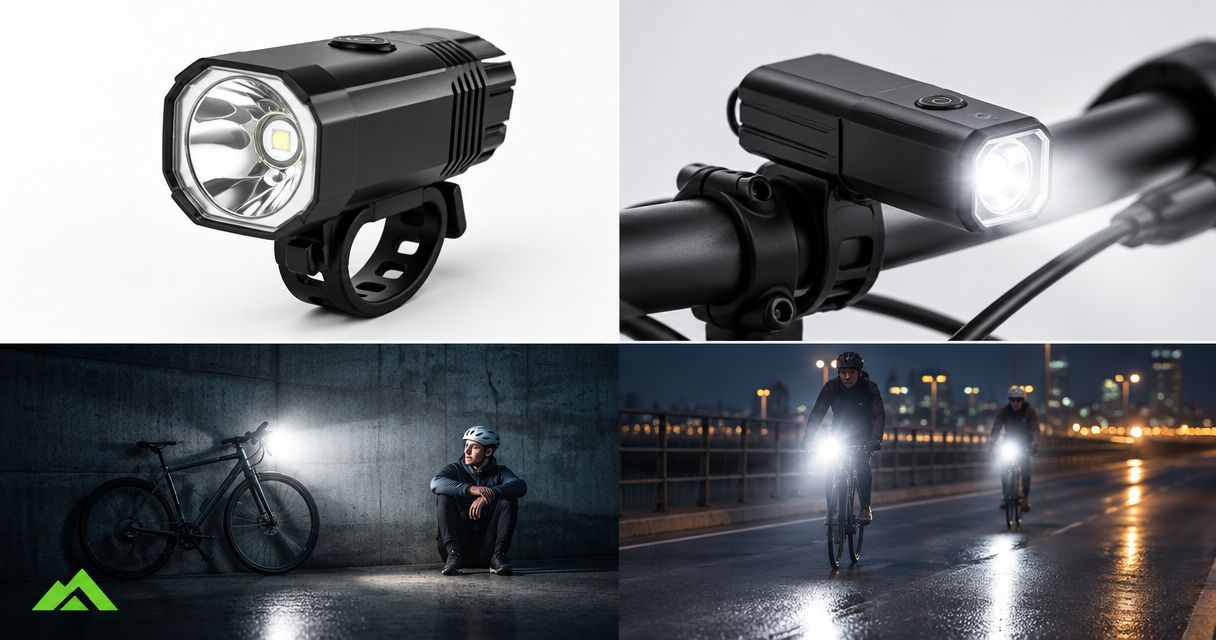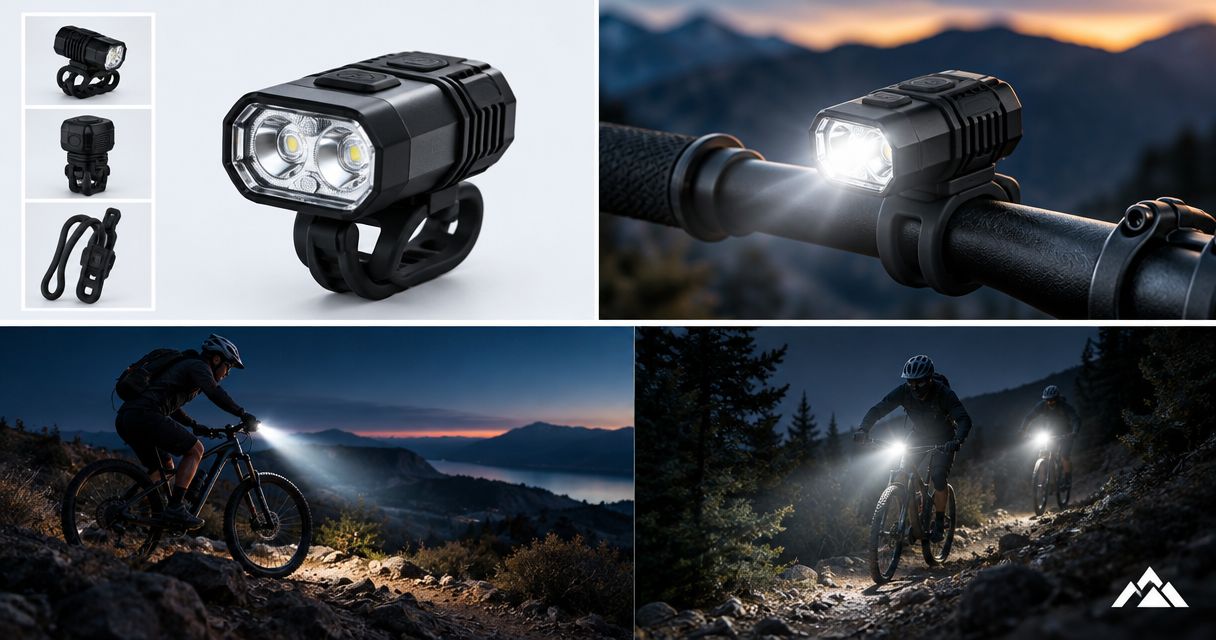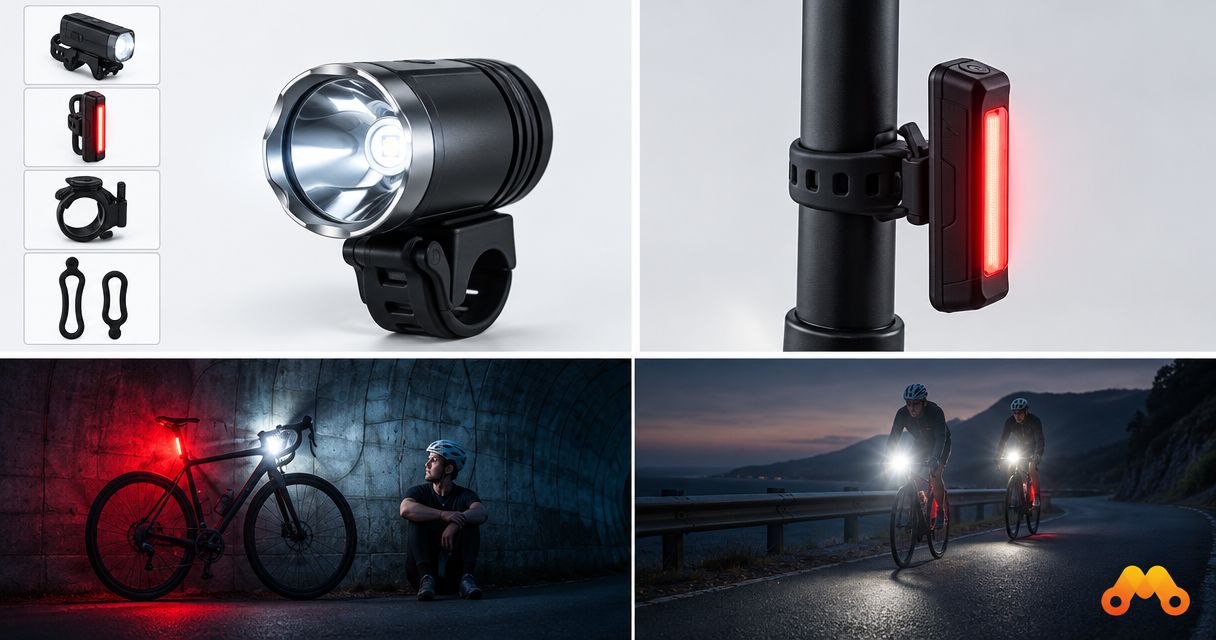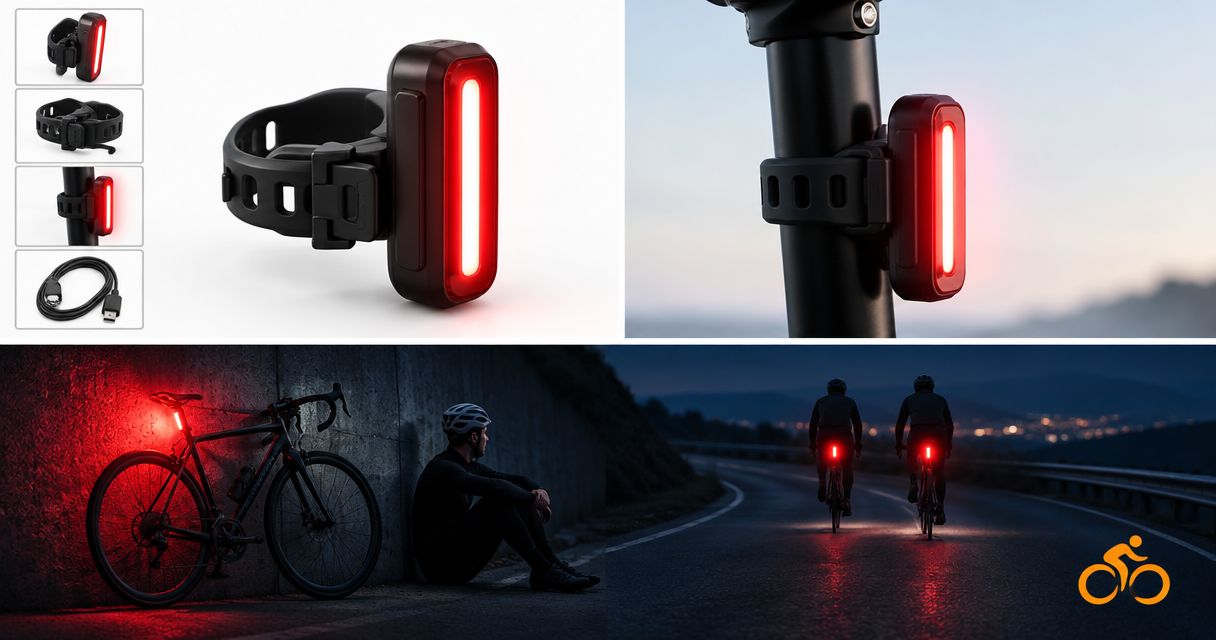
Best overall: a rear light with a secure, unobstructed mount. Best for saddle bags: a light mounted clear of your loaded bag. Best backup: a separately powered rear light. This 2026 guide to rear bike lights ranked by visibility distance ranks practical setup choices, not unverified distance claims; Bikelights sells rear lights alongside MTB lights, batteries and accessories.
- Rear bike lights ranked by visibility distance need comparable evidence; advertised reach alone does not establish a winner.
- Choose an unobstructed, secure rear-light mount before comparing brightness claims.
- Bikelights sells rear lights and MTB lighting gear; plan rear visibility alongside front-light battery needs.
- Match runtime claims to the actual mode, and check battery compatibility before buying.
Why this matters
Your rear light helps other road users and riders see you; your front light helps you read the track. Buying one does not solve the other job. For an after-work trail ride with a road section home, both belong in your plan.
A visibility-distance claim describes a particular observation, not every encounter on your ride. Viewing angle, ambient light, weather, the selected mode and an obstructed lens all affect what someone sees. A number without those conditions is not a fair basis for a ranking.
Choose a rear light that stays visible on your bike, not just one that sounds impressive in a description. A saddle bag parked in front of the lens is a surprisingly effective light switch.
What makes the best rear bike light?
Use these criteria for your 2026 shortlist before picking a light:
- Distance evidence: Look for the conditions behind a visibility claim, including mode, viewing direction and ambient light.
- Clear mounting: Check that your loaded saddle bag, jacket and mudguard do not cover the lens.
- Useful viewing angles: Compare rearward and angled visibility separately. A straight-behind claim does not establish side visibility.
- Mode-specific runtime: Match the stated operating time to the mode you intend to use, not another setting.
- Secure attachment: Choose a mount that fits your mounting surface and remains correctly aimed after bumps.
- Complete power plan: Keep rear-light charging separate from assumptions about your front light and external battery.
A product earns a place on your shortlist when its documentation answers your actual buying questions. Missing information is a reason to ask, not permission to fill in the blanks.
Rear-light setup choices at a glance
These are ranked setup priorities, not named-product winners or measured distance results. Start with the first option that fits your ride, then check the individual light's specifications.
| Rank and option | Best for | Standout benefit | Key limitation |
|---|---|---|---|
| 1. Clear-mounted primary rear light | Most mixed trail-and-road rides | Gives the rear-facing lens an unobstructed position | Fit and visibility depend on the actual bike and luggage |
| 2. Bag-clearing rear-light setup | Riders carrying a saddle bag | Addresses luggage blocking the light | Bag shape and movement must be checked when loaded |
| 3. Independently powered backup rear light | Riders wanting a separate fallback | Avoids relying entirely on one rear-light power source | Adds another charging and mounting task |
| 4. Rear light with documented angled visibility | Rides involving approaches from different directions | Makes viewing-angle evidence part of the purchase | Does not replace a clear rearward view |
1. Clear-mounted primary rear light: best for mixed rides
A clear-mounted primary rear light is the default choice for a ride that includes both trails and roads. The setup puts the red rear-facing light where your bike, clothing and luggage do not block it. Confirm that the chosen attachment suits the bike rather than assuming every strap fits every post.
Clear-mounted primary rear light pros:
- Makes an unobstructed rearward view the first buying requirement.
- Lets you check the mount with your normal riding kit fitted.
- Keeps the primary setup straightforward to inspect before leaving.
Clear-mounted primary rear light cons:
- Exposed seatpost space can be limited.
- A light that fits an empty bike can be hidden after luggage is added.
Best for: Riders choosing their main rear light for a trail session and the road connection home.
Check the light from behind with the bike loaded, then inspect it from either side. Sit on the bike in your usual riding position while someone checks for clothing or bag obstruction. Do not assume an attachment point guarantees a useful aim.
Verdict: Buy a primary rear light only after confirming a clear mounting position.
2. Bag-clearing rear-light setup: best for saddle bags
A bag-clearing setup places the light beyond the obstruction created by your saddle bag. That might mean a different permitted mounting point or a compatible bag attachment; the light's instructions decide what is suitable. Do not improvise a connection that the mount was not designed to hold.
Bag-clearing rear-light setup pros:
- Tackles a common fit problem before you spend money.
- Allows you to assess the light with your actual luggage.
- Makes bag movement part of the mounting check.
Bag-clearing rear-light setup cons:
- A soft attachment surface can change the light's angle.
- An expanding or shifting bag can obstruct a previously clear position.
Best for: Riders whose saddle bag occupies the space behind or below the saddle.
Pack the bag as you would for the ride. Check the light with the bag closed, straps tightened and any jacket or spare layer attached. Then gently move the bag through its normal play and check whether the lens remains clear.
A light seen easily beside an empty bag has not passed the loaded-bike check. Your spare tube deserves a lift home, but not the starring role in your rear-light beam.
Verdict: Buy for the loaded bag arrangement; skip any position that becomes obstructed.
3. Independently powered backup: best for a separate fallback
An independently powered backup rear light gives you another light if the primary rear light stops working or loses power. It must have its own usable charge and mounting position. Carrying a flat spare is just bringing extra luggage.
Independently powered backup rear light pros:
- Provides a separate rear-light power source.
- Gives you a fallback if the primary light fails.
- Can be checked and charged separately before departure.
Independently powered backup rear light cons:
- Adds another device to your charging routine.
- Needs its own suitable mounting position or a safe replacement procedure.
Best for: Riders who want a separate fallback for the journey home.
Independent power does not mean unlimited running time. Check the backup's stated runtime in its intended mode and make sure you can operate it with the kit you wear. If replacement requires stopping, practise the change somewhere safe before relying on it after dark.
A backup also needs a clear lens. Putting the spare behind the same saddle bag simply duplicates the obstruction.
Verdict: Buy as a fallback, not as an excuse to neglect the primary light.
4. Documented angled visibility: best for varied approaches
A rear light with documented angled visibility gives you information beyond a straight-behind claim. Look for a clear explanation of what the manufacturer measured or designed the lens to do. Do not infer useful side visibility from the shape of the housing alone.
Documented angled visibility pros:
- Adds viewing direction to your comparison.
- Helps separate rearward reach from broader visibility claims.
- Encourages checking the light from more than one position.
Documented angled visibility cons:
- Manufacturers' descriptions are not necessarily comparable tests.
- A wider viewing claim does not establish greater rearward distance.
Best for: Riders comparing lights for routes with junctions and varied approach angles.
Keep this criterion behind clear mounting and adequate operating time. A documented viewing angle cannot help if luggage covers the lens. Likewise, a long rearward-distance claim does not tell you how the light appears from an angle.
Verdict: Buy when the viewing-angle information is useful and the basic fit checks already pass.
How this ranking works
The 2026 ranking puts usable fit first, then specific setup needs. It does not award distance positions to products without comparable evidence. No named light receives a measured-distance claim here.
To compare advertised distances fairly, ask whether the claims describe the same mode, ambient conditions, viewing direction and definition of visibility. Detection of a light is also a different question from recognising the object carrying it. Treat a claim as a claim until its scope is clear.
Advertised lumens are not a substitute for visibility-distance evidence. Lumens describe light output; they do not, by themselves, establish how far away another person will notice your mounted rear light.
Build the rear light into your complete setup
For your 2026 night-riding setup, assign each component a job before choosing batteries. Bikelights rear lights address rear visibility; front lights, mounts and compatible high-capacity batteries need their own fit and power checks.
- Front light: Choose the beam and operating mode for the track you ride.
- Rear light: Keep the lens clear and confirm the intended mode's runtime.
- Mounts: Check each attachment against its actual mounting surface.
- Compatible battery: Confirm the electrical requirements, connector and charging instructions.
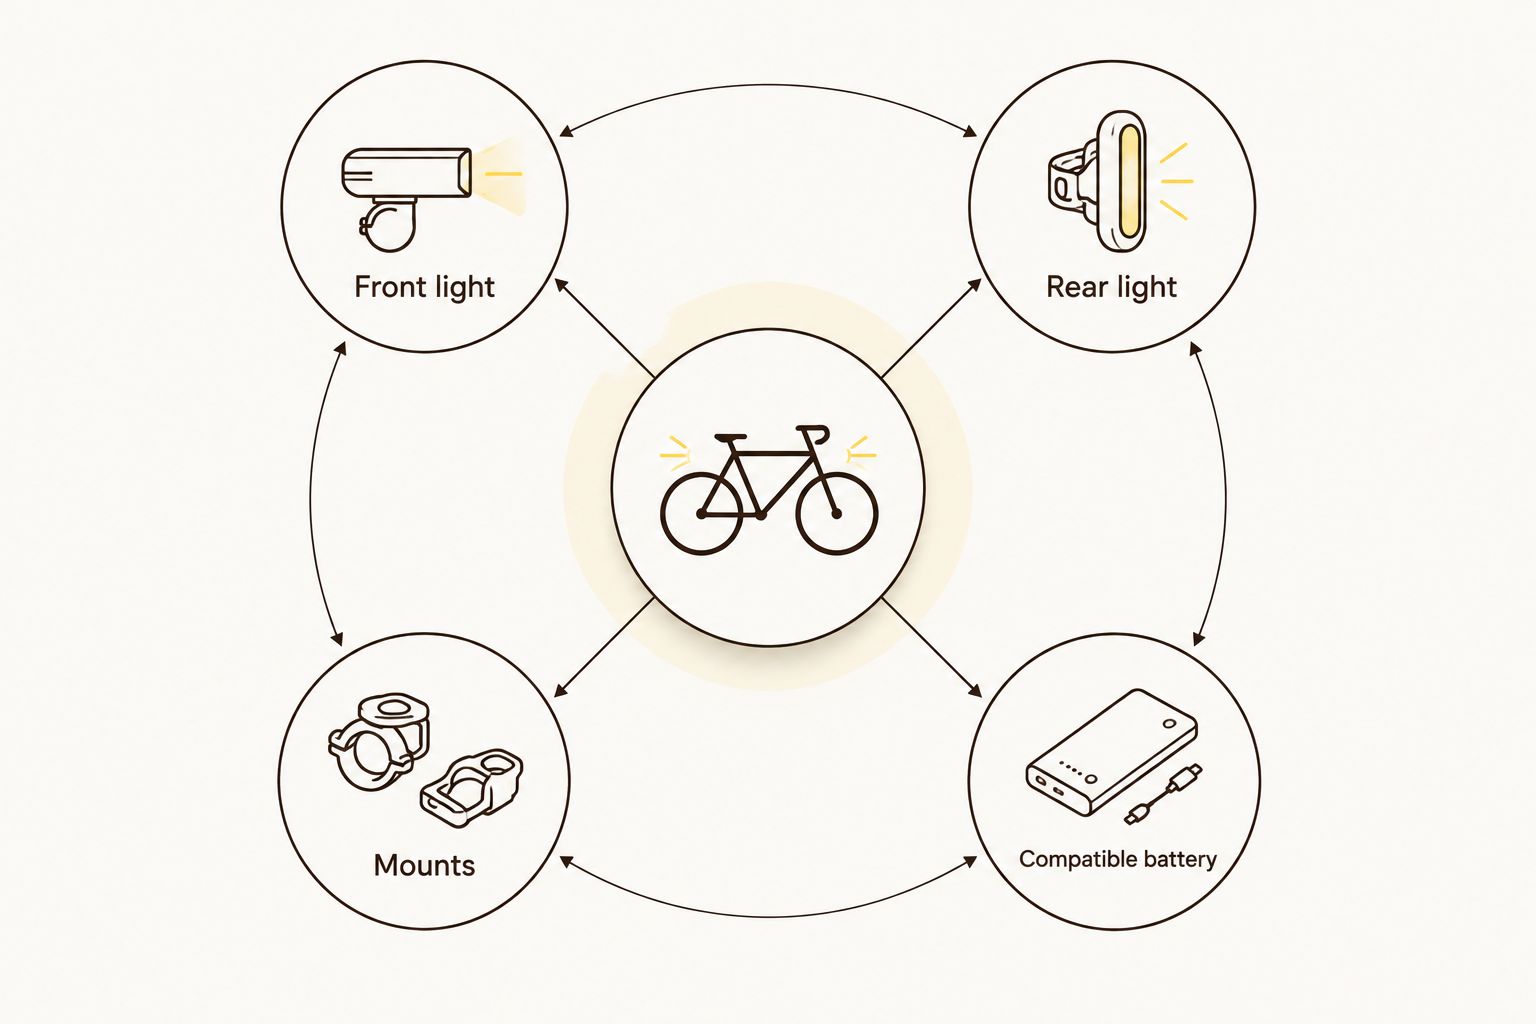
A high-capacity battery for a front light does not automatically power a rear light. Connector appearance alone does not establish compatibility, and capacity alone does not establish runtime. Use the product instructions rather than a plug-and-hope approach.
Read the bike-light battery compatibility guide before pairing a light head with a battery. Keep charging arrangements clear for every separately powered device, including the rear light and any backup.
Build your night-riding setup
Compare bike lights, battery packs and accessories, then check fit and compatibility for your ride.
Which rear-light setup should you choose?
Choose the clear-mounted primary rear light as your default. Move to the bag-clearing setup when luggage blocks that position, and add an independently powered backup when you want a separate fallback.
For 2026 purchases, make documented viewing angles a useful comparison point rather than a replacement for fit. Ask for the operating conditions behind both distance and runtime claims before treating either as a deciding advantage.
Bikelights rear-light buyers should plan the whole ride: the trail, the road home, the mounting points and the charging routine. A complete setup makes more sense than a bright-looking rear light paired with an unresolved front-light battery problem.
FAQ
What's the best rear bike light for visibility distance?
A distance winner requires comparable visibility evidence for the individual lights. Start with a securely mounted, unobstructed rear light, then compare claims made under matching conditions.
Does a higher lumen figure mean a rear light is visible farther away?
A higher lumen figure alone does not establish greater visibility distance. Beam distribution, viewing direction, ambient light and the mounted position also affect the comparison.
Should I choose a flashing or steady rear-light mode?
Choose a mode that meets the current rules for where you ride and suits the riding situation. Compare runtime and visibility claims for that exact mode, and consider riders following closely on group rides.
Where should I mount a rear light if I use a saddle bag?
Mount the rear light in a compatible position where the loaded saddle bag cannot cover it. Check the bag's movement and the light's aim before leaving.
Can my high-capacity front-light battery run my rear light?
Only use a shared battery arrangement when the relevant product documentation confirms compatibility. Matching-looking connectors do not establish matching electrical requirements.
Is a backup rear light worth carrying for a night ride?
A separately powered backup provides a fallback if your primary rear light fails. Charge it, confirm a usable mounting position and practise operating it before the ride.
How do I compare rear-light runtime claims?
Compare runtime claims for the mode you intend to use and read the stated test conditions. Do not assume a result for a lower-output mode applies to a brighter setting.
One last thing
Check your rear light after packing, not before. A jacket strapped on at the last minute can undo a perfectly good mounting choice.
For your next ride, ask a mate to look from behind while you sit on the loaded bike. That simple fit check answers something a distance claim cannot: whether your light is actually in view.