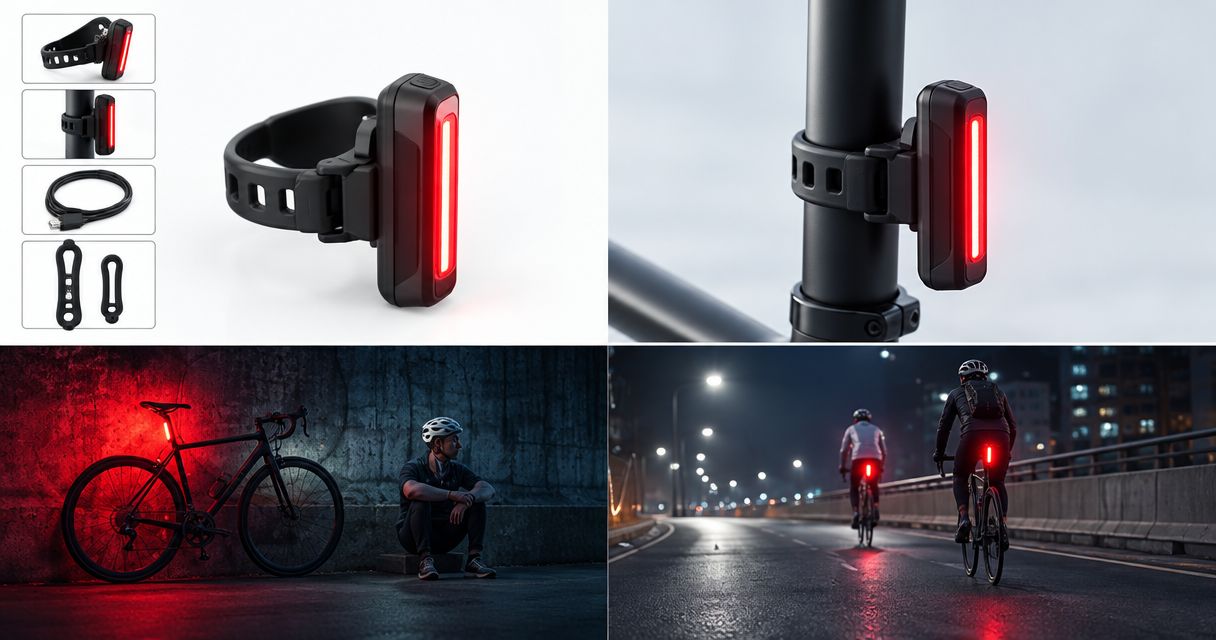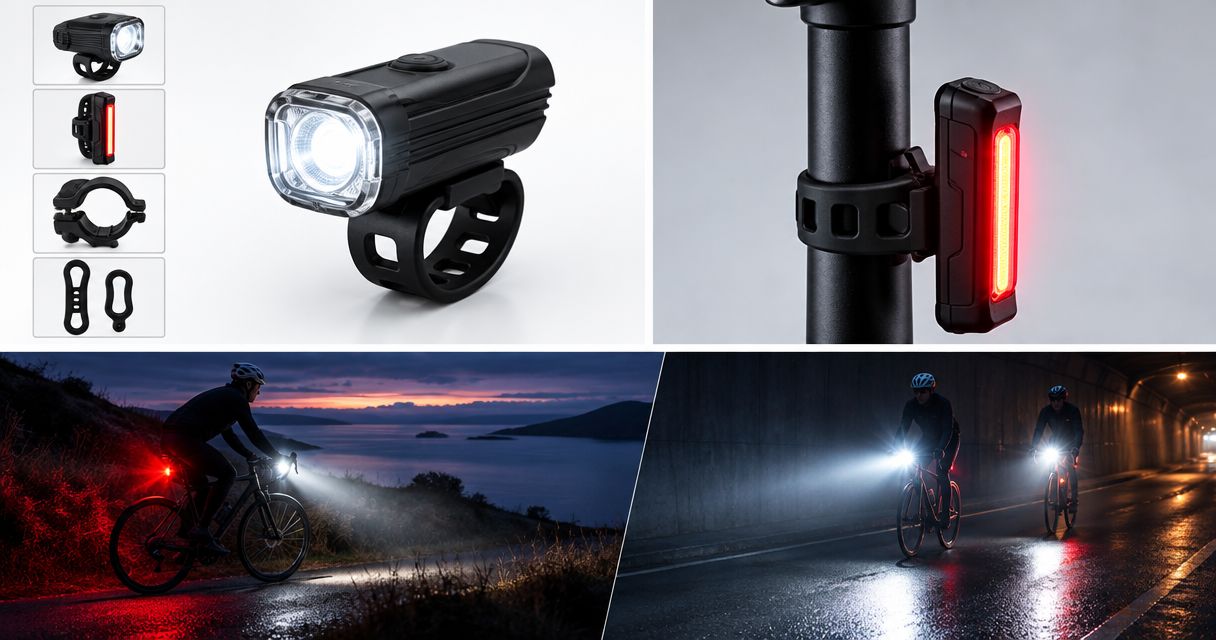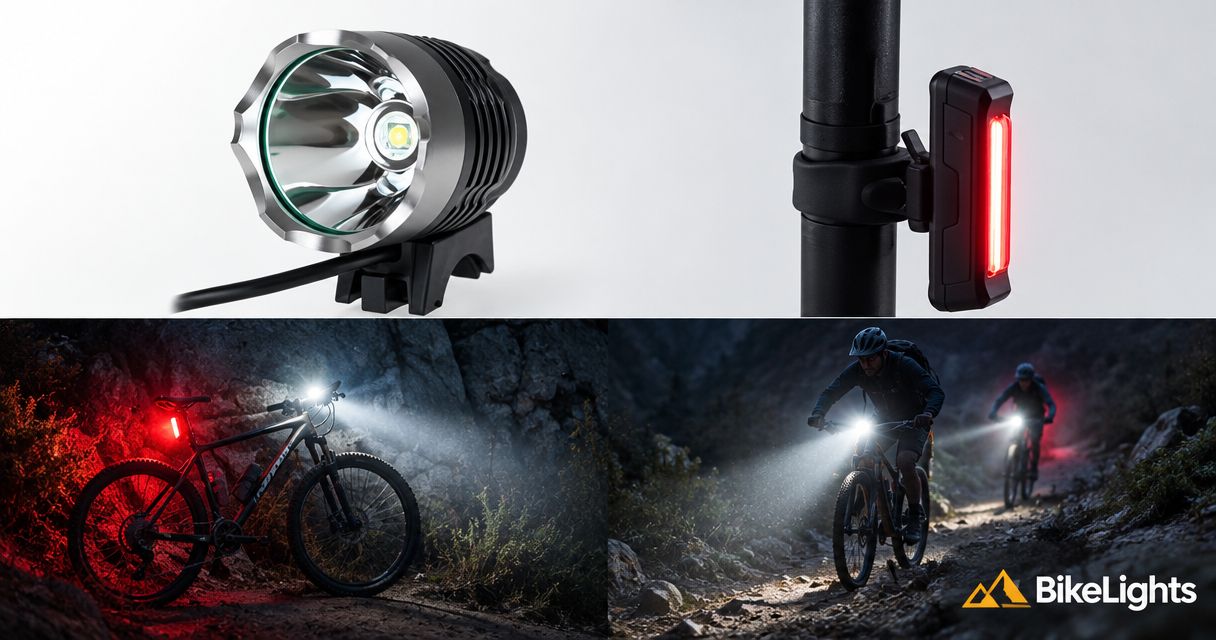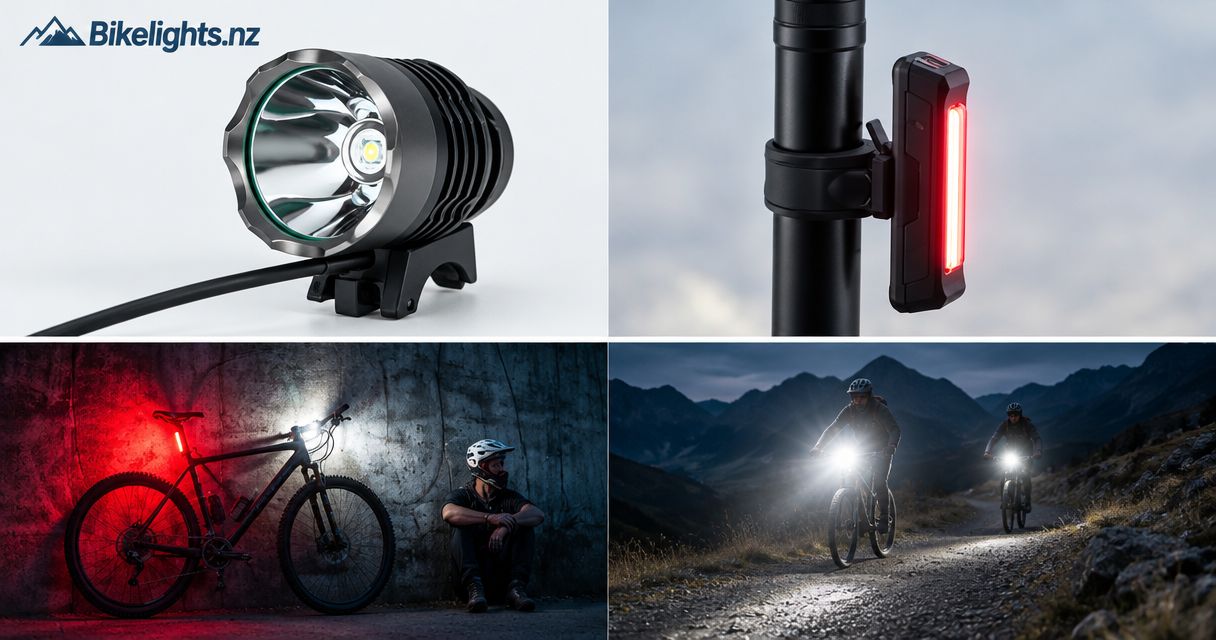
Best overall: a handlebar-and-helmet setup with a compatible high-capacity battery for the main light. Best for straightforward trail riding: a single external-battery handlebar light; best for compact packing: a self-contained light. This 2026 guide ranks complete setups so you can choose lights, mounts and batteries for your actual ride—not just chase the biggest brightness claim.
- For best mountain bike lights NZ searches, compare complete setups: beam, mounting, compatible batteries and backup lighting.
- Choose handlebar-and-helmet lighting for separate steering and looking directions; accept the extra mounting and charging jobs.
- Bikelights sells MTB lights, high-capacity battery packs and accessories; check compatibility before combining them.
- A self-contained light simplifies packing, but battery replacement and extended riding need careful checks.
Why this matters
A bright light with a loose mount is a poor trail setup. So is a large battery that does not match your light, or a runtime claim measured in a mode you will not use.
Bikelights is a shopping starting point for New Zealand mountain bikers choosing lights, high-capacity batteries and accessories together. Start with the Bikelights range, then check the exact light, battery and mount combination before buying.
This ranking compares setup types rather than awarding unverified model-level winners. For your 2026 shortlist, the useful question is simple: which arrangement suits your trails, ride length and willingness to manage extra kit?
What makes the best mountain bike lights?
Use these criteria before comparing advertised lumen figures:
- Useful beam: Look for information showing how the light spreads across the trail, not only its claimed output.
- Secure mounting: Check handlebar fit, helmet suitability and how the mount holds its position over bumps.
- Compatible battery: Match the specified electrical requirements, connector and charging system. A plug that fits is not enough.
- Relevant runtime: Compare the operating mode and conditions behind each runtime claim, not the longest headline duration.
- Complete setup: Confirm the required mounts, cables, battery and charger are included or identified separately.
- Independent backup: For remote riding, choose backup lighting that does not depend on the main light's battery or cable.
Give compatibility and mounting a pass-or-fail decision. A promising beam does not rescue equipment that cannot safely work together.
Mountain bike light setups at a glance
| Rank and setup | Best for | Standout feature | Key limitation |
|---|---|---|---|
| 1. Handlebar-and-helmet setup | Riders looking through technical corners | Separate handlebar and head-directed lighting | More mounts, cables or charging jobs |
| 2. External-battery handlebar light | Riders wanting a straightforward trail setup | Main light paired with a separately mounted battery | Beam follows the handlebars |
| 3. Self-contained handlebar light | Riders prioritising compact packing | Light and battery housed together | Battery expansion depends on the model |
| 4. Compatible battery upgrade | Riders keeping a suitable existing light | Retains the light head while changing its power supply | Requires verified compatibility and a sound existing setup |
These are buying routes, not a claim that every product within a route performs equally. Choose the arrangement first, then compare the exact specifications.
1. Handlebar-and-helmet setup: best for technical night trails
A handlebar light points with the bike; a helmet light follows where you look. Using 2 front lights in separate mounting positions lets you direct light towards a corner without relying entirely on handlebar direction.
For this setup, pair the main light with a compatible high-capacity battery where the chosen system supports it. Select the helmet light around secure mounting and suitable weight, rather than simply copying the handlebar light onto your head.
Handlebar-and-helmet setup pros:
- Gives you separate steering-directed and head-directed beams.
- Lets each mounting position serve a different job.
- Allows independent power sources if you select separate battery systems.
Handlebar-and-helmet setup cons:
- Adds mounting, charging and pre-ride checks.
- Helmet fit and any cable routing need particular attention.
- Shared power creates a common failure point; two light heads do not automatically mean independent backup.
Best for: Riders who want to look through technical corners while retaining handlebar-mounted trail lighting.
Aim both beams deliberately and avoid pointing the helmet light into other riders' eyes when chatting. Nobody needs a spotlight during the snack stop.
Verdict: Buy this setup for technical night riding when you are prepared to manage both mounting positions.
2. External-battery handlebar light: best for a simple trail setup
An external-battery handlebar light separates the light head from its power pack. You mount the light on the bars and secure the compatible battery elsewhere using the system's specified arrangement.
This is the practical starting point for riders who want a main trail light without adding a helmet-mounted unit immediately. At Bikelights, assess MTB lights and high-capacity batteries as a matched system, not unrelated purchases.
External-battery handlebar light pros:
- Keeps the main lighting position on the bike.
- Separates battery placement from light-head placement.
- Gives you a clear shopping checklist: light, mount, battery, cable and charging equipment.
External-battery handlebar light cons:
- Requires secure battery attachment and careful cable routing.
- Does not follow your gaze independently of the handlebars.
- A failed shared connector or cable can interrupt the main light.
Best for: Riders building a straightforward main-light setup for after-dark trails.
Turn the handlebars fully in both directions before riding. The cable must not pull tight, interfere with controls or hang where it can catch.
Verdict: Buy this setup if you want a clear starting point and accept the external battery and cable checks.
3. Self-contained light: best for compact packing
A self-contained light houses its battery with the light head. That removes the separate external battery and its connecting cable from the basic arrangement.
The appeal is fewer separate pieces to pack and fit. For your 2026 comparison, check whether the specified riding mode covers your planned outing with reserve; do not infer suitability from compact size or an advertised maximum runtime.
Self-contained light pros:
- Keeps the light and battery together.
- Avoids an external battery cable in the basic setup.
- Simplifies moving the unit between storage, charging and the bike.
Self-contained light cons:
- Battery replacement and external-power support depend on the exact model.
- Light and battery share the same mounting position.
- A compact arrangement still needs a verified trail-suitable beam and runtime.
Best for: Riders prioritising fewer separate components, whose planned rides fit the light's documented operating conditions.
Do not assume a charging socket also supports powering the light while riding. Confirm that function explicitly before making it part of your plan.
Verdict: Buy for compact packing only after checking the beam, mount and relevant runtime.
4. Compatible battery upgrade: best for keeping an existing light
A battery upgrade keeps your existing light head and changes its power supply. It is a sensible route when the light still suits your trails and the manufacturer specifies a compatible replacement or alternative battery.
Start with the existing light's requirements, not the new pack's capacity label. Use the guide to checking bike-light battery compatibility before choosing a replacement.
Compatible battery upgrade pros:
- Retains a light head and mount you already know.
- Focuses the purchase on the power system rather than replacing everything.
- Lets you reassess battery placement and cable security at the same time.
Compatible battery upgrade cons:
- Does not improve an unsuitable beam or worn-out mount.
- Requires confirmed electrical, connector and charger compatibility.
- A capacity figure alone does not establish a runtime improvement.
Best for: Riders with a suitable, functioning light whose battery needs replacing or whose system supports another specified pack.
Inspect the light, cable, connectors and mount before committing. A new battery is not a repair for damaged wiring.
Verdict: Buy a battery upgrade only when the existing light remains suitable and the complete power system is confirmed compatible.
Build a complete setup before checkout
Treat a complete setup as a connected system. These four parts need to work together, whether you buy them as a named kit or select compatible components separately.
- Light head: Check the beam information, operating modes and battery requirements.
- Mount: Confirm the intended fitting location and supported attachment method.
- Battery: Verify compatibility, charging requirements and the conditions behind runtime claims.
- Cable: Check reach, connector security and routing through the full steering movement.
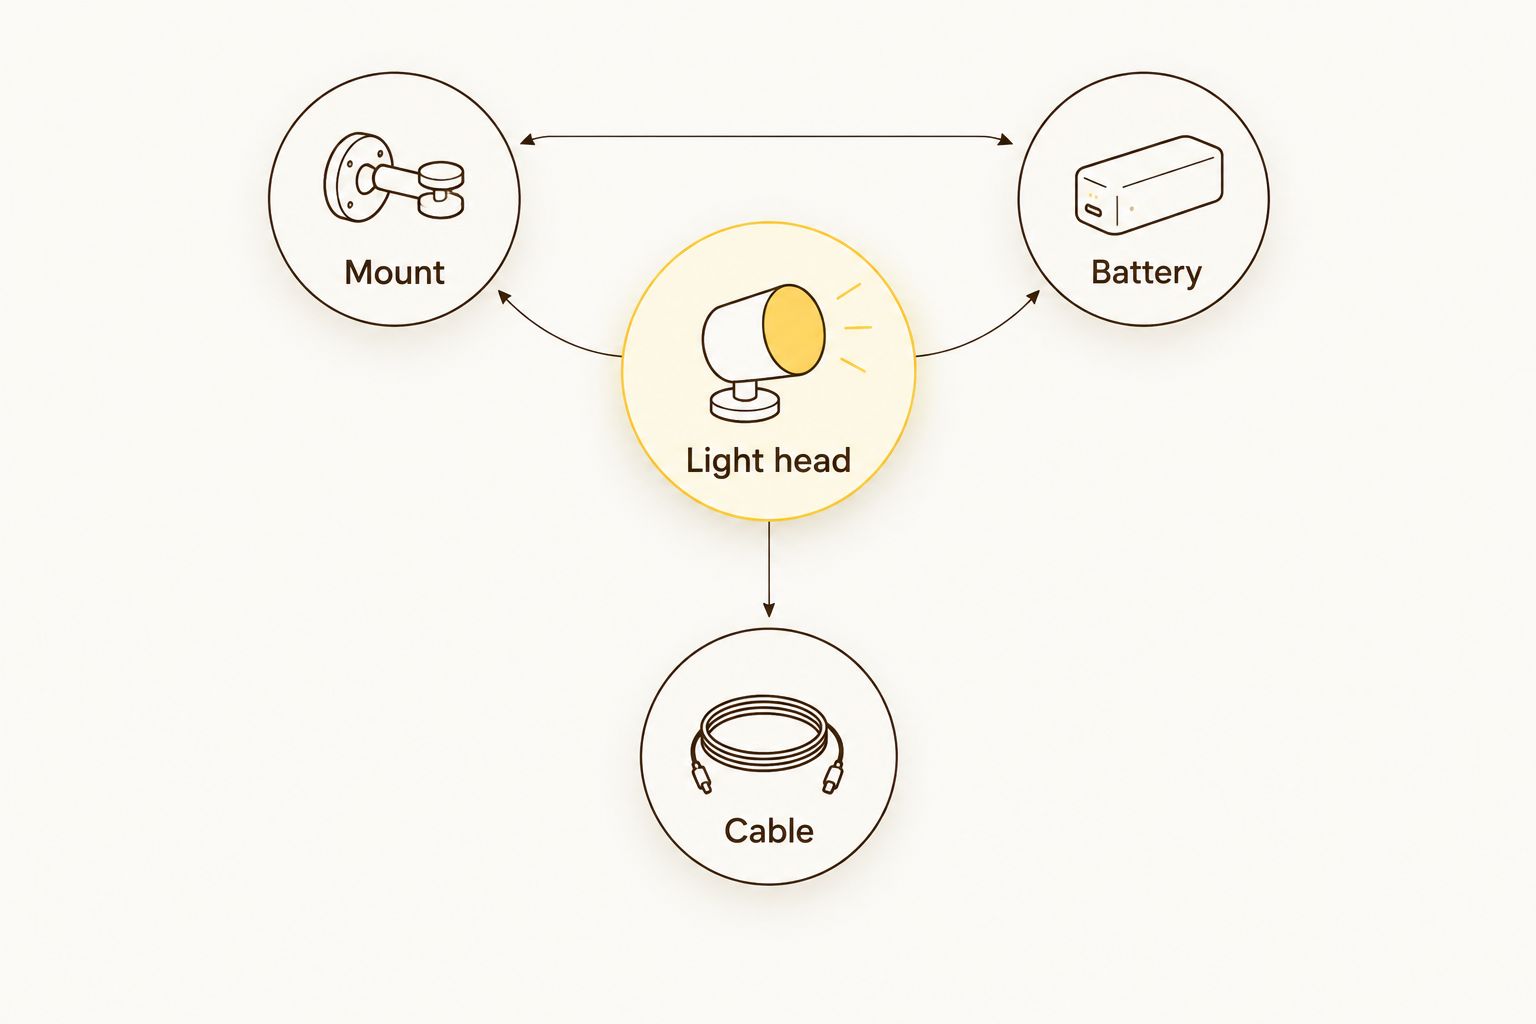
Ask what is actually included. A photograph showing a battery or mount is not a contents list, and an accessory that looks similar is not proof of compatibility.
For a Bikelights MTB lighting purchase, use this checklist to identify the exact components you need. Keep the product details together so you can check the light, battery and charger against each other.
Build your night-riding setup
Compare lights, high-capacity batteries and accessories, then confirm the parts work together.
Compare brightness and runtime without getting sidetracked
Advertised lumens are a claim about output, not a complete description of what you will see on a forest trail. Beam shape, aiming and mounting also matter.
For a useful 2026 comparison, put like-for-like evidence beside each other. Check whether brightness and runtime refer to the same operating mode, and whether the stated conditions resemble your intended use.
Keep these questions beside your shortlist:
- Which mode produced the stated runtime?
- Does the description explain whether output changes during operation?
- What battery was used for the claim?
- Are temperature or other test conditions stated?
- Does the beam information show the area you need to see?
A high-capacity battery belongs in the discussion, but capacity alone cannot promise a particular riding duration. Avoid comparing battery labels as though they were finished runtime tests.
How the setups are ranked
The ranking prioritises useful lighting direction, secure mounting, battery compatibility, relevant runtime evidence and setup completeness. It places dual-position lighting first for technical riding, then separates simpler mounting, compact packing and existing-equipment upgrades into distinct choices.
This is a setup-based buying guide, not an independent brightness or endurance test. No model receives a performance award from an advertised lumen figure alone.
Which mountain bike light setup should you choose?
Choose handlebar-and-helmet lighting as the default for technical night trails. Build the main light around a compatible high-capacity battery where supported, and check the helmet mounting arrangement separately.
Choose a single external-battery handlebar light if you want a simpler starting point. Pick a self-contained unit when compact packing matters more, provided its documented performance fits your ride.
Already happy with your light? Check whether a compatible battery replacement solves the actual problem before replacing the whole setup. Your 2026 purchase should fix a specific limitation, not merely add another charging cable to the drawer.
FAQ
What's the best mountain bike light setup for NZ night trails?
A handlebar-and-helmet setup is the first choice here for technical night trails because it provides separate steering-directed and head-directed lighting. Confirm secure mounts, compatible batteries and runtime conditions for the exact lights you choose.
Do I need a helmet light as well as a handlebar light?
A helmet light adds lighting that follows where you look rather than where the handlebars point. It adds mounting and charging tasks, so choose it for that specific benefit rather than assuming every rider needs the same setup.
Is a high-capacity battery always better for mountain bike lights?
No. A high-capacity battery is useful only when it is compatible with the light and suitable for your mounting and charging arrangements. Its capacity label alone does not establish how long your chosen light mode will run.
Can I use any battery with the same connector?
No. A matching connector does not confirm electrical compatibility or charger suitability. Check the light and battery specifications together before connecting them.
Are self-contained bike lights suitable for trails?
A self-contained light is suitable only when its beam, mount and documented runtime meet your trail-riding needs. The integrated design describes where the battery sits, not how well the light performs.
What should a complete mountain bike light setup include?
A complete setup needs the light, a suitable mount, a compatible power source and the required charging equipment, plus connecting cables where applicable. Check the contents explicitly rather than assuming accessories are included.
Should my backup light use the main battery?
Use 1 independent backup light for a remote night ride rather than relying entirely on the main battery. Independence means the backup does not need the main light's battery or cable to operate.
One last thing
Two light heads sharing one battery are not two independent lighting systems. Before a remote ride, check what still works if the main battery, cable or connector fails.
Then practise switching to your backup somewhere safe. Finding its button beside the shed beats searching for it beside a dark trail.