Best overall for regular night-trail riding: a handlebar light with a compatible high-capacity external battery. Best for technical trails: handlebar and helmet lights together. Best for short mixed rides: a compact built-in-battery front light. This 2026 guide compares rechargeable setups, so you can choose the right light, mount and battery combination rather than chase the biggest brightness claim.
- The best rechargeable bike lights match your trail, mounting position and battery needs—not just an advertised lumen figure.
- Bikelights sells bike lights, high-capacity battery packs, taillights and accessories for NZ night riders.
- Choose an external-battery handlebar setup for regular trail riding; verify the complete system before buying.
- Add a helmet light for technical riding, and a rear light for road connections.
Why this matters
A rechargeable light is only useful when the whole setup works on your bike. A secure mount, suitable beam and compatible battery deserve as much attention as the light head.
Bikelights suits NZ mountain bikers shopping for bike lights, high-capacity battery packs and accessories together. Start with the Bikelights range, then check the exact contents and compatibility of anything you shortlist. Do not assume a pictured battery, charger or helmet mount comes with the light.
The recommendations below rank setup types, not individual models or independently tested products. Each earns a different job: regular trail riding, technical terrain, short mixed rides or road-linked journeys. That distinction keeps the buying decision useful without pretending every rider needs the same kit.
What makes the best rechargeable bike lights?
Use these criteria for your 2026 shortlist before comparing advertised output:
- Usable beam: Judge where the light falls, including trail edges and the ground ahead. A lumen claim alone does not describe that pattern.
- Complete power system: Confirm the light, battery, charger and cables work together. High capacity is useful only in a compatible setup.
- Secure mounting: Check handlebar fit, battery attachment and any helmet-mount requirements. Nothing should move when you steer or ride rough ground.
- Relevant runtime information: Look for the operating mode and conditions behind a runtime claim. Do not transfer a low-mode figure to maximum output.
- Practical charging: Choose a charging arrangement you can use consistently. Check the specified charger rather than assuming any familiar connector will do.
- Ride coverage: Plan for the trail, the journey home and a separate backup where the route calls for one. A front light does not replace rear visibility.
Rechargeable bike-light setups at a glance
| Rank and setup | Best for | Standout feature | Key limitation |
|---|---|---|---|
| 1. External-battery handlebar light | Regular after-dark trail rides | Separates the light head from the battery pack | Needs compatible components and secure cable routing |
| 2. Handlebar and helmet lights | Slow, technical trail riding | Provides fixed forward light and head-directed light | Adds mounting and charging tasks |
| 3. Built-in-battery front light | Short mixed-surface rides | Keeps the battery and light in one unit | Battery cannot be treated as interchangeable unless specified |
| 4. Rechargeable front-and-rear setup | Rides with road connections | Covers forward illumination and rear visibility | A front-and-rear label does not establish trail suitability |
These are different configurations, not claims about particular products. For any 2026 purchase, the exact product information must settle compatibility, included parts, charging requirements and runtime.
1. External-battery handlebar light: best for regular night trails
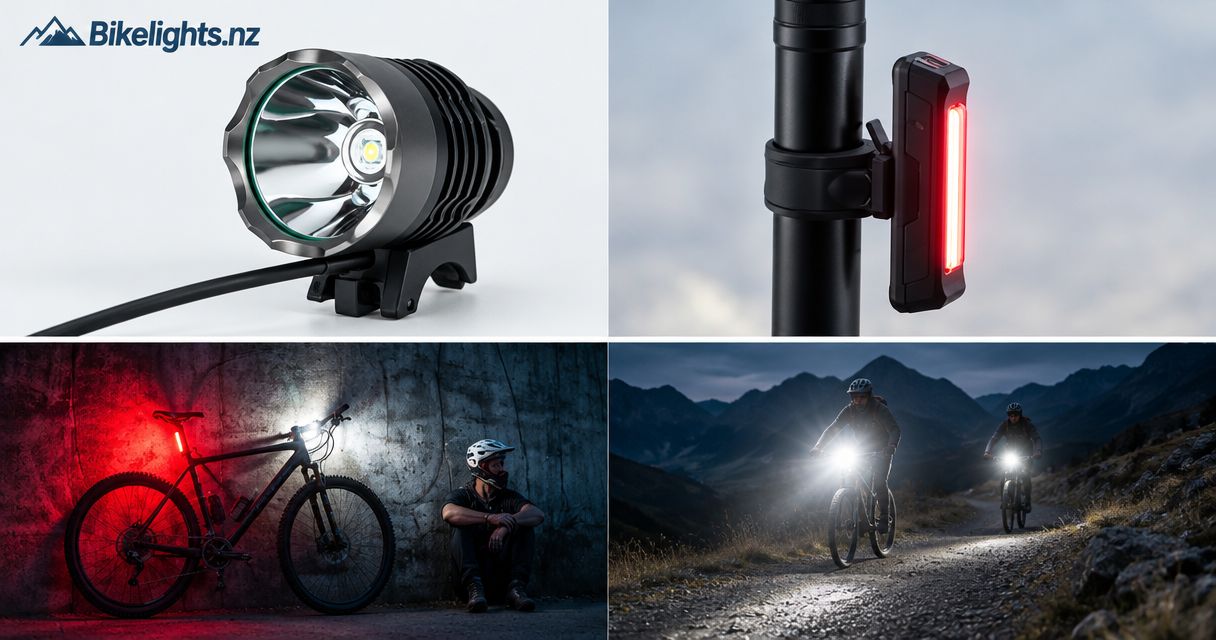
An external-battery setup places the light head on your handlebars and the connected battery elsewhere on the bike. It lets you consider beam position and battery placement separately, which makes it a useful starting point for regular after-work trail rides.
Best for: Mountain bikers building a complete system around a handlebar light and compatible high-capacity battery.
External-battery setup pros
- You can choose the battery position separately from the light position.
- A compatible high-capacity pack can form the power supply for your intended riding plan.
- The setup gives you distinct parts to check: light, mount, cable, battery and charger.
External-battery setup cons
- Cables and battery straps add fitting work.
- A matching-looking plug does not establish electrical compatibility.
- Replacing one component requires checking the rest of the system again.
At Bikelights, approach bike lights and battery packs as a complete purchase decision. Before ordering, use the bike-light battery compatibility guide to organise your checks. Confirm the specified voltage, connector, polarity and charger requirements rather than relying on appearance.
For example, do not buy a larger battery first and assume it will suit a light you choose later. Select the intended combination, then check the manufacturer's requirements for every connected component.
Verdict: Buy this setup type for regular night-trail riding once the light, battery, charger and mounts are confirmed compatible.
2. Handlebar and helmet lights: best for technical trails
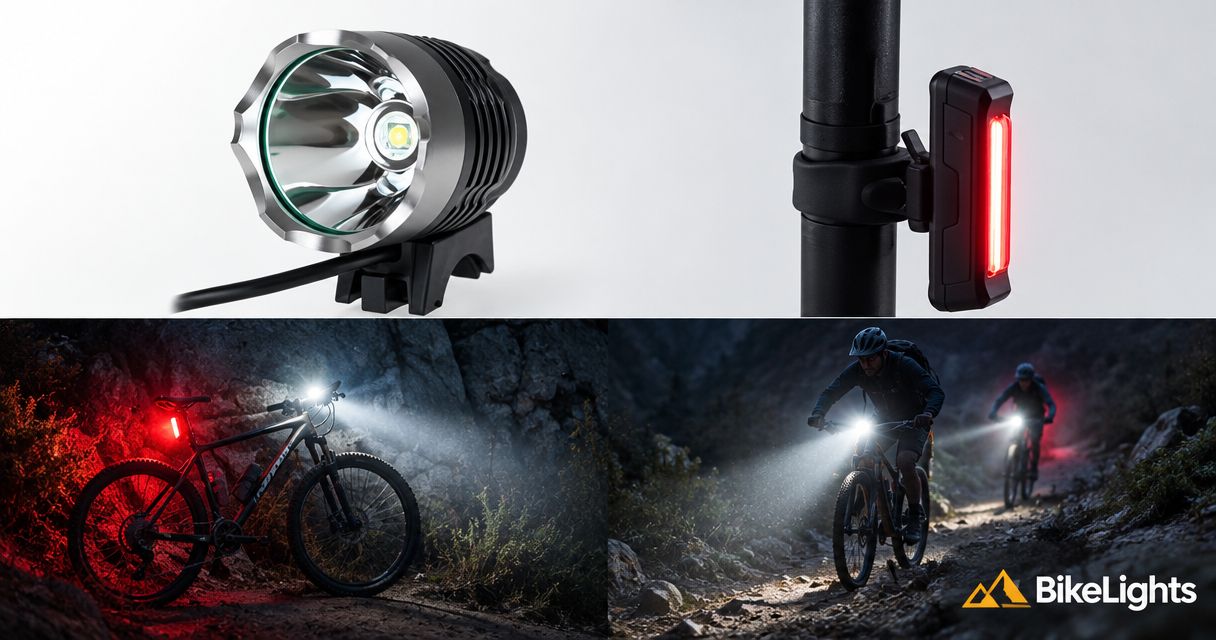
A handlebar light follows the bike's steering, while a helmet light follows your head. Together, they give you different lighting directions when you look towards a corner, inspect a line or turn towards something beside the trail.
Best for: Riders tackling slow, technical terrain who want head-directed light alongside a handlebar beam.
Handlebar-and-helmet setup pros
- The helmet light points towards the place you look.
- The handlebar light keeps a separate view of the ground ahead of the bike.
- Independently powered lights provide separate power sources rather than one shared battery dependency.
Handlebar-and-helmet setup cons
- Helmet mounting adds weight and requires a suitable attachment method.
- You have more charging, adjustment and pre-ride checks.
- Two light heads sharing one battery are not independent backup systems.
Start by checking whether the light is intended for helmet use and whether the mount suits your helmet. Follow the helmet manufacturer's guidance; do not drill, cut or improvise an attachment that changes the helmet.
For this configuration, you are managing 2 light heads in 2 mounting positions. That is a practical fitting task, not a brightness contest. Check that neither position shifts, and keep any cables away from steering movement and snag points.
Verdict: Buy a handlebar-and-helmet configuration for technical riding when both mounting arrangements are suitable; do not treat a shared battery as a backup.
3. Built-in-battery front light: best for short mixed rides
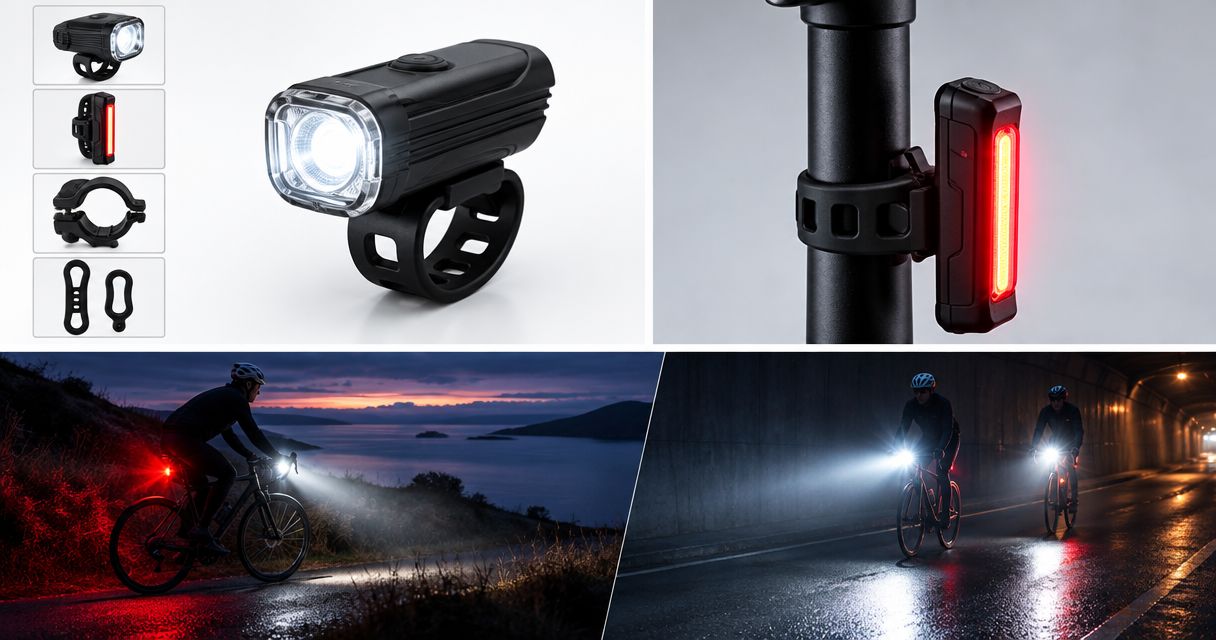
A built-in-battery front light keeps the light and power source in one housing. It removes the separate external pack and connecting cable from your installation, making the physical setup simpler.
Best for: Riders prioritising a compact installation for short rides that mix familiar paths, gravel and road sections.
Built-in-battery front-light pros
- There is no separate battery pack to strap to the frame.
- The installation has fewer separate components to route and secure.
- A removable design, where specified, lets you take the whole unit away for charging.
Built-in-battery front-light cons
- You cannot assume the internal battery is replaceable or interchangeable.
- A compact housing does not prove the beam suits an unlit trail.
- The light still needs a verified runtime for the mode you intend to use.
For your 2026 shortlist, read beyond the word rechargeable. Check how the unit charges, how it attaches and what runtime conditions accompany its advertised modes.
Do not choose this configuration merely because your ride is short on a map. A short technical descent and a short illuminated commute ask different things of the beam. Match the light to the hardest section you intend to ride, not just the distance to the trail entrance.
Verdict: Buy a built-in-battery front light when compact fitting is your priority and its documented beam and runtime suit the whole route.
4. Rechargeable front-and-rear setup: best for road connections
A front-and-rear configuration combines forward lighting with rear visibility. It is the relevant starting point when your night ride includes roads between home and the trail, rather than assuming a powerful trail light covers every direction.
Best for: Mountain bikers whose route includes road sections before or after the off-road riding.
Front-and-rear setup pros
- It addresses separate front and rear lighting needs.
- You can choose each mounting position around your bike and luggage.
- Separate units let you inspect front and rear operation individually.
Front-and-rear setup cons
- Both units need charging and checking.
- A saddle bag or clothing can obstruct a rear light.
- A bundled front light still needs its own assessment for unlit trails.
Plan for 1 front light and 1 rear light as distinct parts of your shopping checklist, then check current NZ road-lighting requirements. Those counts describe this configuration; they are not a complete statement of legal compliance.
Fit your usual saddle bag before deciding where the rear light belongs. View the mounted light from behind with the bike packed as you actually ride it. A tidy-looking installation is not useful if your luggage hides it.
Verdict: Buy a front-and-rear configuration for road-linked rides, with the front light chosen separately for the trail conditions.
Build the complete setup before checkout
For a 2026 purchase, write down the parts your chosen configuration needs. Keep these checks separate so a missing mount or incompatible charger does not disappear inside the phrase light set.
- Light head: Choose the beam and operating modes for your riding.
- Mounts: Confirm the attachment suits the intended handlebar or helmet position.
- Battery: Check compatibility and the runtime conditions relevant to your chosen mode.
- Charger: Use the charging equipment specified for the battery or light.
- Cable routing: Where cables are present, keep steering movement clear and secure the pack.
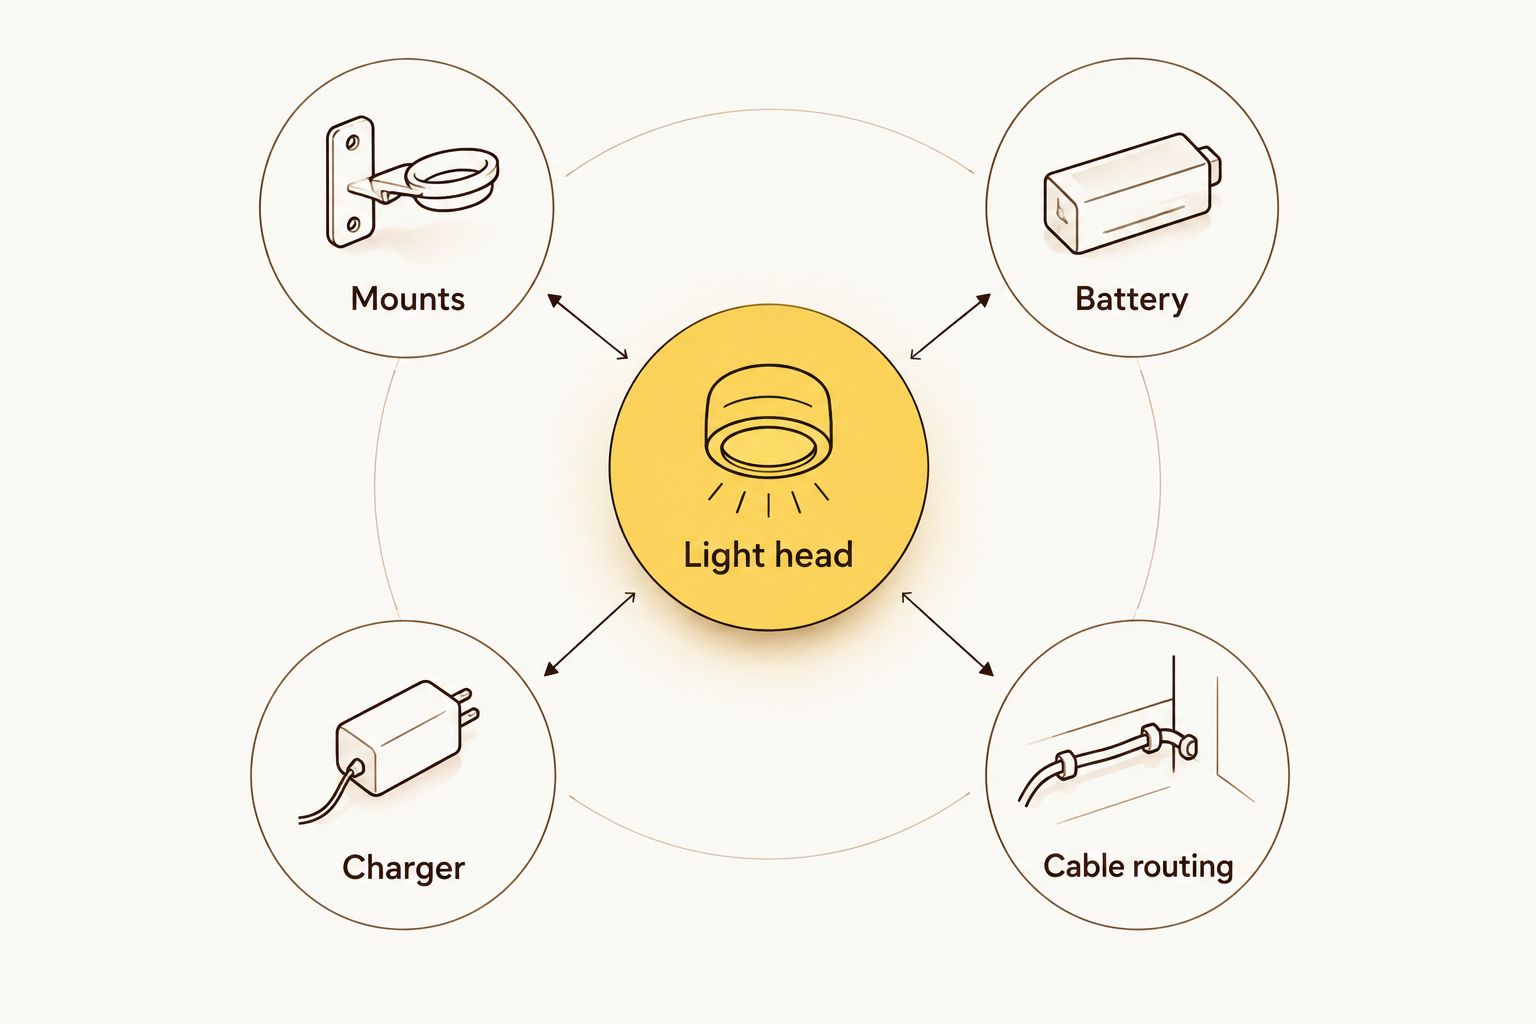
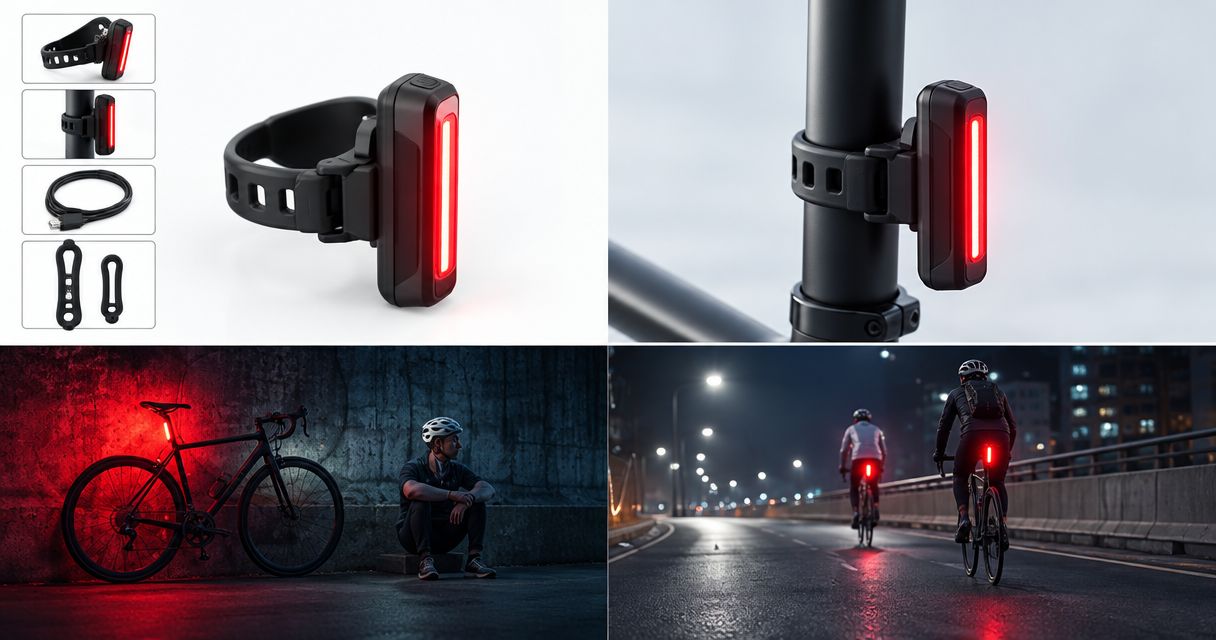
Read the contents list line by line. If a required component is not explicitly included, confirm it before completing the order. A product photograph is not a packing list, however convincing the little collection of parts looks.
Bikelights sells the relevant categories—bike lights, battery packs, taillights and accessories—but the exact combination still needs checking. Do not assume every battery suits every light simply because they come from the same shop.
Build your night-ride setup
Choose lights, then check compatible batteries, mounts and charging equipment.
Read brightness and runtime claims properly
Advertised lumens describe an output claim, not the complete experience of riding behind the light. Beam shape, aiming and mounting position also affect what you can see. Compare lights on the information actually supplied rather than awarding the win to the largest number.
Apply the same discipline to battery life. A runtime figure needs its operating mode and conditions beside it; a low-output claim is not a promise for your preferred trail setting.
For a 2026 buying decision, ask these questions before accepting a claim:
- Which light mode does the stated runtime describe?
- Which battery is used for that claim?
- What operating or test conditions are specified?
- Does the description explain changes in output during use?
If those details are unclear, ask for clarification instead of filling the gaps with optimism. Your battery does not know you were hoping to squeeze in another loop.
How these setups are ranked
The order prioritises complete-system suitability for NZ mountain bikers riding after dark. External-battery handlebar setups come first for regular trail use; helmet additions serve technical riding; integrated lights prioritise simpler installation; front-and-rear configurations address road-linked journeys.
The criteria are beam suitability, power compatibility, mounting, runtime information, charging and route coverage. The ranking does not declare a tested product winner or verify any model's advertised output. Your exact product choice must pass those checks on its own information.
Which rechargeable bike-light setup should you choose?
For regular night-trail riding, start with a handlebar light, compatible high-capacity battery and secure mounting arrangement. Add a suitable helmet light when looking through technical terrain is part of your riding. Add rear lighting for road connections.
Choose a built-in-battery front light instead when simpler installation matters most and its documented performance suits the route. Do not buy extra components merely to imitate somebody else's cockpit; buy the configuration that answers your own riding needs.
FAQ
What are the best rechargeable bike lights for NZ mountain biking?
A handlebar light with a compatible high-capacity external battery is the starting recommendation for regular night-trail riding. Choose the exact model using beam information, mounting requirements and runtime conditions rather than advertised lumens alone.
Is an external battery better than a built-in battery?
An external battery suits riders who want to position the pack separately from the light head. A built-in battery simplifies installation, but neither format guarantees a particular runtime or beam quality.
Do I need a helmet light as well as a handlebar light?
A helmet light is a useful addition for technical trails because it points where you look. Check that the light and attachment method are suitable for your helmet, and retain a separate handlebar beam.
Will any rechargeable battery work with my bike light?
No; the battery must meet the light's compatibility requirements. Check voltage, connector, polarity and specified charging equipment before connecting components.
How long will a rechargeable bike light last on a ride?
Use the manufacturer's runtime for the exact light, battery and operating mode under the stated conditions. Do not use a low-mode figure to plan a ride at higher output.
Do I need a rear light if I already have a trail light?
A front trail light does not provide rear visibility. Include rear lighting for road connections and check current NZ requirements for the complete road setup.
What should I check before buying a complete bike-light set?
Check the stated contents, component compatibility, mounting fit and charging requirements. Confirm whether the battery, charger and every required mount are included rather than relying on photographs.
One last thing
Before the first trail outing, fit the complete setup with your normal bag and riding gear. Turn the handlebars through their movement, check cable clearance, inspect every attachment and confirm you can reach the controls.
A second light head on the same battery is extra lighting, not an independent power backup. Keep that distinction in mind when planning remote rides. It is less exciting than a lumen claim, but much more useful when a power connection fails.