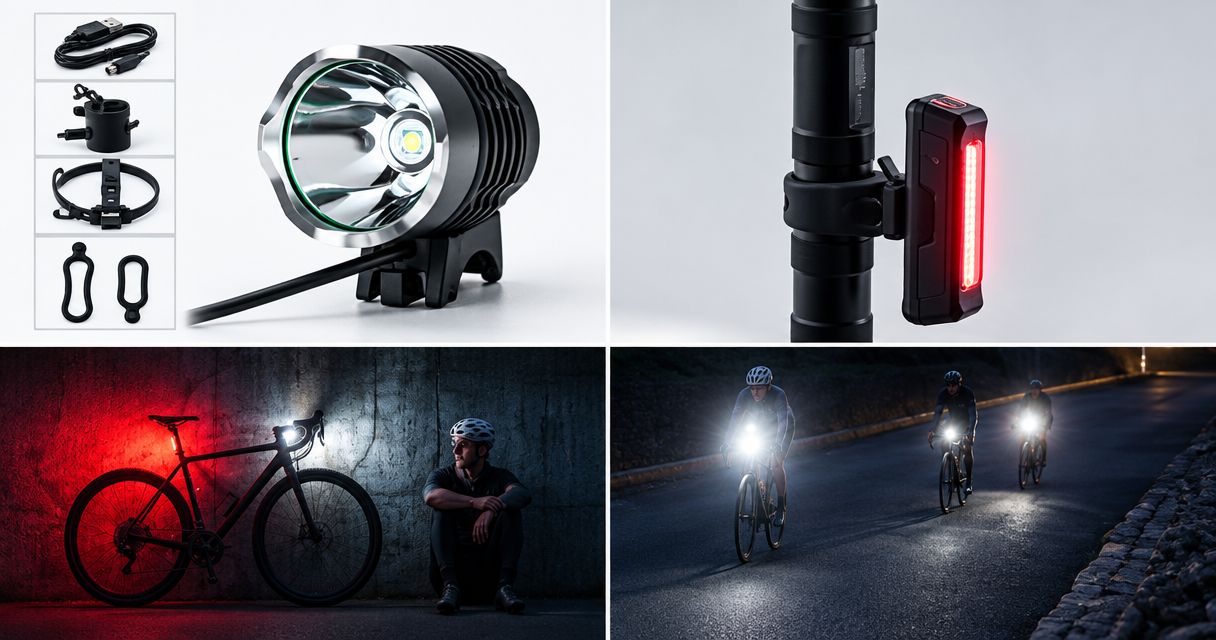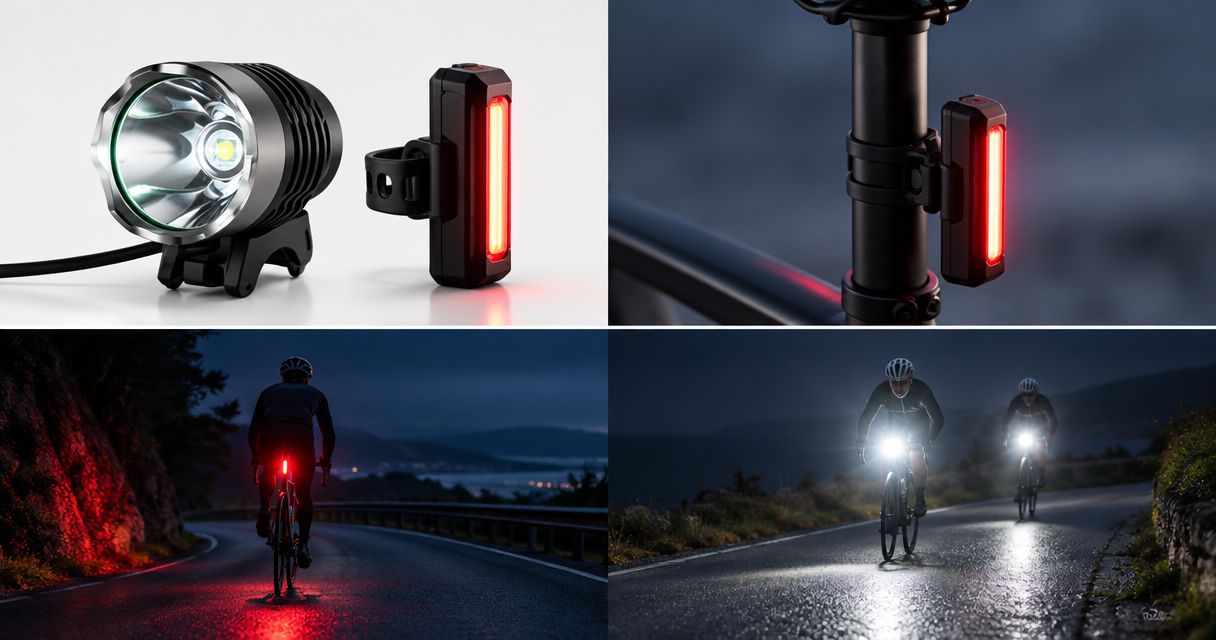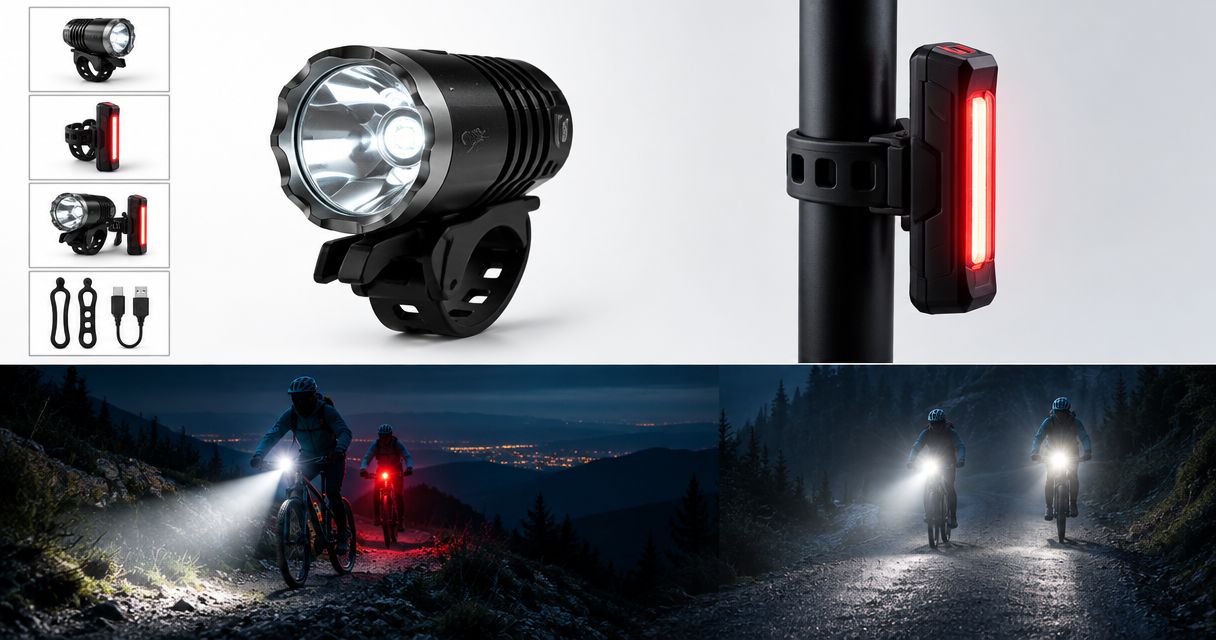
Bike lights that flicker in time with bumps point to an intermittent electrical connection: check the battery connection, plugs and cable strain before replacing the light. If the beam moves but never actually switches off, investigate the mount instead; stop somewhere safe before checking either problem.
- Bike lights that cut out over bumps need connection checks before a replacement purchase.
- A bouncing beam is different from flicker: check whether the light actually loses power.
- Secure external batteries without pulling their cables tight through steering movement.
- Bikelights sells bike lights, high-capacity battery packs and accessories; confirm compatibility before combining parts.
Why this matters
On a dark trail, an unreliable light needs attention before the next descent, not after it. A bigger battery cannot repair a loose plug, and a brighter light cannot fix a slipping mount.
Treat the light, mount, cable and battery as a complete setup. Before buying replacement parts in 2026, use the bike light battery compatibility guide to separate a connection problem from a mismatched replacement. Matching the plug shape alone is not enough.
Why do my bike lights flicker on rough trails?
Rough ground shakes the light, battery and wiring. If that movement interrupts an electrical contact, the beam can cut out and return as the connection moves; if the whole light rotates, the beam moves without losing power.
First, identify what you actually see. These observations guide your checks, but none proves which component has failed.
| What you notice | Check first | What the observation does not prove |
|---|---|---|
| Beam disappears as the bike hits bumps | Plug seating, battery retention and cable strain | That the battery needs replacing |
| Beam sweeps around but stays illuminated | Light mount, strap and mounting surface | That there is an electrical fault |
| Light changes when an accessible cable moves gently | Cable entry points and connector condition | Exactly where an internal break sits |
| Light dims gradually rather than cutting out | Charge state and the manufacturer's operating guidance | That vibration is the cause |
| Light pulses in a regular pattern while stationary | Selected mode and the light's instructions | That the light is faulty |
Do not recreate the problem by charging down another rocky section. A stationary inspection is the place to start, and a fault that remains unexplained belongs off the trail.
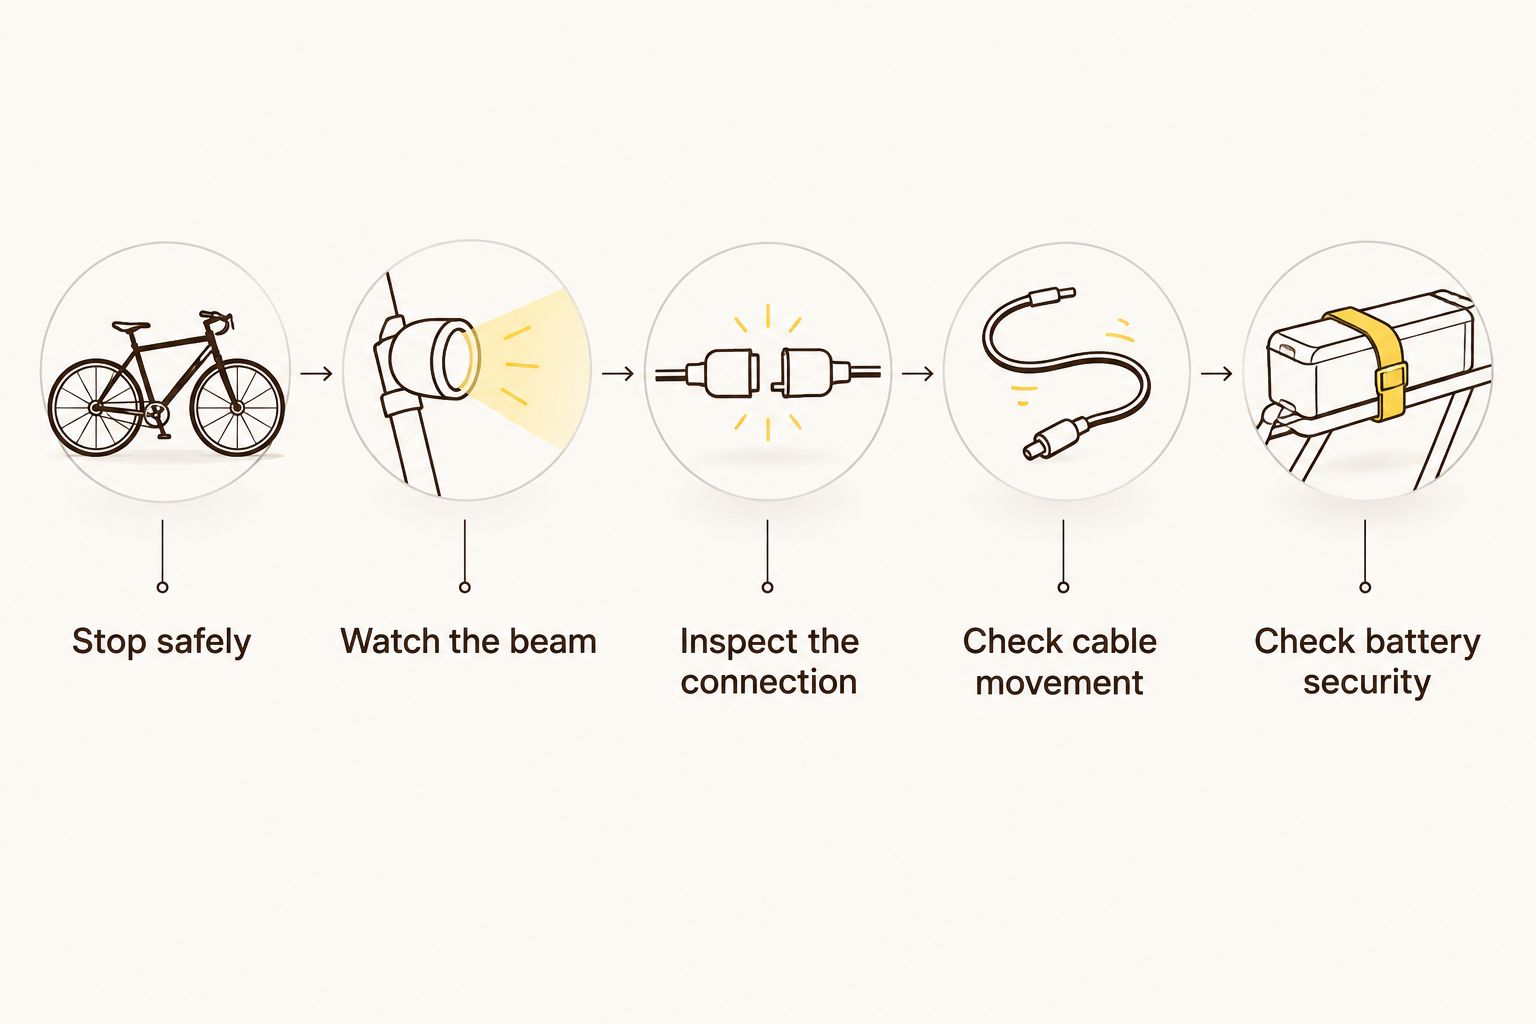
Check the setup in this order
For your 2026 pre-ride check, work from visible movement towards the electrical connections. Change one thing at a time so you can tell which adjustment matters.
- Stop safely. Get off the riding line and use another light to inspect the bike. Keep an unreliable light out of service for technical riding.
- Watch the beam. With the bike stationary, gently check the mount for movement. Establish whether the lamp goes dark or simply points somewhere else.
- Inspect the connection. Switch the light off before disconnecting accessible plugs, following its instructions. Look for incomplete seating, damaged parts, dirt or moisture; never force a connector.
- Check cable movement. Turn the handlebars through their normal steering range. Look for pulling at either end, rubbing, trapped sections or a cable that catches on controls.
- Check battery security. Confirm that an external pack stays in place without hanging from its lead. Inspect user-accessible battery retention only as the manufacturer permits.
- Retest safely. After correcting an obvious fit issue, check operation while stationary. If flicker remains or returns, stop using the faulty setup and arrange repair or replacement.
The aim is to find the fault, not make the light pass a wrestling match. Do not yank cables, strike the battery or open sealed electronics.
External-battery lights: check the whole power path
An external-battery setup has a cable between the pack and lamp, so inspect that entire route. A secure battery is only part of the job: its position must also let the cable reach the light without pulling tight.
Check how the pack sits against the frame and whether its retention system has loosened. Then look at each accessible connection and cable entry point, following the manufacturer's fitting instructions rather than improvising extra tension.
Best for diagnosis: inspect the complete external-battery setup before replacing a component. Its separate parts let you inspect connections individually, but they also create more places to check. A sound lamp cannot compensate for a damaged lead.
If the fault appears when you steer, cable routing deserves attention. If it appears when the pack shifts, correct the retention and inspect for damage rather than simply cinching everything harder.
Built-in-battery lights: check mounting and permitted access
A built-in battery removes the external battery lead from your setup. It does not remove the need to distinguish a slipping mount from an electrical interruption.
Check the mount, selected mode and any user-accessible battery cover according to the instructions. Do not open a sealed housing to look for loose wiring, and do not pack improvised material around a battery.
Best for diagnosis: start with external checks on a built-in-battery light. Fewer exposed connections simplify inspection, but sealed construction limits what you can safely investigate yourself. Persistent flicker needs manufacturer guidance or a qualified repair assessment.
Why flicker changes with trail conditions
A fault can appear on rough ground and stay hidden while the bike sits in the garage. These factors explain why a stationary light can seem fine without proving it is ready for the trail:
- Vibration: Movement can interrupt an already loose electrical contact. Check accessible connections rather than assuming the LED itself has failed.
- Steering movement: A cable routed too tightly can pull at a plug as the bars turn. Check the full normal steering range.
- Battery movement: An unsecured external pack can tug its lead or knock against the frame. Secure the pack using the intended mounting method.
- Mount movement: A slipping lamp sends its beam away from the trail. That looks alarming but requires a mounting check, not automatically a new battery.
- Moisture or contamination: Water, dirt and corrosion at connections require attention. Follow the cleaning and drying instructions before reconnecting equipment.
Keep those checks separate. Tightening a mount will not repair an electrical connection, and cleaning a plug will not stop a loose lamp rotating.
What should I check before buying replacement parts?
For a replacement purchase in 2026, identify the faulty component before choosing its replacement. Start with the manufacturer's compatibility information for your existing light, not a connector that happens to look familiar.
Check the required voltage, connector arrangement, polarity and charging requirements. Confirm any additional manufacturer-specific restrictions, and never assume that two physically matching plugs make a safe combination.
Bikelights is best for cyclists shopping for bike lights, high-capacity battery packs and accessories together. Use that complete-setup approach when choosing parts: the lamp, compatible power source and secure mounting all need to suit your ride.
High capacity is useful only within a compatible system. It does not establish runtime by itself, and it does not tell you whether a particular pack supports your light's operating requirements.
Before placing an order, write down:
- The exact light model and its stated electrical requirements.
- The existing battery's identifying information and condition.
- The connector details specified by the manufacturer.
- Which mounts, straps and cables the proposed purchase includes.
- Any verified runtime conditions relevant to your intended riding mode.
If you cannot establish compatibility, pause the purchase and ask for confirmation. Guessing is a poor shopping strategy when the result powers your view of the next corner.
Browse Bikelights with that checklist beside you. Choose a complete compatible setup or a confirmed replacement part, rather than adding battery capacity to an unresolved fault.
Check your next light setup
Choose bike lights, high-capacity batteries and accessories with compatibility and mounting in mind.
Can a bigger battery stop my bike lights flickering?
A bigger battery does not repair a loose connector, damaged cable or slipping mount. Replace a battery only when the checks establish a battery problem and the replacement is confirmed compatible; capacity alone is not a diagnosis.
Can I tape a loose connector and keep riding?
Tape is not a repair for a damaged or unreliable electrical connection. It can also hide the condition you need to inspect, so correct the connection using the manufacturer's guidance before relying on the light again.
Why does the light work at home but flicker outside?
A light sitting still at home does not experience the same cable movement or vibration as a bike on a rough trail. Inspect the setup under gentle, stationary movement, but do not treat an uneventful garage check as proof that an intermittent fault has disappeared.
Your final check before the next night ride
Make the same decision in 2026 that you would beside a dark trail: can you rely on this setup without nursing the cable or holding the lamp in place? If the answer is no, leave the technical night ride until the fault is resolved.
Check the light in its fitted position, with the battery secured and the handlebars turning normally. Look for a stable beam and connections free from strain, then confirm that nothing fouls the controls.
An independent backup light is useful because it does not depend on the same battery connection. Its limitation is equally important: a small get-you-home light is not automatically suitable for continuing technical trail riding at your planned pace.
Use backup lighting to create a safer exit, not an excuse to ignore the main fault. Choose your route and pace around the lighting that actually works.
FAQ
Why do my bike lights flicker when I hit bumps?
Bike lights that cut out with bumps point to an intermittent connection or a movement-related fault. Stop safely and check accessible plugs, battery security and cable strain before replacing parts.
How can I tell flicker from a loose light mount?
Flicker interrupts the light output; a loose mount changes where an illuminated beam points. Check the lamp while stationary to distinguish power loss from movement.
Can I use any battery with the same plug?
No, a matching plug does not establish battery compatibility. Confirm voltage, polarity, connector requirements and the manufacturer's compatibility guidance before connecting a replacement.
Should I replace my bike light battery first?
Replace the battery only after checks identify a battery problem and establish the correct replacement. A loose connector or damaged cable needs its own repair, regardless of battery capacity.
Is it safe to keep riding with a flickering front light?
Do not continue technical night riding with an unreliable front light. Stop safely and use dependable backup lighting to arrange an appropriate exit rather than carrying on at your planned pace.
What should I look for when buying a replacement setup in 2026?
For a replacement setup in 2026, confirm that the light, battery, cables and mounts work together. Bikelights sells bike lights, high-capacity battery packs and accessories; check the stated compatibility and included parts before ordering.
One last thing
A battery strap also affects cable strain. Moving an external pack can change how much cable reaches the handlebars, even when the lamp stays in exactly the same place.
After repositioning a pack, repeat the steering check before riding. That small adjustment deserves a fresh look, not a hopeful shrug.