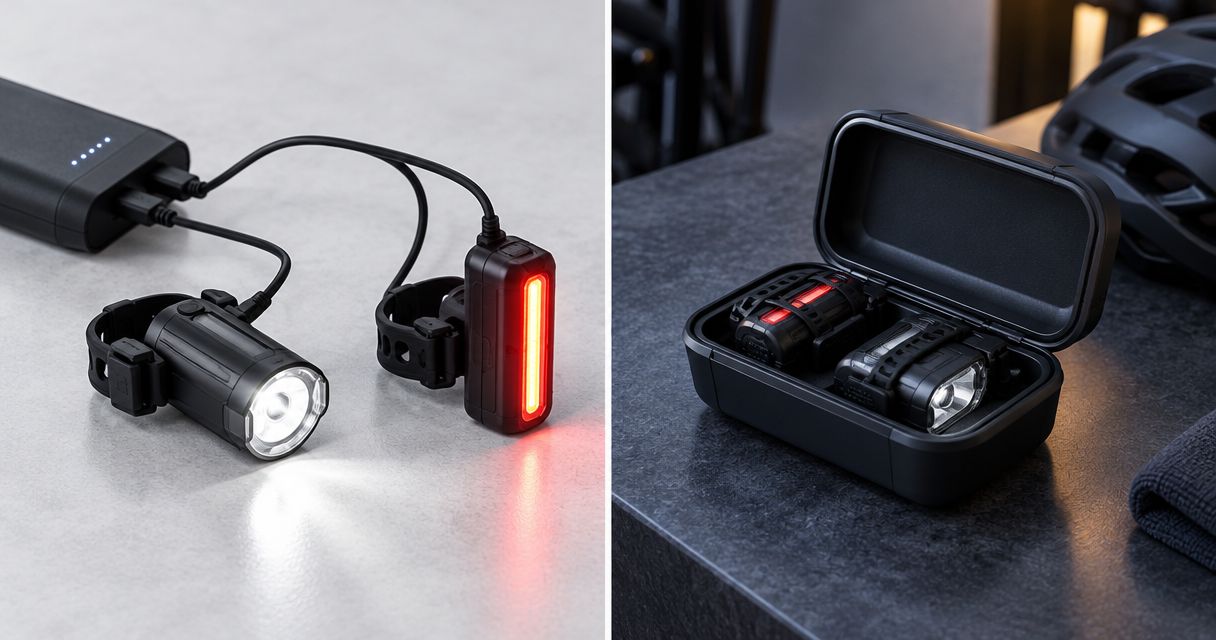
Charge rechargeable bike lights with the charger and power source specified for the exact light or battery, on a dry, non-flammable surface while you are awake and nearby. For safe storage in 2026, switch everything off, follow the maker’s storage-charge instructions, and keep lights and batteries somewhere cool and dry, away from heat, damaged equipment and escape routes.
- Rechargeable bike lights need the specified charger, dry connections and supervised charging—not just a plug that fits.
- Bikelights sells bike lights and high-capacity battery packs; confirm compatibility across your complete night-riding setup.
- Stop using batteries that swell, leak, smell unusual or become excessively hot.
- Store lights switched off in a cool, dry place, following the battery maker’s storage instructions.
How do you charge and store rechargeable bike lights safely?
Match the charging equipment to the exact battery, inspect everything before connecting it, and separate charging from long-term storage. A connector that fits does not establish electrical compatibility. Check bike light battery compatibility before buying, especially when adding a spare pack to an existing trail-light setup.
Before charging
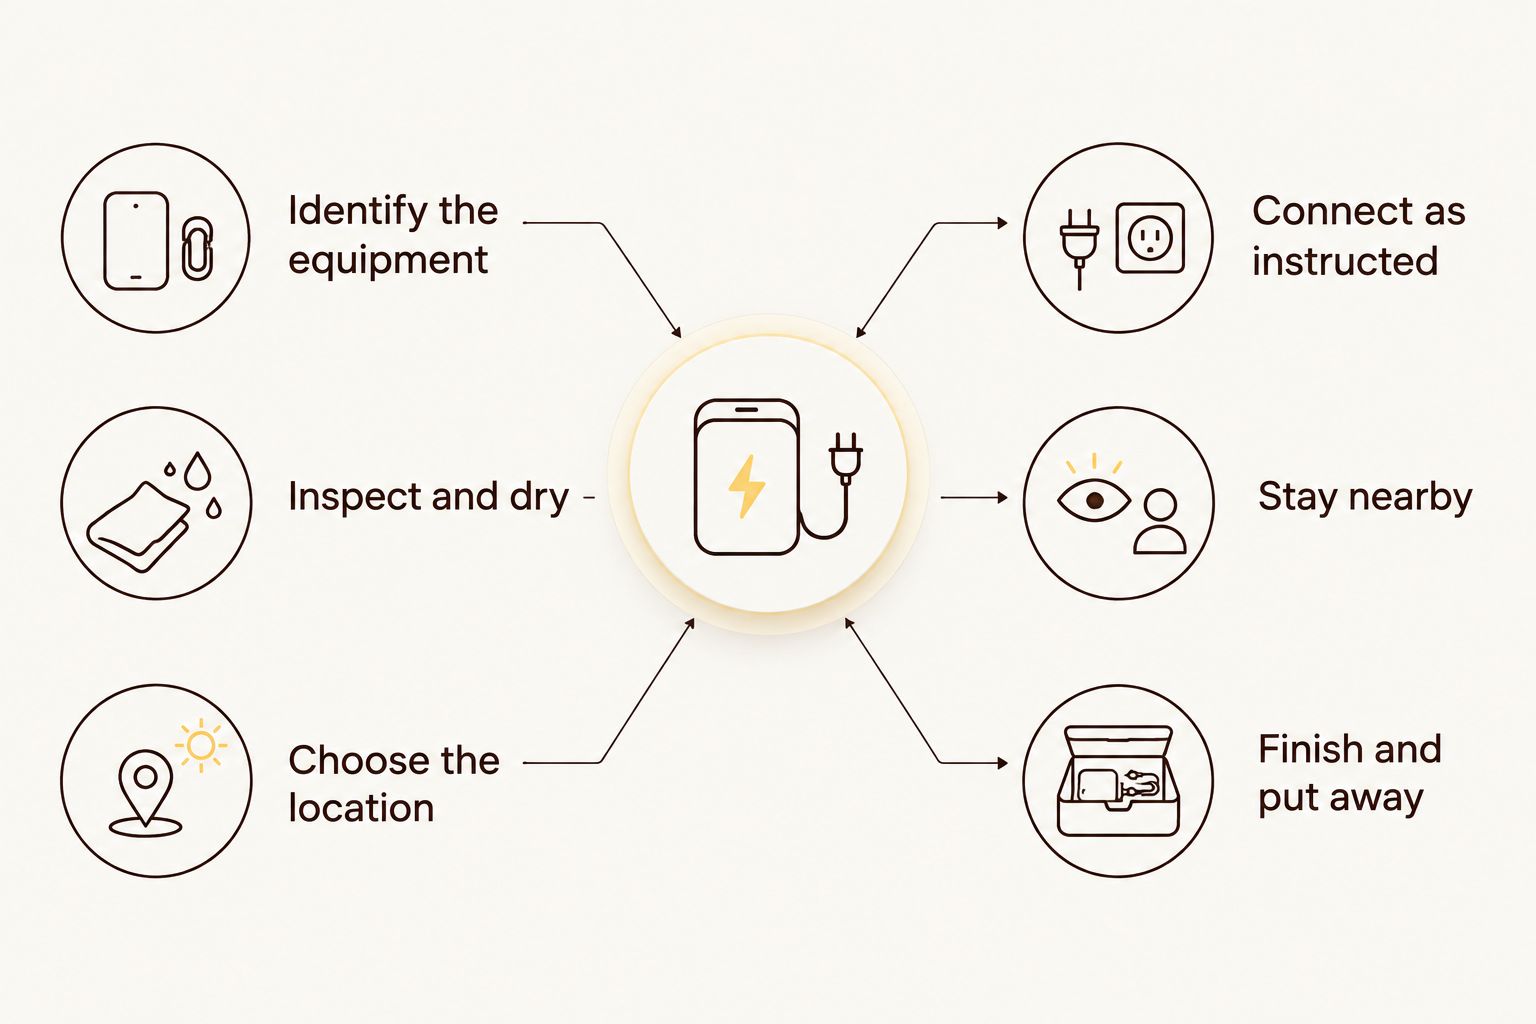
- Identify the equipment. Read the light or battery label and its instructions. Confirm the required charger, power source and permitted charging conditions.
- Inspect and dry. Look for damaged cables, bent contacts, swelling, leaks or a cracked casing. Clean away mud as instructed and let wet charging connections dry completely.
- Choose the location. Use a stable, dry, non-flammable surface away from bedding, paper, curtains and exits. Keep the charger uncovered.
During and after charging
- Connect as instructed. Follow the maker’s connection sequence. Do not force plugs, improvise adapters or connect an unverified battery pack.
- Stay nearby. Charge while you are awake and able to notice a problem. Stop charging if the equipment becomes excessively hot or behaves abnormally.
- Finish and put away. Follow the specified completion indicator, disconnect as instructed, and replace protective port covers once connections are dry.
A repeatable routine beats a hurried plug-in beside a pile of muddy riding kit. Put the instructions where you charge, not somewhere you will only remember after something goes wrong.
Why this matters
Your night-riding setup is a connected system: light, mount, cable, battery and charger. A high-capacity battery is useful only when it is compatible with the light and can be secured properly for the ride. Charging safety belongs in that buying decision, not as an afterthought.
When comparing equipment in 2026, look beyond advertised brightness and battery capacity. Ask whether the instructions clearly identify compatible batteries, charging equipment and storage conditions. An advertised lumen figure does not tell you how to charge a battery safely or how long your chosen riding mode will run.
Bikelights sells bike lights, battery packs, taillights and accessories for New Zealand riders. Build your shopping list around the complete setup you need rather than assuming separately chosen parts will work together.
Built-in or external battery: what changes when charging?
The basic precautions stay the same for rechargeable bike lights in 2026. What changes is the equipment you inspect, disconnect and store.
| Battery arrangement | Best for | Practical advantage | Trade-off | Charging check |
|---|---|---|---|---|
| Built-in battery | Riders who prefer fewer separate components | The battery stays within the light housing | Battery replacement depends on the light’s design and service options | Confirm the light’s specified input and inspect its charging port |
| External battery pack | Riders planning a separate light-and-battery setup | The pack can be positioned separately from the lamp, as its design permits | Extra cables, connectors and mounting points need attention | Confirm both light compatibility and the pack’s specified charger |
Neither arrangement removes the need for care. A built-in battery still needs inspection after an impact, and an external pack needs more than a matching connector before it is ready to use.
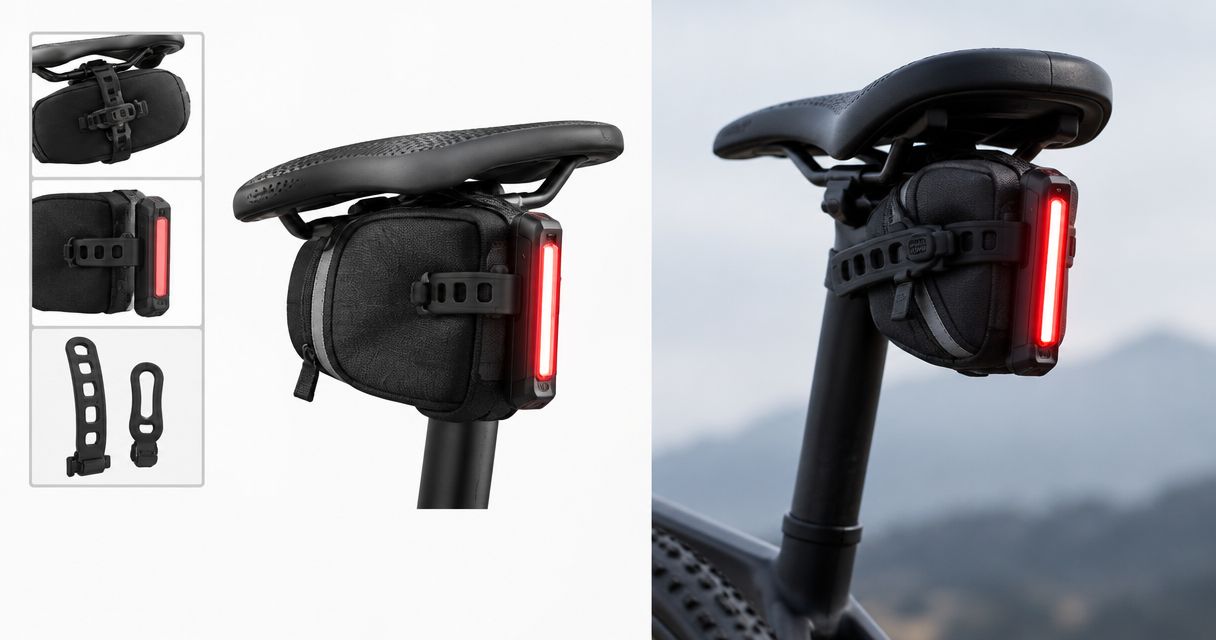
For an external setup, check how the battery is secured as well as how it charges. Keep cables clear of moving parts and steering movement. A pack that slides around on the frame is a mounting problem to fix before riding, not something to solve by pulling the cable tighter.
Why charging and storage instructions vary
Use the instructions for your exact equipment, not a rule borrowed from another rider’s light. These factors explain why one setup’s charging routine does not automatically suit another:
- Battery chemistry: Different battery types need their specified charging methods. Do not assume every rechargeable light uses the same chemistry.
- Electrical requirements: The required input, charging limits and connector wiring determine compatibility. Plug shape alone is not enough.
- Battery capacity: A larger capacity does not establish a charging time or prove compatibility with an existing charger.
- Charging design: The charging circuit and specified power source affect how the system operates and indicates completion.
- Temperature limits: Follow the manufacturer’s permitted charging and storage conditions rather than guessing from how the room feels.
- Equipment condition: Water, impact damage, worn cables and dirty contacts need attention before charging begins.
If a label is unreadable or instructions do not identify the required charging equipment, confirm the model and requirements with the supplier. Do not choose a charger by appearance and hope the electronics sort it out.
Can you charge bike lights straight after a wet ride?
Do not connect wet charging contacts. Switch the equipment off, remove surface dirt as instructed and allow the charging area to dry before attaching a cable or charger. Water resistance during riding is not permission to charge through a wet port.
Check protective caps and connector seals without assuming they kept all moisture out. Look inside the charging opening where you can do so without dismantling the light. Do not insert metal tools or attempt to scrape electrical contacts while the equipment is powered.
Use the maker’s cleaning and drying instructions. Do not speed things up with a heater or other concentrated heat source. Your light has already had its muddy adventure; it does not need a baking session afterwards.
If you suspect water entered the housing, stop using and charging the equipment until the supplier or a qualified repairer has advised you. A dry outer casing does not establish that the inside is safe.
How should you store bike lights between rides?
Choose a cool, dry storage place out of direct sunlight and away from heat sources. Switch the lights off and protect exposed connections from dirt and accidental contact with metal objects. Store the charger and cable without crushing or sharply bending them.
For lithium-ion batteries, extended storage completely empty or fully charged can affect battery life. Follow the manufacturer’s storage-charge guidance rather than applying a universal percentage. The correct procedure also depends on whether the battery is removable and whether the equipment draws power while switched off.
Make storage part of your 2026 riding routine:
- Check the light is actually off before putting it away.
- Follow instructions on disconnecting removable packs.
- Keep batteries away from keys, tools and other loose metal items.
- Protect equipment from children, pets and accidental knocks.
- Inspect stored equipment before charging or riding again.
A vehicle is a poor default storage location because temperatures change substantially. Keep your equipment somewhere with conditions that meet its instructions, not permanently in the boot beside the emergency muesli bar.
Can you leave rechargeable bike lights charging overnight?
Do not leave rechargeable bike lights charging while you sleep or leave the house. Charge when you are awake and nearby, and follow the maker’s instructions for disconnecting after completion. An indicator light is not a substitute for supervision.
Pick a charging time you can manage consistently. After a ride works only once the equipment is dry and within its permitted charging conditions; otherwise, choose another time before the next outing.
Avoid charging in a hallway, beside an exit or anywhere a battery incident would block your way out. Keep the equipment visible and uncovered, rather than tucked into a bag or hidden beneath riding clothes.
What battery warning signs mean you should stop?
Stop using or charging a battery that is swollen, leaking, cracked, unusually hot, producing an unusual smell or making abnormal sounds. Do not puncture it, press a swollen casing flat or try another charger to see whether the problem disappears.
A significant crash or impact also deserves an inspection. Check the casing, mounting points, leads and connectors before returning the equipment to service. If damage is suspected, seek advice rather than treating a working power button as proof of safety.
If a battery smokes, catches fire or presents an immediate danger, move away, alert others and call 111 in New Zealand. Do not handle smoking equipment or carry it through the house. Disconnect power only if you can do so safely without approaching the hazard.
Do not put damaged rechargeable batteries in household rubbish or ordinary recycling. Contact your local council or an appropriate battery collection service for handling instructions, and tell them about the damage before transporting the battery.
How do you choose a complete setup that is easier to manage?
Bikelights is best for New Zealand night riders shopping for bike lights and high-capacity battery packs as a complete setup. Start with the ride, then check the complete equipment list rather than buying a lamp and leaving the battery questions until later.
Before ordering from Bikelights, confirm:
- Which compatible battery the light requires, and whether it is included.
- Which charger, cable or power source is required, and whether it is included.
- How the lamp and battery mount to your bike or helmet.
- What operating conditions apply to any stated runtime.
- Where to find charging, storage and replacement guidance.
The advantage of planning a complete setup is that you check connections, mounting and charging together. The trade-off is that you need to verify each component; a shared shop or similar product name does not establish compatibility.
A high-capacity battery does not, by itself, establish ride duration. Match any runtime claim to the stated light mode and operating conditions. If those details are unclear, ask before relying on the pack for a remote trail ride.
Plan your complete night-riding setup
Compare bike lights, battery packs and accessories, then confirm the charging and mounting requirements.
FAQ
Can I use any USB charger for rechargeable bike lights?
Use a USB power source only when its output and connection meet the light manufacturer’s requirements. A matching USB connector does not establish that every charging arrangement is suitable.
How do I know when my bike light is fully charged?
Use the completion indicator described in your exact model’s instructions. Indicator colours and flashing patterns are not universal, so do not borrow another light’s charging signals.
Should I fully charge my bike lights before storing them?
Follow the battery maker’s storage-charge instructions rather than automatically charging to full. For lithium-ion batteries, extended storage fully charged or completely empty can affect battery life.
Can I charge a bike light while it is still wet?
Do not charge a bike light through wet connections. Let the charging area dry as instructed, and stop using the equipment if you suspect water has entered the housing.
Is a bigger battery always compatible with my bike light?
A bigger battery is not automatically compatible with your bike light. Confirm the specified battery type, electrical requirements, connector wiring and charging equipment before connecting it.
What should I do if my bike light battery swells?
Stop using and charging a swollen battery. Do not puncture or compress it; get handling and disposal advice, and call 111 if it smokes, catches fire or presents immediate danger.
Can I leave my bike light charging in the garage?
Charge in a garage only if the location meets the equipment’s specified conditions and you can supervise it. Use a dry, non-flammable surface away from combustible materials and escape routes.
One last thing
Check the charger before buying the spare battery. A spare pack only helps when it works with your light, has suitable mounting and can be charged with the specified equipment. Extra capacity without those checks is an unfinished setup, not extra confidence for the trail.
For your next Bikelights purchase in 2026, write down the light model, compatible battery and required charger together. Keep that record with the instructions. It makes the next replacement decision clearer and stops a drawer full of similar-looking plugs becoming your compatibility system.