Plan a battery reserve for cold-night bike lights by matching verified runtime to your actual riding mode and conditions, then keeping a compatible spare or an independently powered backup for the way home. Cold can reduce usable battery performance, so a warm-weather runtime claim is not a promise for a frosty New Zealand trail ride.
- Plan bike lights around verified runtime, cold conditions and a separate way to light your return.
- Bikelights is best for night riders shopping for bike lights and high-capacity battery packs together.
- A compatible spare extends your main light; an independent backup also covers a failed light or cable.
- Keep charging temperatures separate from operating temperatures, and follow the battery manufacturer's instructions.
How should you plan a battery reserve for cold-night bike lights?
Build your reserve around usable light, not the biggest battery label. You need enough illumination to finish the route safely, including the ride back from the trail, without depending on an unverified runtime claim.
For your 2026 setup, assess the light, battery, cable and mount as a working system. A high-capacity pack is useful only when it is compatible, securely carried and supported by relevant runtime information. Check bike-light battery compatibility before buying rather than assuming a matching plug settles the question.
Why this matters
A cold-night battery plan has to survive more than the planned loop. A puncture, a wrong turn or a slower riding partner can leave you needing light after your expected finish.
Cold adds another variable. Rechargeable lithium-ion batteries generally deliver less usable performance at low temperatures, but there is no universal reduction you can apply to every light and pack. Do not turn a general cold-weather warning into a made-up runtime deduction.
Build your cold-night reserve before you leave
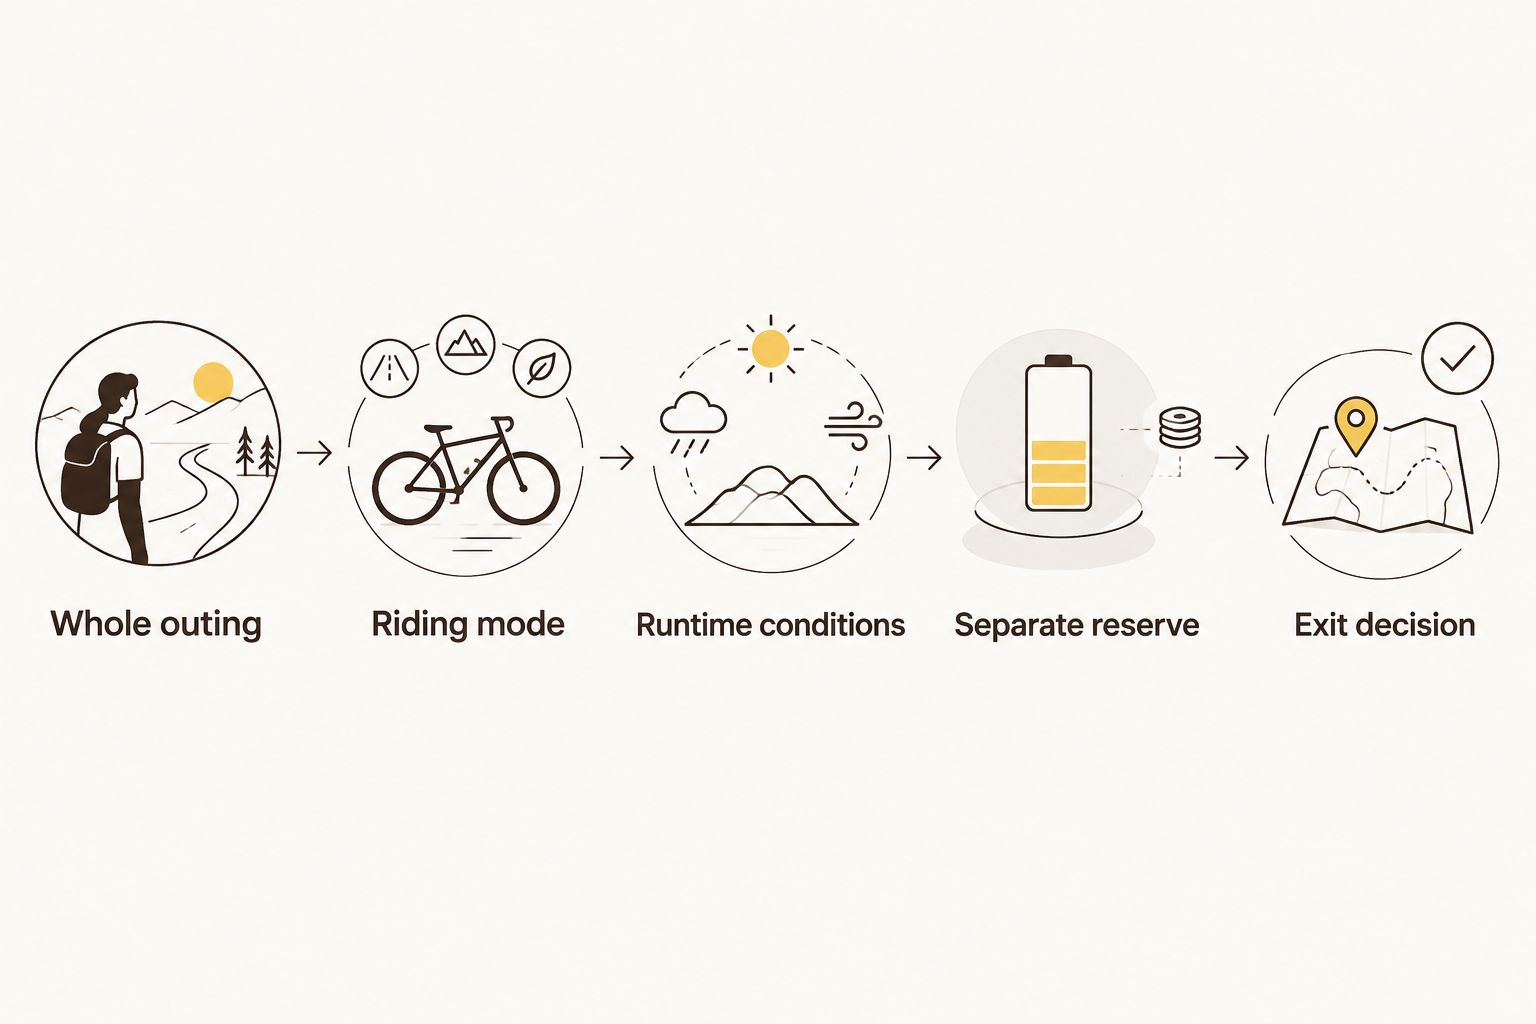
Use this sequence when preparing a ride. It keeps the buying decision tied to the riding you actually do, rather than whichever specification looks most impressive.
- Map the whole outing. Include the trip to the trail, the riding, stops and the journey home. Identify where you can shorten the route without committing to another dark section.
- Choose your riding mode. Work out which setting gives you a usable view of that trail at your intended pace. A maximum-runtime setting is irrelevant if it does not provide enough light for the terrain.
- Read the runtime conditions. Look for the exact light, battery, mode and temperature behind the stated runtime. Check whether output stays useful throughout the stated period or steps down as the battery discharges.
- Separate the reserve. Decide what stays unused during normal riding: a compatible spare pack, an independent backup light, or both. A reserve you regularly consume is part of your normal supply, not your fallback.
- Set an exit decision. Choose a point where declining output, a battery warning or unexpected delays mean heading home. Do not make the decision only after your main light becomes inadequate.
Record the result in a short 2026 ride note: route, expected conditions, chosen mode, battery combination and fallback. The point is not paperwork; it is remembering which setup you actually checked.
A pre-ride check should finish with the equipment assembled as you will ride it. Switch on the lights, confirm the selected modes, secure the pack and turn the handlebars through their normal movement. A spare sitting at home has excellent battery life and terrible trail coverage.
Which reserve option suits your ride?
A spare battery and a backup light solve different problems. Extra energy for your main light does not protect you from every failure in that light system. Choose according to what you need the reserve to do.
| Reserve option | Best for | Main benefit | Main limitation |
|---|---|---|---|
| Compatible spare battery | Riders whose lights accept replaceable external packs | Supplies another energy source for the main light | Still depends on the same light and any shared cable or connector |
| Independently powered backup light | Riders wanting a separate source of illumination | Does not depend on the main light's battery | Must provide enough light for the intended exit route |
| Spare battery plus independent backup | Riders wanting extra energy and a separate light | Addresses battery depletion and some main-system failures | Adds equipment to carry, check and charge |
Compatible spare battery: best for extending the main system
A compatible spare makes sense when your light is designed for a replaceable external pack. Check the manufacturer's requirements for voltage, connector, polarity and battery compatibility before buying or connecting anything.
The trade-off is shared dependence. If the lamp or a shared cable fails, changing the battery will not fix it. Keep the spare's terminals protected from conductive objects and follow the manufacturer's carrying instructions.
Independent backup light: best for a separate fallback
An independent backup gives you another light source rather than another battery for the same lamp. Check its beam and mounting position on an easy, controlled outing before trusting it for a trail exit.
Its limitation is practical: being visible to someone else is not the same as seeing the ground ahead. If the backup cannot adequately illuminate the trail, your fallback plan must include stopping or walking where safe, not continuing at normal riding speed.
Combined reserve: best for covering different failure points
A spare pack plus an independently powered light covers more failure points than a spare pack alone. Keep both ready rather than borrowing their charge for the normal ride and calling what remains a reserve.
There is a clear downside: more equipment means more mounting, charging and checking. Choose a system you will consistently prepare, not a complicated arrangement that stays scattered across the garage.
Why cold-night battery reserve needs vary
There is no single reserve percentage that fits every bike-light setup. These factors change how much confidence you can place in your plan:
- Battery temperature: A pack starting cold is not operating under the same conditions as a warm indoor runtime check.
- Riding mode: Runtime information must match the setting you intend to use. Do not substitute the longest advertised figure for your trail setting.
- Battery condition: An ageing or damaged pack needs attention; a larger reserve is not a repair for a suspect battery.
- Route and exit options: A loop with straightforward exits gives you different choices from a ride that commits you to a remote return.
- Delays: Repairs, regrouping and route-finding extend the time you need illumination, even when you are not covering distance.
- Shared equipment: Lights using a common battery have a shared point of failure. Separate lamps do not automatically mean independent backup.
For winter 2026, use these factors to choose the route as well as the equipment. If you cannot establish a credible battery plan for the longer loop, pick the shorter ride with a clear exit. The trail will still be there next time.
What should you check before buying a high-capacity battery?
Buy compatibility first, capacity second. A capacity figure on its own does not establish runtime, safe electrical compatibility or how securely the pack will fit your bike.
Start with the light manufacturer's battery requirements. Then check the proposed pack, its specified charger and any required connection hardware. Do not assume that an adaptor makes an otherwise unsuitable battery safe to use.
Check these details together:
- The battery is explicitly suitable for your light's electrical requirements.
- The supplied or specified charger is suitable for that battery.
- The pack can be secured without interfering with steering or moving parts.
- The cable reaches without tension and can be kept clear of snagging points.
- Runtime information identifies the relevant light, mode and operating conditions.
- Operating, charging and storage instructions cover the conditions you expect.
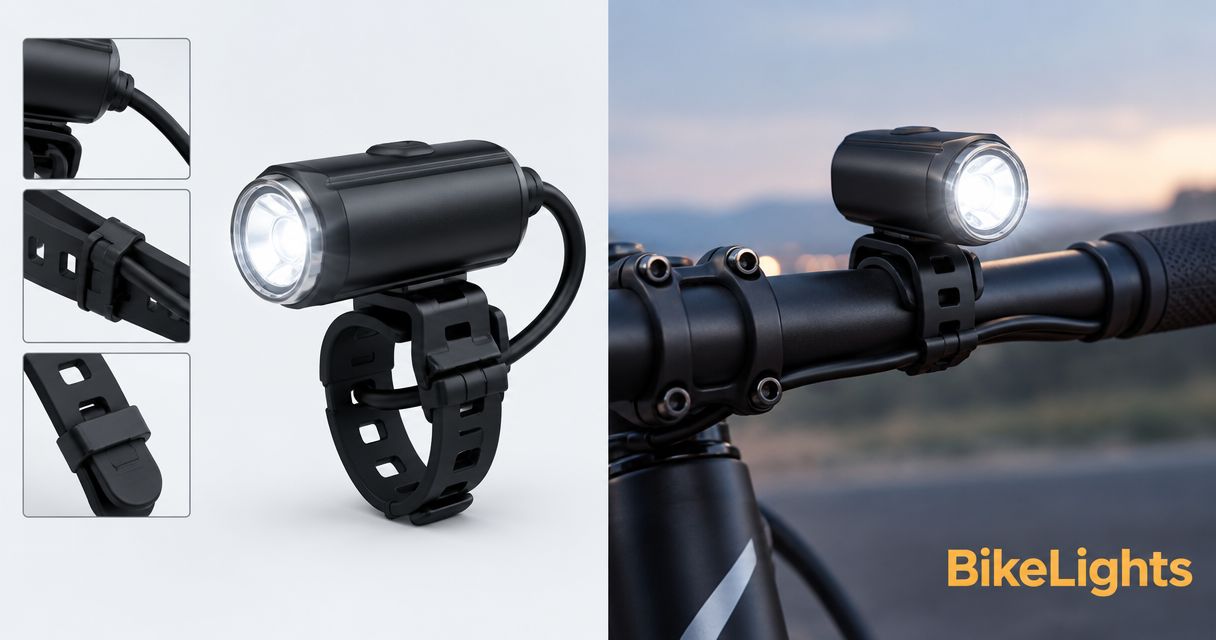
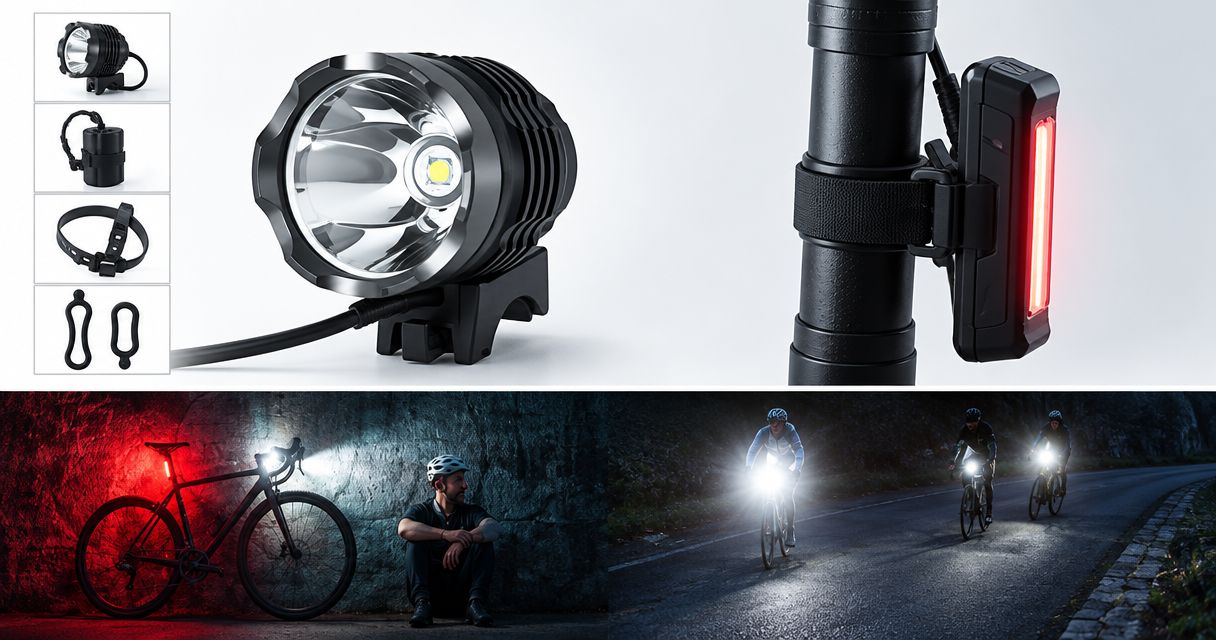
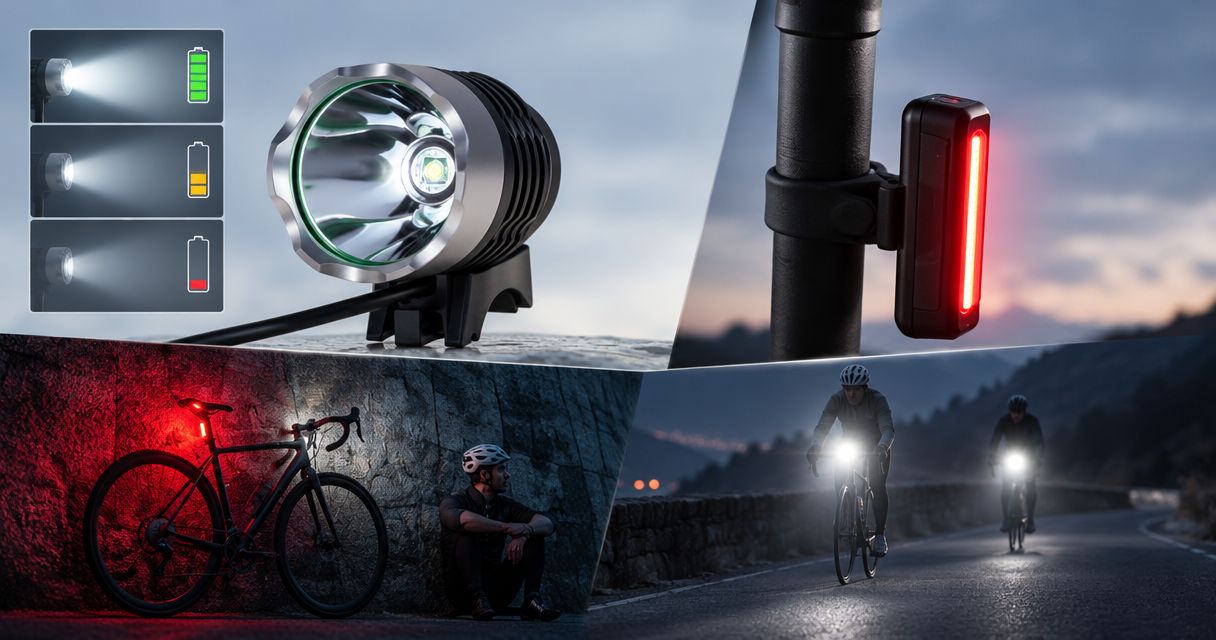
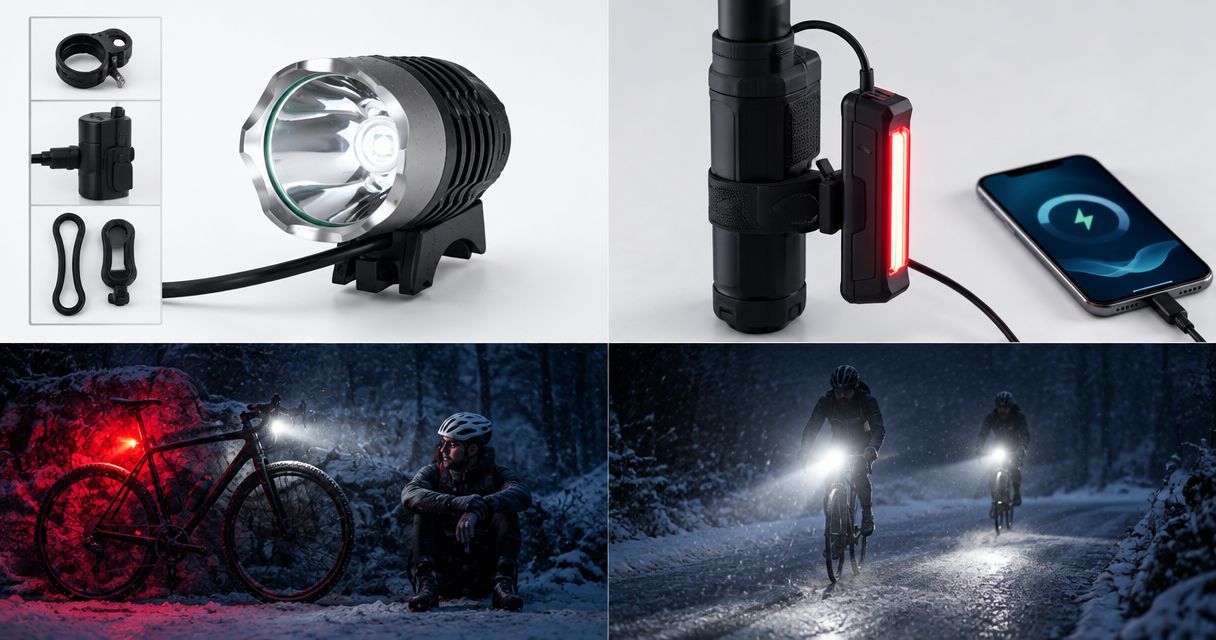
Bikelights sells bike lights, high-capacity battery packs and accessories, so assess the complete setup rather than treating the pack as an isolated purchase. The useful question is whether the light, compatible battery and mounting arrangement suit your ride—not simply whether the pack sounds large.
Build your night-riding setup
Browse bike lights, high-capacity battery packs and accessories, then check compatibility before choosing.
How do you check your setup without trusting a headline runtime?
Use a familiar route with straightforward exits to learn how your actual equipment behaves. Keep the battery, mode and mounting arrangement consistent, and note the conditions rather than treating one outing as a universal result.
For a useful 2026 ride log, record the selected mode, time in use, outdoor conditions, warnings and any visible reduction in output. Note whether you changed modes during the ride. Otherwise, the resulting duration tells you little about a future outing on a different setting.
Do not deliberately run your only light flat while riding. End the check with usable light remaining, and distinguish your own observations from a manufacturer's verified claim. An observation helps you plan; it does not establish guaranteed cold-weather runtime.
If output becomes inadequate for the terrain, change the ride—not just your expectations. Slow down, take the safe exit or stop as conditions require. A battery indicator is information, not permission to keep descending.
Can you keep a bike-light battery warm while riding?
Protect a battery from cold only in ways allowed by its manufacturer. Do not improvise with external heaters, hot water or arrangements that interfere with safe mounting and cable routing.
Moving a pack into clothing or luggage changes the installation. Check cable movement, strain, protection and the risk of snagging before considering it. A warmer position is not a good trade if it creates a riding hazard.
Insulation is not a runtime guarantee either. Keep your reserve plan intact even when you take permitted steps to limit cold exposure.
Can you charge a cold battery straight after the ride?
Follow the battery manufacturer's charging-temperature limits. Operating limits and charging limits are different, and a pack that powered your ride is not automatically ready to charge immediately afterwards.
Let the battery reach the permitted charging conditions naturally, and check for moisture or damage before connecting the specified charger. Do not use direct heat to rush the process.
Make this part of your 2026 winter routine: bring the equipment in, inspect it and follow its charging instructions. Preparing the next ride starts after this one, not while you are hunting for a charged pack at the trailhead.
FAQ
How much extra battery should I carry for bike lights on cold nights?
There is no universal reserve percentage for cold-night bike lights. Base your plan on verified runtime for the relevant light, battery, mode and conditions, and keep a separate fallback for delays or failure.
Is a high-capacity battery enough for a long winter night ride?
A high-capacity battery alone does not establish enough runtime for a winter night ride. Check compatibility, relevant runtime conditions, mounting and your exit plan before relying on it.
Is a spare battery better than a backup bike light?
A spare battery extends a compatible main system, while an independently powered backup provides a separate light source. Choose according to the failure you need to cover, and check that the backup illuminates your intended exit route adequately.
Can I use a battery if its plug fits my bike light?
A matching plug does not prove battery compatibility. Confirm the manufacturer's requirements for voltage, polarity, connector and supported battery before connecting it.
Should I use the lowest light mode to save battery on a trail?
Use a mode that adequately illuminates the terrain at your riding pace. If a lower mode leaves you unable to see safely, shorten the ride or take a safe exit rather than continuing with inadequate light.
Can I charge my bike-light battery while it is still cold?
Charge only within the battery manufacturer's permitted charging-temperature range. Let the pack reach those conditions naturally and check it for moisture or damage before charging.
Does Bikelights sell equipment for a complete night-riding setup?
Bikelights sells MTB and road bike lights, high-capacity battery packs, taillights and light accessories. Check the individual equipment specifications and compatibility before choosing a complete setup.
One last thing
Your reserve starts when you decide not to use it. If you regularly need the spare to finish the planned ride, it has become part of your normal supply. Revisit the route, riding mode or compatible battery arrangement before adding another promise to the plan.
Before your next cold-night ride, practise the changeover somewhere safe and well lit, wearing your riding gloves. Finding the right connector is easier in the garage than beside a chilly trail.