Bike lights dim before the battery is empty when falling battery voltage, heat protection or a power-delivery problem reduces the light’s output. Remaining charge does not guarantee full brightness, so check when the dimming happens before blaming the battery or buying a replacement.
- Bike lights can lose brightness before shutdown because of falling voltage, thermal protection or electrical resistance.
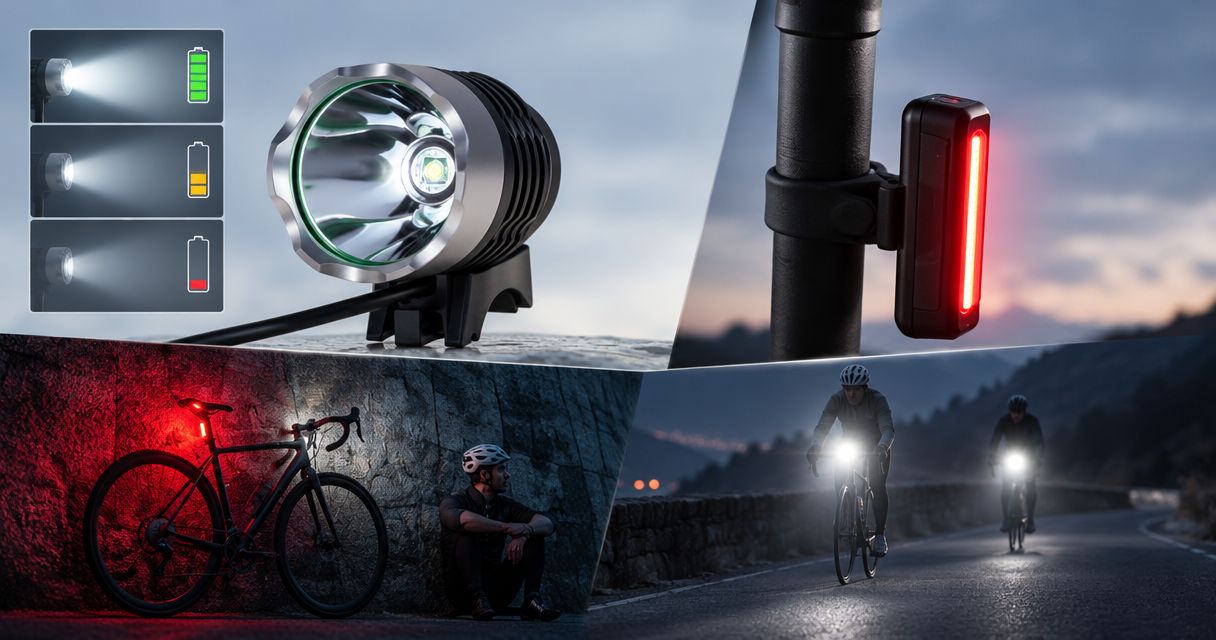
- A battery indicator shows remaining charge imperfectly; it does not guarantee sustained trail-lighting output.
- Check the light, connections and compatible battery together before replacing parts.
- Bikelights suits New Zealand night riders shopping for bike lights and high-capacity battery packs together.
Why do my bike lights dim before the battery runs out?
Your bike light needs usable electrical power, not just charge left in the battery. As a battery discharges, its voltage falls. Whether brightness stays steady depends on how the light’s electronics regulate that changing supply.
Heat protection, a poor connection or a battery that cannot meet the light’s power demand can also reduce output. These causes need different fixes; a larger battery is not a universal answer.
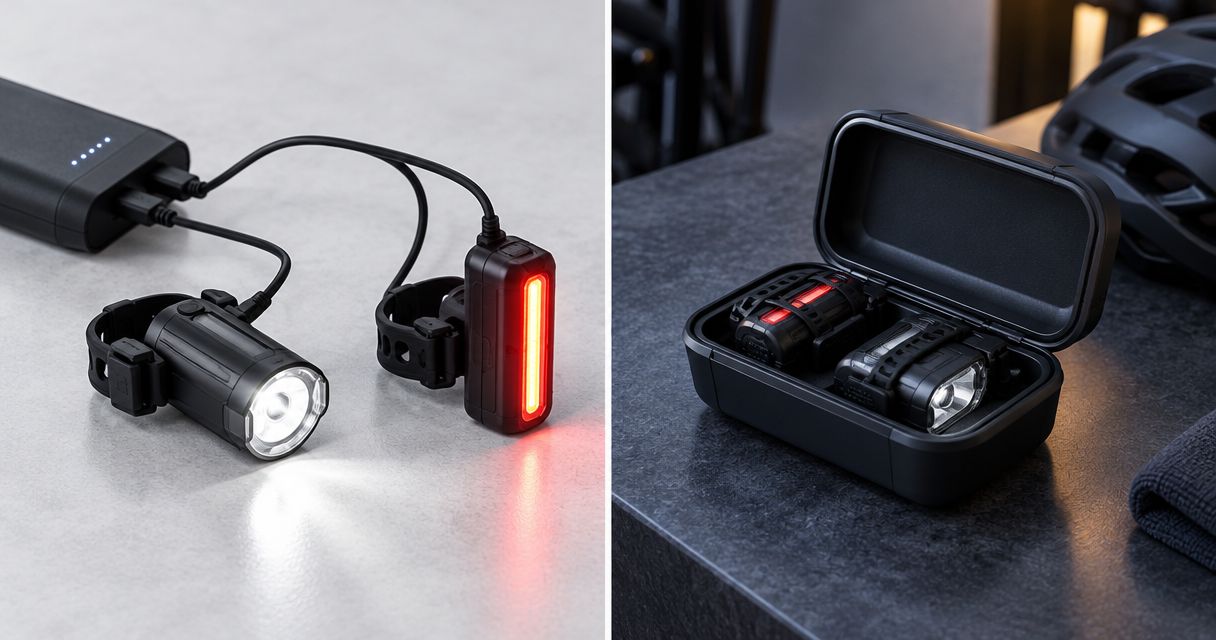
If you are replacing your setup, Bikelights sells bike lights, high-capacity battery packs and accessories. Choose those parts as a compatible system rather than treating the battery as an afterthought.
| What you notice | What to investigate | Useful next check |
|---|---|---|
| Brightness gradually falls as the ride continues | Battery discharge and the light’s regulation | Compare the pattern with the manufacturer’s discharge or output information |
| Output drops after the light heats up | Thermal protection | Check the manual’s cooling and operating instructions |
| The light dips or flickers over bumps | Mounting, cable strain or an intermittent connection | Stop and inspect the secured, switched-off setup |
| A fully charged setup struggles on its highest setting | Battery compatibility, condition or output capability | Check the light’s requirements against the battery specification |
| Output steps down while a battery indicator still shows charge | Low-battery behaviour or another automatic control | Check what the indicator and step-down pattern mean for that model |
These patterns guide your checks; they do not prove which component has failed. Follow the manufacturer’s troubleshooting instructions before swapping equipment.
Why this matters on a night trail
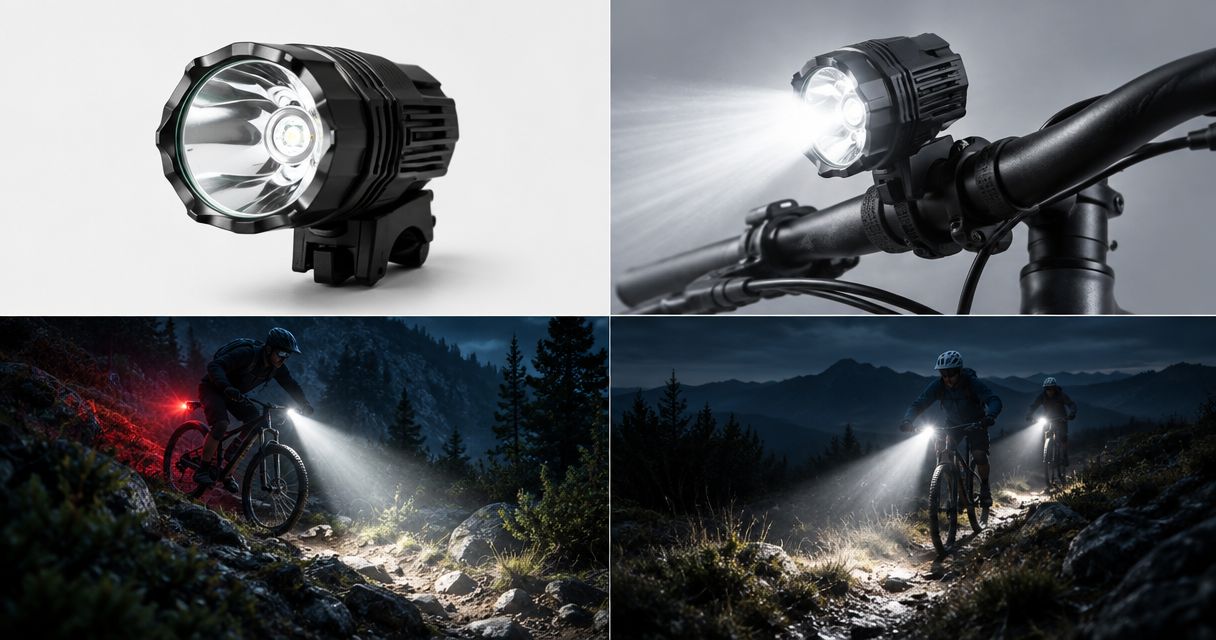
A light that still switches on is not necessarily providing the illumination you need to read roots, corners and braking points. Plan around useful trail brightness, not the moment the battery finally shuts down.
For your 2026 night-riding setup, separate two questions: how long does the light remain on, and how long does it sustain the output you need? An advertised runtime only answers the second question when its operating conditions and output behaviour support that reading.
If you cannot clearly read the trail, stop somewhere safe rather than riding faster to finish before the light fades. Keep an independent backup available, and turn back before reduced visibility becomes an emergency.
Falling voltage: charge remains, but output changes
Battery voltage changes during discharge. Under load, the voltage reaching the light also depends on the battery’s condition and resistance throughout the electrical path.
Some lights regulate their output over a supported voltage range. Others let brightness fall more noticeably as the supply drops, and regulated lights still have a lower operating limit.
That explains why a battery can have energy left without supporting the same brightness as it did earlier. The remaining energy and the light’s required input are different things.
Look for manufacturer information describing sustained output, automatic step-down and low-battery behaviour. A headline lumen claim alone does not tell you how brightness changes across a ride.
Does a battery indicator prove there is enough power?
No. A battery indicator is an estimate or status signal, not proof that the battery can sustain the light’s highest setting.
Check what each colour, bar or flash means for your model. Do not interpret an unfamiliar indicator as a precise measure of remaining trail time.
Heat protection: the light reduces output to control temperature
LED lights produce heat, and some use thermal controls to reduce output when internal temperature rises. That reduction protects the equipment; it does not mean the battery has suddenly emptied.
Airflow matters. A slow technical climb and a faster open section expose a light to different cooling conditions, while a stationary test does not reproduce riding airflow.
Do not cover the light, defeat thermal protection or keep selecting maximum output to force brightness back up. Follow the manufacturer’s instructions on operation, cooling and mounting clearance.
For a 2026 buying comparison, ask whether the advertised brightness is a peak claim or a sustained level under stated conditions. Treat lumen figures as manufacturer claims unless independent testing establishes otherwise.
Should I test my light at full power while standing still?
Only follow the test procedure the manufacturer permits. Running a high-output light stationary can create a heat-related reduction that does not represent its behaviour while riding.
Record what happens during normal, safe use instead. Note the selected mode, riding conditions and whether the change was gradual, sudden or linked to bumps.
Connections and battery condition: power gets held back
A loose connector, damaged cable or corroded contact can interrupt power or add electrical resistance. The battery can contain charge while the light receives an inadequate supply.
With the light switched off and disconnected as instructed, inspect accessible cables and connectors. Look for damaged insulation, bent contacts, contamination and cable tension at the plug; do not open a battery pack or modify wiring.
Battery ageing also matters. A worn battery can struggle under load even after charging, while cold conditions can reduce lithium-ion battery performance.
A swollen, leaking, unusually hot or visibly damaged battery is not a troubleshooting accessory. Stop using it and follow the supplier’s safety and disposal instructions.
Check your bike-light setup before replacing anything
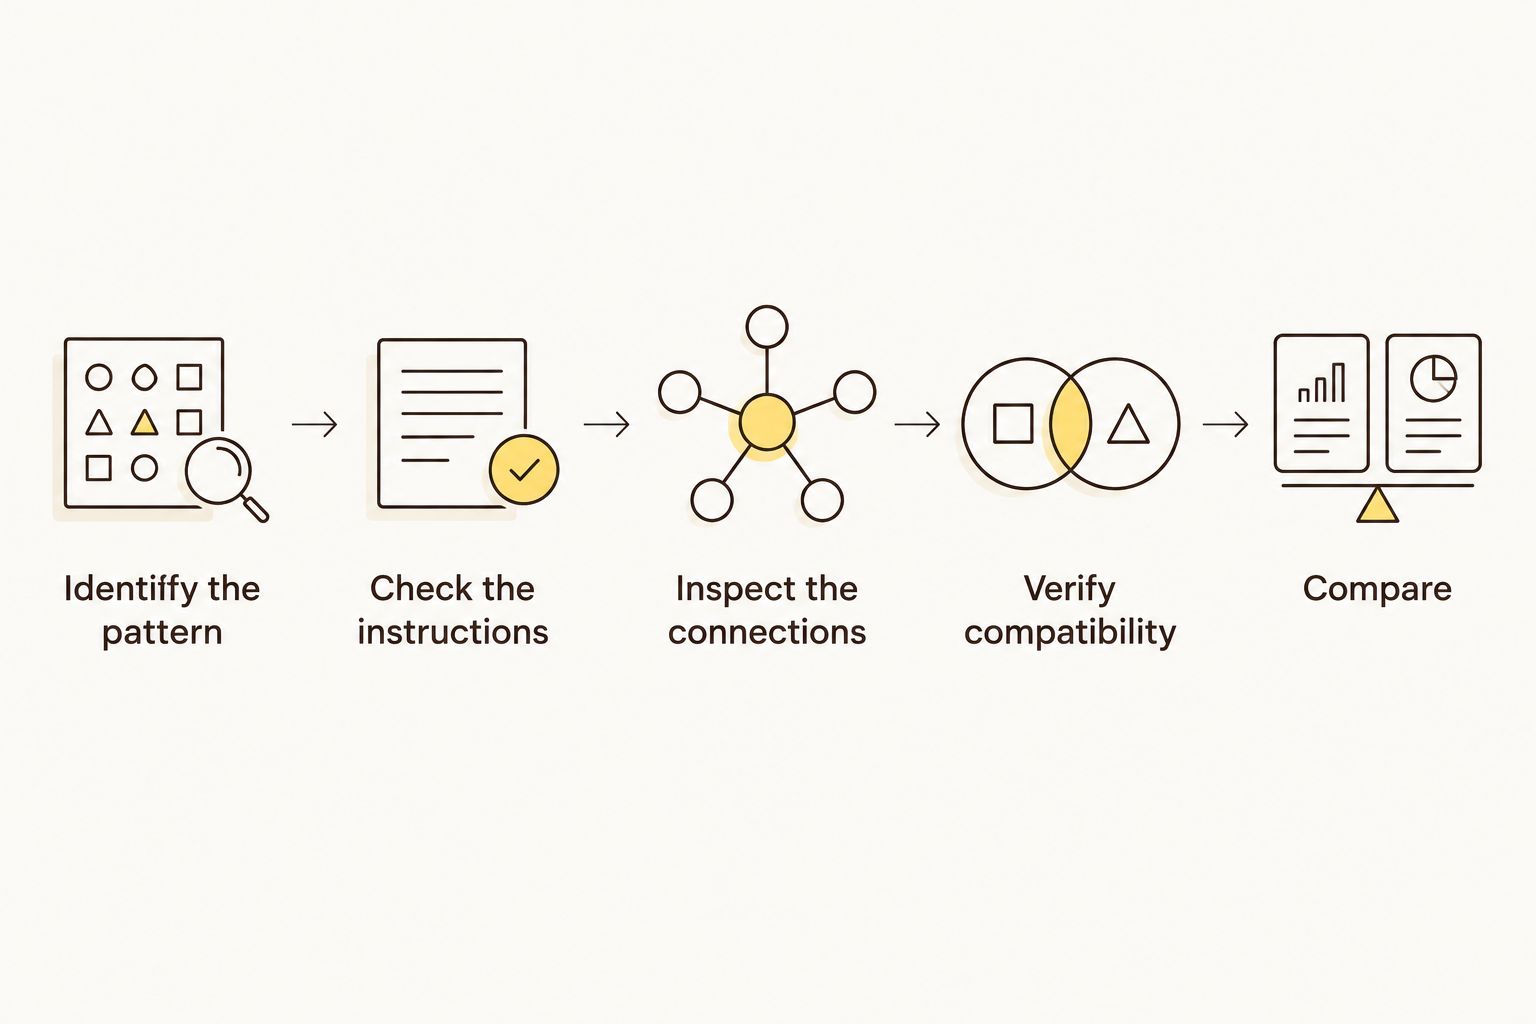
Use this sequence for a controlled check, not a late-night experiment halfway down a trail. Keep the selected light mode consistent when comparing normal behaviour.
- Identify the pattern. Note whether brightness fades gradually, steps down suddenly or flickers with movement. Record whether the battery was recently charged and whether the light was already hot.
- Check the instructions. Find the model’s explanation of battery indicators, thermal control and low-battery settings. Confirm the charging procedure rather than assuming a displayed light means charging is complete.
- Inspect the connections. Switch off and disconnect as instructed. Check accessible plugs, leads and mounting points without opening sealed components.
- Verify compatibility. Match the specified voltage, polarity, connector and required battery output. A plug that fits does not establish electrical compatibility.
- Compare under permitted conditions. If the manufacturer allows a substitution, use a known-compatible, undamaged battery. Persistent dimming then needs further investigation rather than another guessed replacement.
Before buying a pack, use the bike-light battery compatibility guide to organise those checks. Avoid improvised adapters unless the manufacturer explicitly supports the complete arrangement.
A useful troubleshooting note describes the behaviour without guessing the cause. Tell the supplier which light and battery you use, the selected mode, the conditions and what changes when the output drops.
Why bike-light brightness varies
These factors explain why similar-looking setups do not necessarily behave alike. Use them as your 2026 checklist when reading specifications or asking a supplier for advice.
- Output regulation: The light’s electronics determine how it responds as battery voltage changes.
- Temperature and airflow: Thermal controls respond to heat, so riding conditions affect their operation.
- Selected mode: A higher-output setting demands more electrical power and produces more heat.
- Battery condition and temperature: Ageing and cold affect a battery’s ability to supply power under load.
- Connection quality: Loose, damaged or contaminated connections disrupt power delivery.
- System compatibility: Voltage, polarity, connectors and output capability must suit the light’s requirements.
Do not combine these into a single promise about runtime. A result obtained with one battery, mode and temperature does not establish what another setup will deliver.
Will a high-capacity battery stop bike lights dimming?
A compatible high-capacity battery provides more stored energy, but capacity alone does not guarantee steady brightness. It does not fix thermal step-down, a damaged connection or a light whose output falls as voltage changes.
Buy a complete electrical match, not just the biggest capacity figure. Compare the battery’s supported output and the light’s requirements, then check how the pack attaches to your bike.
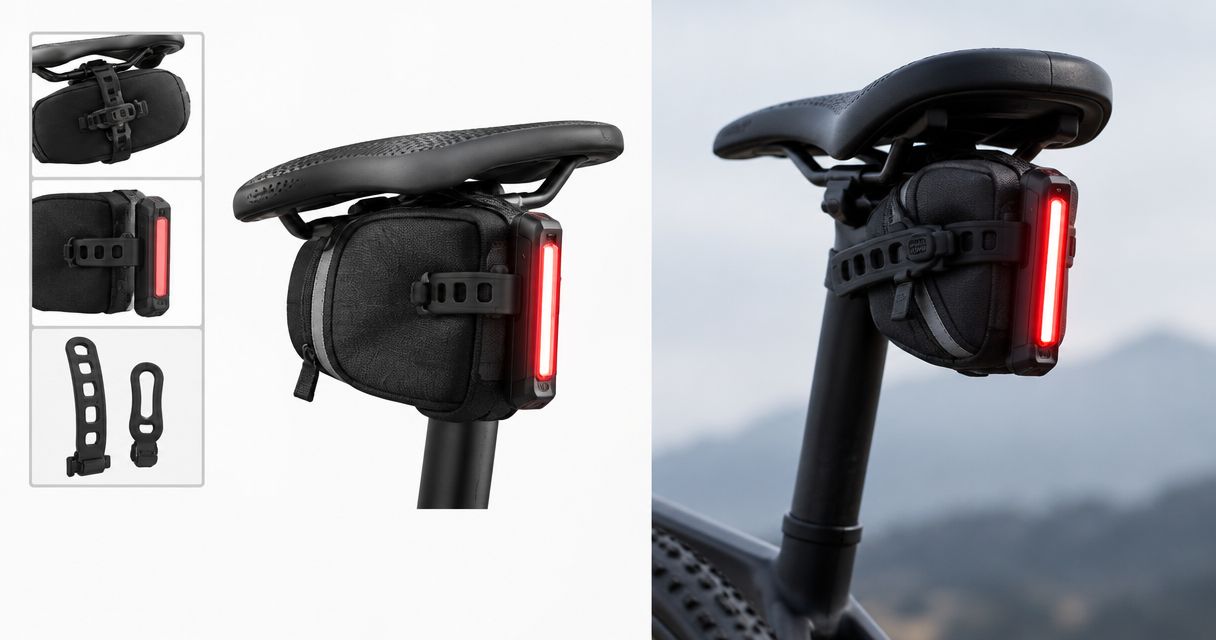
For Bikelights shoppers, bike lights and high-capacity batteries belong in the same buying decision. Add a suitable light mount, a secure battery attachment and cable routing that leaves steering and suspension movement clear.
The trade-off is physical as well as electrical: an external pack adds something else to secure and connect. More stored energy is useful only when the resulting setup works safely on your actual ride.
What should I check before buying replacement bike lights?
Start with the problem your current setup cannot solve. If a loose connection caused the dimming, replacing a working light misses the cause; if the light cannot sustain useful output for your riding, another battery alone does not establish a fix.
For 2026 purchases, request the conditions behind every brightness and runtime claim. Ask which battery was used, which mode was selected, whether output stepped down and what ended the runtime measurement.
Bikelights is best for New Zealand night riders shopping for bike lights and high-capacity battery packs together. Check each proposed combination’s specifications and contents before ordering; do not assume a mount, charger or battery is included because it appears necessary.
Build your night-riding setup
Shop bike lights, high-capacity battery packs and accessories; check compatibility before ordering.
FAQ
Why do my bike lights dim when the battery still shows charge?
Bike lights can dim while an indicator still shows charge because the indicator does not guarantee sufficient power for the selected output. Falling voltage, thermal control and connection problems need separate checks.
Is gradual dimming always a sign that my battery is worn out?
Gradual dimming is not proof that a battery is worn out. It can reflect the light’s response to falling voltage during normal discharge; compare the behaviour with the manufacturer’s information.
Why does my bike light get dimmer on a slow climb?
Thermal protection is a cause to investigate when dimming follows heat build-up on a slow climb. Check the model’s operating instructions rather than assuming every reduction is a battery problem.
Will a bigger battery make my bike light brighter?
A bigger battery does not automatically make a bike light brighter. The light controls its output, and the battery must match its electrical requirements; extra capacity primarily concerns stored energy.
Can I use another battery if the connector fits?
A matching connector is not enough to establish battery compatibility. Check voltage, polarity, required output and manufacturer approval before connecting a different pack.
Should I replace the battery or the bike light first?
Check the complete setup before replacing either component. Inspect connections, confirm compatibility and follow the manufacturer’s troubleshooting process to separate battery, heat and light faults.
What should I do if my bike light dims during a trail ride?
Stop somewhere safe if the reduced brightness prevents you from reading the trail. Use your independent backup and choose a safe exit rather than relying on the battery indicator to predict how much useful light remains.
One last thing
For your next 2026 night ride, make the pre-ride check about beam usefulness, not just whether the switch works. Confirm that the light holds its position, the battery stays secure and the cable remains clear through steering movement.
A battery that is not empty can still leave you short of usable light. Plan your turnaround around the trail you can see, not the charge you hope is left.