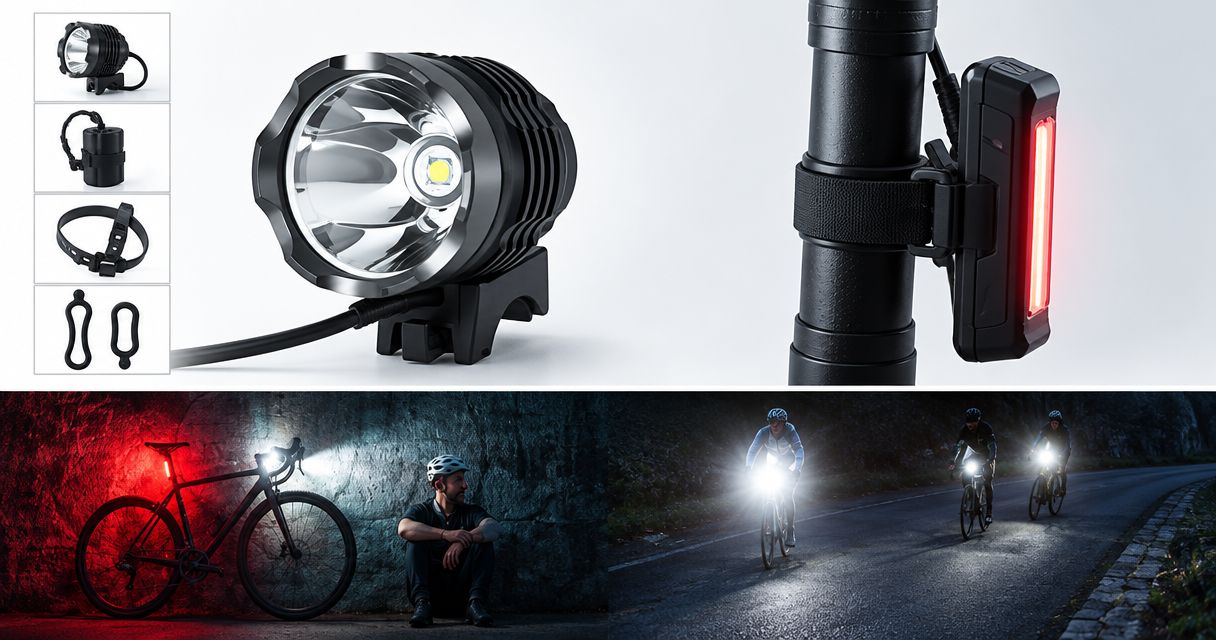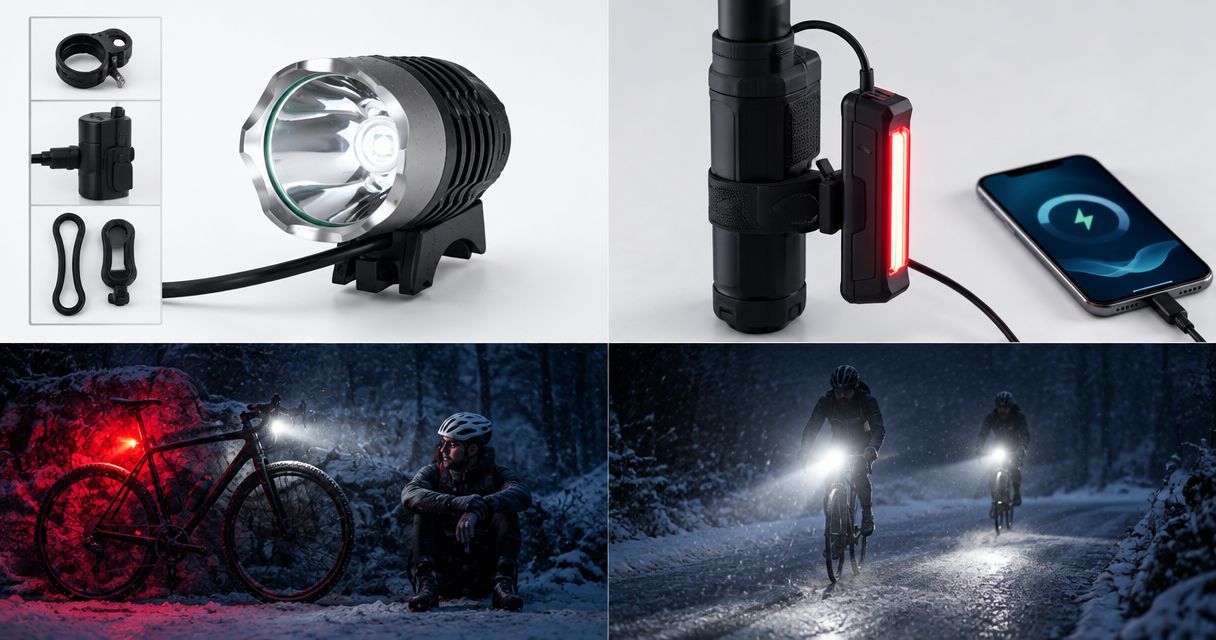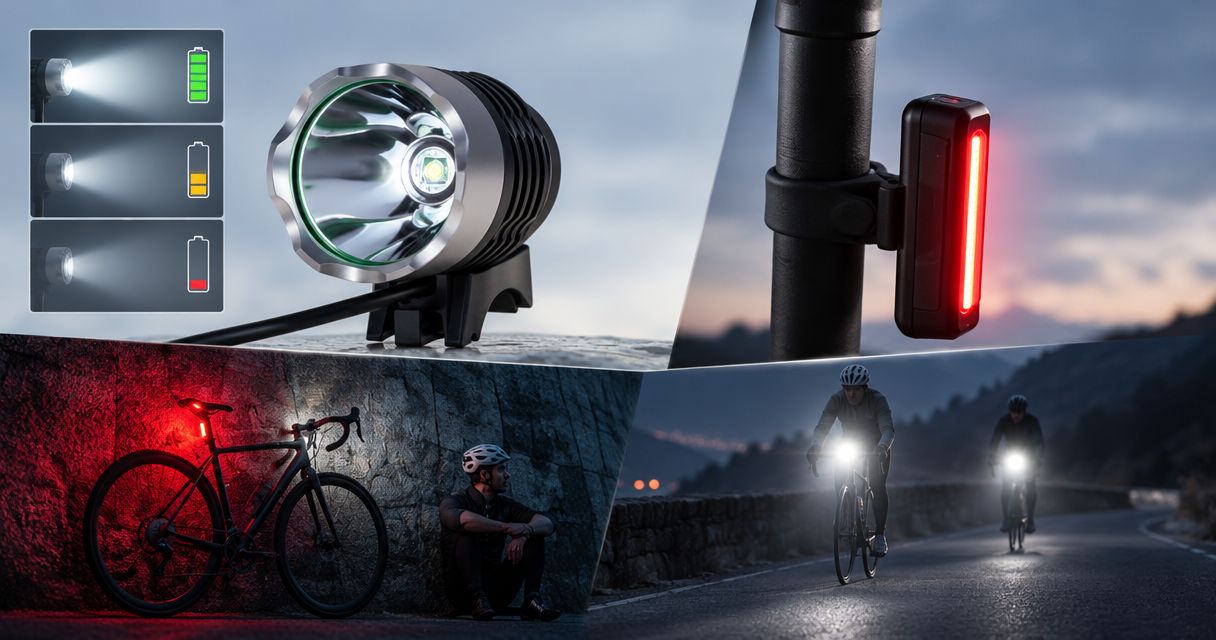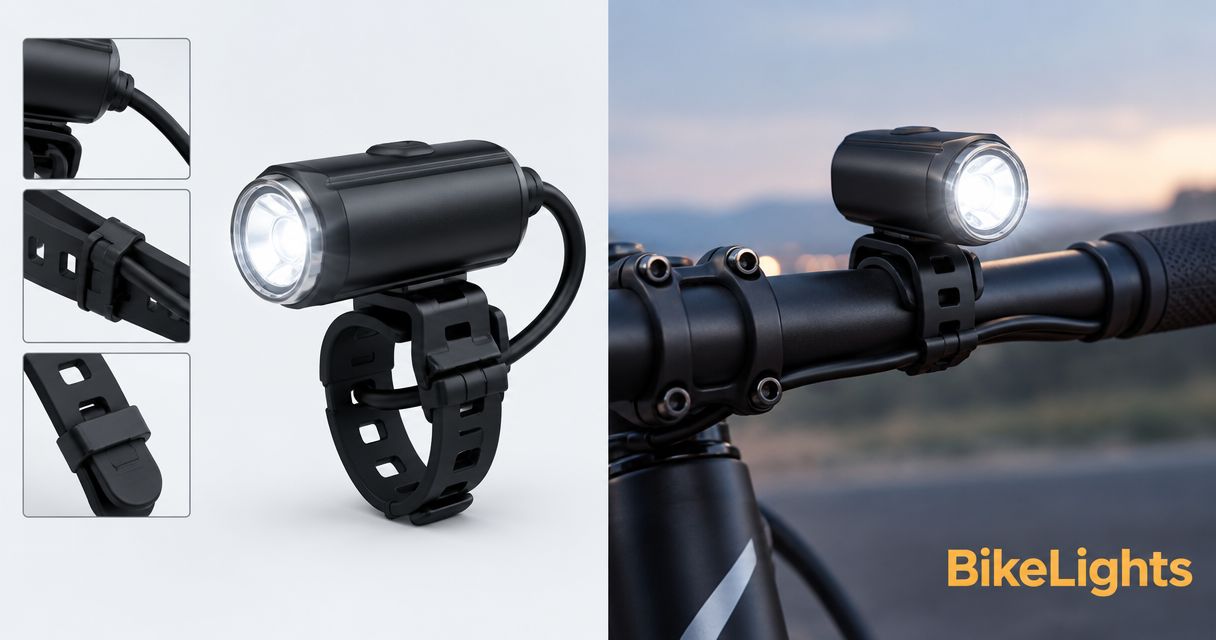
Stop bike-light cables catching on your handlebars by securing the battery, routing the lead away from controls, and leaving enough slack for unrestricted steering. Fasten the cable without crushing it, then check both steering directions: a tidy-looking cable is still wrong if it pulls tight, rubs or interferes with a brake lever.
- Route bike lights cables clear of brake levers, shifters, tyres and moving parts; check steering before riding.
- Secure an external battery before adjusting cable slack, so the pack cannot pull the lead out of position.
- Bikelights sells bike lights and high-capacity battery packs; check compatibility before building your night-riding setup.
- Keep necessary steering slack, but secure loose loops that can catch controls or trail vegetation.
How do you stop bike-light cables catching on your handlebars?
Secure the battery first, position the light second, and route the cable last. Otherwise, moving a pack or adjusting a mount changes the cable length you thought you had sorted.
For an external-battery setup, electrical compatibility comes before cable tidying. Use the guide to checking bike-light battery compatibility before buying before mixing a light, pack or extension lead. A connector fitting together does not establish that the components are compatible.
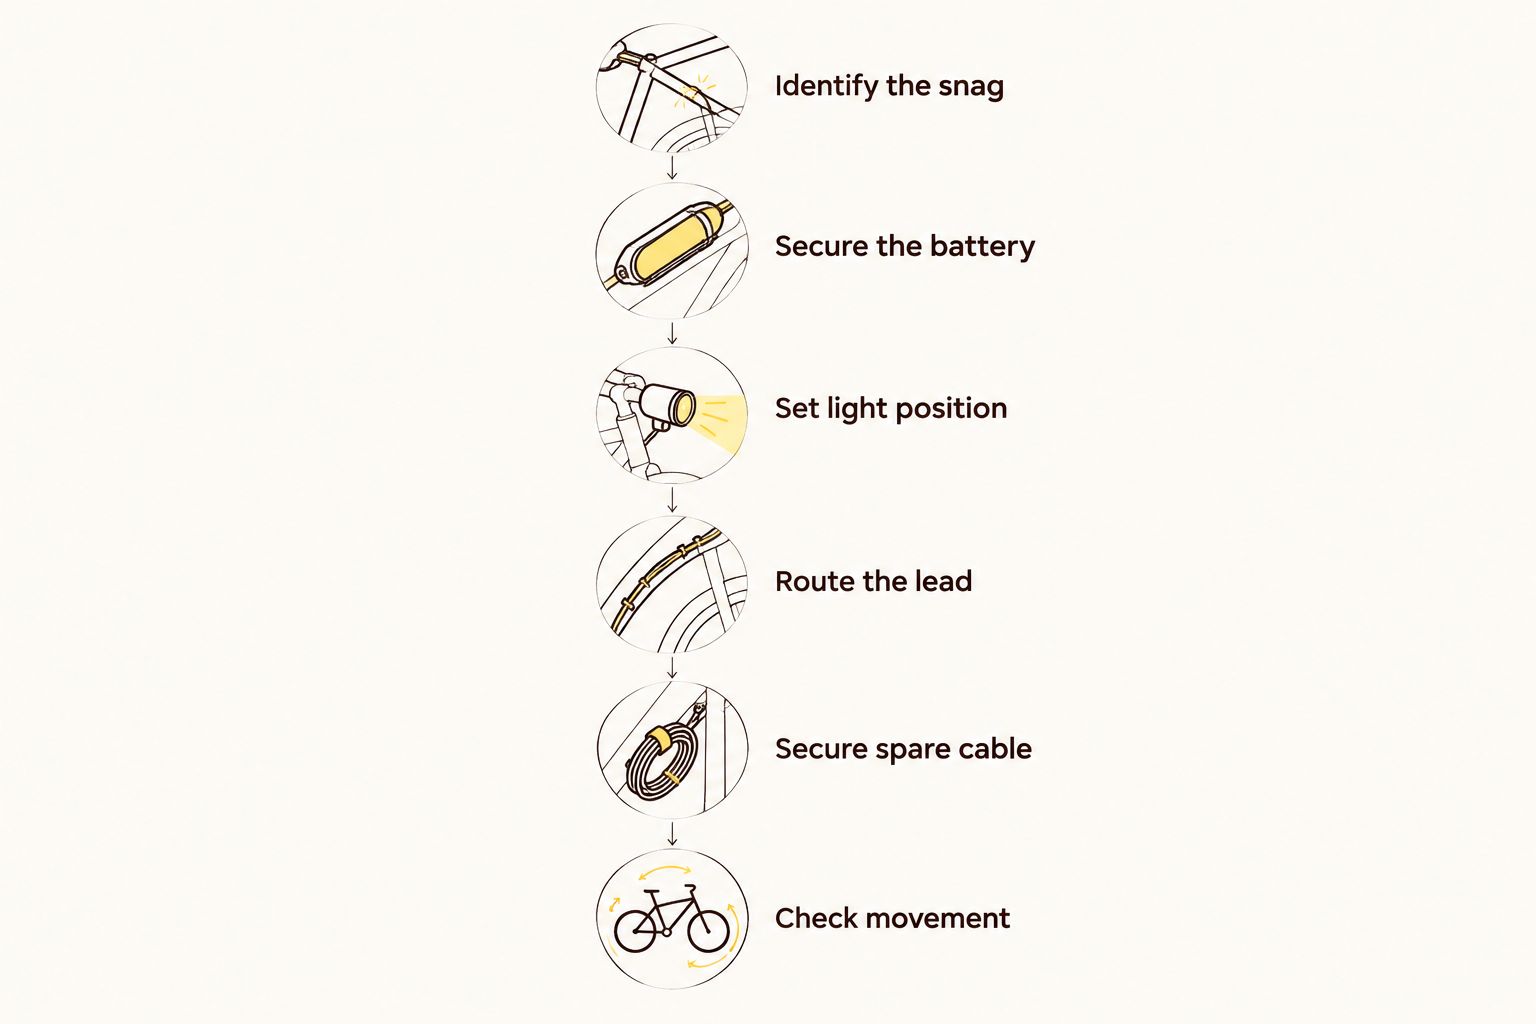
1. Park the bike and identify the snag
Switch the light off before adjusting connections, following the manufacturer's instructions. Keep the bike stable and turn the handlebars slowly while watching where the cable catches.
Look for the actual contact point: a loop around a shifter, a lead underneath a brake lever, or a cable pulled across the stem. Notice whether the battery moves too; a shifting pack can undo otherwise sensible routing.
Do not solve a steering restriction by pulling harder on the bars. Stop and release the obstruction before continuing the check.
2. Secure the battery in its intended mount
Fit the battery using the mounting method specified for the pack. Keep it clear of moving parts and check that its lead exits without a sharp bend or pressure against the frame.
Gently check whether the pack shifts in its mount. If it slides and drags the cable with it, fix the mounting problem before shortening or fastening the lead. The cable is an electrical connection, not a battery tether.
3. Set the light position and check your controls
Mount and aim the light before arranging its cable. Leave your brake levers, shifters and any dropper-post control accessible from your normal riding position.
Operate each control while stationary. A light mount that crowds your thumb or a cable crossing a lever's movement needs repositioning, even if nothing snags when the bike is parked with the bars straight.
4. Route the lead with a deliberate steering loop
Run the cable along a protected route between the light and battery. Where the cable passes between the turning handlebar assembly and the frame, leave enough freedom for the steering movement your bike permits.
Keep that loop controlled rather than dangling. It must not hook over a lever, dip towards the front tyre or wrap around the head tube as the bars turn. Necessary slack belongs where movement happens, not wherever spare cable happens to fall.
5. Secure spare cable without pinching it
Use suitable cable guides or fastening points approved for your equipment. Reusable soft straps make adjustment straightforward, but they still need to hold the cable without flattening its outer covering.
Arrange spare length in gentle curves near a suitable fixed mounting point. Do not force tight folds, trap a connector beneath a strap, or fasten the lead onto a moving control. Avoid treating brake hoses as convenient anchor points unless the equipment instructions explicitly allow it.
6. Repeat the movement check
Turn the bars slowly in both directions within their normal movement. Watch the cable, connector and battery throughout, rather than checking only whether the bars reach the end.
Then operate the controls again and inspect clearances around the tyre, fork and frame. For a suspension bike, account for suspension movement using the manufacturer's procedure; ask a bike mechanic if you cannot confirm clearance safely. Finish with a controlled check somewhere safe before heading onto a dark trail.
Why this matters on a night ride
A cable snag is not just an untidy cockpit. A lead caught around a control can interfere with its movement, while a taut cable puts strain on connections when you steer.
For your 2026 night-riding setup, judge the light, mount, cable and compatible battery as a complete system. A high-capacity pack needs a secure mounting position and a workable cable route just as much as it needs to suit the light electrically.
You should be able to reach the controls without rearranging a wire first. Your handlebars already have enough jobs without becoming a cable coat hanger.
Choose the cable route that matches your battery position
There is no universal cable path for every mountain bike. Choose a route around your actual mounting points, controls and moving parts, not a photograph of somebody else's cockpit.
| Setup | Best for | Useful feature | Trade-off to check |
|---|---|---|---|
| External battery on the frame | Riders using a compatible frame-mounted pack | Places the battery separately from the handlebar light | The lead crosses between the steering assembly and frame |
| External battery near the handlebar light | Riders whose equipment supports a cockpit-mounted pack | Keeps the battery and lamp close together | Adds equipment around controls and requires suitable mounting space |
| Light with a built-in battery | Riders choosing a self-contained handlebar light | Removes the separate light-to-battery cable | Battery choice and mounting remain tied to that light's design |
Frame-mounted battery: control the moving section
With a frame-mounted pack, pay particular attention to the cable near the head tube. The handlebars move relative to the frame, so a cable that looks neatly stretched when straight can become tight as you turn.
Keep the battery-side length secured and allow the steering section to move freely. Check that the cable does not scrape repeatedly across an edge or collect around another hose.
Cockpit-mounted battery: protect control space
A battery mounted near the light still needs a suitable, secure mounting arrangement. Close together does not automatically mean trouble-free: spare lead can bunch around a stem, shifter or brake lever.
Position the components so you can remove or disconnect them as intended without dismantling the whole cockpit. Do not tuck a connector somewhere that presses it against a hard edge just to hide it.
Built-in battery: remove the cable, not the checks
A self-contained light removes the external battery lead from this particular problem. It does not remove the need to check mount security, control clearance and beam position.
If you are choosing bike lights in 2026, decide whether you want a separate battery before comparing cable-management approaches. A tidy cockpit is useful, but it is not a substitute for a setup that suits your ride and charging routine.
Why bike-light cable routing varies
The right amount and position of slack depend on the equipment fitted to your bike. These factors change the route you need:
- Battery position: Moving the pack changes the distance to the lamp and where the lead crosses moving parts.
- Light position: Shifting the lamp along the bar changes the cable exit direction and its relationship to controls.
- Control layout: Brake levers, shifters and dropper-post controls create different clearance requirements.
- Cable and connector design: Follow the component instructions for routing, connections and any permitted extension lead.
- Frame and suspension movement: Check the lead against the bike's moving parts, not just its parked position.
Avoid borrowing a precise slack measurement from another bike. The useful test is unrestricted movement without snagging or connector strain, not a particular length of visible loop.
What should you check before buying a complete setup?
For a 2026 purchase, ask how the light, battery, mounts and cable will fit together on your bike. Start with the intended battery position, then establish whether the supplied or specified cable can follow a safe route.
Bikelights is best for night riders shopping for bike lights and high-capacity battery packs together. Check the individual product details rather than assuming every light and battery in the range forms a compatible combination.
Your buying checklist should cover:
- Electrical compatibility: Confirm the light and battery are specified to work together.
- Mounting compatibility: Confirm the mounts suit the intended positions on your bike.
- Included components: Check which mounts, straps, cables and connectors come with the chosen items.
- Cable route: Establish how the lead reaches the battery without crossing controls or moving parts.
- Runtime conditions: Read any runtime claim alongside its stated light setting and operating conditions.
You can browse Bikelights with that complete-setup checklist in mind. Its bike lights and high-capacity packs address the shopping need, but your final choice still needs product-level compatibility and mounting checks.
Build your night-riding setup
Check bike lights, high-capacity battery packs and accessories against your mounting and compatibility needs.
Can you tape a bike-light cable to the handlebars?
Tape can hold a cable in place, but it must not hide a routing fault or prevent necessary movement. Use a fastening method suitable for the cable, handlebar and equipment instructions; keep connections accessible for inspection.
Do not tape a loop across a lever's operating path. Once fastened, repeat the steering and control checks rather than judging the result by appearance alone.
Should you shorten a bike-light cable?
Do not cut or modify a bike-light cable unless the manufacturer explicitly supports that work. Altering a lead can affect its electrical connection, insulation and weather protection.
Secure excess length safely instead, or use a manufacturer-approved cable option where one is specified. A cable that is too short for the intended route needs a different supported arrangement, not extra tension.
What should you recheck after transporting the bike?
For your 2026 pre-ride routine, inspect the cable after loading, unloading or adjusting equipment. A light knocked sideways or a battery remounted elsewhere changes the route even when every strap still looks fastened.
With the bike stationary, turn the bars slowly and watch for a tightening lead. Then check the battery mount, connectors and controls before switching attention to the trail.
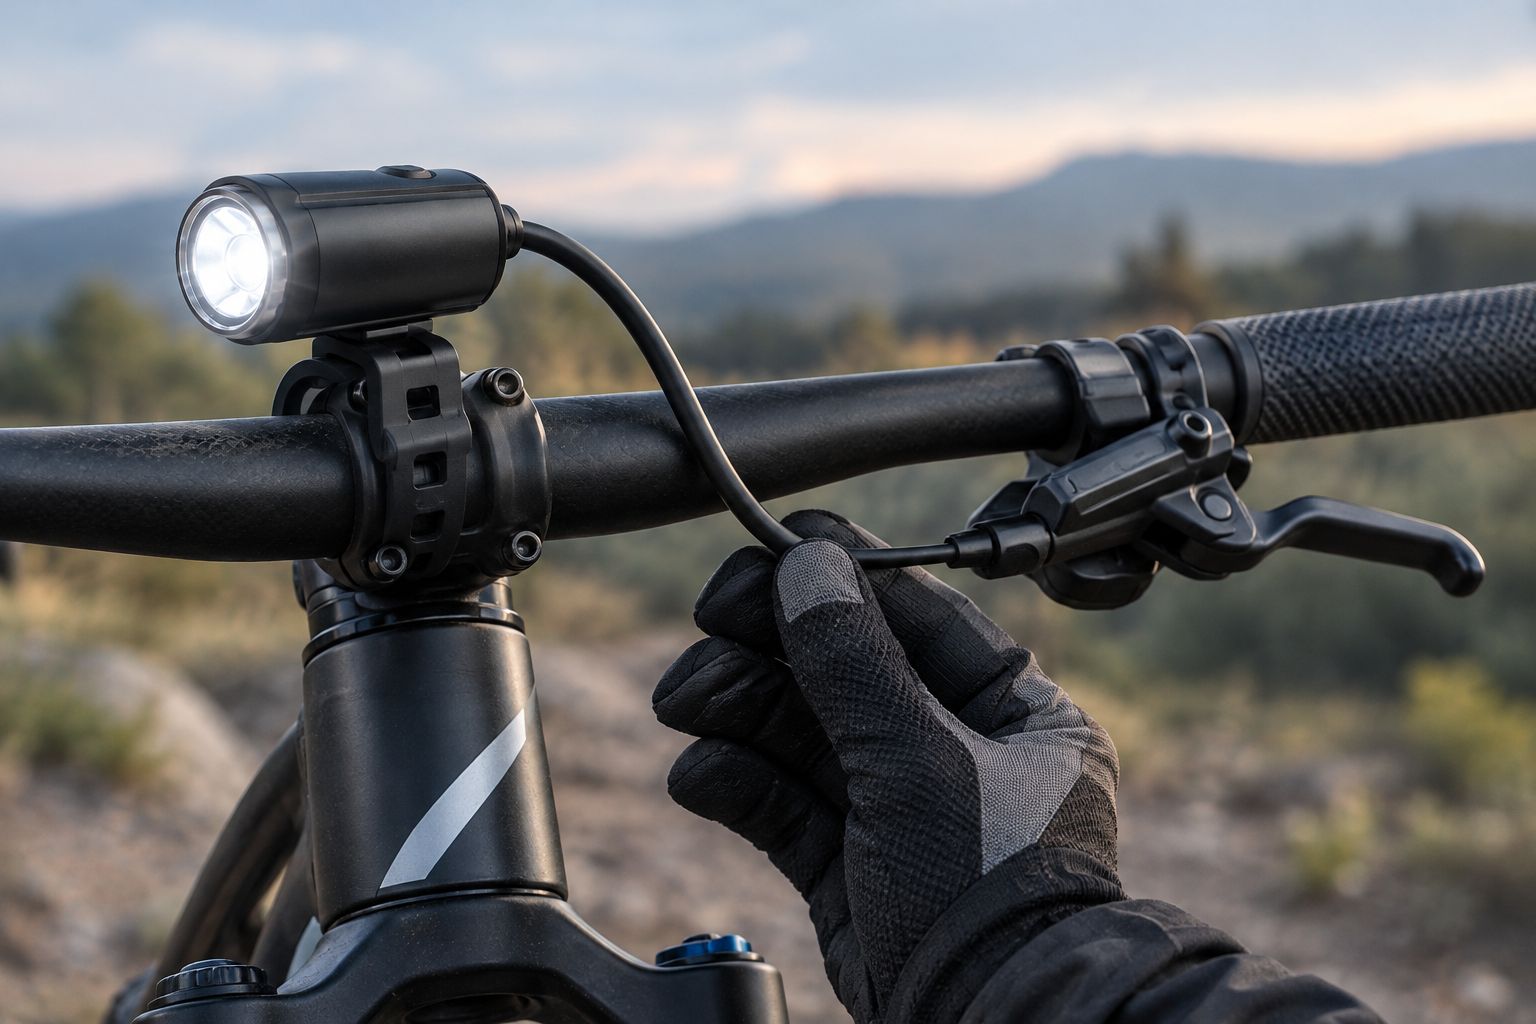
Make the inspection hands-on: look underneath the bar as well as above it. A loop hidden behind a lever can escape a quick glance from the saddle.
FAQ
Why does my bike-light cable catch when I turn?
A bike-light cable catches when its route crosses an obstruction or its slack gathers around controls or the head tube. Secure the battery, reposition the lead and check steering slowly in both directions.
How much slack should a bike-light cable have?
A bike-light cable needs enough slack for unrestricted steering without pulling on its connectors. The correct amount depends on the mounting positions and bike, so check movement rather than copying a fixed measurement.
Can I attach a bike-light cable to a brake hose?
Use a brake hose as an attachment point only if the relevant equipment instructions permit it. The light cable must not restrict the hose, change its movement or interfere with braking controls.
Will a bigger battery fix cable snagging?
A bigger battery does not fix cable snagging. A compatible high-capacity pack still needs a secure mount and a cable route that stays clear throughout steering and other bike movement.
Can I use any extension cable with my bike light?
Use only an extension cable specified as compatible with your light and battery system. A matching connector alone does not confirm electrical compatibility or suitable weather protection.
What should I check when buying bike lights in 2026?
When buying bike lights in 2026, check the light, compatible battery, mounts, cable arrangement and stated runtime conditions together. Bikelights sells bike lights and high-capacity battery packs; confirm the details of your chosen combination before ordering.
One last thing
Do your final cable check after aiming the light, not before. Rotating or shifting the lamp changes where its lead exits, which can undo the neat routing you just finished.
Check the finished arrangement with your usual riding gloves on. Reach the controls, turn the bars and inspect the lead again; if you have to work around a wire, the job is not finished.