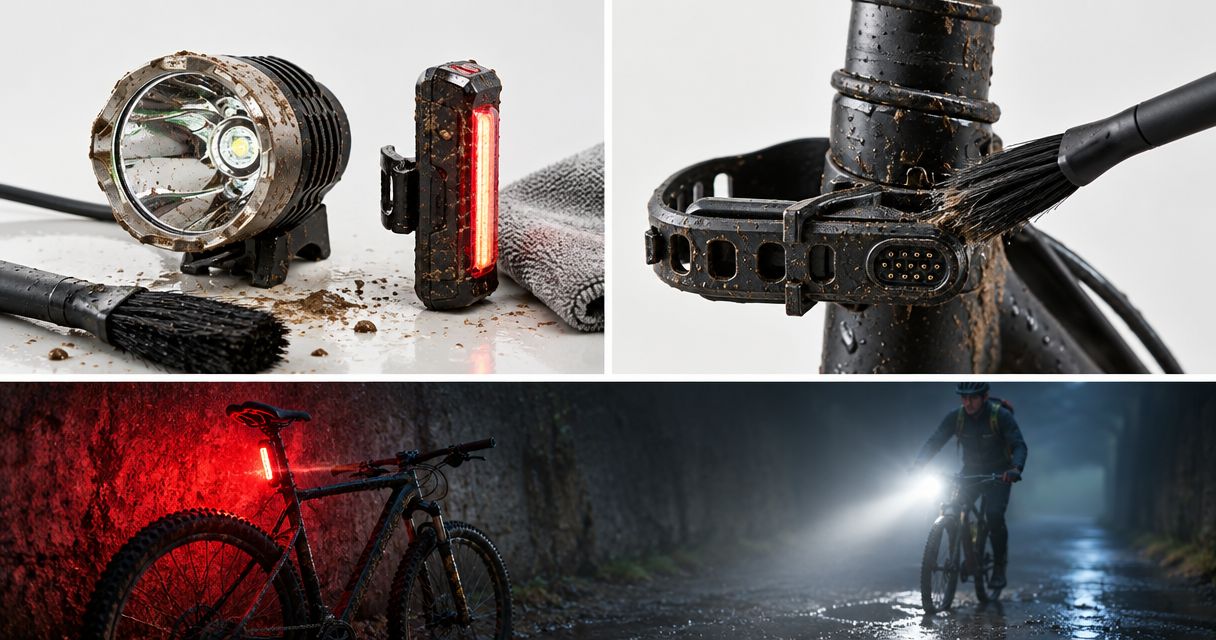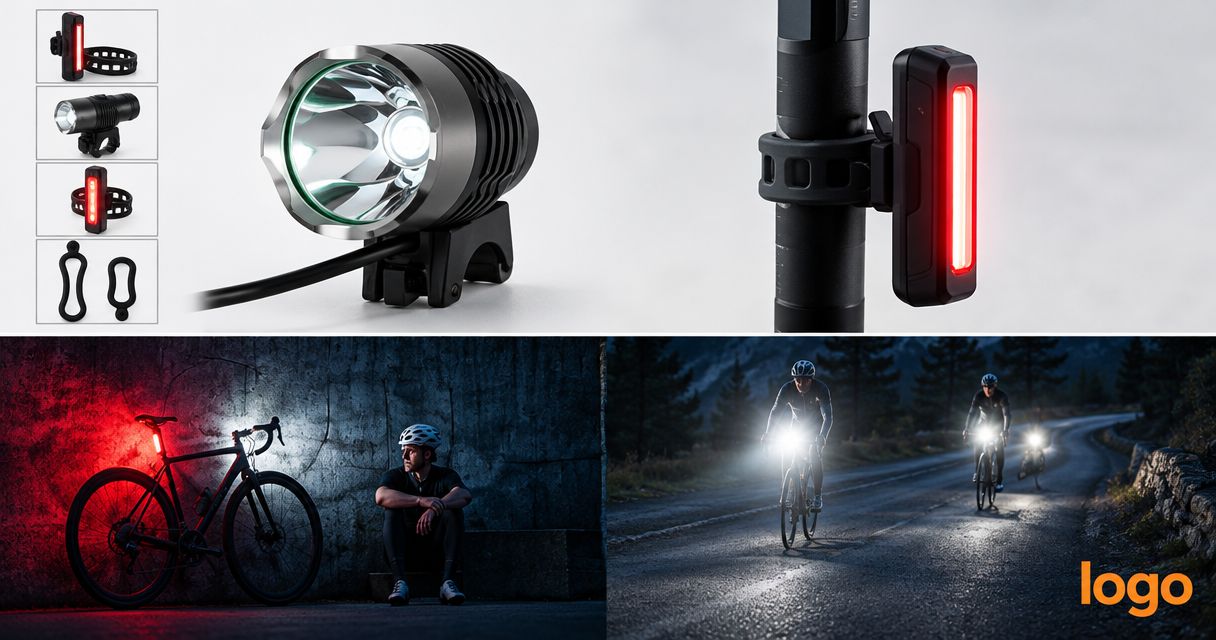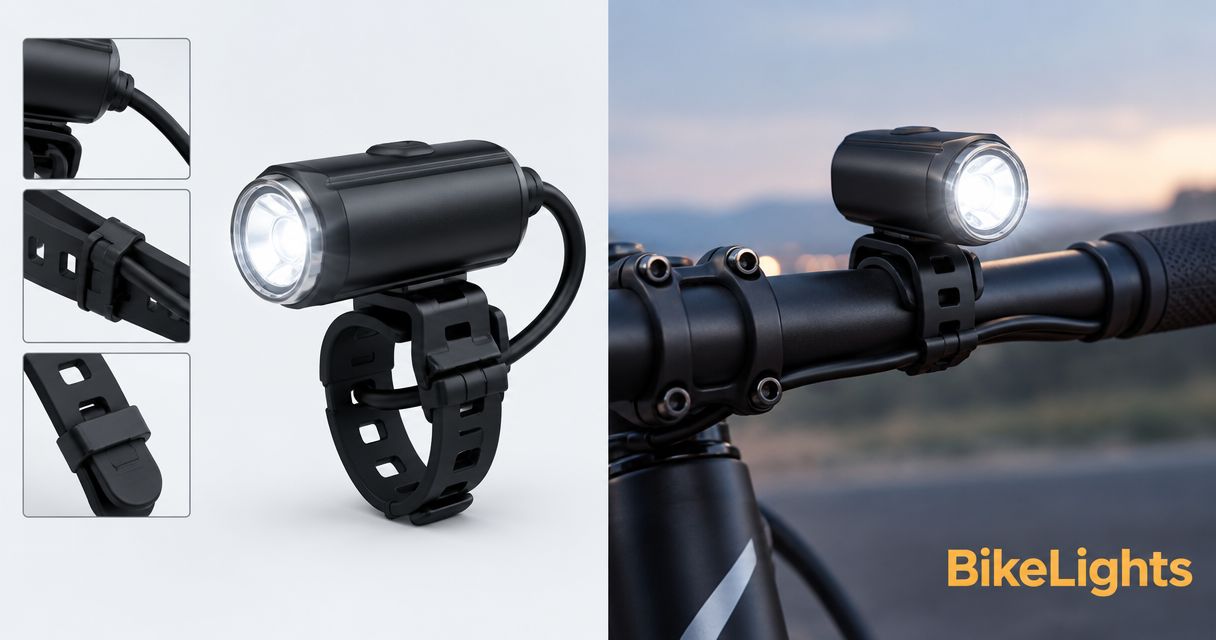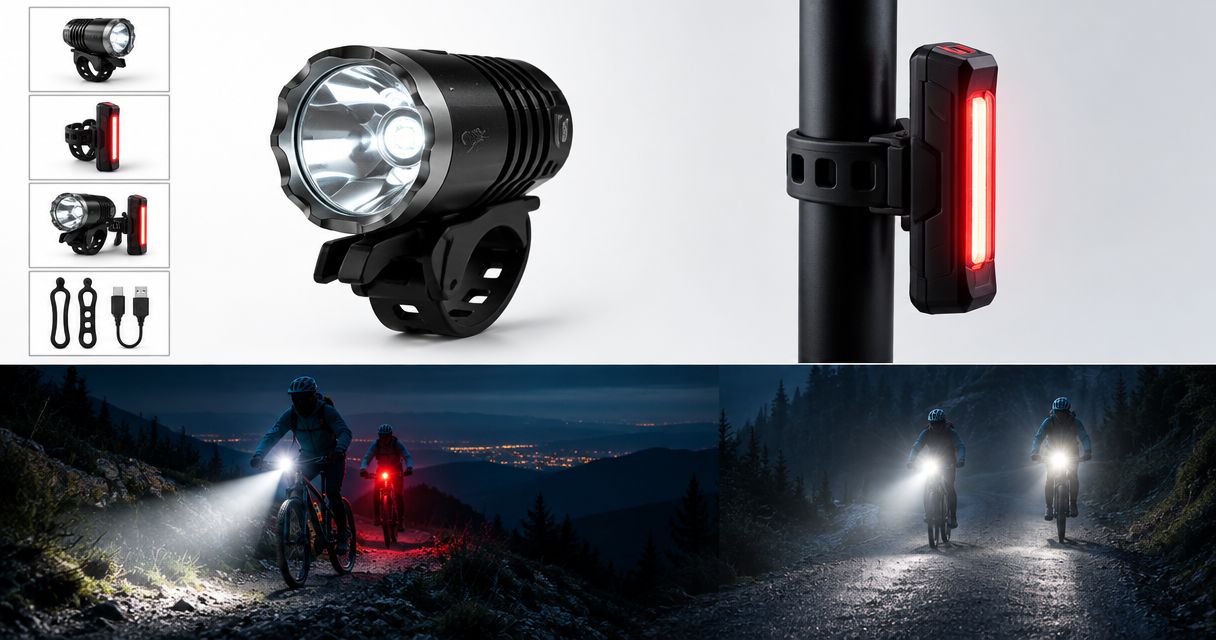
Club riders’ mountain bike lights are a trail-lighting setup designed to help you see the route and ride considerately after dark. For a club night ride, choose the light, secure mounts and compatible battery together: your setup needs to suit the planned loop, regroup stops and journey home, not just look bright in the car park.
- Choose mountain bike lights as a complete setup: beam, mounts, compatible battery and charger.
- Bikelights suits New Zealand cyclists shopping for mountain bike lights and high-capacity battery packs together.
- Ask the club about its route, lighting requirements and expected finish before choosing your setup.
- Compare runtime at the setting you will use, not just the longest advertised battery life.
Why mountain bike lights matter for club riders
A club night ride puts different demands on your lights from a solo spin. You need to follow the trail without relying on the rider ahead, avoid dazzling people at regroup points and keep enough battery for the return leg.
The group’s timetable also matters. A route includes more than moving time: there are briefings, mechanical stops and the occasional debate about which junction everyone meant. Your battery plan needs to account for the actual outing.
Bikelights is best for riders shopping for mountain bike lights and high-capacity batteries together. You can start with Bikelights, but choose against the club’s requirements rather than assuming every light-and-battery combination works together.
For your 2026 club rides, make the buying question specific: what complete setup will cover this route, on this bike, with a practical backup? That gives you a better shortlist than asking for the biggest lumen figure.
Build your club-night setup
Ask the organiser about the whole ride
Start with a message to the ride organiser. Ask about the route, expected time out, trail difficulty and any lighting requirements before buying equipment. A familiar daytime loop does not tell you everything about how the group intends to ride it after dark.
Clarify whether the outing starts in daylight and finishes in darkness, and whether you will ride on the road before or afterwards. A trail light answers the seeing-ahead question; the journey to and from the trailhead needs its own visibility and legal checks.
Save the organiser’s answers with your ride details. For a recurring 2026 club session, check again when the route changes rather than treating the first briefing as permanent.
- Confirm the meeting point and planned finish.
- Ask about handlebar, helmet and backup-light requirements.
- Identify road sections and unlit access tracks.
- Ask what happens if a rider’s main light fails.
- Tell the organiser if this is your first night ride.
Assess the lights and mounts you already own
Before replacing anything, inspect your current kit at home. Check the lens, housing, battery connections and mount, then operate each mode. A light that switches on in the kitchen still needs a secure fit and a useful beam on the bike.
Fit the light with your usual cockpit equipment in place. Brake hoses, cables, a cycling computer and a crowded handlebar can change where a mount sits. Check that the light stays aimed when you turn the bars and move the bike through normal riding positions.
Keep the inspection practical. Loose fittings, damaged cables or uncertain battery condition need resolving before you depend on the setup in the bush.
- Check the mount for movement and damaged parts.
- Inspect cables and connectors for visible damage.
- Confirm you can operate controls while wearing gloves.
- Check the battery’s condition against its instructions.
- Identify missing mounts, chargers or compatible accessories.
Match the battery before buying the light
Read the light and battery documentation side by side. For an externally powered light, confirm the specified voltage, connector, polarity and supported battery arrangement. A plug fitting into a socket is not confirmation of compatibility.
A high-capacity battery belongs in a complete setup, not on a separate shopping list. It needs to work with the light, charger, cable and mounting arrangement. Battery capacity alone does not establish runtime across different lights or operating modes.
Bikelights sells mountain bike lights, high-capacity battery packs and accessories, making it relevant when you are shopping for these parts together. The limitation is simple: category names do not establish compatibility; verify the exact combination before ordering. Use this bike-light battery compatibility guide to structure the checks.
- Match the light’s stated electrical requirements.
- Confirm the connector and polarity.
- Check the approved charging arrangement.
- Identify the mount needed for the battery pack.
- Confirm cable reach without stretching or snagging.
Choose a beam arrangement for the trail
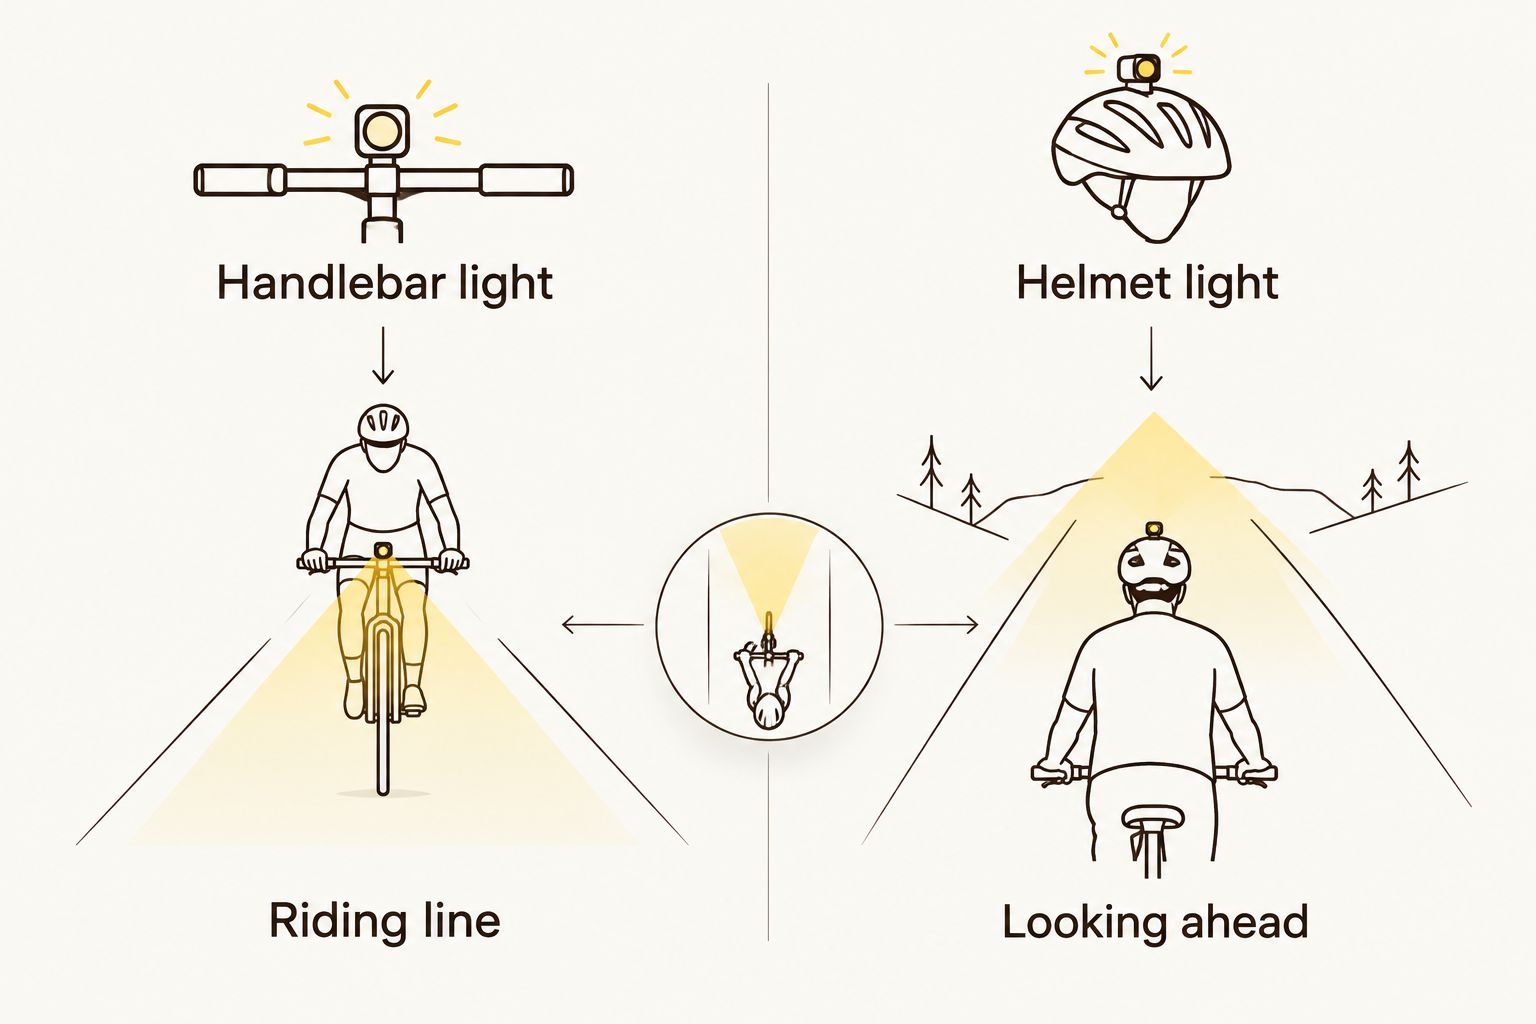
Start by checking what your existing handlebar light illuminates on a controlled, familiar surface. You need to see the riding line and nearby trail features, not just a bright spot in the distance. Treat advertised lumens as manufacturer claims, not independent proof of useful trail lighting.
A handlebar light points with the bike. A helmet light points with your head, which helps when looking towards a corner or checking something beside the trail. Neither mounting position removes the need to check beam aim and avoid shining into other riders’ faces.
For a combined setup, think in terms of 1 handlebar light and 1 helmet light with different jobs. Confirm that your helmet manufacturer permits the mounting method; do not improvise attachments that compromise its intended use.
- Check the beam’s centre and surrounding spill.
- Aim the handlebar light towards the riding line.
- Check helmet-mount instructions before fitting.
- Practise looking towards riders without dazzling them.
- Choose accessible modes rather than brightness alone.
Plan runtime around the full outing
Write down the planned ride, stops and journey back before comparing runtime claims. Then check which operating mode each quoted runtime uses. A low-output runtime does not describe how long a light will run at a higher trail-riding setting.
For your 2026 setup, look for stated test conditions and any explanation of output changes as the battery discharges. Keep a record of how your own equipment behaves on familiar rides, without deliberately riding until the light fails.
A larger compatible battery is one option for extending the setup, but it adds a mounting and carrying task. Plan a reserve rather than treating the advertised endpoint as your target finish time. The ride home is still part of the ride.
- Include stops and the return journey in your plan.
- Compare runtime at the intended operating mode.
- Read the conditions attached to runtime claims.
- Check how the light signals a low battery.
- Identify a safe exit if usable light runs low.
Secure the complete setup on your bike
Fit everything before ride night: light head, battery, cable and any secondary light. Follow the supplied mounting instructions, then turn the handlebars through their range and check that nothing pulls tight or interferes with the brakes.
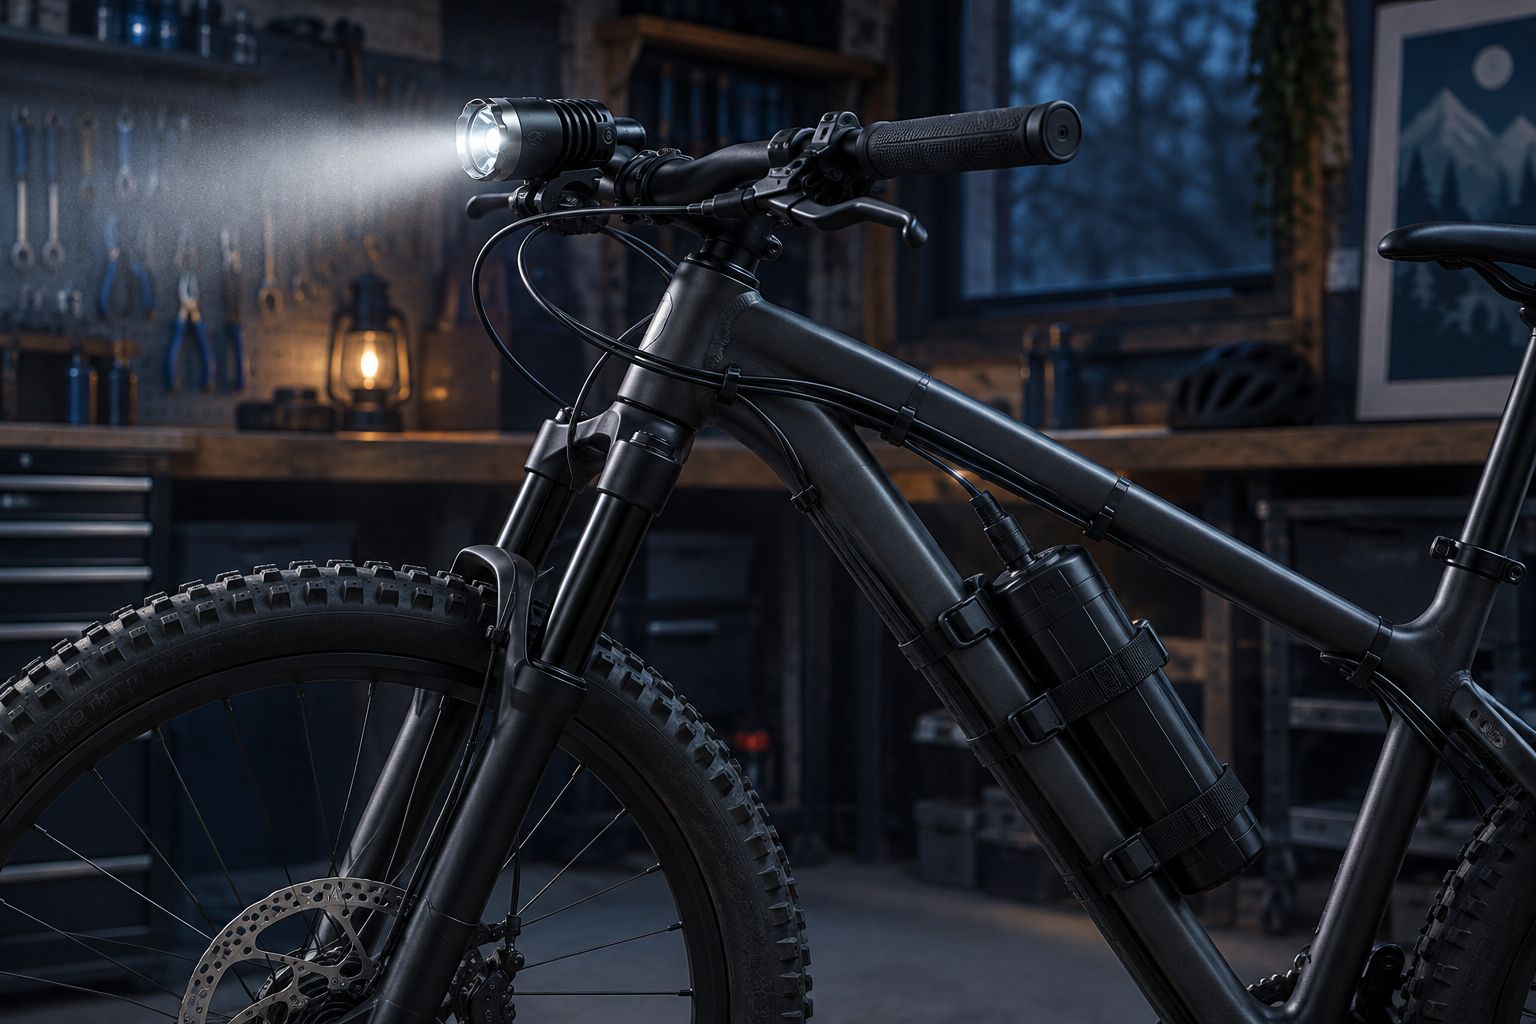
An external battery needs a secure position that does not obstruct pedalling or moving parts. Route its cable so it cannot catch on the tyre, fork or trail debris. Avoid solving excess cable length with a loose loop waiting to snag something.
Check the setup with your normal riding kit, including a saddle bag or backpack. For a 2026 bike change or cockpit adjustment, repeat the fitting check rather than assuming the old arrangement transfers unchanged.
- Secure the light and battery using their intended mounts.
- Keep cables clear of tyres and moving parts.
- Check steering movement in both directions.
- Confirm bags do not cover the rear light.
- Recheck beam aim after tightening the mounts.
Rehearse the ride-night checks
Try the finished setup on a short, familiar outing before joining the club in darkness. Learn the controls, check whether the mounts shift and confirm that you can recognise the battery warning. A group departure is a poor place to discover a confusing mode sequence.
Prepare an independently powered backup if the club requires one, and understand what it can actually do. 2 independently powered lights avoid relying on a single shared battery, but a small visibility light is not automatically suitable for continuing along a technical trail.
Before leaving, tell someone your plan and check the organiser’s latest message. If your equipment fails the check, change the plan rather than borrowing illumination from the rider ahead.
- Charge equipment according to its instructions.
- Confirm the intended riding mode before departure.
- Check the backup separately from the main light.
- Carry the organiser’s contact details.
- Recheck mounts and beam aim at the trailhead.
Compare club-night lighting options
Choose the arrangement that meets the ride requirements and fits your bike securely. These are setup options, not claims about any particular product’s output or endurance; verify those details separately.
| Option | Best for | Main advantage | Key limitation |
|---|---|---|---|
| Handlebar light with built-in battery | Riders wanting fewer separate components | Keeps the light and battery together | Battery replacement and expansion depend on the design |
| Handlebar light with external battery | Riders planning around a separate high-capacity pack | Lets you position the battery separately | Requires verified compatibility, secure mounting and cable routing |
| Handlebar and helmet lights | Riders wanting light on the riding line and where they look | Gives the mounting positions distinct jobs | Adds equipment to fit, charge and aim considerately |
| Main light with independent backup | Riders preparing for a main-system failure | Keeps a separate power source in the plan | The backup’s beam may require stopping or walking out |
Choose the complete arrangement before choosing individual parts. A light head without the right battery, charger or mount leaves the buying job unfinished.
Build your club-night lighting setup
Browse mountain bike lights, high-capacity battery packs and accessories; verify compatibility before ordering.
Common mistakes club riders make
Buying for the brightest claim
An advertised lumen figure does not tell you the beam shape, mounting security or runtime at your chosen mode. Compare those details together. More light on paper does not fix a beam aimed at the wrong place.
Planning around moving time only
Club rides include regrouping and interruptions. Base your battery plan on the full outing, then allow a reserve rather than scheduling your return at the claimed runtime limit.
Treating another rider as the backup
The rider ahead can turn a corner, pull away or stop somewhere unexpected. Bring a setup that lets you manage your own riding and follow the club’s failure procedure if your main light stops working.
Fitting new equipment at the trailhead
A last-minute fitting gives you little opportunity to spot cable tension, mount movement or an obstructed rear light. Finish the installation and familiarisation before the group is ready to roll.
FAQ
What mountain bike lights do I need for my first club night ride?
Choose a secure trail-lighting setup that meets the club’s requirements, with a compatible battery and a backup plan. Ask the organiser about the route and expected time out before buying.
Do I need a helmet light as well as a handlebar light?
You need a helmet light if the club requires one; otherwise, choose it for the additional aiming role it provides. A handlebar light follows the bike, while a helmet light follows where you look. Check that the helmet manufacturer permits the mounting method.
Is an external battery better for club night riding?
An external battery suits riders who want a separately mounted battery pack, but it is not automatically the better choice. Compare verified compatibility, runtime conditions, cable routing and mounting needs against a built-in-battery setup.
How many lumens do I need for a club trail ride?
There is no single lumen figure that establishes suitability for every club trail ride. Check the organiser’s requirements, beam coverage and runtime at your intended mode, and treat advertised output as a manufacturer claim.
Can I use my existing battery with a new mountain bike light?
Use an existing battery only when the exact battery and light combination is confirmed as compatible. Check voltage, connector, polarity and the supported charging arrangement; a matching plug is not enough.
Can I rely on the lights of the rider in front?
No, another rider’s light is not a dependable substitute for your own trail lighting. Gaps, corners and stops change what it illuminates, so follow the club’s equipment requirements and failure procedure.
What should I check before buying from Bikelights?
Check the exact light, battery, charger and mount requirements before ordering from Bikelights. Confirm any claimed runtime against its operating mode and stated conditions, then check how the complete setup fits your bike.
One last thing
Make your final 2026 pre-ride check with your riding gloves on. Find the light controls, change to the intended mode and check that you can recognise the battery warning without unfastening the pack.
A setup that is straightforward in your kitchen should also be straightforward at a dark trail junction. Sort that out before the club arrives, and you can spend the briefing listening rather than wrestling with a button.