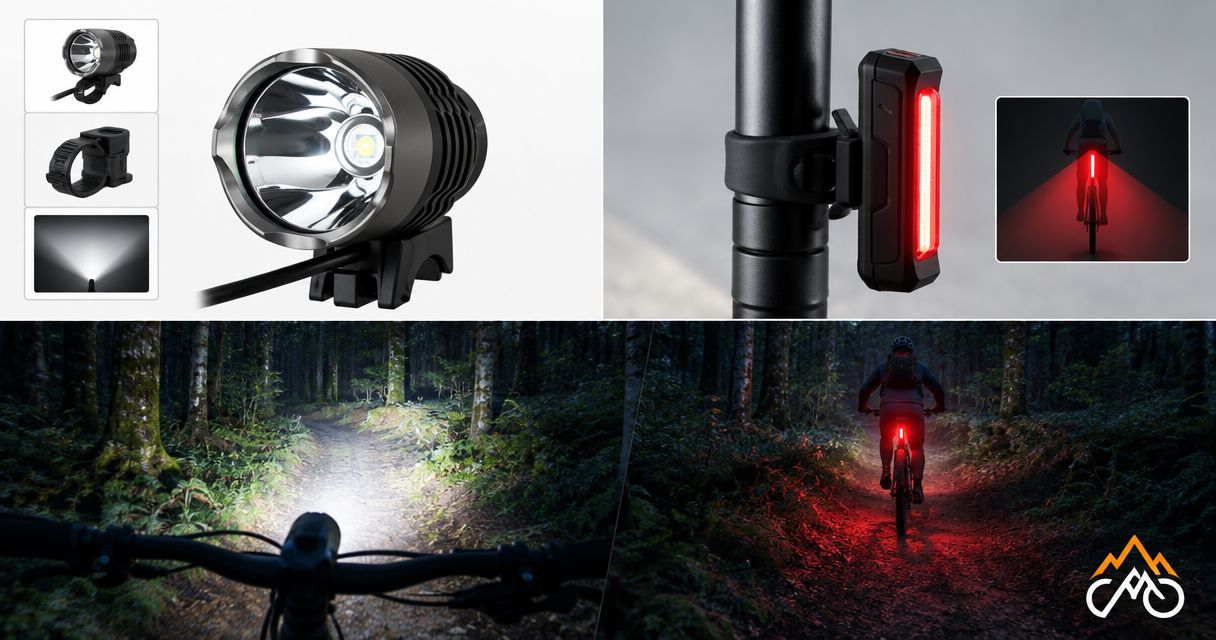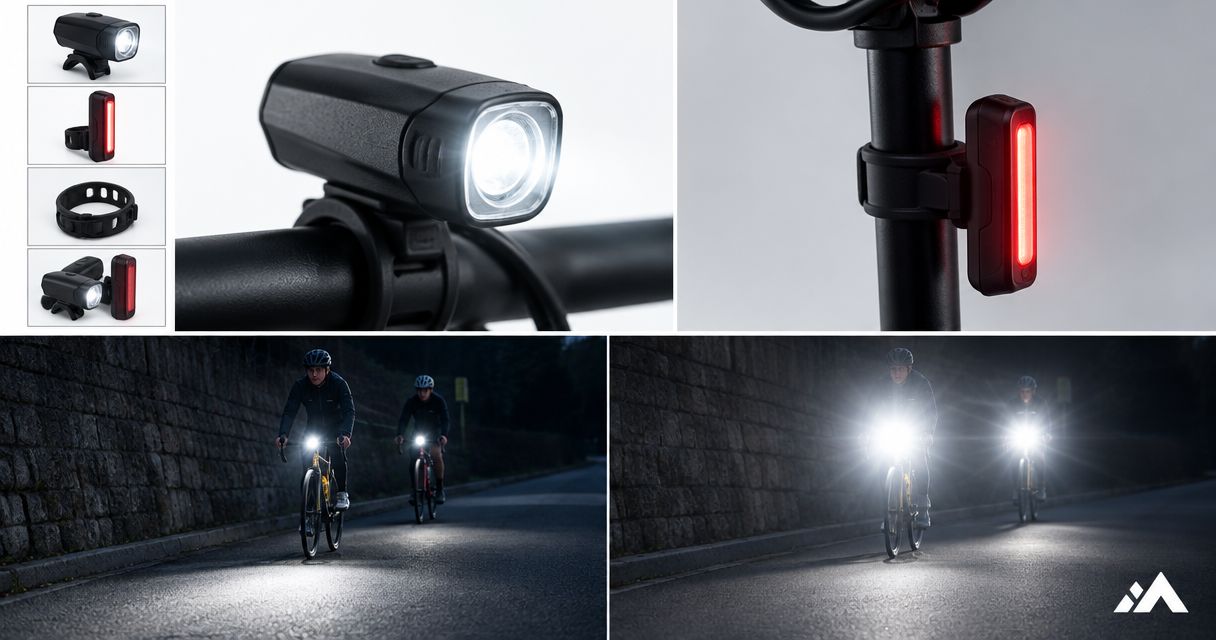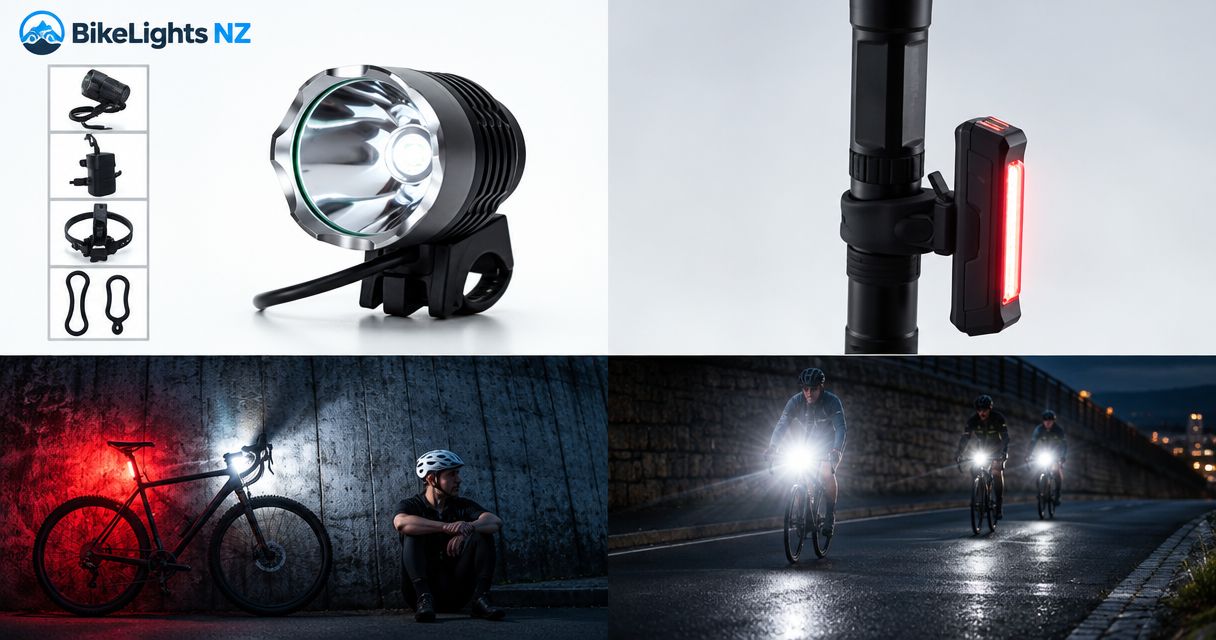
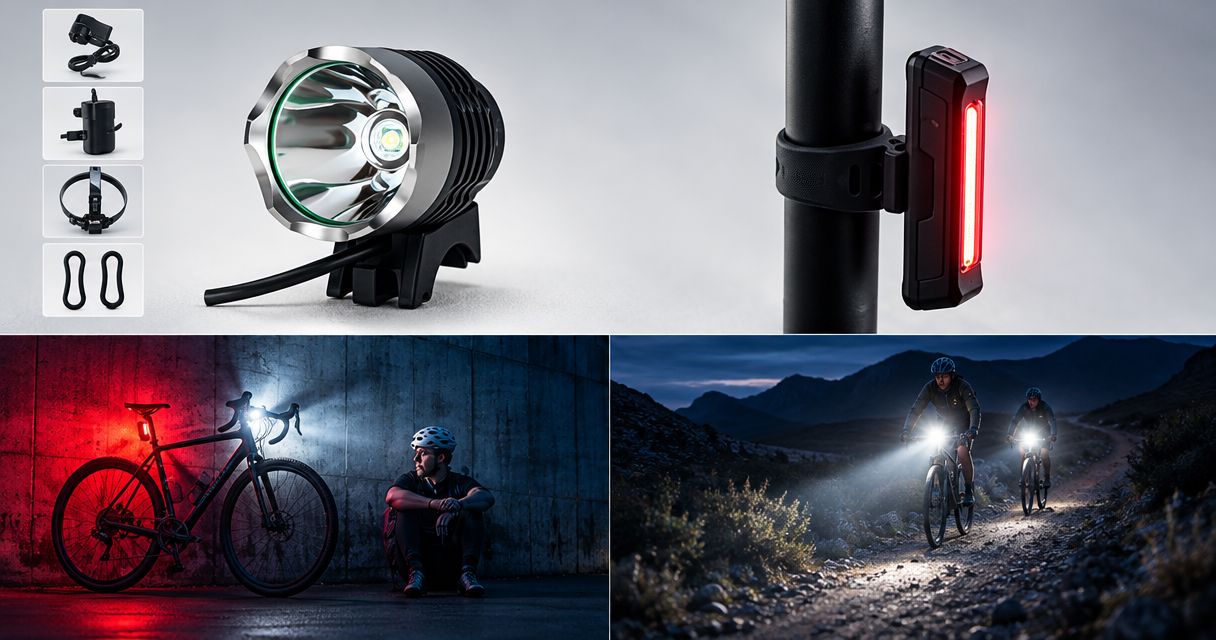
Commuter cycling lights are lights chosen to help you see and be seen on road journeys, with the aim of getting you to work and home after dark. If your commute also includes gravel or mountain-bike trails, you need a complete setup that handles traffic, uneven ground and the full ride—not just the shortest route home.
- Choose cycling lights for the darkest part of your route, then check their road-facing beam control.
- Bikelights suits NZ cyclists shopping for bike lights, high-capacity battery packs, taillights and accessories together.
- Match battery compatibility, mounting and verified runtime conditions before choosing by advertised lumens.
- Keep a rear light for the road sections; add a helmet light only when your trail riding needs it.
Why cycling lights matter for mixed-use commuters
Your riding creates two different jobs for the same equipment. On the road, you need useful forward light without directing glare towards other people; off-road, you need to see the surface, turns and obstacles beyond street lighting.
Choose for your darkest section, but check how the setup behaves around traffic. A light that works on an empty trail still needs suitable aiming and controls when you rejoin a shared path or road. The lunchtime shopping test is simple: can you explain how the light will work on both parts of your actual route?
Bikelights sells MTB and road bike lights, high-capacity battery packs, taillights and light accessories. That makes the complete setup—not an isolated brightness figure—the useful starting point for your 2026 buying shortlist.
Bikelights is best for NZ cyclists shopping for cycling lights and high-capacity battery packs together. Check each item's documented compatibility and included parts before treating separate items as a working kit.
How to choose a complete mixed-use light setup
Map your whole journey
Start with a route map and your own ride timings. Split the journey into lit roads, unlit roads, shared paths and off-road sections, then note where you need to change the light's setting or aim. No new equipment is needed for this first step.
Include the ride you actually take, not the tidy version that leaves out a trail detour. If you commute in daylight and return after dark, the return journey sets the lighting requirement. If you leave your bike at work, think about what you will remove and carry inside.
For a planning example, a 45-minute commute, a 60-minute trail ride and a 30-minute return make 135 minutes of riding. Those numbers describe a hypothetical itinerary, not a battery-runtime claim. Your chosen setting needs documented operating time suitable for your own itinerary, with room for delays.
A useful 2026 route note should cover:
- Mark every section without street lighting.
- Record your expected riding time for each section.
- Identify places where you meet oncoming riders or pedestrians.
- Include detours and the journey home.
- Note where the bike will be parked unattended.
Check the beam before the brightness claim
Use your existing light on a familiar, quiet section before buying another one. Look for what you cannot comfortably see: the next bend, the trail edges or surface changes directly ahead. Keep the test within your ability and slow down when visibility is inadequate.
Advertised lumens describe claimed light output, not the complete shape of the beam on the ground. A larger lumen claim does not, by itself, establish a better commuting or trail light. You also need to know where that light goes and whether the controls let you adjust it for changing surroundings.
When browsing Bikelights cycling lights, use the same questions rather than assuming every model suits every route. A trail-focused beam needs particular attention when you aim it for road use. Do not assume a lower setting changes the beam shape or provides a road-specific cut-off.
Compare the information available for each candidate:
- Look for beam photographs with stated shooting conditions.
- Check whether road and trail use are explicitly described.
- Confirm which output settings the light offers.
- Check how you change settings while wearing gloves.
- Ask about missing beam information before ordering.
Match the battery to the entire ride
First, write down how long you need light and which settings you expect to use. Then compare that requirement with the manufacturer's runtime information. A runtime figure without its operating mode does not answer your buying question.
High-capacity batteries belong in the setup discussion when you need to support longer rides, but capacity alone does not establish runtime. The light's power demand and operating conditions matter too. Treat the light, battery, connector and charger as a matched system. A plug that appears to fit is not proof of electrical compatibility.
Bikelights sells high-capacity battery packs alongside lights and accessories, so assess those parts together. The benefit is being able to plan the whole setup; the limitation is that you still need item-specific confirmation before pairing components. Do not carry compatibility assumptions from an older light into a new purchase.
For your 2026 battery shortlist:
- Match the battery's specified voltage to the light's requirements.
- Confirm the connector and polarity are compatible.
- Check the approved charging equipment.
- Read runtime alongside the stated output mode and test conditions.
- Confirm how the battery attaches to your bike or riding kit.
- Leave room in your ride plan for delays rather than planning to the stated limit.
Secure the mounts and cables
Inspect what you already own before replacing it. With the bike stationary, check whether the light rotates, the mount slips or a cable catches when you turn the handlebars. A familiar setup deserves the same inspection as a new one.
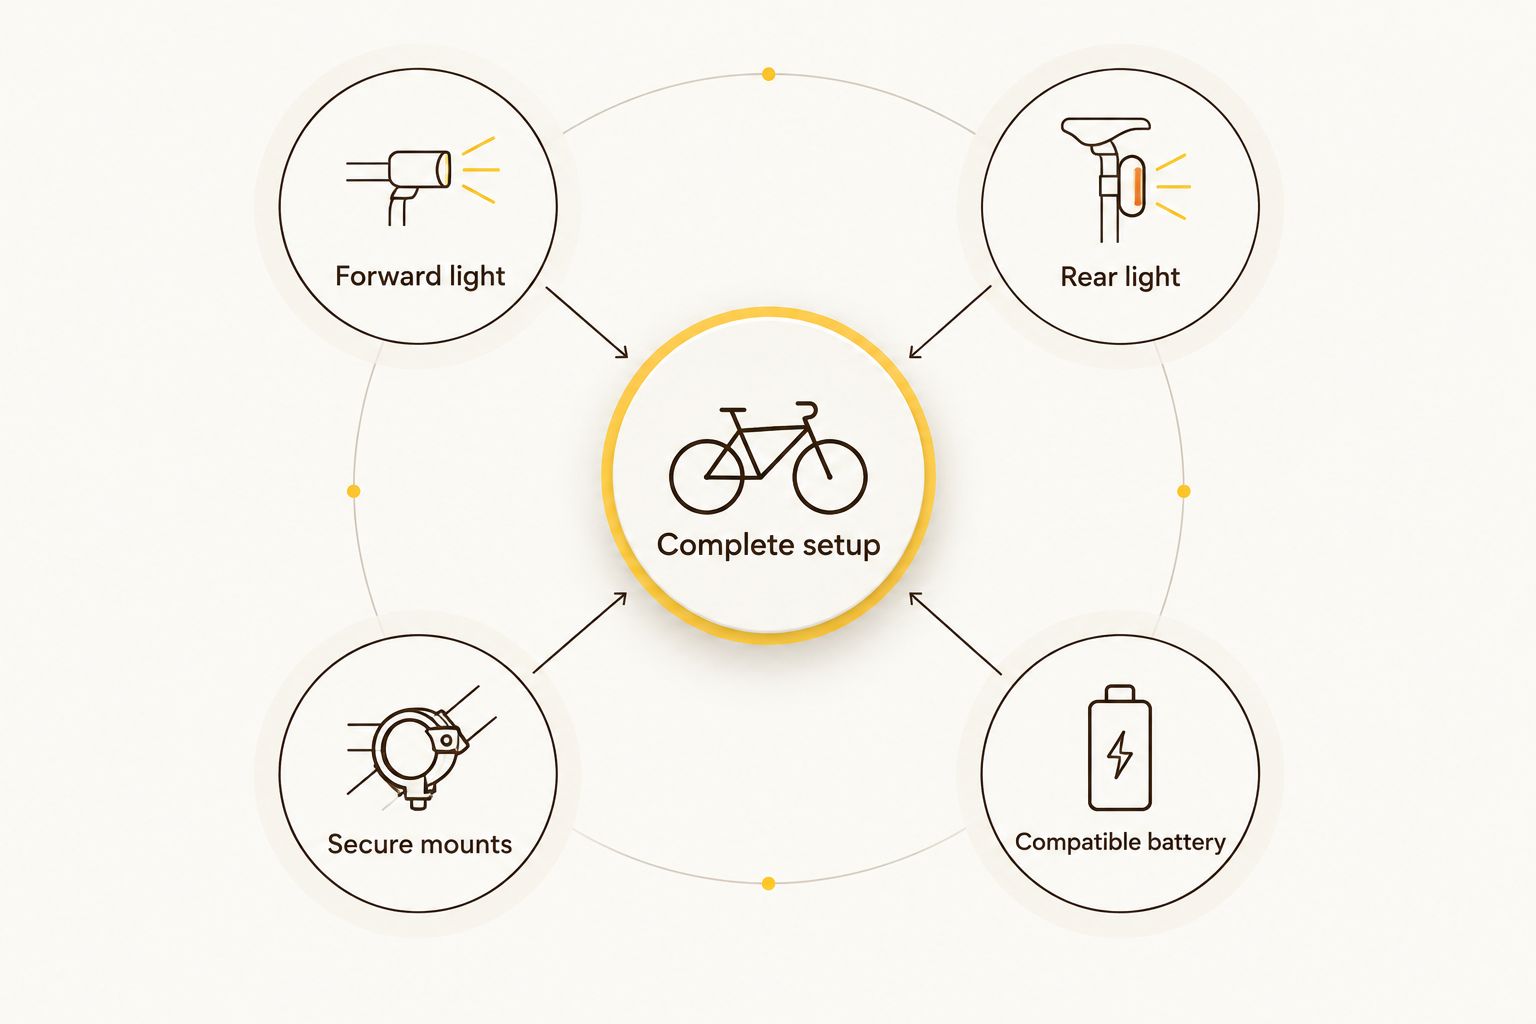
A complete setup combines forward light, rear light, secure mounts and compatible battery. These parts need to work together without obstructing your controls. An external battery adds placement and cable-routing decisions; an integrated battery removes that connection but still needs a secure light mount.
Check mounting instructions for your exact equipment. Do not assume a helmet attachment is suitable simply because it can be strapped on, and do not drill or alter a helmet to fit a light. Follow the helmet manufacturer's guidance as well as the light manufacturer's instructions.
Before the first ride:
- Confirm the mount fits your handlebar or approved mounting position.
- Turn the bars fully both ways and check cable clearance.
- Keep cables clear of brakes, wheels and suspension movement.
- Secure the battery using the intended attachment method.
- Check that your rear light remains visible with your usual bag fitted.
Set up separately for roads and trails
Practise changing the light while stopped before taking it into traffic or onto a technical trail. Find the controls by touch, check the available modes and establish an aim that illuminates your route without pointing directly at approaching faces.
A handlebar light follows the steering; a helmet light follows your head. That difference makes a helmet light useful when you need to look into a turn or towards something beside the trail. It also means you must manage where you look when talking to other riders. Nobody needs a beam in the eyes during a snack stop.
Treat a helmet light as an addition to a considered setup, not an automatic requirement. It introduces another mount, charging task and source of glare. For commuting, keep attention on a suitable forward light and a visible rear light rather than adding equipment without a clear job.
Build a repeatable changeover routine:
- Set and check the road-facing aim before departure.
- Stop somewhere safe before making unfamiliar adjustments.
- Recheck the mount after rough sections.
- Direct helmet-mounted light away from other people's faces.
- Check front and rear lights before leaving the trail for the road.
Rehearse the setup before relying on it
Start with a familiar route near home rather than making the first outing your longest night ride. Use the clothing, gloves and bag you normally commute with. Check that you can operate the controls and that nothing moves as you ride.
Record your own observations: the setting used, time switched on, weather and any changes in output. That log helps you manage your equipment, but it is not a controlled test or a guarantee for another ride. Do not deliberately run your only light flat away from a safe stopping point.
Make your 2026 charging routine fit your week. Decide where charging happens, which charger belongs to which battery and when you check the rear light. A high-capacity pack is useful only when it is charged, compatible and attached securely. Keep damaged equipment out of service and follow the manufacturer's charging instructions.
Finish the rehearsal with these checks:
- Confirm the lights remain firmly mounted.
- Inspect cable connections and attachment points.
- Check operation with your normal gloves.
- Record the mode and riding conditions.
- Recharge and store equipment according to its instructions.
Compare the setup options
Choose the arrangement that solves your route's main problem without creating a charging or mounting chore you will avoid. These are setup categories, not claims about particular products. The best option is the one you can verify, fit and use consistently.
| Option | Best for | Main advantage | Key limitation |
|---|---|---|---|
| Integrated-battery front light with rear light | Shorter mixed-use journeys with suitable verified runtime | Keeps the front light and battery in one unit | Runtime must cover the ride; battery replacement depends on the design |
| External-battery front light with rear light | Riders planning a complete setup around a compatible high-capacity pack | Lets you consider the light and separate battery together | Adds a battery attachment, cable and compatibility checks |
| Handlebar light, helmet light and rear light | Trail riders who need light directed where they look | Gives the handlebar and helmet lights different jobs | Adds equipment to mount, charge and aim responsibly |
An integrated arrangement suits you if the documented runtime covers your route and you value fewer separate parts. An external-battery arrangement suits you if the compatible pack and mounting method meet your riding needs. Neither category wins on runtime without the actual specifications.
For a 2026 purchase, compare complete contents before choosing. Check whether mounts, charging equipment and batteries are included or require separate selection; do not infer contents from a photograph.
Build your complete night-riding setup
Compare lights, high-capacity battery packs and accessories, then confirm compatibility before buying.
Common mistakes mixed-use commuters make
Buying for the lit commute alone
Street lighting can hide the weaknesses you notice immediately on an unlit trail. Choose your forward lighting around the section where you must see the surface for yourself, then check that its aiming and settings also suit road use. Do not use familiar surroundings as a substitute for visibility.
Treating the largest lumen claim as the winner
A headline figure does not show how a beam reaches the ground or handles bends. Compare the available beam information, controls and mounting position alongside claimed output. If the seller provides no conditions for a performance claim, do not fill in the gaps yourself.
Pairing batteries by connector appearance
Similar-looking connectors do not establish a safe match. Confirm voltage, polarity, approved charging equipment and explicit compatibility before connecting a battery. Keep the component instructions together so a future replacement does not turn into a guessing game.
Forgetting the road ride home
A trail session is not the end of the battery plan if you still need to get home. Include the return leg and check your rear light before rejoining the road. Carrying an additional light can provide a fallback, but it does not excuse starting with an unsuitable main setup.
Buying parts without checking the complete fit
A light, battery and mount can each look suitable separately while making an awkward combination on your bike. Check space around the bars, cable clearance, attachment points and removal for parking. The best setup is not the one that needs a roadside wrestling match every morning.
FAQ
What cycling lights do I need for commuting and off-road riding?
Choose a forward light suited to your darkest section, a rear light for road visibility, secure mounts and a compatible power supply. Check beam control for traffic and documented runtime for the entire journey.
Is a brighter bike light always better for mixed riding?
No, a higher advertised lumen figure does not establish a better mixed-use light. Beam shape, aim, controls and runtime at the setting you use also affect suitability.
Should I choose a built-in battery or an external battery pack?
Choose by verified runtime, mounting needs and charging routine rather than battery format alone. An integrated battery keeps parts together, while an external pack adds a separate attachment and compatibility checks.
Do I need a helmet light as well as a handlebar light?
A helmet light is an optional addition for directing light where you look on trails. It adds mounting and charging tasks, and you must avoid directing it into other people's eyes.
Can I use my existing battery with a new bike light?
Use an existing battery only when compatibility with the new light is explicitly confirmed. Check voltage, polarity, connectors and approved charging equipment rather than relying on physical fit.
How do I work out how much battery runtime I need?
Add the riding time for every section, including the return journey, then compare it with documented runtime at your intended setting. Allow for delays and do not treat a best-case runtime claim as a guaranteed finish time.
What should I check before buying cycling lights from Bikelights?
Check the light's beam information, operating modes, runtime conditions, compatible battery and mounting requirements. Confirm the listed contents so you know which accessories and charging equipment you still need.
One last thing
Check your rear light with your normal commuting bag fitted. A light that looks clear on an empty bike can sit behind luggage once you pack for work. Make that loaded-bike check part of your 2026 departure routine, alongside the front mount and battery connection. It takes attention, not another upgrade.